How to Join Plywood With Screws: Length, Spacing, Pilot Holes
To join plywood with screws, glue the mating surfaces, drill a clearance hole through the top sheet and a pilot hole in the second, countersink, and drive a coarse-thread wood screw that stops at least 1/4 inch short of the far face. Space screws 6 to 8 inches apart and keep them at least 1/2 inch from every edge. That is the whole method for face-to-face and face-to-edge joints. What most guides skip is the third joint, end-to-end or edge-to-edge, where screws alone will not hold at all.
This guide gives you the numbers: screw length by plywood thickness, pilot and clearance hole sizes, spacing, and the backer-strip fix for butt splices. If you are choosing between screws and other joinery, our guides on joining plywood at 90 degrees and connecting two pieces of plywood cover rabbets, dados, pocket holes, biscuits and dowels.
The Three Plywood Screw Joints (and Which One Screws Cannot Do Alone)
Best Cabinet Screw Pick | |
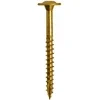 |
GRK CAB82HP Cabinet HandyPak #8 x 2-Inch Screws, 100 Count A #8 x 2-inch washer-head cabinet screw with a self-tapping thread, sized for driving through a 3/4-inch plywood face into the edge of a second panel.
|
As an Amazon Associate we earn from qualifying purchases. | |
Plywood is layers of veneer glued with the grain crossing. That makes the face very good at holding screws and the cut edge much worse, because a screw driven into an edge runs between plies instead of gripping across them. So the first decision is not which screw to buy, it is which of these three joints you are actually making.
| Joint | What it looks like | Do screws work? | What to do |
|---|---|---|---|
| Face to face | Two sheets stacked flat, like a doubled workbench top | Yes, as clamps while glue cures | Glue the full face, screw on a 6-8 inch grid, screw shorter than total thickness |
| Face to edge | A shelf, divider or cabinet side: screw through one face into the edge of another panel | Yes, but edge holding is the weak link | Pilot hole, 2 inch screws for 3/4 inch plywood, glue the edge first, add a second row if it will be loaded |
| Edge to edge or end to end | Two sheets butted together in one plane | No, not on their own | Bridge the seam with a glued and screwed backer strip, or use a spline or biscuit |
That last row corrects the common advice to “align the edges and drive screws in.” There is nothing for the screws to bite into at a flat seam, because the screw would have to run along the seam. A butt splice needs a third piece behind it, covered in its own section below.
Screw Length by Plywood Thickness
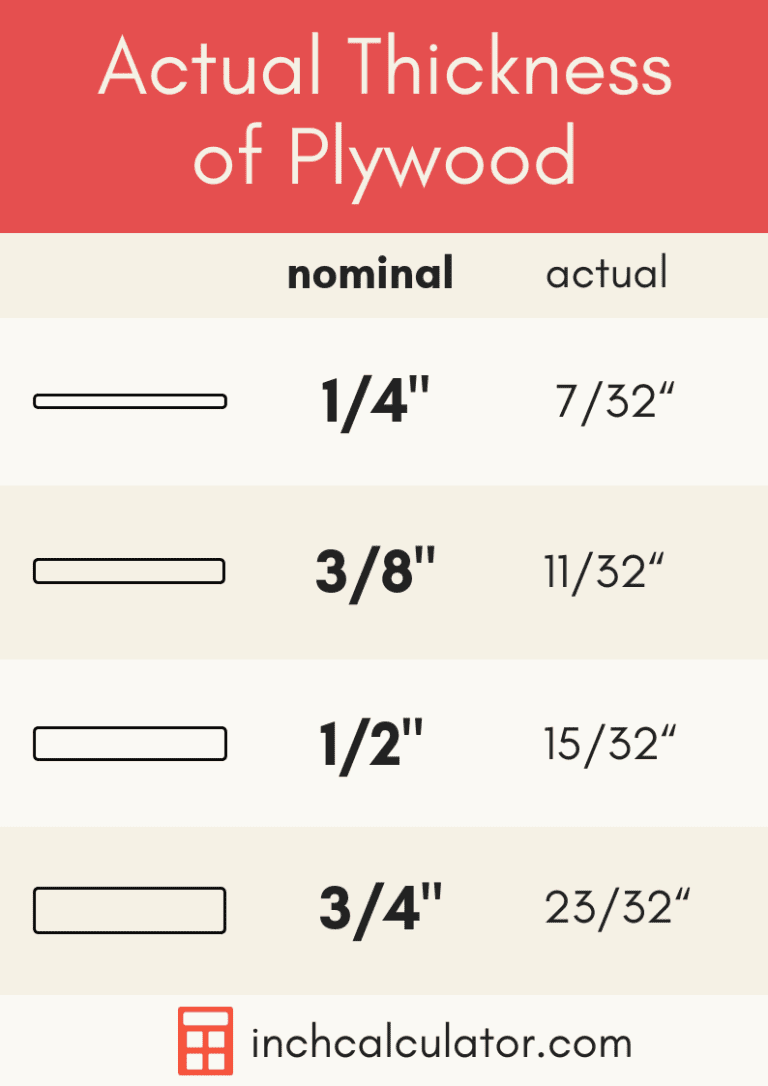
The mistake we see most is a screw that is too long, poking through the far face of a face-to-face joint. The safe rule is simple: total thickness minus 1/4 inch, so the tip stays buried. For face-to-edge joints, the goal reverses: you want at least about 1 inch of thread in the receiving edge because edge grain holds so weakly.
| Plywood thickness | Face to face (max screw length) | Face to edge (screw length) |
|---|---|---|
| 1/2 in + 1/2 in | 3/4 in (total 1 in, minus 1/4 in) | 1-1/2 in |
| 3/4 in + 3/4 in | 1-1/4 in (total 1-1/2 in, minus 1/4 in) | 2 in |
| 3/4 in on 1/2 in (screw from the 3/4 in sheet) | 1 in (total 1-1/4 in, minus 1/4 in) | 2 in |
These figures are working rules of thumb, not a code table. They assume ordinary #8 wood or cabinet screws and glued joints. If the joint carries real load, such as a shelf holding books, step up the joint (add glue, a second row of screws, or a mechanical joint) rather than reaching for a longer screw.
For face-to-face joints on thin sheets, glue does most of the holding once it cures. The screws are there to pull the sheets flat and act as clamps, which is why the length is capped and the spacing is a grid, not a line. Our guide to joining thin plywood covers the thin-sheet case.
Pilot and Clearance Hole Sizes for Plywood Screws
Drill two different holes, not one. The clearance hole goes through the top sheet and is slightly larger than the screw thread, so the screw slides freely and the head pulls that sheet tight against the other one. Without it, the threads bite both sheets, and the screw can hold a gap open instead of closing it. The pilot hole goes in the receiving sheet and is sized to the screw core, so the threads still cut in and grip.
| Screw gauge | Clearance hole (top sheet) | Pilot hole, softwood plywood | Pilot hole, birch or hardwood plywood |
|---|---|---|---|
| #6 | 9/64 in | 1/16 in | 5/64 in |
| #8 | 11/64 in | 5/64 in | 3/32 in |
| #10 | 3/16 in | 3/32 in | 7/64 in |
Pilot hole charts vary between sources by one bit size, so treat these as a starting point. Test on an offcut of the same plywood: if the screw drives with heavy resistance or the veneer shows a hairline crack, go up one bit size. If it spins without biting, go down one. Our pre-drilling guide has a full gauge chart for solid wood.
Plywood face veneers are thin, so blowout on the back face is also common. Clamp a scrap of wood behind the joint and drill through into it, or stop the pilot hole before it exits.
Which Screws to Use (and One to Avoid)
- Coarse-thread wood screws or cabinet screws: the deep threads grip plywood layers. Cabinet screws with a washer or wafer head also spread the load, which helps in thin face veneers.
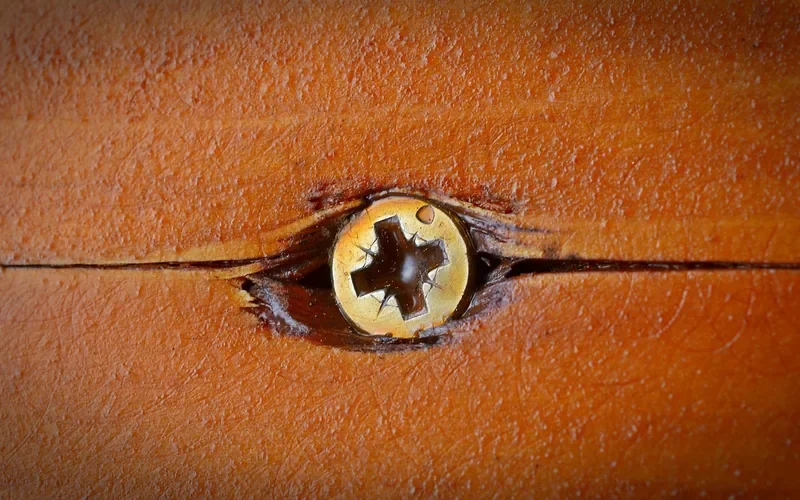
- Star (Torx) drive over Phillips: Phillips heads tend to cam out under torque, which strips the recess right when you need the last turn. A star bit stays seated.
- Avoid drywall screws for structural joints: they are hardened and brittle, so they tend to snap under sideways load instead of bending. They are fine for holding a sheet flat while glue dries, but not for a shelf or cabinet that will be loaded.
- Outdoors or damp areas: use exterior-coated or stainless screws, and match them with exterior-grade plywood and waterproof glue.
For pocket-hole screws specifically, see our guides on Kreg screws for 3/4 inch plywood and Kreg screws for 1/2 inch plywood.
How to Join Plywood With Screws, Step by Step
- Dry fit and mark: clamp the pieces in place and mark screw locations on a 6 to 8 inch grid (face to face) or a single row 6 to 8 inches apart, at least 1/2 inch from any edge (face to edge).
- Glue first: spread wood glue on the full mating face. On a cut edge, rub in a thin coat first and let it soak for a minute, since edge grain drinks glue and can starve the joint.
- Drill the clearance hole: through the top sheet only, using the size in the chart above.
- Drill the pilot hole: in the receiving sheet, stopping before you reach the far face. A strip of tape on the bit marks the depth.
- Countersink lightly: just enough so the head sits flush. Going deeper crushes the thin face veneer.
- Drive slowly and stop at snug: set the drill clutch low. Over-tightening strips the threads in plywood, which has no long fibers to recover.
- Clamp until the glue sets: screws can hold the joint, but clamps keep the faces flush while the glue cures.
If a hole strips, see our guide to fixing a stripped screw hole in wood. For gluing technique, including open time, see how to glue plywood together.
How to Screw Plywood End to End: The Backer Strip Fix
When two sheets have to meet in one plane, add a backer strip (also called a scab or butt block) behind the seam. Use a strip of the same plywood or a solid board, wide enough to hold two staggered rows of screws on each side of the seam. About 6 inches wide works for 3/4 inch plywood.
- Square-cut both edges so the seam closes with no gap, and dry fit them on the strip.
- Glue the strip to the back of both sheets and clamp it.
- Drive face-to-face screws through the strip into each sheet, staggered so no two screws sit along the same grain line.
- Keep every screw at least 1/2 inch clear of the seam itself.
The strip turns an impossible edge-to-edge screw joint into two face-to-face screw joints, which is the one thing screws do well in plywood. If the seam shows on the good side, a spline or biscuit is the cleaner option, covered in our guide to joining plywood together.
Common Mistakes When Screwing Plywood
- Screw too long: the tip pokes through the back of a face-to-face joint. Use total thickness minus 1/4 inch.
- No clearance hole in the top sheet: the sheets can stay slightly apart, and the joint is weaker.
- Screws too close to an edge: veneer plies split out near an edge. Stay 1/2 inch in, and 3/4 inch is safer near corners.
- Trusting the edge alone: a single screw into an edge is the weakest spot in the sheet. Glue it, add more screws, or use a pocket-hole or dado joint.
- Ignoring voids: economy plywood can have gaps inside. If a screw suddenly spins freely, move it over an inch and try again.
- Overdriving: a countersink that is too deep or a clutch set too high crushes the face veneer.
- Skipping pilot holes: see how to screw wood without splitting it.
Frequently Asked Questions
How do I choose screws for plywood?
Use coarse-thread wood screws or cabinet screws, ideally with a star drive. For 3/4 inch plywood joined face to edge, a #8 screw about 2 inches long is a common choice. For face-to-face joints, keep the screw at least 1/4 inch shorter than the combined thickness of both sheets so the tip does not poke through.
Do I need to pre-drill plywood before screwing?
Yes, for anything near an edge and for any joint you care about. Drill a clearance hole in the top sheet and a pilot hole in the receiving sheet. Plywood face veneers are thin and split easily, and pre-drilling also lets the screw pull the sheets tight together.
How far apart should screws be in plywood joints?
A spacing of 6 to 8 inches is a good working rule for joints that carry load, and up to about 12 inches is acceptable for light-duty panels that are also glued. Keep screws at least 1/2 inch from edges, and closer together where the joint will be stressed.
Can I screw into the edge of plywood?
You can, but the edge holds far less than the face, because the screw runs between plies. Use a pilot hole, a longer screw of about 2 inches for 3/4 inch plywood, glue on the edge, and consider pocket holes or a rabbet joint if the joint will be loaded.
Can you join two sheets of plywood end to end with screws?
Not with screws alone. Add a glued and screwed backer strip across the seam so the screws go through faces instead of edges, or use a spline or biscuit joint for a cleaner result.
Conclusion
Screws work best in plywood when you match the screw to the joint: short and clamp-like for face-to-face, long and glued for face-to-edge, and never on their own across a flat seam. Drill the clearance and pilot holes, keep the tip buried, and stay away from edges. For corner joints and cabinet boxes, compare screws against the rabbet and dado options in our 90-degree plywood joint guide.
Sponsored / affiliate links. As an Amazon Associate I earn from qualifying purchases. I may earn additional commission from eligible campaigns.