How to Glue Baseboards to the Wall: When Glue Works
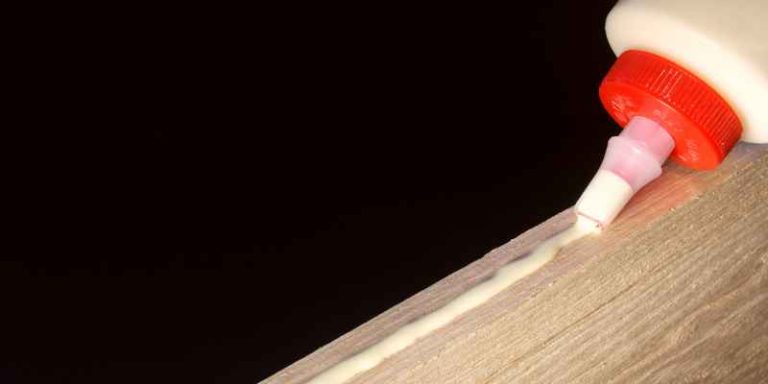
Yes, baseboards can often be glued instead of nailed on flat, sound surfaces; I use construction adhesive on drywall, tile, or masonry, and I plan on nails or brads if the wall bows enough that glue alone may not hold well. Poor prep leaves gaps, loose joints, and stuck-off trim that can tear drywall paper or crack tile when you try to fix it. This guide shows which adhesive to choose, how to prep the wall and trim, and when glue-only installation is a bad bet.
This guide is part of our Wood glue essentials: types, uses, and cure times series.
What you’ll need

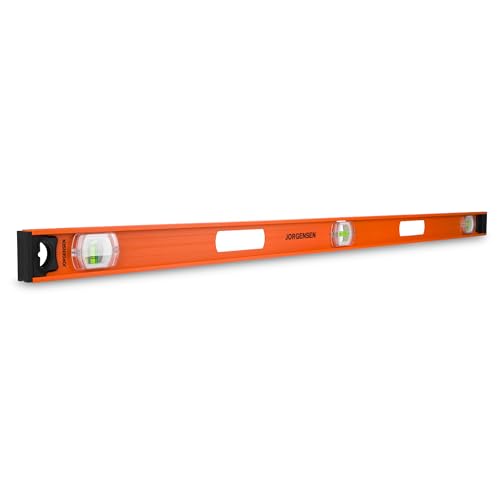
- Baseboard material that has acclimated to the room
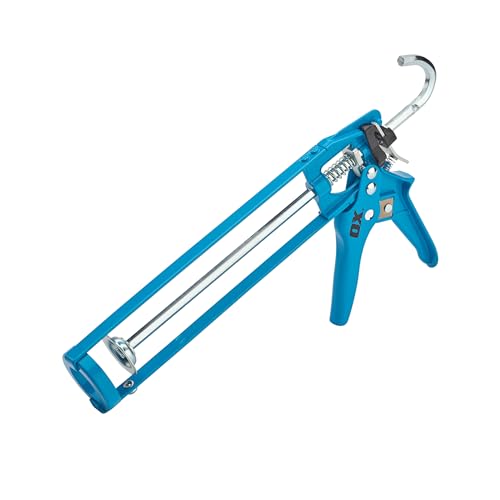
- Construction adhesive in a caulk tube
- PVA wood glue for wood-to-wood joints only
- Polyurethane adhesive for mixed or difficult substrates
- Caulk for the top edge after installation
- Putty or filler for nail spots if you add hidden fasteners
- Stud finder
- 4-foot level
- Measuring tape and pencil
- Miter saw or handsaw
- Utility knife
- Trim puller for removal
- Putty knife or small wood shim for prying protection
- Painter’s tape, temporary blocks, or short props for hold-up support
What glue-only baseboard installation can and cannot do
Glue-only baseboard work is realistic when the wall is flat, the trim is light, and the substrate is clean and stable. It is a poor choice for bowed stock, crowned walls, loose drywall paper, or anything you may want to remove cleanly later. Baseboards hide the drywall-to-floor transition, but they still need square cuts and close contact.
When glue-only is realistic
Choose glue-only for pre-primed MDF or straight solid wood on painted drywall, tile, or masonry that is sound and flat. Construction adhesive is the usual trim-to-wall adhesive because it fills small voids and grabs fast enough to hold the board while it cures. On short runs, it can work without visible fasteners.
Use glue plus hidden finish nails on long runs, warped stock, walls with crowns or dips, and any run that crosses several studs. Finish nails are the baseline mechanical hold; 8d and 4d finish nails are commonly listed in trim installation guides, and they go in at a slight downward angle so the fastener locks the board while adhesive cures. (thisoldhouse.com)
Why wall flatness and trim weight matter
A heavy solid-wood baseboard wants more support than a light pre-primed profile. If the wall is out more than a little, adhesive alone bridges only the easy spots and leaves the rest under stress. That stress shows up later as open joints, lifted edges, or a line of caulk that cracks along the top.

How to glue baseboards to the wall instead of nailing them
Dry fit the pieces first, because adhesive does not forgive bad cuts. Measure, cut, and dry fit each length before you open the adhesive. Use construction adhesive for the wall bond, press the board into place, and keep it held until it grabs. If the trim is straight and the wall is stable, that can be enough; if not, add hidden fasteners or temporary props.
- Measure, cut, and dry fit each length before you open the adhesive.
- Check the wall with a 4-foot level and mark any bows or humps.
- Apply adhesive in controlled beads near the top and bottom edges.
- Set the board, press it firmly, and slide it into final position.
- Hold the board with painter’s tape, blocks, or temporary props while it grabs.
- Check the top line and corner joints before the adhesive skins over.
- Let the adhesive cure fully, then caulk the top edge and paint as needed.
How to get instant hold without nails
Use short blocks cut to floor height, painter’s tape across the face, or temporary props against a scrap block on the floor. Those methods stop creep while the adhesive sets. For long pieces, clamp the ends with tape first, then work toward the middle so the board does not slide out of line.
What kind of adhesive should I use for baseboards?
Construction adhesive is a common trim-to-wall adhesive. PVA wood glue is mainly for wood-to-wood bonds, so it belongs at joints and copes rather than between the board and painted drywall. Polyurethane adhesive is useful when the substrate changes from one material to another or when the surface is harder to bond.
Construction adhesive
Use construction adhesive on painted drywall, MDF, tile, and masonry when the wall is sound. It has gap-filling behavior, a useful initial grab, and it is paintable once cured. It still does not fix a bad wall. If the substrate is dusty, glossy, or loose, the bond is only as good as that weak layer.
PVA wood glue
PVA, or polyvinyl acetate, is the go-to adhesive for woodworkers, but it is wood-to-wood only. It will not bond metal, glass, or plastic, and it is water-soluble when wet. Use it for joining baseboard pieces to each other, not for sticking trim to drywall or tile.
Polyurethane adhesive
Polyurethane adhesive can bond wood, stone, metal, plastic, and other materials. The 1K PU and 2K PU variants can be useful where a normal trim adhesive struggles, but they may expand as they cure. That expansion can push a light board off line if the bead is heavy, so use it sparingly and keep the board supported.
Decision matrix: wall condition, trim material, and removal needs
The safest adhesive depends on the wall, the trim, and whether future removal matters. Glue-only is acceptable only when the wall is stable, the trim is light or straight, and you can live with more effort later. If removal must be clean, hidden finish nails are often the smarter compromise.
| Wall condition | Trim material | Removal need | Safest approach |
|---|---|---|---|
| Painted drywall, flat and sound | MDF or pre-primed trim | Low | Construction adhesive only, with tape or props |
| Painted drywall, slight bow | Solid wood | Low to medium | Construction adhesive plus hidden finish nails into studs |
| Drywall paper exposed or flaky | MDF | Medium | Repair the surface first; then use adhesive plus brads or finish nails |
| Masonry or tile | Pre-primed trim or MDF | Low | Construction adhesive rated for the substrate; add temporary hold until set |
| Mixed materials in one run | Solid wood | Medium to high | Polyurethane adhesive with hidden mechanical fastening where possible |
| Rental or future repaint planned | Any | High | Finish nails or brads into studs, minimal adhesive, easier removal later |
Tube coverage and cost per room estimate
For a standard room, one tube often covers roughly one linear room of baseboard if the wall is straight and the bead is controlled; on rougher walls, coverage drops fast. Cost depends on local pricing, so treat the figures below as a planning guide for a typical room with around 130 linear feet of trim.
| Estimated room size | Linear feet of baseboard | Adhesive tubes | Estimated material cost |
|---|---|---|---|
| Small room | 60 | 2 | $20 to $30 |
| Medium room | 130 | 4 | $40 to $60 |
| Large room | 200 | 6 | $60 to $90 |
When not to use glue-only trim
Skip glue-only if the room is a rental, if you expect to change flooring soon, or if the walls move enough that the board will be stressed every season. Wood expands and contracts with humidity and temperature changes, and glued trim on a moving wall eventually shows that movement at the joints.
How do you glue baseboards to the wall without nails?
Use a wall-safe adhesive bead, press the baseboard into place, and hold it while the adhesive grabs. The board must be cut accurately and fitted to a clean, dry wall. If the run is long or uneven, add hidden finish nails or temporary props so the trim does not creep before cure.
Preparation that matters
Clean off dust, loose paint, and old caulk before you start. Let the baseboard acclimate to the room conditions so it is less likely to shift after installation. If you may add hidden fasteners, use a stud finder and mark the studs now; that saves time when the adhesive bead is already open.
Fine points that save the wall
Lifehacker recommends scoring along the baseboard with a utility knife before prying during removal, and a small piece of wood can protect the wall during prying. That same habit helps during installation too: cut away old caulk and paint so the new board sits on a clean edge instead of on brittle residue.
Can construction adhesive replace finish nails for baseboards?
Sometimes. On flat, stable walls with light trim, construction adhesive can hold baseboards without nails. On long runs, crowned walls, or bowed stock, it is safer to use adhesive plus hidden finish nails. That combination gives immediate hold and a mechanical backup if the wall shifts or the adhesive bead is uneven.
How finish nails fit in
Finish nails remain the baseline fastening method because they resist movement while glue cures. Drive them at a slight downward angle into studs, then fill or caulk the tiny heads after the board is secure. If the trim is painted later, those spots disappear well enough for most rooms.
How long should baseboard adhesive cure before caulking?
Wait until the adhesive has fully set before caulking the top edge. Caulk hides the small gap between trim and wall, but it is not structural and should never be used to hold a loose board in place. Paint only after the adhesive and caulk have cured enough to stay flat.
If that didn’t work, try this next
- Check whether the board moved after setting and re-seat it before the adhesive skins over.
- For a stubborn bow, add temporary props or painter’s tape across the face.
- If the run still lifts, add hidden finish nails into studs and refill the fastener marks.
Common mistakes
Most failures come from the wrong adhesive, a dirty wall, or trying to force glue-only onto a bad substrate. The fix is simple: match the adhesive to the surface, keep the bead controlled, and stop pretending caulk can rescue a loose board.
- Using PVA wood glue on drywall, tile, or masonry.
- Skipping the stud finder on long runs when hidden nails are needed.
- Applying too much polyurethane adhesive and letting expansion push the board out.
- Ignoring adhesive squeeze-out before it cures.
- Trying to paint or caulk before the adhesive has set.
- Prying off glued trim with a bare pry bar instead of a trim puller.
How do I remove glued baseboards without damaging drywall?
Score the top edge with a utility knife first, then use a trim puller with its curved edge to start the lift. A trim puller is made for removing baseboards with less wall damage than a pry bar. Work slowly, and slip a small piece of wood behind the tool whenever the wall starts to crush.
Prevention
Before installation, run a straightedge along the wall and reject any section that is too wavy for glue-only work. That one check prevents most future damage, because the board that fits now is far less likely to tear paper or crack grout later.
Frequently asked questions
Do I need studs if I’m gluing baseboards?
Not for glue-only work on a flat wall. If you may add hidden finish nails, use a stud finder first and mark the stud locations before spreading adhesive. Studs matter most on long runs, uneven walls, and places where the trim could spring away while the adhesive cures.
Should I use wood glue or construction adhesive for trim?
Use wood glue only where the parts are wood-to-wood, such as scarf joints or coping joints. Use construction adhesive for attaching the baseboard to the wall. Wood glue will not bond metal, glass, or plastic, and it is not the right tool for trim-to-wall attachment.
Sponsored / affiliate links. As an Amazon Associate I earn from qualifying purchases. I may earn additional commission from eligible campaigns.