How to Repaint a Deck: Match Old Paint Type + Spray Method
Repainting a deck means cleaning, sanding, and priming down to sound wood before applying 2 coats of exterior paint — but the deck must be completely dry (2-3 days after washing or rain) or the new paint will bubble and peel. Skipping the dry-time step is the single most common reason a fresh paint job fails within months. This guide covers surface prep, matching your existing paint type, and both roller and sprayer application methods.
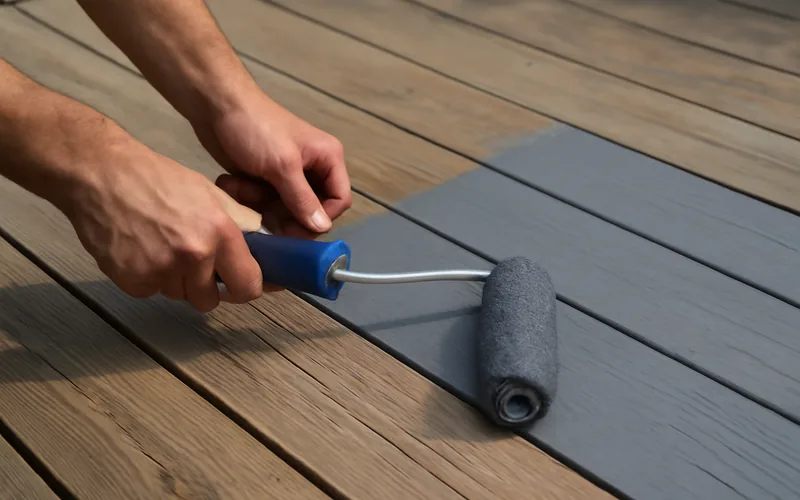
Preparation
Best Deck Paint Pick
RTG Deck, Porch & Patio Anti-Slip Paint
Purpose-built exterior floor paint with built-in slip resistance — a real advantage over general-purpose exterior paint on a walking surface.
- Best for: Painting the actual deck floor, not just railings or trim.
- Why we picked it: Deck-specific formula resists foot traffic better than standard exterior wall paint.
- Main drawback: Textured finish can be harder to clean debris out of than a smooth topcoat.
Compare more deck-repainting options
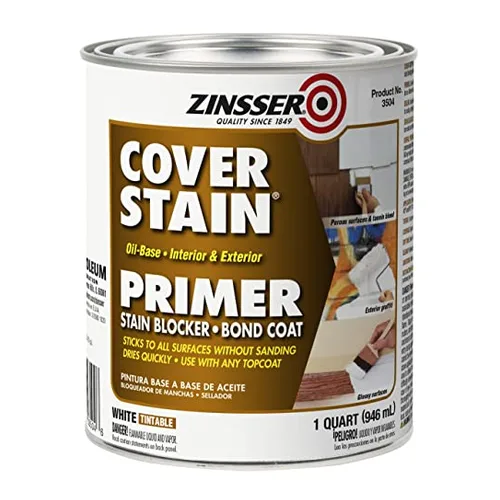 Option 1 Zinsser Cover-Stain Oil Primer
|
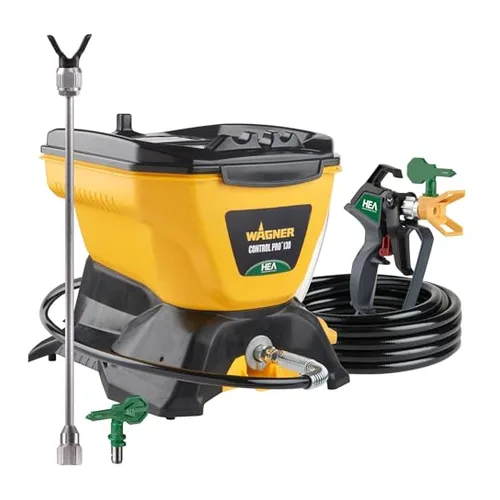 Option 2 Wagner Control Pro 130 Sprayer
|
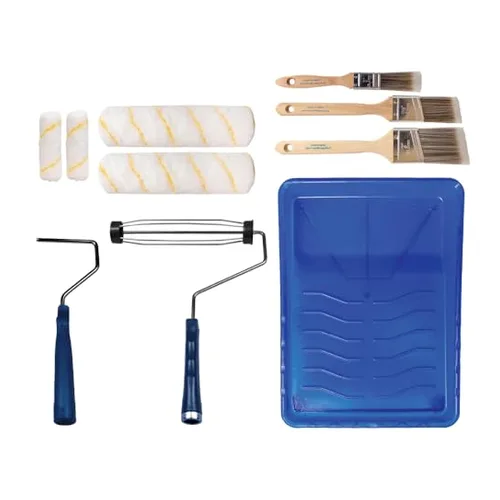 Option 3 Pro Grade Roller & Brush Kit
|
As an Amazon Associate we earn from qualifying purchases.
Clean the deck by removing dirt and old paint. Sand the surface to create a smooth finish. Apply primer before painting for better results.
Gathering Materials
Get all the materials ready. You need sandpaper, paint, and brushes. Also, get a paint tray and cleaning supplies. Make sure you have a drop cloth. This will protect the ground. Finally, have a ladder if your deck is high.
Safety Precautions
Wear safety goggles to protect your eyes. Use gloves to keep your hands safe. If you are working with chemicals, wear a mask. Make sure the area is well-ventilated. Keep a first aid kit nearby. Always follow the instructions on the products you use.
Do You Need to Match the Old Paint Type When Repainting?
Yes — if the deck was previously painted, use the same paint type (oil-based over oil-based, or water-based over water-based) unless you fully strip or sand down to bare wood first. Applying water-based paint directly over an existing oil-based coat causes poor adhesion and peeling within months, since the two don’t bond chemically. If you want to switch paint types, sand the surface down to bare or near-bare wood, or use a bonding primer specifically rated for that switch.
The deck must also be completely dry before you start — not just surface-dry, but dry all the way through. If there’s moisture trapped in the wood when you paint over it, the new paint will bubble and peel as that moisture tries to escape. After washing the deck (or after rain), give it at least 2-3 days of dry weather before priming or painting.
Cleaning The Deck
First, clear off all furniture and items from the deck. Sweep the deck thoroughly to remove loose dirt and leaves. Use a putty knife to clean between the boards. This will help remove any hidden debris. Discard all the debris properly. This ensures a clean surface for washing.
Mix a deck cleaner with water in a bucket. Follow the instructions on the cleaner. Use a stiff brush to scrub the deck surface. Rinse the deck with a garden hose. Make sure to remove all the cleaner. Let the deck dry completely. This helps prepare the deck for painting.
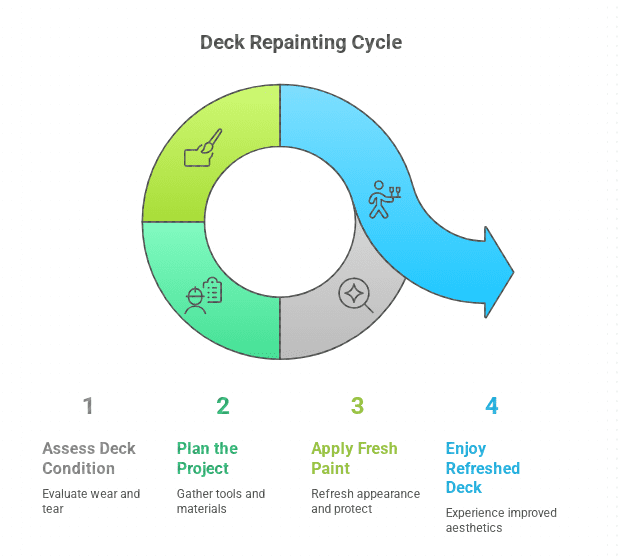
Inspecting For Damage
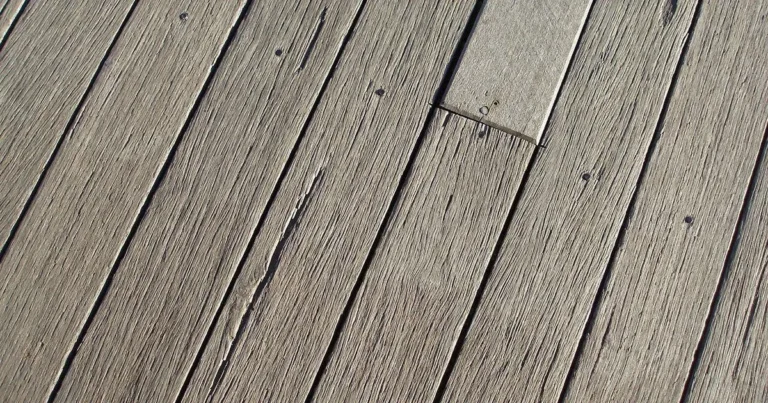
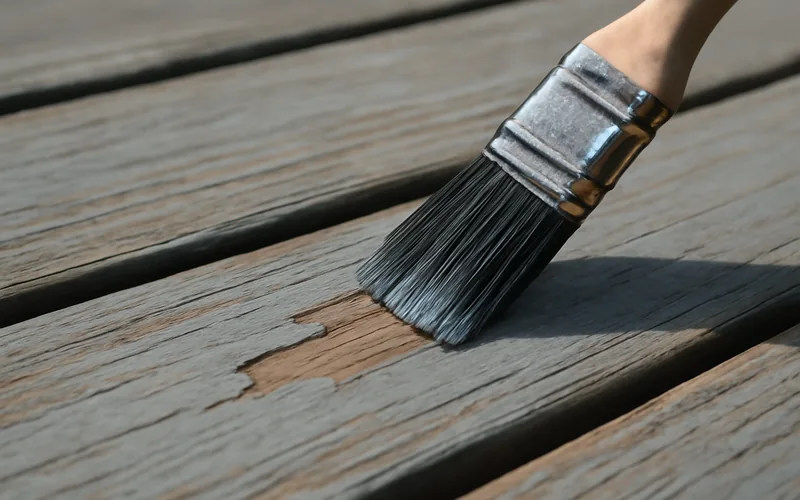
Check the deck for any cracks or loose boards. Look for signs of rot or mold. These can weaken the wood. Identify any nails or screws that may be sticking out. They can cause injury. Examine the railings and stairs. They should be secure. Note any areas that feel soft or bouncy. These need repair. If your current finish is already flaking, see our guide on repainting a deck with peeling paint for extra prep steps.
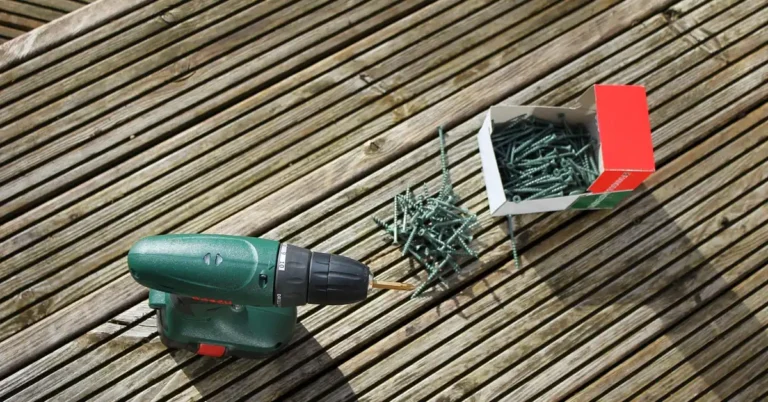
Replace any rotted or broken boards. Use new wood that matches the deck. Tighten loose screws or nails. Add more if needed. Sand rough spots to make them smooth. Fix any wobbly railings or stairs. Use brackets or extra screws. Fill small cracks with wood filler. Let it dry completely.
Sanding The Deck
Choosing the right sandpaper is important. Coarse sandpaper is good for removing old paint. Medium sandpaper works well for smoothing rough areas. Fine sandpaper is best for the final finish. Always start with coarse and end with fine for a smooth surface.
Use a sander for large areas. Sand in the direction of the wood grain. This prevents scratches. For tight spots, use a sanding block. Change sandpaper often. Worn sandpaper does not work well. Clean the deck after sanding. Remove all dust. Dust can ruin the new paint.
Priming The Deck
A good primer is key. Choose a primer made for outdoor decks. It should protect against moisture. Look for one that blocks stains. Oil-based primers (like Zinsser Cover-Stain) seal tannins and old stains better and hold up longer in high-traffic areas, but take longer to dry and need mineral spirits for cleanup. Water-based primers dry faster and clean up with soap and water, but don’t block stains quite as well. Make sure it is compatible with your paint — oil primer works under both oil and water-based topcoats, but check the label to confirm.
Clean the deck thoroughly first. Remove any dirt and debris. Use a brush or roller to apply the primer. Start at one end. Work in small sections. Apply evenly. Cover all areas. Let the primer dry completely. This usually takes a few hours. Check the can for drying times. Now, the deck is ready for paint.
Painting The Deck
Pick the right paint for your deck. Outdoor paint is best. It can resist weather. Choose a color that matches your home. Oil-based paint lasts long. It is more durable. Water-based paint dries fast. It is easy to clean up. Always read the label. Follow the instructions. If your deck was previously stained rather than painted, check can I paint over a stained deck first — stain and paint require different prep.
Clean the deck well. Remove dirt and old paint. Use a power washer if needed. Let the deck dry. Sand the surface to make it smooth. Use a primer first. It helps paint stick better. Start painting from one end. Work in small sections. Apply thin coats. Two coats are better than one. Let the paint dry between coats. Check the weather. Paint on a dry day.
How to Spray Paint a Deck
Spraying covers large deck areas faster than rolling, but it takes more technique to avoid drips and uneven coverage. Keep the spray tip about 12 inches from the surface and make repeated passes along the length of the boards, overlapping each pass by 50%.
- Start the gun moving first: pull the trigger only after the gun is already moving across the surface — starting while stationary causes heavy spots and drips.
- Band the edges first: spray the outer edges and corners of each section before filling in the middle, so the boundaries are clean.
- Use a narrow tip for control: an 8-inch spray pattern with a .013 tip size gives more control on deck boards than a wider fan pattern.
- Cover light, then build up: apply a light first pass and fill in with a second, heavier coat rather than trying to get full coverage in one pass.
Rolling still gives deeper penetration into the wood grain and is more forgiving for a first-time painter — spraying is the better choice mainly when you’re covering a large deck and want to save time.
Drying And Curing
Paint needs time to dry. Most paints dry in 24 hours. Some paints take longer. Always check the paint label. It will tell you the drying time.
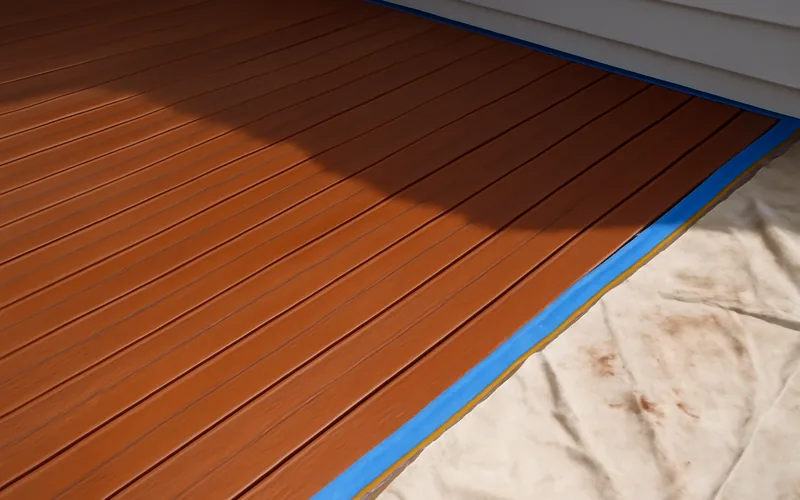
While the paint dries, keep the deck clean. Use a tarp to cover it. This keeps dirt and leaves off the paint. Make sure no one walks on the deck.
Maintaining The Finish
Clean your deck often. Dirt and leaves can harm the paint. Use a soft brush and water. Scrub the surface gently. Avoid harsh chemicals. They can damage the finish. Rinse well to remove soap. Let the deck dry fully.
Check for any chips or cracks in the paint. Sand the area lightly. Apply a matching paint. Blend the new paint with the old. Let it dry completely. Repeat if needed. Keeping the deck in good shape helps it last longer.
Frequently Asked Questions
Do I Need To Sand My Deck Before Repainting?
Yes, you should sand your deck before repainting. Sanding removes old paint and smooths the surface, ensuring better paint adhesion. Clean the deck thoroughly after sanding. This preparation step helps your new paint last longer and look better.
Do I Need To Remove Old Paint Before Repainting Deck?
Yes, remove old paint before repainting your deck. This ensures proper adhesion and a smooth, long-lasting finish. Use a scraper, sander, or paint remover.
How Do You Prepare Old Decking For Painting?
Clean the decking using a pressure washer. Sand the surface to remove old paint and smooth rough spots. Repair any damages. Apply a primer suitable for wood. Once dry, paint with a high-quality deck paint.
Is It Better To Roll Or Spray Paint A Deck?
Rolling is better for even coverage and deeper penetration on a deck. Spraying is faster and ideal for large areas.
Do I Need to Use the Same Type of Paint When Repainting a Deck?
Yes, unless you sand or strip down to bare wood first. Oil-based and water-based paints don’t bond well to each other, so applying a new coat over an incompatible existing coat leads to peeling within months. If you’re unsure what’s currently on your deck, do a small test patch first.
How Long Should a Deck Dry Before Painting?
Give the deck at least 2-3 days of dry weather after washing or rain before priming or painting. Painting over a deck that’s still damp underneath causes the new paint to bubble and peel as trapped moisture escapes.
Conclusion
Repainting a deck can be a rewarding project. Follow the steps carefully. Clean the deck thoroughly. Apply even coats and let it dry properly. Regular maintenance will keep it looking fresh — see our full deck care and maintenance hub for more guides, including painting pressure-treated wood if your deck boards are PT lumber. Enjoy your beautiful, newly painted deck.
Happy painting!
Sponsored / affiliate links. As an Amazon Associate I earn from qualifying purchases. I may earn additional commission from eligible campaigns.