How to Spray Urethane: Technique, PPE, and Mistakes to Avoid
Spraying urethane gives furniture, trim, and shop projects a glass-smooth, durable topcoat that brushing can’t match — but only if the equipment, the surface prep, and the respiratory protection are dialed in before the trigger gets pulled. This guide covers the full process for both single-component oil-based urethane and two-component (2K) catalyzed urethane, including the safety step most tutorials skip entirely: matching your respirator cartridge to the actual chemical you’re spraying, not just throwing on any mask.
Equipment You Need Before You Start Spraying
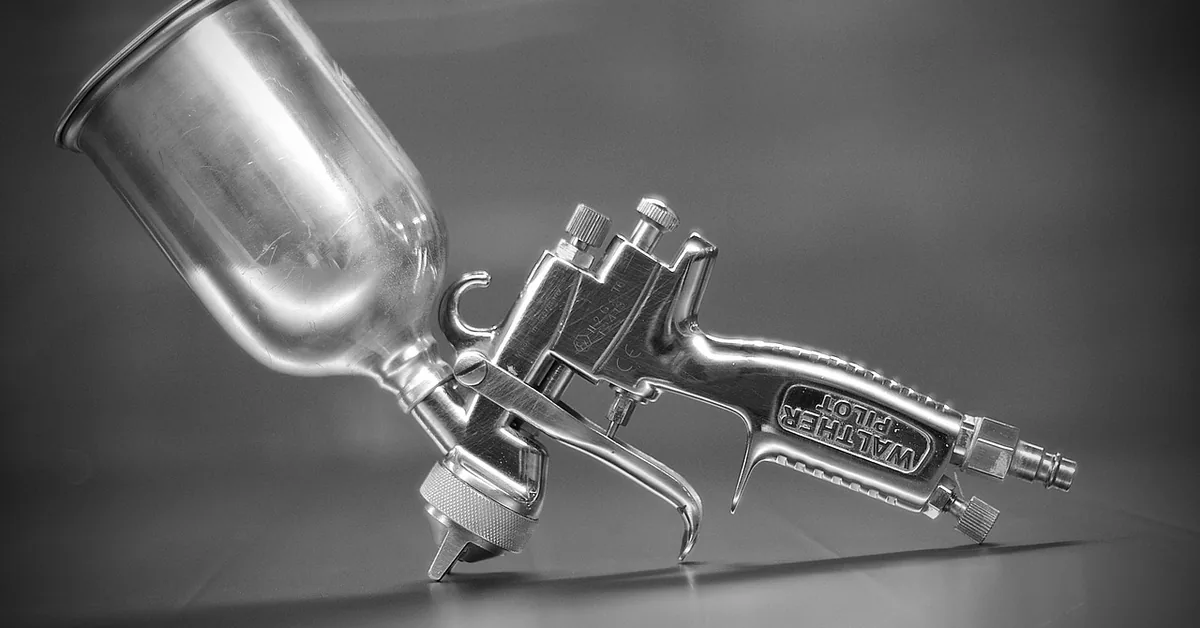
Two purchases matter more than any other before you open a can of urethane: the spray gun and the respirator. An HVLP (high-volume, low-pressure) gun is the right choice for most furniture and cabinet work — it atomizes material at lower pressure than a conventional gun, which cuts overspray and wastes less product. Pair it with a compressor that can hold steady output in the 20-30 PSI range the gun calls for; a small pancake compressor that can’t hold pressure will show up in your finish as an inconsistent spray pattern. If you’re still comparing guns, our guide to spray guns for polyurethane finishes breaks down tip size and cup capacity by project type.
Best Combo Cartridge Respirator for Urethane Spraying
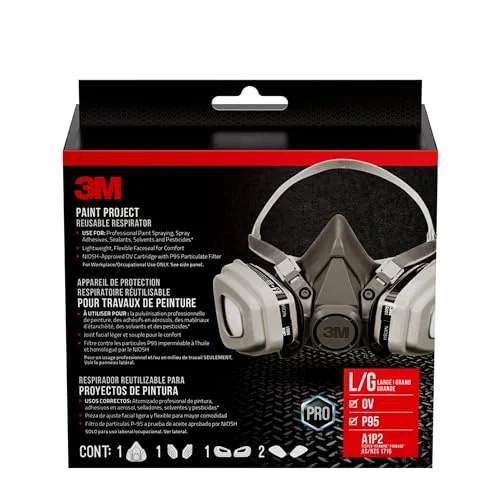 |
3M OV/P95 Paint Project Respirator 6311 – $34.99 This is the respirator to have on before you mix a drop of urethane — it pairs an organic-vapor cartridge with an oil-proof P95 particulate filter in one kit, which is the combination catalyzed 2K urethane actually needs.
|
Everything else — strainers, a viscosity cup, drop cloths, painter’s tape — is inexpensive and easy to forget until you’re mid-project. Buy it before you mix, not after you notice the can of urethane is already thickening in the cup.
Setting Up a Safe, Ventilated Workspace
This is the section most how-to guides shorten to a single line about “wearing a mask,” and it’s where the real risk sits. Urethane overspray isn’t just unpleasant to breathe — a fine airborne mist of solvent and resin building up in an unventilated room is also a fire hazard around any spark or pilot light, which is exactly why spray booths exist in production shops.
Cross-Draft Ventilation
Set up a cross-draft: one fan pulling fresh air in on one side of the space, another exhausting overspray-laden air out the opposite side, so air moves past you and away from your work rather than swirling in place. An open garage door with a box fan in a window behind you is a workable DIY version of this. Don’t spray in a closed room with a single door as your only airflow — the mist has nowhere to go but back at you.
Matching the Respirator to the Product
A paper dust mask is not adequate for spraying urethane of any kind — it stops some dust and nothing else. For single-component, oil-based urethane, a half-face respirator with an organic vapor (OV) cartridge is the baseline. For two-component catalyzed urethane, the calculus changes: 2K products cure with an isocyanate hardener, and isocyanates are a well-documented cause of occupational asthma with poor warning properties — you often can’t smell them well enough to know a cartridge has saturated. An organic-vapor cartridge alone doesn’t filter the isocyanate aerosol droplets a sprayed 2K finish throws off; it needs to be paired with a particulate filter (a P95 or P100-rated combination cartridge, like the OV/P95 kit above) at minimum. For daily or production-volume 2K spraying, OSHA guidance points toward a supplied-air (fresh-air-fed) respirator rather than a cartridge respirator at all. If you’re spraying 2K urethane only occasionally in a well-ventilated garage, a combination OV/P95 or OV/P100 half-face respirator with a snug fit-check is the realistic minimum — not a paper mask, and not an organic-vapor-only cartridge.
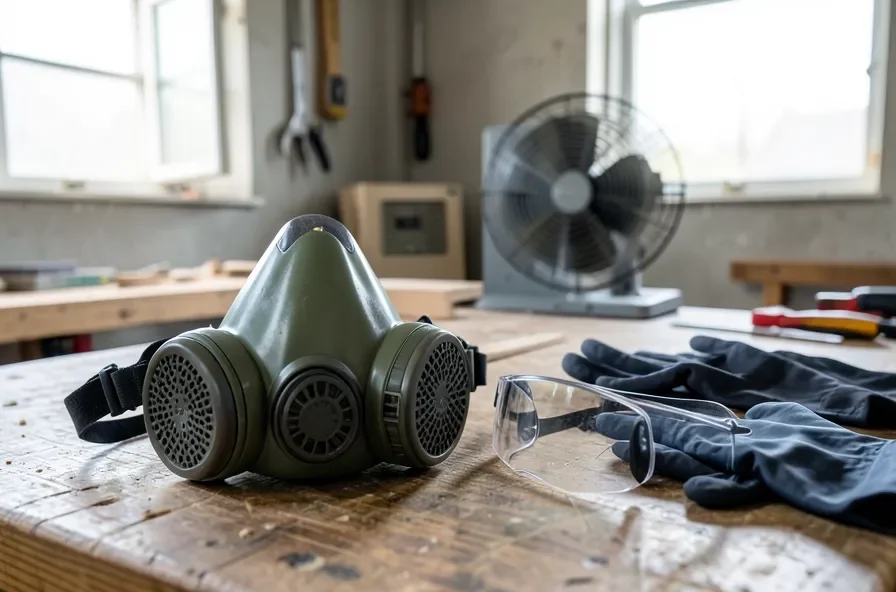
Cartridges don’t last forever. Replace them per the manufacturer’s service-life guidance or immediately if you smell solvent through the mask, notice breathing resistance change, or the cartridge has been open and in use across multiple sessions — a saturated cartridge stops protecting you well before it becomes obvious. Round out the kit with safety glasses (urethane mist that reaches your eyes stings) and nitrile gloves; the vinyl kind sold for food handling dissolve in solvent-based urethane within minutes.
Temperature and Humidity
Keep the workspace between 65°F and 75°F if you can control it. Spraying in a cold garage slows the cure and can trap solvent in the film, leaving it soft; spraying in high heat or direct sun can cause the surface to skin over before the coat below has leveled out, which is part of what causes orange peel. High humidity slows drying and can cause the finish to bloom (turn cloudy); a dehumidifier or simply waiting for a drier day solves it.
Preparing the Surface
Urethane amplifies whatever is underneath it — scratches, dust nibs, and uneven sanding marks all show through a glossy topcoat far more than they would under paint. Don’t rush this stage.
Sanding
Sand with fine-grit paper (320 grit is a good stopping point for most projects) in the direction of the grain. Work evenly across the whole surface rather than spot-sanding rough areas, which can leave low spots that telegraph through the finish. Vacuum the dust off before wiping down.
Cleaning
Wipe the surface with a tack cloth or a lint-free rag dampened with mineral spirits or denatured alcohol (check compatibility with your urethane first) to pull off dust the vacuum missed. Let it dry fully. Any dust left on the surface at spray time ends up as a bump under the finish — there’s no fixing that after the fact except sanding back through the coat.
Priming
Bare or porous wood usually benefits from a compatible sanding sealer or primer coat first — it seals the grain so the urethane lays flat instead of soaking in unevenly, and it gives you something to level-sand before the topcoats go on. Check the urethane manufacturer’s compatibility notes; not every primer plays well under every finish. See our guide to applying poly for a flawless finish for more on prepping bare wood specifically.
Mixing Urethane: Single-Component vs. 2K Catalyzed
“Urethane” covers two genuinely different products, and mixing them wrong is a common source of ruined finishes. Standard wipe-on or spray polyurethane (the kind most home woodworkers use on tables and cabinets) is single-component — it comes ready to spray, thinned only if the label calls for it, and cures by exposure to air. If that’s what you’re using, see our dedicated guide to spraying polyurethane clear coat on wood for PSI settings and cure-time specifics for that product type.
Two-component (2K) catalyzed urethane — common in automotive work and higher-end shop finishing — is different: it’s mixed with a hardener shortly before spraying, commonly around a 2:1 ratio of urethane to hardener, though the exact ratio is always on the product’s technical data sheet and should be measured, not eyeballed. Stir thoroughly with a clean stick for a few minutes rather than shaking, which introduces bubbles that show up as pinholes in the cured finish. Once mixed, you’re working against pot life — often around an hour, though this varies by product and temperature — after which the catalyzed mixture thickens and becomes unusable. Mix only what you can spray within that window.
Spray Technique: Distance, Speed, and Overlap
Technique matters more than the price of the gun. Three habits cover most of what separates a smooth coat from a mess:
- Distance: hold the gun 6 to 10 inches from the surface and keep it there. Moving closer causes drips and pooling; moving farther causes a dry, textured “orange peel” surface because the finish partially dries in the air before landing.
- Speed: move the gun at a steady, even pace parallel to the surface. Too fast lays down too little material and leaves a thin, uneven coat; too slow in one spot invites a run.
- Overlap: each pass should overlap the previous one by about 50%, triggering the gun just before you reach the edge of the piece and releasing just after you pass it, so you’re never starting or stopping mid-surface.
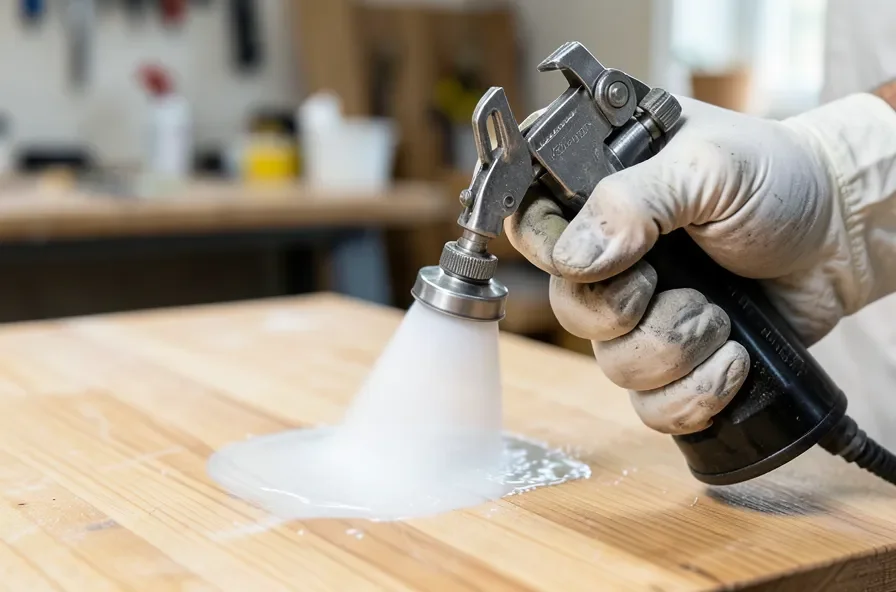
Test the pattern on a piece of cardboard or scrap before touching the actual project, every time — a clogged tip or a pattern that’s gone lopsided is much cheaper to catch on scrap than on a finished tabletop.
Drying and Curing Times
Drying (safe to touch or recoat) and curing (fully hardened) are different milestones, and mixing them up is how people end up denting a finish they thought was done. Thin coats in warm, moderate-humidity conditions can be dry to the touch within a few hours and ready for a light scuff-sand and recoat the same day. Full cure — the point where the finish reaches its maximum hardness and chemical resistance — typically takes several days to a couple of weeks depending on the product, film thickness, and conditions. Avoid setting anything heavy on a freshly sprayed surface, and don’t judge the final sheen or hardness until the cure window on the product’s label has passed.
Troubleshooting Common Problems
Most urethane spraying problems trace back to one of three causes: gun distance, coat thickness, or surface contamination.
Orange Peel
A bumpy, textured surface usually means the gun was held too far away, the air pressure was too high for the material viscosity, or the material needed more thinner. Bring the gun closer (within the 6-8 inch range), check your air pressure against the gun’s specs, and confirm the urethane is thinned to the manufacturer’s recommended viscosity before your next pass.
Runs and Sags
These happen when too much material lands in one spot — usually from moving too slowly or double-spraying an area. Apply thinner coats and keep the gun moving at a consistent speed; two or three light coats build a better film than one heavy one, and they’re far less likely to sag.
Fish Eyes
Small craters in the finish are almost always contamination — oil, silicone (often from furniture polish or a nearby aerosol lubricant), or wax on the surface before you sprayed. Strip back to bare surface if it’s bad, clean thoroughly with a degreaser, and avoid touching the prepped surface with bare hands before spraying — skin oil alone is enough to cause it.
Buffing and Final Inspection
Once the final coat has cured per the label’s timeline, a light buff with a soft cloth or foam pad knocks down any remaining texture and brings up the sheen. Work in small, circular motions and check your progress under raking light (a work light held at a low angle across the surface) — it reveals dust nibs and unevenness that overhead light hides. Correct any missed spots with a light scuff-sand and a final light coat rather than buffing aggressively, which can burn through a thin film.
Frequently Asked Questions
What Is Urethane Spray Used For?
Urethane spray is used to coat furniture, cabinetry, trim, automotive panels, and other surfaces where a hard, glossy, chemical- and abrasion-resistant topcoat is needed. Single-component versions are common for wood furniture; two-component (2K) catalyzed versions are more common in automotive and higher-durability shop finishing.
How Do You Spray Urethane?
Prep and clean the surface, mix the urethane per the label (if it’s a 2K catalyzed product), and apply thin, even coats with an HVLP gun held 6 to 10 inches from the surface, overlapping each pass by about 50%. Let each coat dry per the manufacturer’s instructions before lightly sanding and recoating.
Can You Spray Urethane Indoors?
Yes, with real cross-draft ventilation (air moving in from one side of the room and out the other) and the right respirator for the product — an organic-vapor cartridge for single-component urethane, or a combination organic-vapor/particulate cartridge respirator at minimum for catalyzed 2K urethane, since a plain organic-vapor cartridge doesn’t filter isocyanate aerosol. A paper dust mask is not sufficient for either.
How Long Does Urethane Take To Dry?
Most urethane is dry to the touch within a few hours and recoat-ready the same day in warm, moderate-humidity conditions, but full cure — maximum hardness and chemical resistance — typically takes several days to a couple of weeks depending on the specific product, coat thickness, and temperature.
Conclusion
Spraying urethane rewards preparation more than speed: the right gun and respirator, a genuinely ventilated space, a clean and properly primed surface, and thin, even coats applied with consistent distance and overlap. Get those right and the technique itself — distance, speed, overlap — is straightforward to build a feel for on scrap before you touch a real project.
Clean your gun immediately after the last coat of the session, every time — dried urethane inside a spray gun is far harder to remove than the few minutes cleanup takes right after use.
Sponsored / affiliate links. As an Amazon Associate I earn from qualifying purchases. I may earn additional commission from eligible campaigns.