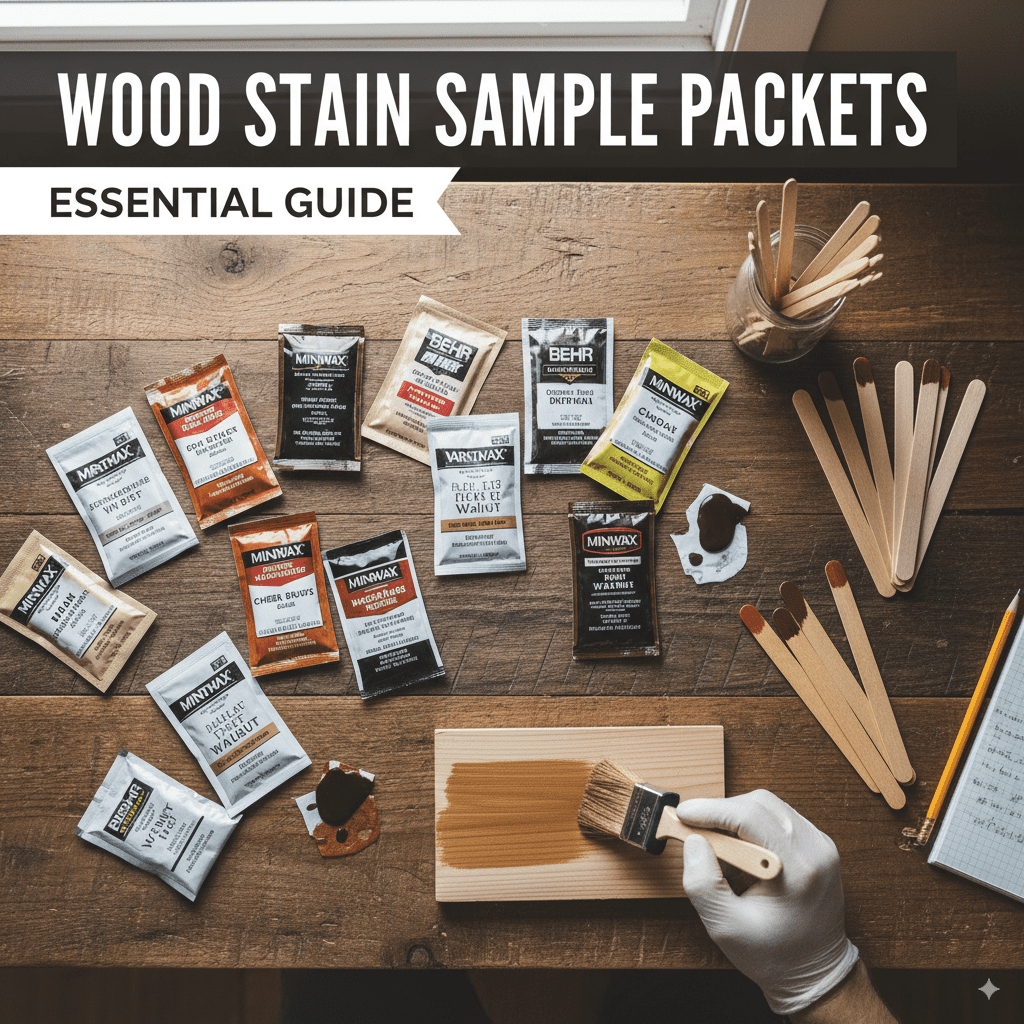
Wood Stain Sample Packets: Essential Guide
Mastering wood stain doesn’t have to be guesswork! Wood stain sample packets are your secret weapon to confidently choosing the perfect color for furniture, cabinets, or DIY projects. They let you test shades directly on your wood, showing you exactly how they’ll look before you commit. This guide reveals the simple steps to using these handy packets for stunning results every time.
Hey there, fellow woodworkers and DIY enthusiasts! Md Meraj here. Picking the right wood stain can feel like a big decision, right? You see those beautiful swatches in the store, but then you bring the can home, and it looks… different. That’s where the magic of wood stain sample packets comes in. They’re small, they’re affordable, and they’re an absolute lifesaver for anyone wanting to get that perfect wood finish without any stress.
I remember my early days, staring at dozens of stain cans, feeling completely overwhelmed. The fear of picking the wrong color and having to start all over was real! But once I discovered the power of sample packets, my woodworking projects took a giant leap forward. They let you experiment, see the true color on your wood, and make choices you’ll be thrilled with. No more costly mistakes or disappointing finishes!
In this guide, we’ll walk through everything you need to know about using wood stain sample packets. We’ll cover how to select them, the best way to test them, and tips to ensure your final project looks absolutely professional. Get ready to banish wood stain uncertainty forever and start creating beautiful, custom-colored wood pieces!
Why Wood Stain Sample Packets Are a Game-Changer for Beginners
As a beginner, the world of wood finishing can seem a bit daunting. There are so many colors, types of stains, and potential outcomes. Wood stain sample packets are specifically designed to make this process much easier and less risky for newcomers. They offer a low-commitment way to experiment with different shades and see how they interact with your specific wood type before you invest in a large can.
Think of them like a painter trying out different paint colors on a small part of the wall before committing to an entire room. The same principle applies to staining wood. The lighting in your home, the natural color of the wood itself (even different species of the same wood can vary!), and the finish you’ve applied underneath can all influence how a stain appears. Sample packets remove all that guesswork.
Here’s why they are a must-have tool for any beginner:
- Cost-Effective: A full can of stain can be expensive, especially if you only need a small amount for a project or if you end up not liking the color. Sample packets are a fraction of the price, making them an economical choice for testing.
- Reduced Risk: Staining is a permanent process. Once you apply a stain, it’s very difficult to remove or change completely. Samples let you try before you commit, preventing costly mistakes and the frustration of a finish you dislike.
- Accurate Representation: Store swatches are notoriously inaccurate. They often don’t account for the wood species, grain patterns, or the specific sheen you’ll achieve. Testing a sample on your actual project wood gives you a true representation of the final look.
- Inspiration and Discovery: Sometimes, the color you end up loving is one you never would have picked out from a swatch. Sample packets encourage experimentation, helping you discover new favorite shades and unique finishes for your projects.
- Small Project Friendly: For small crafts, repairs, or accent pieces, a full can of stain is often overkill. Sample packets are perfectly sized for these smaller applications, ensuring you don’t waste product.
Choosing Your Wood Stain Sample Packets
The first step to using these handy packets is knowing what to look for. While the selection might seem smaller than full-sized cans, there are still considerations to make your testing experience effective.
Understanding Stain Types
Before you grab samples, it’s helpful to know the basic types of wood stains and what they offer, as this can influence how you choose colors and what results you expect. While sample packets are usually available in common oil-based and water-based formulations, knowing the difference helps:
- Oil-Based Stains: These are traditional, penetrating stains. They typically offer rich, deep colors and are known for their durability. They tend to dry slower, which can be an advantage for beginners as it allows more working time. However, they require mineral spirits for cleanup. For more on wood finishing, resources like the Woodworking Network’s finishing section offer great insights.
- Water-Based Stains: These are newer, faster-drying options. They are easier to clean up with soap and water and often have lower VOCs (Volatile Organic Compounds), making them a more environmentally friendly choice. They might not penetrate as deeply as oil-based stains, but they offer a wide range of vibrant colors and a smooth finish.
- Gel Stains: These are thicker, like a gel, and sit more on the surface of the wood rather than penetrating deeply. They are excellent for achieving a rich, even color on woods with difficult grain patterns, or for restaining over existing finishes. They are less likely to drip and offer great control.
- Dye Stains: While less common in sample packet form for basic DIYers, it’s good to be aware that dye stains create translucent color by coloring the wood itself, rather than forming a layer. This lets the wood grain show through dramatically.
What to Look for in a Sample Packet Kit
Many brands offer curated sample packet kits designed to showcase their range of colors. These are excellent for beginners. When selecting these kits, consider:
- Color Range: Does the kit offer a variety of tones – from light tans and grays to deep browns and even some bolder colors? This allows for broader experimentation.
- Wood Species Representation: Some kits might note if they are intended to show how the stain looks on common woods like pine, oak, or maple. Different woods accept stain differently.
- Finish Type: Ensure the samples are for the type of stain you plan to use (e.g., oil-based, water-based).
- Brand Reputation: Look for well-known and trusted brands in the finishing industry.
Here’s a quick comparison of common stain colors you might find in sample packets:
| Color Family | Typical Shade | Commonly Used For | Considerations |
|---|---|---|---|
| Light Woods | Honey, Natural, Light Oak | Creating a bright, airy feel; enhancing natural wood beauty; rustic or farmhouse styles. | Can sometimes appear too yellow; good for showing subtle grain patterns. |
| Medium Browns | Walnut, Pecan, Medium Oak | Versatile for most furniture and cabinetry; traditional and transitional styles; warm and inviting. | A safe bet, but can sometimes look generic if not chosen carefully. |
| Dark Browns | Espresso, Dark Walnut, Mahogany | Modern, dramatic, or elegant looks; hiding imperfections; enhancing rich wood grain. | Can sometimes hide more of the wood grain; might require more careful application to avoid blotching. |
| Grays and Whites | Gray Wash, White Oak, Weathered Gray | Coastal, modern farmhouse, or contemporary styles; achieving a muted or deconstructed look. | Can sometimes look “painted” if not applied correctly; best tested on samples to ensure a natural feel. |
| Reds and Alternates | Cherry, Red Mahogany, even blues/greens | Adding a specific color pop; historical reproductions; unique artistic pieces. | Can be bold; require confidence and often careful planning. |
How to Properly Test Wood Stain Sample Packets
This is the most crucial step! Properly testing your sample packets ensures you get the most accurate representation of the final color. Don’t skip this, and don’t rush it!
Step-by-Step Testing Process
- Prepare Your Wood Scraps: This is the most critical step. Do NOT test on your actual project piece first. Find scrap pieces of the exact same wood you will be staining for your project. If you don’t have scrap pieces from your project, buy a small piece of the same wood species at your local lumber yard or hardware store. Sand these scraps to the same grit you will use for your project. If you plan to pre-condition your wood (highly recommended for porous woods like pine or poplar to prevent blotching), do it on these test scraps too. For more information on wood preparation and preventing blotching, the Popular Mechanics guide on preventing wood stain blotching is an excellent resource.
- Label Everything: Seriously, label everything! Use a pencil to write the stain color and brand on the back or an inconspicuous edge of each test scrap. You’ll thank yourself later when you have multiple shades that look similar.
- Apply the Stain (Sample Packet Method): Open your first sample packet. You might need a small brush or even a clean rag. Dip your applicator into the stain. Apply the stain evenly to a section of your test scrap. Work the stain into the wood, following the grain direction. Most stains require you to wipe off the excess after a certain amount of time (check the packet instructions! This is usually 5-15 minutes).
- Wipe Off Excess: Using a clean, lint-free rag, wipe off the excess stain. Again, wipe with the grain. This step is crucial for achieving an even color. If you leave too much stain on, the color will be too dark or uneven. If you wipe too much off too soon, it might be too light.
- Allow it to Dry: This is where many beginners go wrong. You need to let the stain dry completely. Different stains have different drying times, but typically, you’ll want to let it dry for at least 8-24 hours, or as recommended by the manufacturer. Color can change significantly as stain dries. What looks like one shade when wet can appear quite different when fully cured. This also gives you a chance to see how the color looks under your project’s intended lighting conditions.
- Apply a Second Coat (Optional but Recommended): Once the first coat is dry, you can apply a second coat to one section of your test piece if you want a darker, richer color. Repeat steps 3 and 4. This is where you see the true depth a color can achieve. Even one coat can be enough, but seeing the potential for darker tones is important.
- Evaluate the Results: Once the stain is fully dry after your final application (again, wait 24 hours is best), compare your labeled test pieces side-by-side. Look at them in the lighting conditions where your project will be. Hold them up to the actual piece of furniture or cabinetry you plan to refinish or build. What looks good in your workshop might look different in your living room.
- Test Topcoats (Optional but Wise): Sometimes, the clear topcoat you plan to use (like polyurethane or varnish) can slightly alter the look of the stain. If you want to be extremely thorough, apply a thin coat of your chosen topcoat over a small, dry section of your favorite test stain. This gives you the absolute final word on the perfect match.
Essential Tools for Testing
You don’t need much to get started with stain samples, which is part of their appeal. Here’s what will make the process smooth:
- Wood Scraps: As mentioned, the same wood from your project is ideal.
- Sandpaper: Of various grits, matching what you’ll use for your project.
- Clean, Lint-Free Rags: For application and wiping off excess stain. Old cotton t-shirts work well, but avoid ones with printing that could transfer.
- Small Brushes (Optional): For a more precise application, especially with small sample packets.
- Disposable Gloves: To protect your hands from stains.
- Pencil: For labeling your test pieces.
- Clean-Up Supplies: Mineral spirits for oil-based, or soap and water for water-based stains.
- Patience!: This is key. Rushing the drying process leads to inaccurate results.
Tips for Achieving a Professional Finish with Samples
Using sample packets correctly is half the battle; the other half is applying them in a way that yields professional-looking results. Here are some Pro-Tips:
- Always Grain-Test First: Even with samples, apply and wipe in the direction of the wood grain. This is fundamental for a natural look.
- Consider Pre-Stain Conditioners: Woods like pine, poplar, and birch are notorious for blotching—uneven absorption of stain that leaves dark streaks. A pre-stain wood conditioner, applied before the stain, helps to even out this absorption. Test with and without conditioner on your scraps to see the difference, especially for blotch-prone woods.
- Experiment with Application Methods: Try wiping the stain on with a rag for a more natural, slightly uneven look. For a more uniform color, brushing it on and then wiping off might work better. See what looks best for the style you’re going for.
- Wipe Off Excess Promptly and Evenly: The manufacturer’s recommended time is important. Too long, and the stain can become difficult to wipe; too short, and you won’t get enough color. Wipe firmly but evenly.
- Don’t Skimp on Drying Time: I cannot stress this enough. Stains look different wet versus dry. They also react differently with topcoats when fully cured. Let them dry for at least 24 hours.
- Test Topcoats: As mentioned earlier, polyurethane, lacquer, or oils can slightly change the color. A clear coat will often deepen the color slightly or add a subtle warmth. Testing your topcoat over the stain is the ultimate assurance.
- Work in Adequate Light: Good lighting is essential for seeing the true color and applying the stain evenly. Natural daylight is best if possible.
- Consider Liming Wax or White Washes: If a brand doesn’t offer a specific “white wash” or “limed” effect in their samples, you can sometimes achieve a similar look by applying a thin coat of pigment (like a white stain or diluted paint) and then dry-brushing most of it off. This highlights the grain in a pale tone.
Common Wood Stain Mistakes to Avoid
Even with samples, some common errors can still trip you up. Knowing these pitfalls can help you steer clear:
- Not testing on the actual wood species: A stain will look very different on oak than it does on pine. Always use wood scraps that match your project.
- Skipping the pre-stain conditioner on blotch-prone woods: This is a recipe for uneven color.
- Not wiping off excess stain: Leading to a sticky, uneven, or overly dark finish.
- Rushing the drying time: Colors change significantly as they dry and cure; premature top-coating can lead to adhesion issues or premature failure of the finish.
- Applying stain in poor lighting: Makes it hard to see mistakes or ensure even application.
- Not considering the topcoat: Some clear coats can slightly alter the stain color.
- Using the wrong cleanup solvent: This can damage the wood or finish.
Frequently Asked Questions About Wood Stain Sample Packets
Q1: How many colors do wood stain sample packets usually contain?
A: Sample packets often come in curated sets that might include anywhere from 4 to 12 different colors. You can also sometimes find individual sample packets of specific shades, though kits are usually more economical for exploration.
Q2: Can I use a sample packet for a large project?
A: Sample packets are generally too small for large projects. They are ideal for testing colors, small craft items, or small repairs. For a full project, you’ll need to buy a larger can of stain once you’ve identified your perfect color using samples.
Q3: What’s the best way to store leftover stain from a sample packet?
A: If you have a small amount left and plan to use it again soon (within a few weeks), you can carefully pour it into a small, airtight glass jar or a clean, small plastic container. Seal it tightly and store it in a cool, dry place away from direct sunlight. For longer storage, consider transferring it to a smaller, airtight container to minimize air exposure. Always check for signs of spoilage (thickening, rancid smell) before reuse.