Wood Stove Ash for Ice Melt
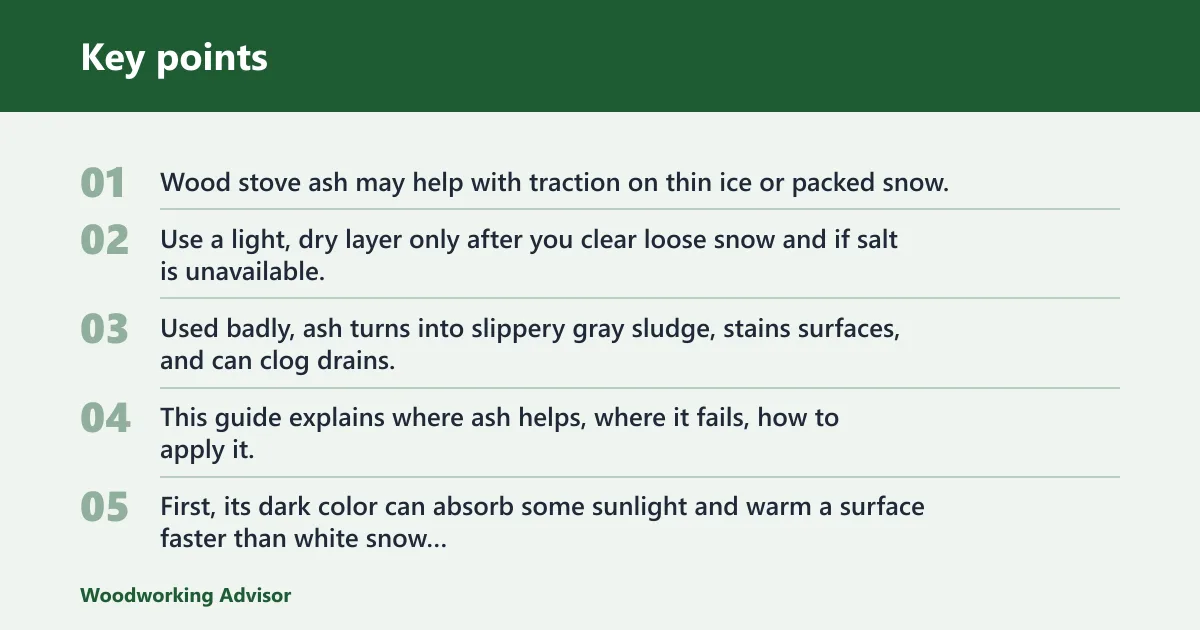
Wood stove ash may help with traction on thin ice or packed snow, but it is not a true de-icer. Use a light, dry layer only after you clear loose snow and if salt is unavailable. Used badly, ash turns into slippery gray sludge, stains surfaces, and can clog drains. This guide explains where ash helps, where it fails, how to apply it, and when another product is the better choice.
Traction benefits and limits of ash on ice


What ash can do on ice
Dry wood ash gives you two useful effects. First, its dark color can absorb some sunlight and warm a surface faster than white snow or glare ice. Second, the powder adds grit, which improves footing on walkways, steps, and short driveway runs. That makes ash a traction aid with limited melting ability, not a fast substitute for salt.
What ash cannot do
Ash does not work like calcium chloride or strong rock salt brines in deep cold. It will not quickly chew through thick glaze ice, and it loses value when the surface is wet, windy, or already coated with slush. On shaded pavement, ash often gives you grip before it gives you meaningful melt.
Does wood ash melt ice?
Yes, but only in a narrow sense. Wood ash can lower the freezing point of a thin surface film a little, and the dark particles can speed warming in sunlight. The main job, though, is traction. If the ice is thick, the temperature is very low, or moisture keeps washing the ash away, you should expect grip improvement more than actual melting.
Why potassium carbonate matters
Potassium carbonate is the key de-icing component most often mentioned for ash. In concentrated form, it can lower the freezing point of water, and one technical note puts a 10% potassium carbonate solution at about 20°F. Ash contains potassium carbonate, but usually in a diluted mix with other minerals, so its melting effect is much weaker than a purpose-made de-icer.
Why dry, fine ash works better
Dry ash spreads more evenly and stays on top of ice instead of balling up. Fine particles also expose more surface area and grip better underfoot. Wet ash clumps, slides around, and loses the loose texture that helps it bite into the surface. A dry, sifted pile is far more useful than a damp bucket of gray paste.
Why cold limits performance
Temperature matters. In mild freezing weather, ash may help melt a thin film and improve traction. In deeper cold, the melt effect drops off fast because the ash does not generate enough brine to keep working. Wind also strips away loose powder, and shaded areas stay cold longer, so the ash sits there doing little.
What kind of ash works best?
Hardwood ash is generally the better choice for winter use. It tends to be denser and more mineral-rich than softwood ash, so it usually performs better on ice. Ash from clean, untreated wood only is the safe option. Avoid material from painted, stained, pressure-treated, glued, or coal-contaminated fuel.
Hardwood ash vs softwood ash
Hardwoods like oak, maple, ash, and beech are the preferred fuel sources for ice use. Softwoods like pine, fir, and spruce are less potent, though still usable for traction. One reason hardwood ash tends to work better is that hardwoods generally have higher ash content by weight, while softwoods leave less mineral residue.
Clean wood only
Ash should come from clean, virgin wood only. That means no treated lumber, no painted scraps, no stained offcuts, and no mystery fuel that may contain contaminants. Treated or coated wood can leave behind compounds you do not want on a walkway, near a drain, or next to a garden bed.
Why fresh debris matters
Sifting matters because nails, staples, charcoal chunks, and splinters can ride along with the ash. Those pieces reduce spreadability and can create a cleanup problem. Fresh debris also makes the ash more likely to clump. The cleaner and finer the material, the more evenly it spreads and the less it tracks indoors.
How to prepare ash for winter use
Good prep makes ash more predictable. Let it cool fully, remove debris, and store it dry so it does not turn into a heavy, lumpy mass. A sealed container keeps moisture out, which matters because damp ash spreads badly and loses much of its usefulness on ice.
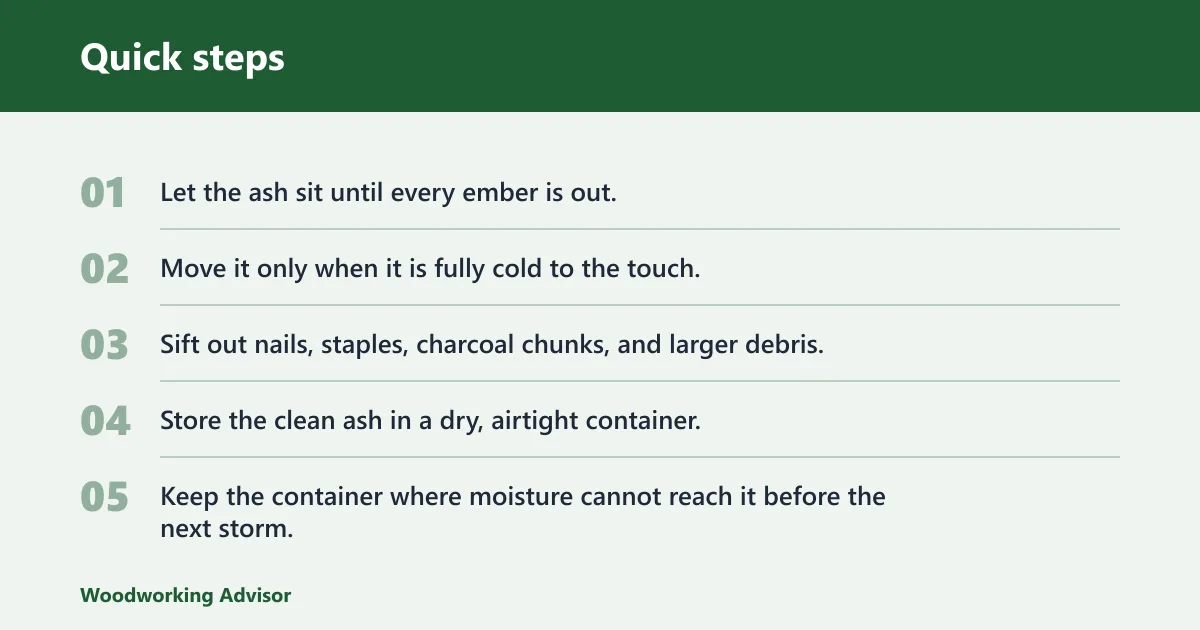
- Let the ash sit until every ember is out. One source advises waiting at least 24 hours after the last embers die down.
- Move it only when it is fully cold to the touch.
- Sift out nails, staples, charcoal chunks, and larger debris.
- Store the clean ash in a dry, airtight container.
- Keep the container where moisture cannot reach it before the next storm.
Cooling before handling
Do not rush this step. Hot ash can stay live far longer than it looks. Once it is fully cool, you can safely sort it and pack it for winter use. If you plan to store it for later application, dry ash performs better than ash that has absorbed humidity from the room or garage.
Sifting with a fine-mesh screen
A fine-mesh screen helps remove debris and break up clumps. Practical references often mention 1/8-inch mesh, and another source suggests 1/4-inch mesh. Either is fine for a simple prep step. The goal is not perfect powder; it is to remove objects that scratch surfaces or reduce traction.
Dry storage in a sealed container
A dry, airtight container is the best storage choice. A metal garbage can with a tight-fitting lid is a common recommendation. Moisture lowers usefulness and makes the ash heavy and sticky. Keep the lid on between storms, and do not leave the container open where it can absorb humidity or rain splash.
- Source: Use ash only from clean, untreated wood.
- Dryness: Store only fully cooled, dry ash.
- Sifting: Remove debris with 1/8-inch or 1/4-inch mesh.
- Storage: Keep it in a dry, airtight container or a metal garbage can with a tight lid.
How much ash to use
Use a thin layer, not a pile. The aim is to dust the surface enough to add grit and a little solar warming without making a gray mess. For sidewalks and steps, a light pass is usually enough. For driveways, you may need repeated passes on the wheel tracks and the most slippery spots.
Thin-layer application
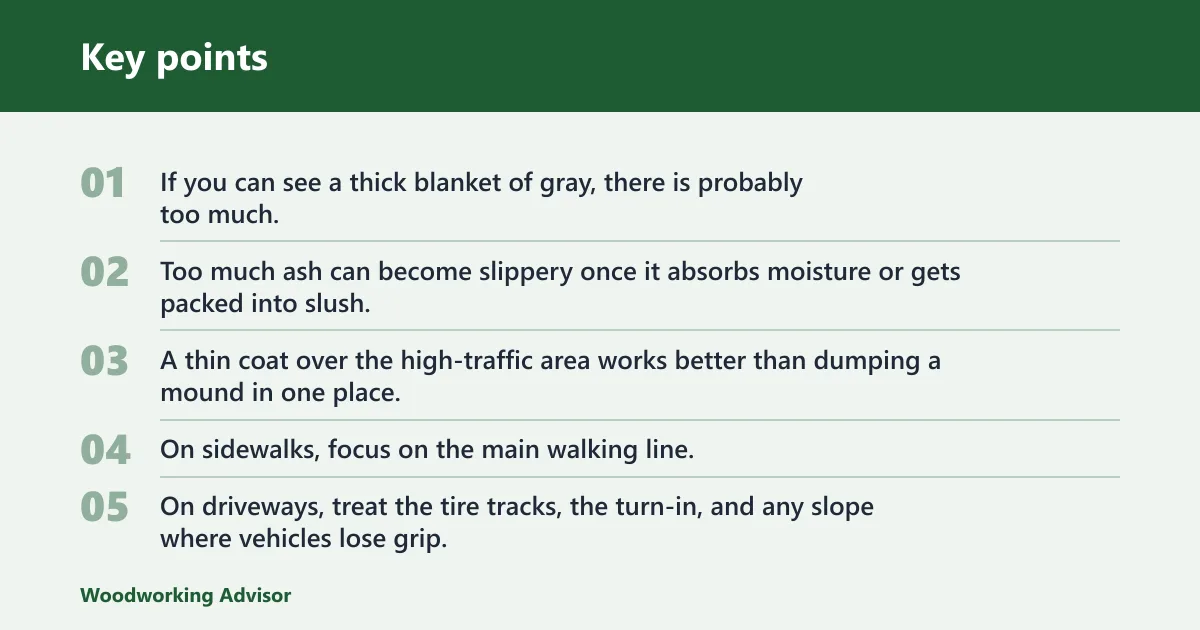
Apply ash lightly and evenly. If you can see a thick blanket of gray, there is probably too much. Too much ash can become slippery once it absorbs moisture or gets packed into slush. A thin coat over the high-traffic area works better than dumping a mound in one place.
Sidewalks, driveways, and steps
On sidewalks, focus on the main walking line. On driveways, treat the tire tracks, the turn-in, and any slope where vehicles lose grip. On steps, cover treads, not risers, and avoid thick buildup at the edges. If the surface is already wet, clear it first so the ash can sit on top instead of sinking into slush.
When to reapply
Reapply after snowfall, freezing rain, or a strong melt-and-refreeze cycle. Wind can scatter the powder, and foot traffic can push it aside. If the surface gets wet again, the ash may clump and lose traction. A fresh, dry layer is more useful than waiting for the old layer to recover.
Say your front walk has a 12-foot stretch of thin ice after the snow has been shoveled away. A light dusting of sifted ash can improve footing for the next trip out, but if sleet starts again, the same area will need another application because wet ash stops spreading well.
Suppose a driveway apron is shaded all morning and the temperature stays well below freezing. Ash may help a little on the top film, but it will not break through thick ice quickly. In that case, a stronger de-icer or a traction-only material such as sand is the more practical choice.
Wood ash decision table
| Material | Temperature range | Traction | Actual melting | Mess | Plant risk | Concrete risk | Pet safety | Best use case |
|---|---|---|---|---|---|---|---|---|
| Wood ash | Best in mild freezing weather; weak in deep cold | Good on thin ice and packed snow | Limited; some melt on a thin film | High; gray dust tracks indoors | Moderate; can raise soil pH near beds | Moderate; residue and grit can stain or abrade | Moderate concern if pets lick or track it | Backup traction when salt is unavailable |
| Salt | Works better than ash in many freezing conditions | Moderate | High compared with ash | Moderate; can leave residue | High near lawns and beds | Moderate to high with repeated use | Moderate concern for paws and licking | Faster melting on hardscape where allowed |
| Sand | Works in cold or mild freezing weather | Good | None | High; gritty cleanup later | Low | Low to moderate if ground into finish | Lower risk than salt, but still trackable | Pure traction when melt is not needed |
| Nothing | Any | None | None | None | None | None | None from material, high slip risk from ice | Only when surface is dry and clear |
Is wood ash safe for pets, plants, and concrete?
Not automatically. Wood ash can be useful, but it brings tradeoffs. It can bother pets that walk through it or lick it from their paws, it can raise soil pH if it drifts into garden beds, and it can leave a gritty mess on concrete and pavers. Use extra caution near steps, walkways, and landscaped edges.
Concrete and pavers
On concrete and pavers, the main concerns are residue, abrasion, and cleanup. Ash can stain light surfaces and pack into joints when it gets wet. It is less aggressive than salt in many cases, but it is not harmless. Keep it in the walking lane, not spread wide across decorative hardscape or into drainage lines.
Garden beds and lawns
Wood ash contains calcium carbonate, potassium, phosphorus, and magnesium. Calcium carbonate is the primary bulk component and acts like a lime-like material that raises soil pH. That can be useful in a garden only if the soil needs it, but winter runoff into beds is not ideal. Keep ash away from acid-loving plants and fresh turf edges. (Wikipedia)
Pets and indoor tracking
Pets can track ash indoors, and the powder may irritate paws or fur. Keep pets off freshly treated areas until the surface has settled and the route is clear. If the ash becomes wet, it clings more readily to paws and boots. That is one reason a thin layer is better than a heavy dump.
What do you do with wood stove ash?
Use it as a winter backup if the ash is clean, dry, and screened. Store it for traction on short walks, steps, and driveway sections where you need grip more than rapid melt. If it is wet, contaminated, or full of debris, discard it instead of putting it on a surface you need to protect.
Useful winter backup
Wood ash is best treated as a secondary option. It makes sense when you already have clean ash on hand, the cold is moderate, and you want a low-cost traction aid for small areas. It is most useful on surfaces where you can sweep or rinse residue later.
When to discard it instead
Discard ash if it came from treated wood, painted wood, coal-contaminated fuel, or anything else of uncertain origin. Also discard it if it has become damp, clumpy, or full of debris that did not screen out cleanly. In those cases, the material is more nuisance than aid.
Storage between storms
Between storms, keep the ash sealed and dry so it remains usable. Storage with moisture content below 5% for ice melting. That is a useful target for keeping ash free-flowing. If the container sits open in a damp garage, the ash will absorb moisture and lose much of its value.
Frequently asked questions
Does ash melt ice?
Yes, but the effect is limited and depends on the material, dryness, and temperature. Dry ash with concentrated potassium compounds can help a bit; wet or clumpy ash mostly sits there. For practical winter use, think of ash as a traction aid with a small melt assist, not a full de-icer.
Will wood ash melt snow?
It can darken the surface and help wet snow break down faster in mild conditions, but it does not melt snow quickly by itself. On packed or refrozen snow, it mainly improves grip. If the snow layer is deep, clear it first and use ash only on the remaining slick spots.
How much wood ash do you need for a driveway?
Enough to dust the icy lane, not enough to bury it. One claim says 30 gallons covered 50 feet of driveway, but that figure is not a standard rule and will vary by width, slope, and ice thickness. Start with a thin layer on the slickest section and add only where traction is still poor.
Can you use wood ash instead of salt on sidewalks?
Sometimes, if you mainly need traction and the cold is mild. Ash is slower and less reliable than salt for melting, but it can help on thin ice when you want a lower-corrosion backup. On shaded sidewalks or in deep cold, salt or sand is usually the more practical choice.
What kind of wood ash is best for ice melt?
Hardwood ash from oak, maple, ash, or beech is generally the best option. It is usually denser and more mineral-rich than softwood ash from pine, fir, or spruce. No matter the wood type, use only clean, untreated fuel and sift out debris before spreading it.
Should wood ash be sifted before using it on ice?
Yes. Sifting improves spreadability, removes nails and staples, and helps the ash lay down in a thin, even layer. A fine-mesh screen around 1/8 inch or 1/4 inch is a practical setup. Unground chunks and debris make the surface messier and less predictable underfoot.
How do you store wood ash for winter use?
Store it dry in a sealed container, and a metal garbage can with a tight-fitting lid is a common choice. Keep moisture out, or the ash will clump and lose usefulness. Let it cool fully first, then sift it and close the lid until the next storm.
Sponsored / affiliate links. As an Amazon Associate I earn from qualifying purchases. I may earn additional commission from eligible campaigns.