Best Way to Scrape Paint Off Wood Without Gouging It
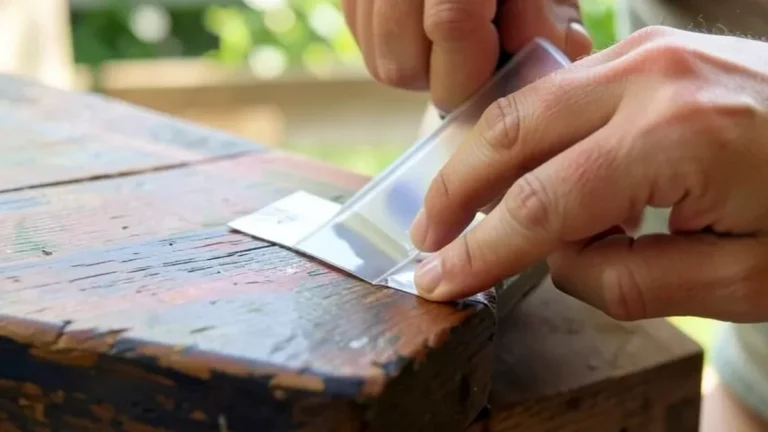
The best way to scrape paint off wood for most DIY jobs is a two-step combo: soften the paint first with a heat gun, then lift it away with a sharp carbide scraper held at a low angle, working with the wood grain. The heat keeps the paint pliable so it peels off in strips instead of chipping, and a carbide edge stays sharp far longer than plain steel, so you’re not pressing hard enough to gouge the wood underneath.
Hello there, it’s Md Meraj. If you’re staring down a door, a window frame, or an old chair with layers of cracking, peeling paint, the job can look bigger than it actually is. The good news is that with the right tool combo and a plan for corners and safety, most furniture-sized projects go faster than people expect. Below is exactly how I do it, including one step a lot of guides skip that matters if there’s any chance your paint contains lead.
Why Scraping Beats Painting Over Old Paint
Best Heat Gun For Scraping Paint
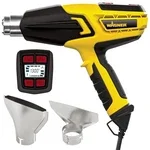 |
Wagner FURNO 700 Variable-Temperature Heat Gun – $67.79 This is the heat gun we recommend for the two-step method on this page – its digital 125°F–1300°F range lets you dial in enough heat to soften paint without scorching the wood.
|
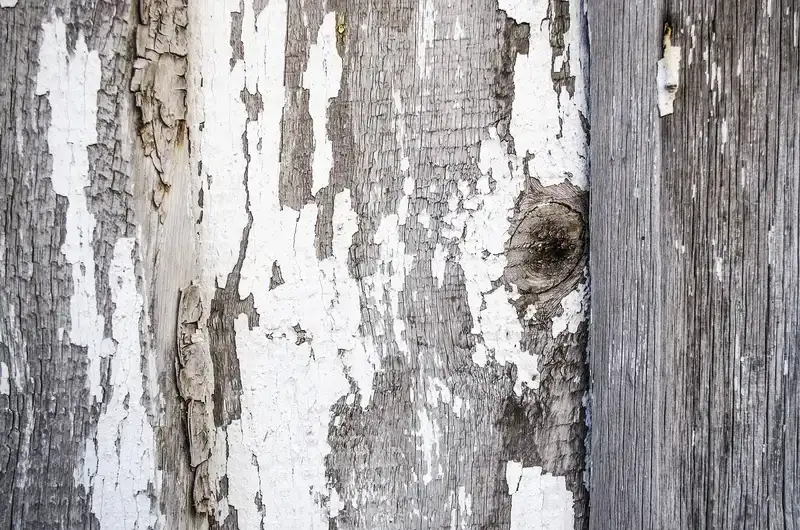
It’s tempting to just roll a new coat over paint that’s already cracking or peeling, but that’s building on a shaky foundation. New paint doesn’t bond well to a loose, flaking surface, so bubbles and peeling show up again within a season or two. Properly scraping the old layer first gives your new coat (or stain) a solid, even surface to grip. That gets you:
- A better finish: the final coat looks smooth and professional instead of lumpy.
- Longer-lasting results: paint or stain applied to bare, clean wood adheres properly and holds up for years instead of months.
- A chance to see the wood: on solid-wood furniture and trim, scraping off old paint often reveals grain you didn’t know was under there, and a paint-free surface is what opens up stain or clear-finish options later.
Scraping correctly is the first real step of any refinishing project. Rush it or skip it, and everything you do afterward – sanding, priming, painting, staining – fights an uneven surface the whole way.
Safety First: Check for Lead Paint Before You Start
Before you pick up a scraper, deal with this. Any home built before 1978 may have layers of lead-based paint, and you can’t identify it by looking, smelling, or touching it – you have to test. A basic lead paint test swab from any hardware store takes about a minute: rub it on a paint chip and watch for a color change per the kit’s instructions.
If the test comes back positive, your approach changes. Dry scraping or sanding lead paint throws fine lead dust into the air, and that’s genuinely dangerous to breathe. The EPA’s lead information page has detailed guidance, and for a large job – a whole door, a full set of trim, exterior siding – hiring an EPA-certified renovator is usually worth it.
One step most paint-scraping guides skip: wet the surface first. The EPA’s Renovation, Repair, and Painting (RRP) guidance for lead-safe work practices recommends lightly misting the paint with a spray bottle of water before you scrape, and re-misting every few minutes as you go. Wet paint chips clump together and fall as debris instead of turning into airborne dust – that matters even if your test comes back negative, since breathing fine paint dust of any kind isn’t good for you. It also makes cleanup noticeably faster, since the chips land in a pile instead of scattering. A cheap spray bottle set to a fine mist is all you need; you’re not trying to soak the wood, just knock the dust down.
Even on paint you’ve confirmed is lead-free, wear real protection. Your basic kit should include:
- Safety goggles: to keep paint chips and dust out of your eyes.
- An N95-rated respirator: a cloth dust mask doesn’t filter fine paint dust well enough – get an actual N95.
- Heavy-duty gloves: they protect your hands from scrapes, blisters, and hot paint if you’re using a heat gun.
Choosing Your Paint-Scraping Method
There isn’t one single right way to remove paint – the best method depends on the surface, the type of paint, and how many layers you’re dealing with. Here are the three most common options for DIYers.
Method 1: Manual Scraping
This is just muscle power and a sharp blade. It’s a good fit for smaller areas or paint that’s already loose and flaking on its own.
- Pros: cheap, minimal tools, a lot of control over the process.
- Cons: slow, physically tiring, and easy to gouge the wood if you’re not paying attention.
- Best for: small projects, already-loose paint, and delicate areas where heat or chemicals risk doing more damage than good.
Method 2: Heat Gun
A heat gun looks like a heavy-duty hair dryer and blows air hot enough to soften paint until it bubbles. Once it bubbles, it scrapes off almost effortlessly. This is the method I reach for on most projects, because it’s fast and skips the fumes of a chemical stripper.
- Pros: fast, no chemical fumes, cuts through multiple layers in one pass.
- Cons: fire risk if you’re careless, can scorch wood if held too close or too long in one spot, not for lead paint (heat releases toxic fumes from lead).
- Best for: large surfaces and multiple layers of latex or oil-based paint on wood.
Method 3: Chemical Strippers
Chemical paint strippers are gels or liquids you apply to the surface. They dissolve the bond between the paint and the wood; after the recommended dwell time, you scrape away the softened residue.
- Pros: excellent for carved detail and intricate profiles, works on metal and masonry too.
- Cons: messy, strong fumes, needs real ventilation and glove/eye protection.
- Best for: detailed furniture, metal railings, or situations where a heat gun isn’t an option.
Quick comparison:
| Method | Best For | Speed | Difficulty |
|---|---|---|---|
| Manual Scraping | Small areas, flaky paint | Slow | Easy |
| Heat Gun | Large wood surfaces, thick paint | Fast | Moderate |
| Chemical Stripper | Intricate details, metal surfaces | Moderate | Messy/Complex |
Your Toolkit: Gathering the Right Tools
You don’t need a full workshop for this, just a handful of key items:
- Safety gear: goggles, N95 mask, heavy-duty gloves (non-negotiable).
- Drop cloths: canvas or plastic, to protect floors and nearby furniture.
- Paint scrapers: a decent set is worth the money – more on this below.
- Heat gun: optional but recommended; a basic variable-temperature model covers most jobs.
- Spray bottle: for misting the surface to keep dust down as you scrape.
- Stiff-bristled brush: for clearing loose chips and dust between passes.
- Empty metal can: for safely disposing of hot paint scrapings (and check your local rules if the paint tested positive for lead – many areas require it to go out as hazardous waste, not regular trash).
- Sandpaper: a range of grits (80, 120, 220) for smoothing afterward.
- Shop vacuum: speeds up cleanup considerably.
A Closer Look at Paint Scrapers
Not all scrapers do the same job. For most woodworking and home projects, one or two of these will cover you:
| Scraper Type | Description | Best Use |
|---|---|---|
| 5-in-1 Tool | A painter’s multi-tool with a stiff scraper edge, a curved edge, a point, and a roller cleaner. | General-purpose scraping and prying – a good first tool for any DIYer. |
| Carbide Scraper | A tungsten carbide blade that holds an edge far longer than steel; usually a “pull” scraper. | Stubborn paint, especially right after heat-gun softening – the sharp edge speeds things up. |
| Putty Knife | A thin, flexible blade. Not built for heavy scraping, but handy for lighter tasks. | Applying wood filler, or gentle work on delicate surfaces a stiff scraper could damage. |
My advice: start with a good 5-in-1 tool and a 2-inch carbide scraper. That combination handles well over 90% of the paint-scraping jobs you’ll run into.
Step-by-Step: Scraping Paint With a Heat Gun and Carbide Scraper
Here’s the combination I use most: a heat gun paired with a carbide scraper. It gives you a professional result without the all-day grind. Follow these in order.
Step 1: Prepare Your Workspace
Lay drop cloths down to fully cover the floor. If you’re working indoors, open a window for airflow and cover anything nearby you can’t move. Pull off any hardware – knobs, hinges, handles – from the piece before you start.
Step 2: Gear Up and Mist the Surface
Put on your goggles, N95 mask, and gloves before you touch anything. If you’re going the manual or chemical-stripper route (skip this for the heat gun step below, since water and hot air don’t mix), give the surface a light mist from your spray bottle so dust clumps instead of scattering as you work.
Step 3: Apply Gentle Heat
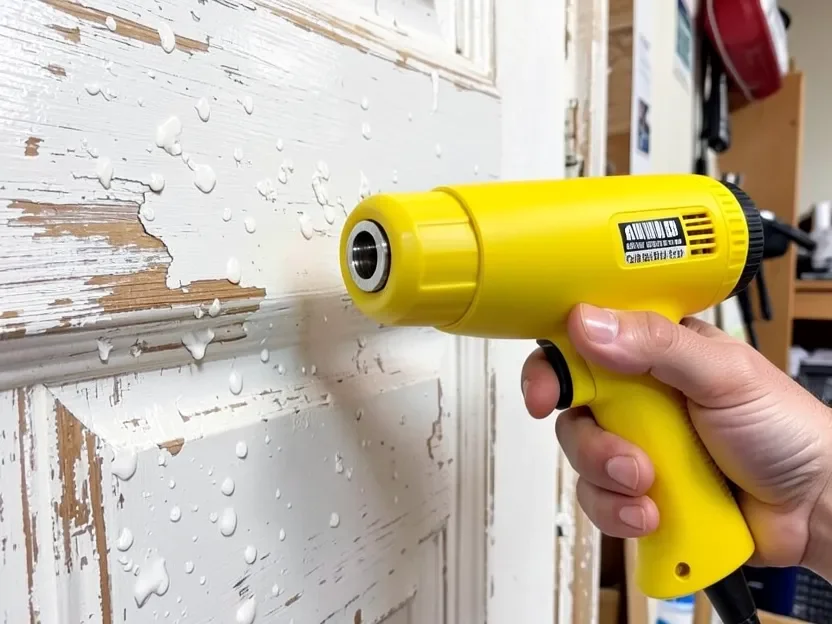
Start your heat gun on a medium setting, roughly in the 500–750°F range on a variable-temperature model, and hold it 6-8 inches from the surface. Keep it moving in a slow, steady sweep – never let it rest in one spot. Wood can start to scorch with sustained direct heat, so constant motion is what protects the surface, not just a lower dial setting. You’ll see the paint bubble and wrinkle within a few seconds; that’s your cue.
Step 4: Scrape With the Grain
As soon as the paint bubbles, set the heat gun down somewhere safe and pick up the carbide scraper. Hold it at a low angle – around 30 degrees – and push or pull it in the direction of the wood grain. Softened paint should come off in long strips. Let the heat and the sharp edge do the work; pressing hard is how you gouge the wood.
Step 5: Tackle Corners and Details
For corners, curves, and molding profiles, switch to the pointed edge of your 5-in-1 tool or a contour scraper. Use light pressure and shorter bursts of heat in these tighter spots.
Step 6: Clean As You Go
Scrape the hot paint peels straight into your metal can rather than letting them pile up on the drop cloth, since they’re a fire hazard while still warm. Staying tidy as you go also keeps you from tracking chips around the room.
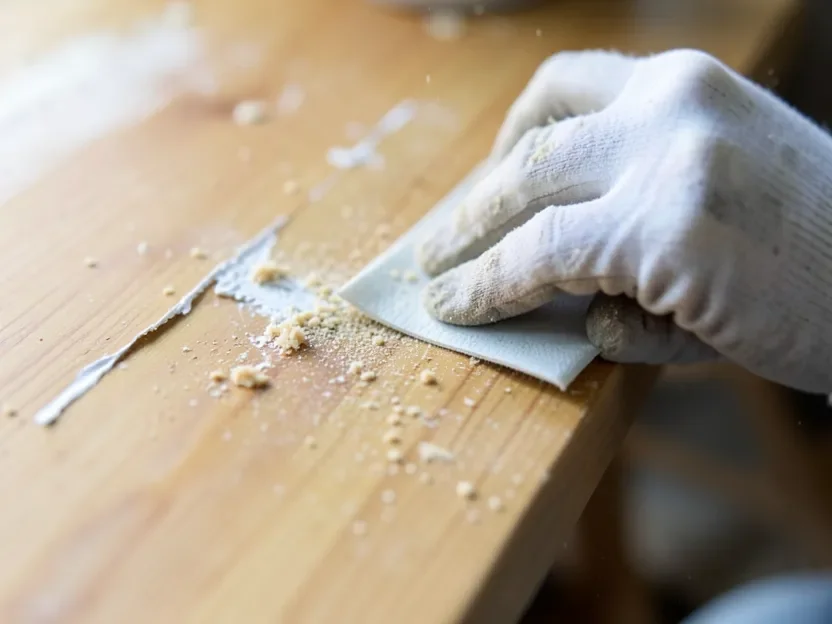
Step 7: Sand for a Smooth Finish
Once the bulk of the paint is off, a few stubborn specks are normal. Let the wood cool completely, then sand:
- Start with 120-grit to clear residue and smooth minor imperfections.
- Sand with the grain – going across it leaves visible scratches.
- Wipe the surface clean with a cloth after the initial pass.
- Finish with 220-grit for a surface that’s ready for paint or stain.
Step 8: Final Cleanup
Run a shop vacuum with a brush attachment over the whole project and the surrounding area. Fold up your drop cloths carefully to contain any remaining dust. You should be left with a clean, bare surface ready for primer, paint, or stain.
Pro Tips From the Workshop
- Keep your scraper sharp: a dull blade tears at paint instead of lifting it, which forces you to press harder and risks the wood. Carbide holds an edge a long time, but rotate or replace it once it dulls.
- Find the right angle: too steep and you’ll dig in; too flat and you’ll skim over the paint without lifting it. You’ll feel the sweet spot once you hit it.
- Let the tool do the work: this goes for both the heat gun and the scraper. Rushing or forcing it is how mistakes happen.
- Listen to what’s happening: a smooth gliding sound means it’s going well; a chunky, tearing sound usually means too much pressure or going against the grain.
- Use two hands on flat surfaces: one hand guides the scraper, the other applies steady, even pressure. It gives you noticeably more control.
Frequently Asked Questions
Can I just paint over old, peeling paint instead of scraping it?
I don’t recommend it. New paint needs a stable surface to bond to, and painting over flaky paint is a short-term fix that leads to bubbling and peeling again within a season. Scraping first is what makes the new coat actually last.
How do I know if I have lead paint before I start scraping?
Test it – that’s the only way to be sure. If your home was built before 1978, assume it’s possible until proven otherwise. A lead test kit from any hardware store gives you an answer in a couple of minutes and tells you whether you need to change your approach.
What temperature should a heat gun be set to for scraping paint off wood?
A medium setting, roughly 500-750°F on a variable-temperature gun, is usually enough to bubble most latex and oil-based paints without scorching the wood. The bigger safety factor than the exact number is motion – keep the gun sweeping continuously and never let it sit in one spot.
What do I do if I accidentally gouge the wood while scraping?
Don’t panic, it happens to almost everyone. Small gouges often disappear after sanding. For deeper marks, apply a bit of wood filler, let it dry fully, then sand it flush with the surrounding surface.
Is it safer to wet the surface before scraping old paint?
Yes. Lightly misting the paint with water before and during scraping is part of the EPA’s lead-safe work practice guidance, because wet debris clumps and falls instead of turning into airborne dust. It’s worth doing even on paint that tested negative for lead, since breathing any fine paint dust is best avoided. Just don’t combine misting with the heat-gun step – keep water away from the hot air and softened paint while you’re heating it.
How long does it take to scrape paint off a piece of wood furniture?
It depends on size, layer count, and method. A single chair might take a couple of hours; a full door can eat up most of a day. A heat gun cuts that time down significantly compared to manual scraping alone.
Your Fresh Start Awaits
That’s the full process for scraping paint off wood the right way. It’s more steps written out than it feels like in practice – once you get a rhythm going with the heat gun and scraper, it turns into a fairly satisfying task. You’re not just stripping an old finish, you’re setting up a clean surface for whatever comes next.
Test for lead first, pick the method that fits your project, and let the heat and a sharp carbide edge do the heavy lifting instead of your arm. Handle it this way and you can take on nearly any paint-removal job with confidence. Happy woodworking!
Sponsored / affiliate links. As an Amazon Associate I earn from qualifying purchases. I may earn additional commission from eligible campaigns.