Can You Paint Veneer Without Sanding? Yes, With a Deglosser
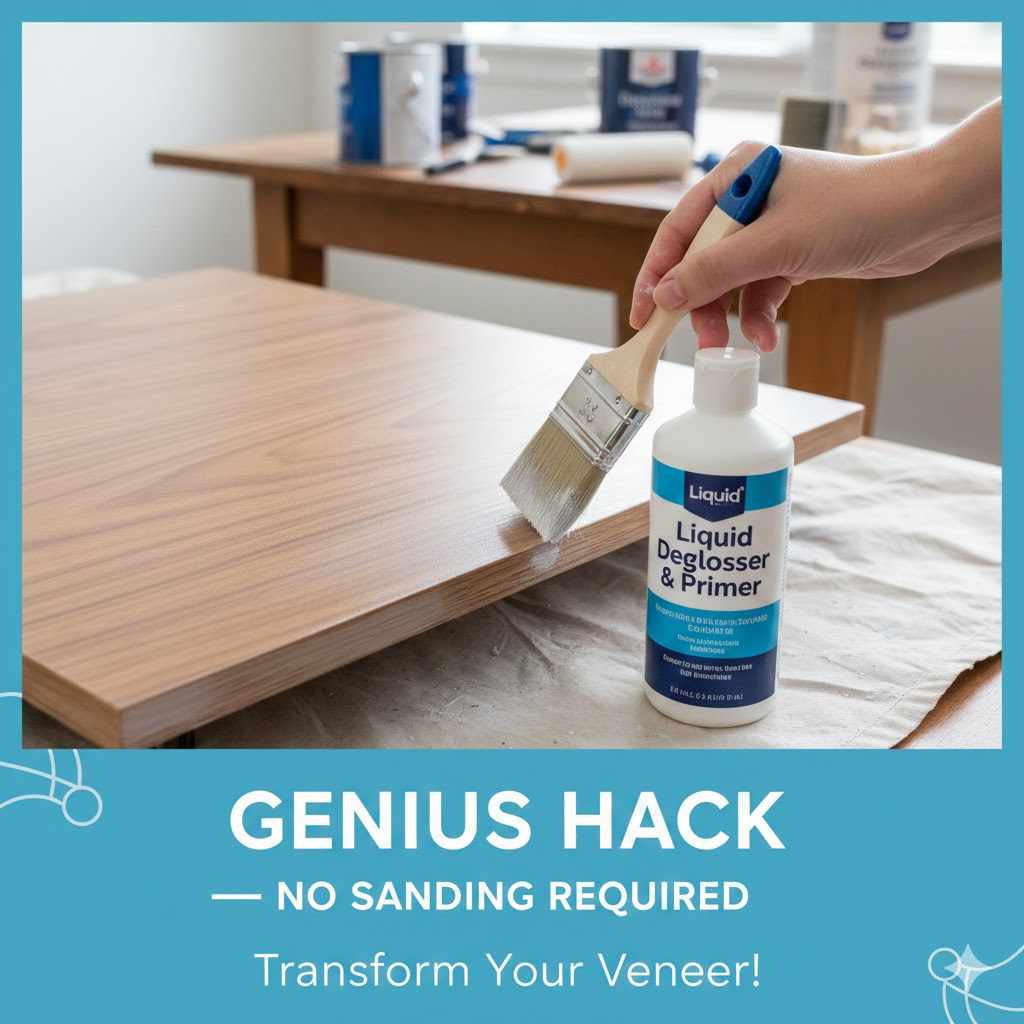
Yes — you can paint veneer without sanding it. A liquid de-glosser or a bonding primer does the same job sandpaper does (giving paint something to grip) but chemically instead of mechanically, so there’s no dust and no risk of cutting through the thin wood layer. Done right, the paint bond is just as strong as a sanded finish.
If you’ve got an old veneer dresser or table you’ve been putting off refinishing because “sanding” is the part that stops you, you’re not alone. It’s a reasonable thing to be cautious about — veneer sheets are usually somewhere between 1/40″ and 1/28″ thick, and a random-orbit sander with 120-grit paper can burn through that in a matter of seconds if you linger in one spot. Once you’re through to the substrate, there’s no fixing it; you’re looking at a patch job or starting over with new veneer.
The chemical route skips that risk entirely. Below is the exact process, plus the two products that actually make it work, what to expect at each stage, and where this method runs into trouble (because it isn’t foolproof for every situation — more on that in the FAQ).
What is Veneer and Why is Sanding So Tricky?
Best No-Sand Deglosser
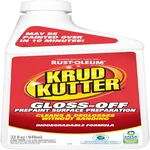 |
Krud Kutter Gloss-Off Prepaint Surface Cleaner – $9.35 This is the exact type of product Step 5 below walks you through: it strips grease and dulls the factory sheen in one wipe, so paint has something to grab onto.
|
Veneer is a thin slice of real wood glued to a cheaper core — usually MDF or particleboard. It’s how furniture makers get the look of solid walnut or oak without the cost or the weight, and most factory veneer furniture from the last few decades uses it somewhere.
The problem is thickness. Most wood veneers run well under a millimeter — some are closer to the thickness of a few sheets of paper. An electric sander, or even hand-sanding with the wrong grit, can wear through that layer before you realize it’s happening. Once you hit the core material, it won’t take stain or paint the same way the wood grain did, and the color mismatch shows immediately.
That’s the whole reason a chemical prep method exists — it gets you the same paint-ready surface without a sander anywhere near the piece.
The No-Sand Secret Weapon: Liquid De-glosser and Bonding Primer
Sanding works by creating “tooth” — thousands of microscopic scratches that give paint something to mechanically grab. If you’re not cutting those scratches, you need to create that grip another way. Two products do it:
- Liquid De-glosser (sometimes labeled “liquid sandpaper”): a solvent-based wipe-on product that cuts through grease and wax while softening the factory topcoat just enough to dull the sheen. That dulled, slightly tacky surface is what primer bonds to.
- Bonding Primer: formulated to stick to slick, non-porous surfaces — laminate, tile, glass, and sealed veneer are the classic use cases. It’s the layer that actually locks your paint to the piece long-term.
Used together — deglosser first, bonding primer second — they replace what sandpaper does, with less mess and none of the risk of cutting through the veneer.
Step-by-Step Guide: How to Paint Veneer Without Sanding
This takes a weekend if you count drying time between coats, but the hands-on work is only a couple of hours spread across a few sessions.
Step 1: Gather Your Supplies
Get everything together before you start — a half-primed dresser is not something you want to leave mid-project while you run to the hardware store.
- Cleaning Supplies: A degreasing cleaner (TSP substitute, or warm water with a squirt of Dawn), a bucket, clean rags, and a scrub sponge.
- Safety Gear: Chemical-resistant gloves, safety glasses, and a respirator if you’re indoors without much airflow — deglosser fumes are strong enough to matter.
- Prep Materials: Wood filler for dings, a putty knife, painter’s tape, and drop cloths.
- The Core Products: A liquid deglosser and a bonding primer — shellac-based (Zinsser B-I-N) or water-based (KILZ Adhesion, INSL-X Stix) both work.
- Painting Tools: Latex, acrylic enamel, or chalk paint; a quality brush; a foam roller for flat panels; paint trays.
- Optional Topcoat: Water-based polycrylic if the piece will see heavy daily use.
Step 2: Prepare Your Workspace and Furniture
- Ventilate: A garage with the door up, a covered patio, or a room with windows open — deglosser and shellac-based primer both off-gas solvents.
- Protect the floor: Drop cloths under and around the piece.
- Break the piece down: Pull hardware and drawers if you can. It’s faster and the finish comes out cleaner along the edges.
Step 3: Clean, Clean, and Clean Again!
This is the step people rush, and it’s the one that determines whether the paint actually stays on. Grease and wax residue — even from years-old furniture polish — will sit between the primer and the wood and let the whole finish lift later.
Mix your cleaner per the label, scrub every surface (drawer fronts and tabletops collect the most hand oil), then wipe the whole piece down again with a separate rag and clean water to pull off any cleaner residue. Let it dry fully before moving on. If the furniture pre-dates 1978, treat the original finish as a potential lead-paint risk and follow the EPA’s lead-safe renovation guidelines before you disturb the surface.
Step 4: Make Any Necessary Repairs
Fill dings, deep scratches, and gouges now, before priming. Press wood filler into the damage with a putty knife, slightly overfilling since it shrinks a little as it cures. Once it’s bone-dry, knock the filler flush with fine-grit paper — only the filler, not the surrounding veneer.
Step 5: Apply the Liquid De-glosser
Gloves and glasses on. Pour a small amount of deglosser onto a lint-free cloth and work in sections, wiping in a circular motion with firm pressure. You’ll see the sheen dull almost immediately — the surface may feel slightly tacky, which means it’s working correctly, not that something went wrong.
Before committing to the whole piece, do a quick adhesion check on an inconspicuous spot: once the deglosser has flashed off per the label’s dry time, press a strip of painter’s tape onto the treated area, rub it down, and pull it off sharply. If the surface underneath looks undisturbed and the tape doesn’t pull up any finish, you’re good to prime the rest. If the old finish lifts with the tape, give that section a second pass of deglosser before moving on — that’s a cheap five-minute check against redoing the whole job later.
Step 6: Prime for a Perfect Finish
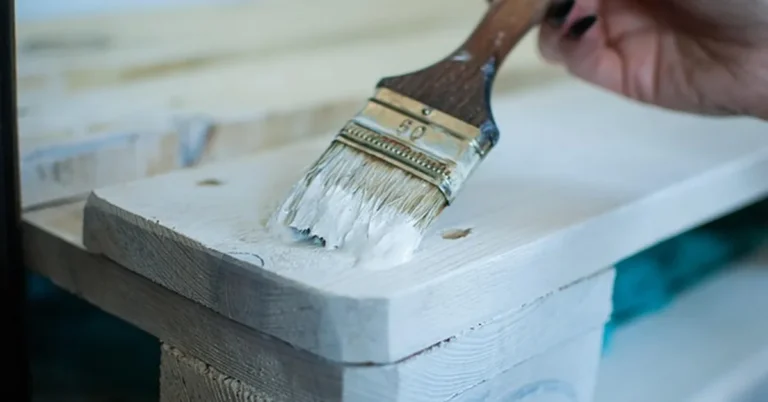
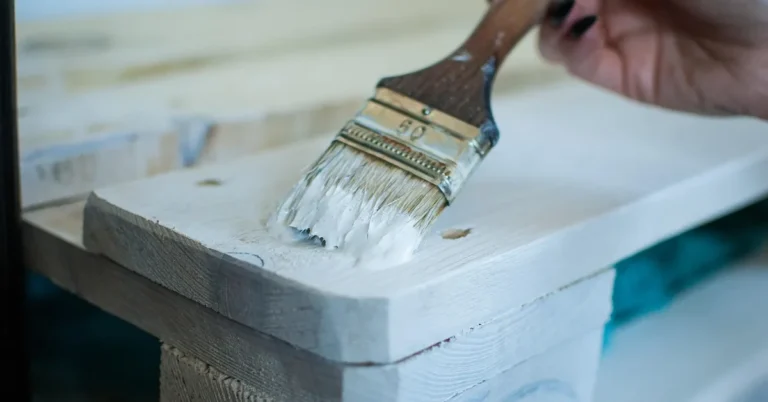
Deglosser alone gets you most of the way there, but a bonding primer is what actually keeps the paint locked down for years instead of months. Stir it well, then apply a thin, even coat with a brush or foam roller.
Don’t chase full coverage in one pass — a thin coat that dries properly beats a thick one that stays soft underneath. Let the first coat dry per the can’s recoat window, then apply a second thin coat. Two thin coats give you a solid, uniform base for paint.
| Primer Type | Best For | Pros | Cons |
|---|---|---|---|
| Shellac-Based Primer | Blocking tough stains and odors; best adhesion on the slickest surfaces. | Excellent adhesion, fast dry time, blocks nearly any stain. | Strong solvent fumes; cleanup needs denatured alcohol. |
| Water-Based Bonding Primer | Beginner projects and general furniture use. | Low odor, soap-and-water cleanup, stays flexible. | Blocks heavy stains less completely than shellac. |
Step 7: It’s Time to Paint!
Once the primer’s fully cured — check the can, not the clock — stir your paint and lay down the first coat with a brush or roller. Thin coats again; a heavy coat now just means drips and a longer dry time.
Let that dry, then apply a second coat. A third may be necessary for some colors, especially a light color going over a dark original finish.
Step 8: Protect Your Work with a Topcoat (Optional)
For anything that gets daily wear — a tabletop, desk, or dresser top — a clear topcoat adds real scratch and moisture resistance. Water-based polycrylic is the usual pick because it stays clear instead of yellowing the way oil-based polyurethane can over a few years.
One or two thin coats with a synthetic brush, drying fully between each, is enough. Once the last coat’s cured, reattach hardware, slide the drawers back in, and the piece is done.
Sanding vs. The No-Sand Method: A Quick Comparison
Still weighing which way to go? Here’s how the two methods actually compare.
| Factor | Traditional Sanding | No-Sand Method (De-glosser/Primer) |
|---|---|---|
| Effort & Mess | High — generates a lot of fine dust. | Low — no dust, minimal cleanup. |
| Time | Slower, especially sanding by hand. | Faster — wiping on deglosser takes minutes. |
| Risk to Veneer | High — easy to sand through and ruin the piece. | Very low — nothing is being mechanically removed. |
| Adhesion Quality | Excellent when done correctly. | Excellent when cleaned and primed properly. |
| Beginner-Friendliness | Moderate — needs a careful, even hand. | High — forgiving and easy to get right the first time. |
Frequently Asked Questions (FAQ)
1. What is the best primer to use on veneer without sanding?
The best primers are “bonding” primers. Look for products specifically designed to stick to glossy or slick surfaces. Shellac-based primers like Zinsser B-I-N offer incredible adhesion and stain-blocking power. High-quality water-based bonding primers like KILZ Adhesion or INSL-X Stix are also excellent, low-odor choices.
2. Will the paint really stick and not peel if I don’t sand?
Yes. The key is proper preparation. If you clean the surface thoroughly to remove all grease and grime, then use a quality liquid de-glosser and a bonding primer, you’re creating a surface the paint can chemically bond to. That bond holds up well against peeling and chipping — the tape-pull test in Step 5 is the fastest way to confirm it worked before you commit to the whole piece.
3. Can I use this no-sand method on IKEA furniture?
Yes, and it often works even better. Most IKEA furniture isn’t real wood veneer — it’s a plastic laminate or melamine wrap. That surface is non-porous and slick, so a thorough cleaning plus a shellac-based bonding primer is the most reliable way to get a paint job that lasts on it.
4. How do I know if my furniture is real wood veneer or laminate?
Check the grain pattern first. Real wood veneer has a natural, non-repeating grain. Laminate’s pattern is printed, so you can sometimes spot the same section of “grain” repeating across the surface. Then check an edge or the underside — veneer usually shows a visibly thin wood layer over the core, while laminate reads as one uniform printed sheet.
5. What should I do if the veneer is already peeling or chipped?
Fix the veneer before you paint — the no-sand method assumes a sound, intact surface. For lifting veneer, work wood glue under the loose section with a syringe, then clamp it down (with wax paper between the clamp and the veneer) until it’s fully cured. Fill chips with wood filler as described in Step 4. Once repairs are solid, proceed with cleaning and priming as normal.
6. How long do I need to wait between coats of primer and paint?
Check the can — it’s the most accurate source for that specific product. As a general range, most water-based primers and paints recoat in 2 to 4 hours; shellac or oil-based primers often need longer. Recoating too early traps solvent underneath and leaves you with a tacky finish that never fully hardens, so it’s worth the wait.
You Can Do This!
Updating old veneer furniture doesn’t have to mean a dusty afternoon and a piece you’re afraid to ruin. Skip the sander, lean on a proper clean plus a de-glosser and bonding primer, and you get a finish that holds up just as well — often better, since you never risked cutting through the veneer in the first place.
It’s a good first refinishing project if you’re new to this: forgiving, low-mess, and hard to mess up badly enough that it can’t be fixed. Grab that dresser or side table you’ve been putting off, run the tape test before you commit, and get started.
Sponsored / affiliate links. As an Amazon Associate I earn from qualifying purchases. I may earn additional commission from eligible campaigns.