Can I Use Spray Paint on Wood? Best Local Professional Tips
Many people wonder, “Can I Use Spray Paint on Wood? Best Local Professional Tips.” It sounds simple, but getting a smooth, lasting finish can be tricky for beginners. You might worry about drips, uneven coverage, or paint that peels off.
Don’t stress! We’re here to help. We’ll walk you through it step by step.
Get ready to make your wood projects look amazing with easy-to-follow advice. Let’s get started on making your spray painting dreams a reality.
Can I Use Spray Paint on Wood Safely and Effectively
Spray painting wood is a fantastic way to refresh furniture, add color to crafts, or give outdoor items a new lease on life. It offers a quick and efficient application method, often resulting in a smooth, even finish that’s hard to achieve with brushes or rollers. However, successfully using spray paint on wood involves more than just picking a can and spraying.
Proper preparation, understanding the right types of spray paint, and knowing application techniques are key. This section will guide you through the essentials of using spray paint on wood, ensuring you get beautiful results without common pitfalls.
Choosing the Right Spray Paint for Wood Projects
Selecting the correct spray paint is crucial for a durable and attractive finish on wood. Not all spray paints are created equal, and some are formulated specifically for different surfaces and conditions. For wood, you generally want paints that offer good adhesion and flexibility, as wood can expand and contract with changes in temperature and humidity.
Paint Types for Wood
There are several types of spray paint suitable for wood. Acrylic-based spray paints are very popular because they dry quickly, are water-resistant once cured, and come in a vast array of colors and finishes like matte, satin, and gloss. Enamel spray paints are another good option; they offer a very hard and durable finish, making them ideal for high-traffic items like tables or chairs.
For outdoor wood projects, look for paints labeled for exterior use. These often contain UV inhibitors to prevent fading and are formulated to withstand moisture and temperature fluctuations better.
Primer Considerations
Using a spray primer specifically designed for wood is a vital step for achieving a professional look and ensuring paint longevity. Primer helps the topcoat adhere better, preventing chipping and peeling down the line. It also helps to block wood stains from bleeding through your paint, especially important for lighter colors or when painting over dark wood.
A good primer creates a uniform surface, so you’ll need fewer coats of your final spray paint color. For bare wood, a wood-specific primer will seal the porous surface effectively.
Finish and Special Effects
Beyond basic colors, spray paints come in various finishes. A matte finish offers a subtle, non-reflective look, while satin provides a slight sheen. Gloss finishes are highly reflective and can give a very polished appearance.
Specialty spray paints also exist, such as metallic finishes, textured paints, or paints designed to mimic natural materials like stone or wood grain. When choosing a finish, consider the item’s intended use and the overall aesthetic you want to achieve. For example, a high-gloss finish might look stunning on a decorative piece but could show imperfections more easily on a heavily used surface.
Preparing Your Wood Surface
Proper preparation is the most important step in any painting project, especially when using spray paint on wood. Skipping or rushing this phase is a common mistake that leads to poor adhesion, an uneven finish, and paint that doesn’t last. Taking the time to prepare your wood surface will ensure your spray paint adheres beautifully and creates a smooth, professional-looking result that you can be proud of.
Cleaning the Wood
Begin by thoroughly cleaning the wood surface. Dust, dirt, grease, and old finishes can all prevent spray paint from adhering properly. For most projects, a simple wipe-down with a damp cloth is sufficient to remove dust.
If the wood has grease or grime, use a mild detergent and water or a specialized wood cleaner. For outdoor items that might have mildew or algae, a solution of one part bleach to three parts water can be used, followed by a good rinse and thorough drying. Always ensure the wood is completely dry before proceeding to the next step.
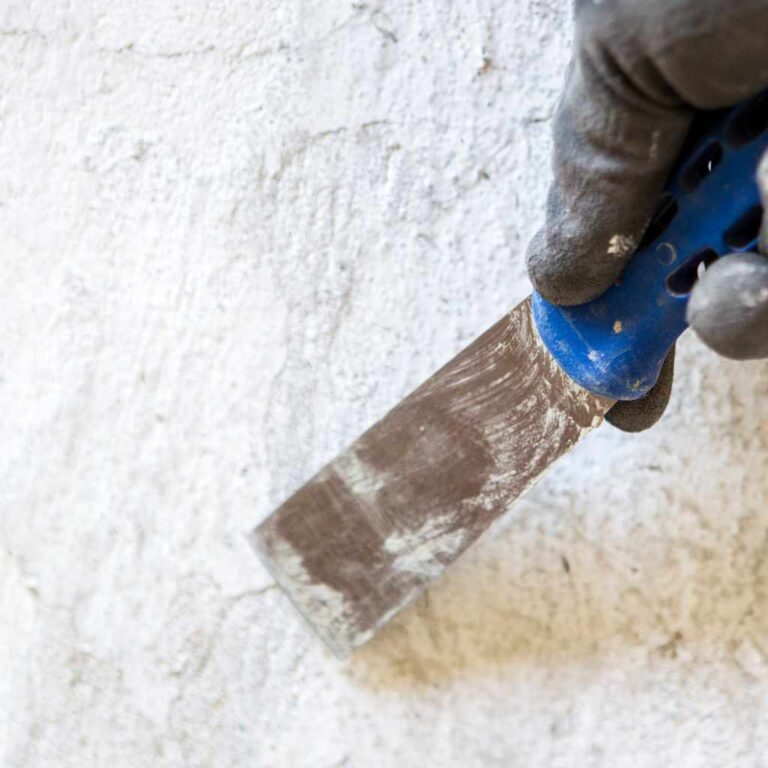
Sanding for Smoothness
Sanding is essential for creating a smooth surface that the spray paint can grip. Start with a medium-grit sandpaper (around 120-150 grit) to remove any rough spots, splinters, or old, flaky paint. After the initial sanding, switch to a finer-grit sandpaper (around 220 grit) to smooth the surface further.
The goal is to create a satiny feel rather than a perfectly smooth, slick surface, which helps with adhesion. For very rough wood, you might need to start with a coarser grit sandpaper (like 80 or 100 grit) and work your way up.
Repairing Imperfections
Before you paint, inspect the wood for any cracks, holes, or dents. These imperfections should be filled using a wood filler or putty. Apply the filler according to the product’s instructions, overfilling slightly to allow for shrinkage as it dries.
Once the filler is completely dry, sand it smooth and flush with the surrounding wood surface. Feather the edges of the repaired area with sandpaper so it blends seamlessly with the rest of the wood. This ensures a uniform surface for the spray paint application.
Removing Dust After Sanding
After sanding, it’s critical to remove all dust. Dust left on the surface will get trapped under the paint, creating a bumpy, unprofessional finish. A tack cloth is an excellent tool for this.
A tack cloth is a sticky cloth that picks up fine dust particles that vacuum cleaners or dry cloths might miss. You can also use a clean, dry brush or a damp cloth to wipe away the dust. For optimal results, wipe the surface down again with a damp cloth after using a dry method.
Let it dry completely before priming or painting.
Spray Painting Techniques for Wood
Applying spray paint effectively to wood requires technique. It’s not just about holding the can and spraying. Understanding how to get an even coat, avoid drips, and work efficiently will make a huge difference in your final outcome.
These techniques are simple to learn but have a significant impact on how professional your finished wood project looks.
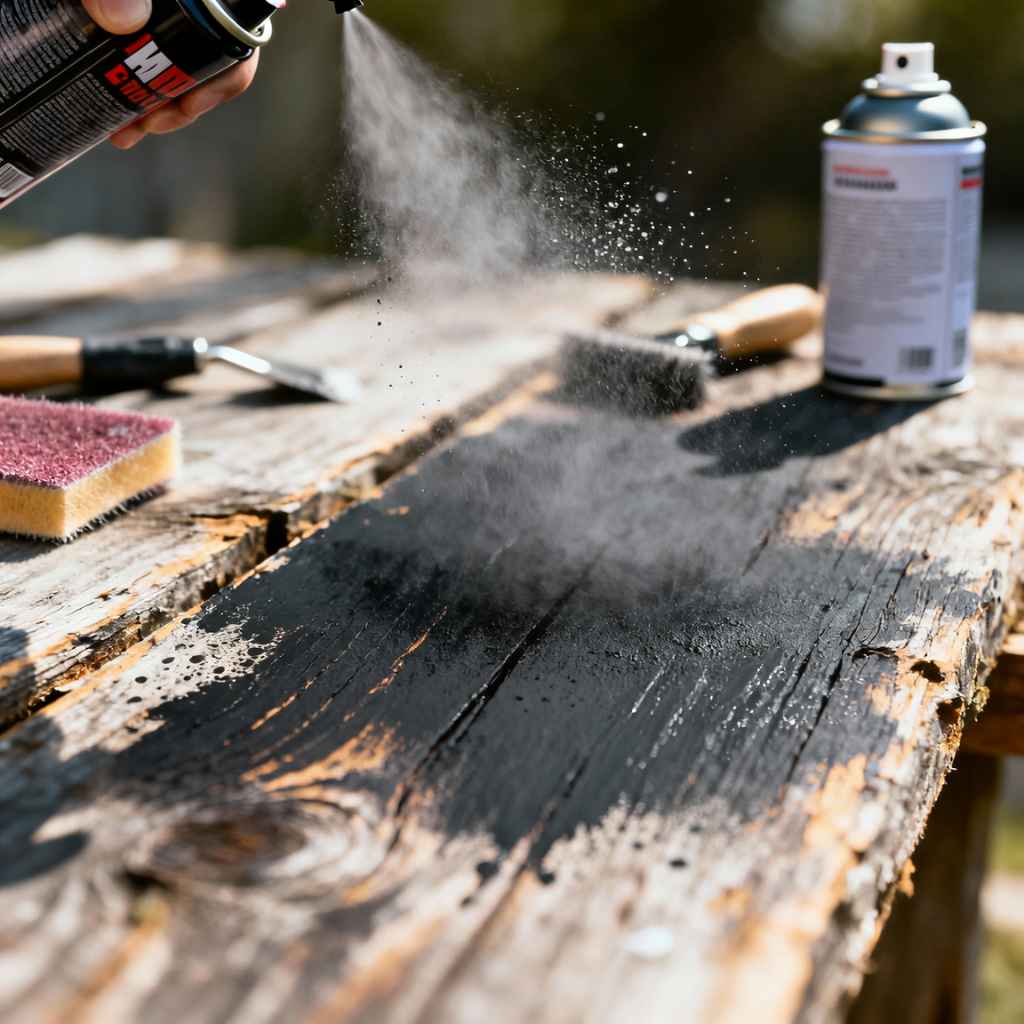
Shake the Can Well
Before you start spraying, shake the can vigorously for at least one to two minutes. You should hear the mixing ball rattling inside the can. This ensures the paint and propellant are thoroughly mixed, which is essential for consistent spray output and color.
Shaking the can periodically during use, especially between coats, will also help maintain an even spray pattern. If you don’t shake it enough, the paint might spray inconsistently, leading to blotchy coverage or uneven color.
Maintain a Consistent Distance
Hold the spray can about 8 to 12 inches away from the wood surface. Holding it too close can cause drips and an uneven, heavy application. Holding it too far away can result in a “dusting” effect where the paint particles don’t fully adhere and the finish appears dry and uneven.
Practice on a piece of scrap wood or cardboard to find the optimal distance that produces a fine, even mist. Maintaining this consistent distance throughout your spraying is key.
Use Smooth, Overlapping Strokes
Spray in smooth, steady, side-to-side or up-and-down motions. Begin spraying before you reach the edge of the wood and continue spraying past the edge after you finish your stroke. This helps prevent “start and stop” marks, which can create thicker paint buildup at the beginning and end of each pass.
Overlap each stroke by about 25-50% to ensure complete coverage and a uniform finish. Move your arm, not just your wrist, for a more consistent and controlled spray pattern.
Apply Thin, Even Coats
The secret to a great spray-painted finish is applying multiple thin coats rather than one thick one. Thick coats are more prone to running and dripping, and they take longer to dry. Allow each coat to dry to the touch (check the can for specific drying times) before applying the next.
This allows the paint to build up gradually, creating a smooth, durable, and even finish without imperfections. Patience here is key; it’s always better to apply an extra thin coat than to have a single thick, messy one.
Ventilation and Safety
Always spray in a well-ventilated area. Outdoors is ideal. If you must spray indoors, open windows and doors and use fans to move air.
Wear a respirator mask designed for spray painting to protect your lungs from inhaling paint fumes and particles. Wear gloves and eye protection as well. Many spray paints contain volatile organic compounds (VOCs) that can be harmful if inhaled over prolonged periods.
Protecting yourself ensures a safer and more pleasant painting experience.
Drying and Curing for Durability
Once you’ve applied your spray paint to the wood, the job isn’t quite finished. The time between application and when your project is ready for use is critical for durability. Understanding the difference between drying and curing, and following the recommended times, ensures your paint job will last and withstand everyday wear and tear.
This stage requires patience, but the result is a beautiful, long-lasting finish.
Understanding Drying Versus Curing
It’s important to distinguish between drying and curing times for spray paint on wood. Drying refers to the time it takes for the surface of the paint to become touch-dry and ready for the next coat. Curing, on the other hand, is the process where the paint fully hardens and reaches its maximum durability.
This can take anywhere from a few days to a few weeks, depending on the paint type and environmental conditions like humidity and temperature.
Surface Dry vs. Fully Cured
When a spray paint can says “dry to touch” in 10-15 minutes, this means the surface is no longer wet and you can lightly touch it without it coming off. This is the time you can apply another thin coat. However, the paint is still soft and easily damaged at this stage.
Fully curing is when the paint has chemically hardened and is resistant to scratches, chips, and stains. It’s essential to be gentle with your newly painted wood items during the curing period.
Factors Affecting Drying and Curing
Several factors can influence how quickly your spray paint dries and cures. Temperature plays a big role; warmer temperatures generally speed up the process, while colder temperatures slow it down. Humidity also affects drying.
High humidity can significantly prolong drying and curing times, and in some cases, can even cause issues like a hazy finish. Air circulation is also important; good airflow helps solvents evaporate more quickly, aiding in the drying process.
Waiting for the Right Moment
Patience is key when waiting for your spray-painted wood to dry and cure. Resist the urge to use your newly painted item too soon. Handling it too early can lead to scuffs, dents, or even the paint peeling away from the wood surface, requiring you to do touch-ups or start over.
For furniture, this might mean keeping it in a safe, out-of-the-way spot for several days or even a couple of weeks.
Reapplication Intervals
Always follow the reapplication instructions on the spray paint can. Typically, you have a window of time (often a few hours) when you can reapply subsequent coats without needing to scuff sand. If you wait too long and the paint has fully cured, you might need to lightly sand the surface again before applying more paint.
This ensures good adhesion between layers. For most standard spray paints, waiting at least 30 minutes to a few hours between coats is sufficient for touch-dry application.
Allowing Full Curing Time
For maximum durability, let your wood project cure completely before putting it into regular use. This can take anywhere from 7 to 30 days, depending on the paint product and environmental conditions. During this time, avoid placing heavy objects on painted surfaces, exposing them to excessive moisture, or cleaning them with harsh chemicals.
Gentle handling will ensure your beautiful spray-painted finish stands the test of time.
Troubleshooting Common Spray Painting Issues on Wood
Even with careful preparation and technique, sometimes things don’t go perfectly when spray painting wood. It’s common to encounter a few hiccups along the way. Knowing how to identify and fix these common problems can save your project and your sanity.
Most issues are easily resolved with a little extra effort and the right approach.
Runs and Drips
Runs and drips are probably the most common spray painting problem. They usually happen when the paint is applied too thickly, the can is held too close to the surface, or when spraying in overly humid conditions. If you catch a drip while it’s still wet, you can often gently smooth it out with a brush or a soft cloth.
If the drip has started to dry, let it dry completely. Then, carefully sand it down with fine-grit sandpaper until it’s smooth and flush with the surrounding paint. Wipe away the dust and reapply a thin coat of paint to the affected area, feathering the edges.
Uneven Coverage or Streaky Finish
This often results from not shaking the can enough, inconsistent spraying distance, or not overlapping your strokes properly. If the coverage is uneven, you might need to apply another thin coat once the previous one is dry. Make sure to follow the proper spraying technique of maintaining distance and overlapping strokes.
If the streaks are very noticeable, you may need to lightly sand the entire surface once dry and apply a new, even coat.
Paint Not Sticking or Peeling
This is almost always due to inadequate surface preparation. If the wood wasn’t cleaned properly, sanded adequately, or if primer wasn’t used on a tricky surface, the paint might not adhere. If the paint is peeling, you’ll need to scrape off the loose paint, sand the entire area smooth, and then re-prime and repaint.
Ensuring the surface is clean, sanded, and primed correctly from the start prevents this issue.
“Alligatoring” or Cracking
This occurs when a fast-drying topcoat is applied over a slower-drying basecoat, or when the paint is applied too thickly. The outer layer hardens quickly, while the inner layer remains wet, causing it to crack as it expands. The solution involves scraping off the cracked paint, sanding, and reapplying in thin, even coats with adequate drying time between each.
Always check compatibility if using different types of paints or primers.
Can I Use Spray Paint on Wood? Best Local Professional Tips Summary
Yes, you can absolutely use spray paint on wood! With the right preparation, paint choice, and spraying techniques, you can achieve stunning, professional-looking results on your wood projects. Remember to clean and sand your wood thoroughly, use a good primer, apply paint in thin, even coats from the correct distance, and allow adequate drying and curing time.
Don’t be afraid to practice on scrap pieces first. Enjoy your beautifully transformed wood items!

Frequently Asked Questions
Question: Can I use spray paint on unfinished wood?
Answer: Yes, you can use spray paint on unfinished wood. However, it’s highly recommended to use a wood primer first. Primer helps the spray paint adhere better, provides a smoother surface, and prevents the natural tannins in the wood from bleeding through your paint color, especially with lighter shades.
Question: How many coats of spray paint do I need for wood?
Answer: Generally, you will need 2-3 thin coats of spray paint for good coverage on wood. Applying multiple thin coats is always better than one thick coat, as it prevents drips and runs and ensures a more even finish. Allow each coat to dry to the touch before applying the next.
Question: How long should I wait between spray paint coats on wood?
Answer: Wait until the paint is dry to the touch before applying the next coat, which is usually about 15-30 minutes, depending on the temperature and humidity. Check the specific instructions on your spray paint can, as some may recommend longer or shorter intervals. Most paints allow for recoating within a few hours without needing to scuff sand.
Question: Can I spray paint over existing paint or stain on wood?
Answer: Yes, you can spray paint over existing paint or stain on wood, but preparation is key. Ensure the old finish is clean, dry, and free of any peeling or flaking paint. Lightly sand the surface to create a bit of “tooth” for the new paint to adhere to, then wipe away all dust.
A good primer designed for painting over existing finishes is also highly recommended for the best adhesion and durability.
Question: What is the best way to avoid drips when spray painting wood?
Answer: To avoid drips, hold the spray can 8-12 inches away from the surface, use smooth and even strokes, and overlap each stroke by about 50%. Always start and stop spraying off the edge of the wood. Apply paint in thin coats rather than one heavy one.
If a drip does occur, try to smooth it out while wet or sand it down once dry before reapplying.
Summary
You can successfully use spray paint on wood by following key steps. Prepare your surface by cleaning, sanding, and repairing. Choose the right spray paint and primer for your project.
Apply paint in thin, even coats with proper technique. Allow adequate drying and curing time for a durable finish. Addressing common issues like drips and uneven coverage is manageable with simple fixes.
Your wood projects will look fantastic with spray paint!