Can You Do Vinyl Wrap On Plywood? A Step-By-Step Guide
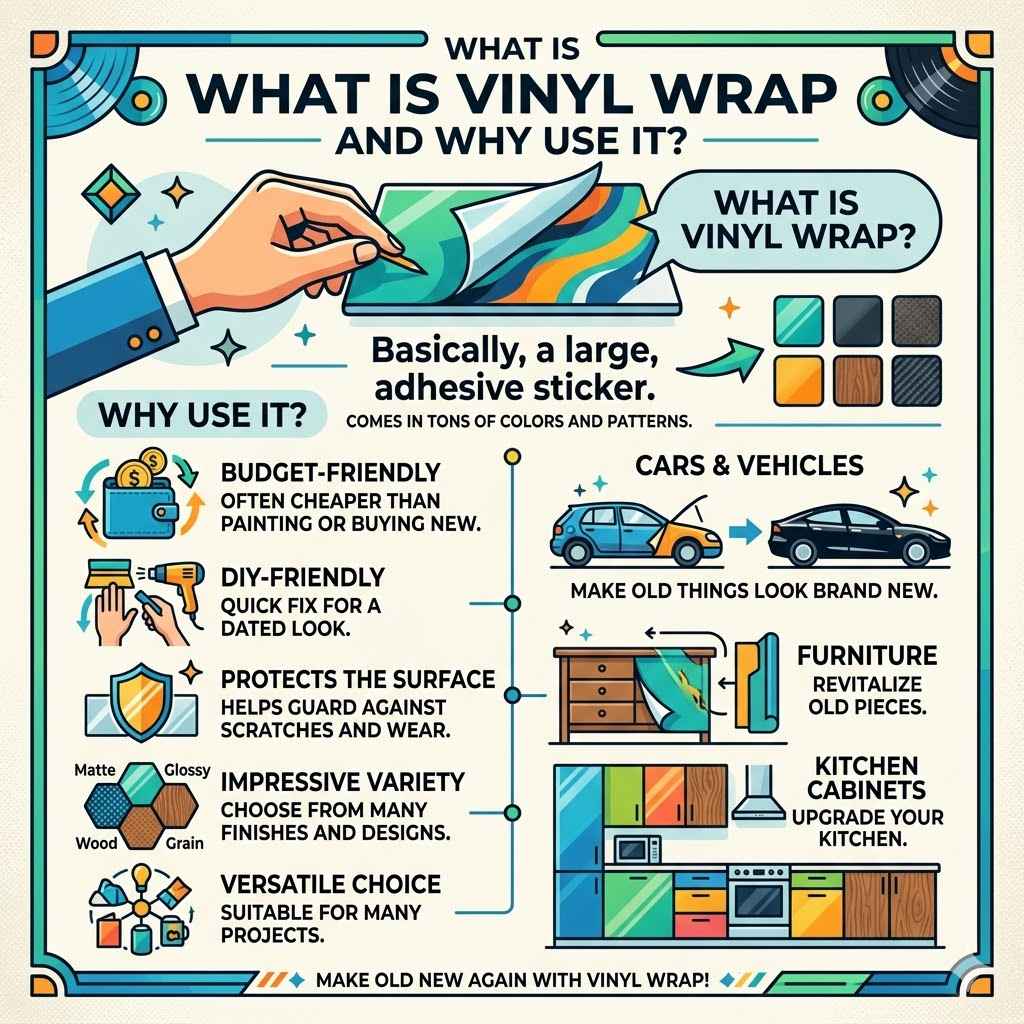
What is Vinyl Wrap and Why Use It?
Vinyl wrap is basically a large, adhesive sticker. It comes in tons of colors and patterns. You can make old things look brand new.
People use it for cars, furniture, and even kitchen cabinets. It’s often cheaper than painting or buying new stuff. It also protects the surface underneath.
Many folks choose vinyl wrap for its DIY-friendly nature. It seems like a quick fix for a dated look. The variety of finishes, from matte to glossy to wood grain, is impressive.
This makes it a versatile choice for many home projects.
Can You Actually Wrap Plywood?
Yes, you can. But there are some important things to know first. Plywood isn’t like a smooth car door.
It has a rougher texture. It can have seams and sometimes even small holes. These can cause problems for the wrap.
The vinyl might not stick well everywhere. It could lift or bubble up. You need to prepare the plywood very carefully.
This is key to getting a good result. Without the right prep, your project might not last long. Or it might just not look as good as you hoped.
It’s a bit like trying to put wallpaper on a bumpy wall. You have to smooth it out first.
My First Time Trying to Wrap Plywood: A Kitchen Cabinet Story
I remember the first time I tackled a plywood project with vinyl wrap. It was a set of old, builder-grade kitchen cabinets in my first apartment. They were a tired, basic oak color that felt so dated.
I’d just seen a DIY blog post showing someone wrap their cabinets in a sleek matte black. It looked amazing! I thought, “How hard can it be?” I bought a big roll of black vinyl wrap online.
It arrived looking so promising. I was excited to get started. I imagined a quick weekend project transforming my kitchen.
The cabinets were made of plywood with a thin veneer. I thought they were smooth enough. I wiped them down with a damp cloth.
Then, I started peeling the backing and laying the vinyl on. That’s when the trouble started. The vinyl stuck immediately.
But it stuck to every little bump. I tried to lift it to reposition it. It stretched and tore.
Then came the bubbles. Tiny ones at first. Then bigger ones.
I tried using a credit card to smooth them out. It just pushed the air to the edges. Or worse, it created creases.
The corners were a nightmare. The vinyl wouldn’t bend neatly. It just crinkled.
I ended up with a cabinet door that looked like a deflated balloon. It was lumpy and full of tiny air pockets. Frustration washed over me.
This was NOT the sleek look I’d imagined. It felt like a total disaster. I almost gave up then and there.
It taught me a huge lesson about preparation. You can’t just slap it on. You have to make the surface perfect first.
That experience was a turning point. It showed me that successful vinyl wrapping on plywood needs a lot more attention to detail. It’s not just about the wrap itself.
It’s about the surface you’re wrapping.
Understanding Plywood Surfaces for Vinyl Wrap
What Makes Plywood Tricky?
- Plywood can have rough grain.
- There are often small holes or imperfections.
- Edges might be slightly uneven.
- Seams between veneer layers can be visible.
Why Smoothness Matters
Vinyl wrap is thin. It shows every bump. Smooth surfaces let the vinyl lie flat.
This means no bubbles and a clean finish. It also helps the adhesive stick better.
The Crucial Step: Preparing Your Plywood
This is where most people stumble. Proper preparation is 90% of the job. Think of it like prepping a wall for paint.
You wouldn’t just paint over holes, right? Plywood needs the same respect. You need a surface that is super smooth.
It must be clean and dry. No dust, no grease, no bumps. This is the most important part for a lasting finish.
Get this right, and your wrap will look great. It will also hold up much better over time.
Step-by-Step: Preparing Plywood for Vinyl Wrap
Let’s break down how to get your plywood ready. Follow these steps closely. It will make a big difference.
You’ll feel more confident. Your final project will look much more professional. This isn’t a place to cut corners.
1. Cleaning the Surface
First, you need to clean the plywood thoroughly. Use a mild soap and water solution. A good degreaser is even better if the wood has any grease or grime.
Wipe it down well. Make sure to get into any slight grooves. Then, rinse it with a clean, damp cloth.
This removes any soap residue. Let it dry completely. You can speed this up with a fan or a low-heat hairdryer.
Any moisture left can affect how the vinyl sticks. It could even cause mold later on. So, be patient here.
A truly clean surface is vital.
2. Filling Imperfections
Now, look closely at the plywood. See those small holes or dents? You need to fill them.
Use a good quality wood filler or a spackling compound. For small holes, a little dab will do. For larger dents, you might need a couple of applications.
Apply the filler. Smooth it out so it’s flush with the wood surface. Let it dry completely according to the product’s instructions.
This might take a few hours. Rushing this step is a mistake. Once dry, the filler might shrink a little.
If it does, you’ll need to apply a second coat. Make sure it’s perfectly level with the rest of the wood.
3. Sanding for Smoothness
This is a really big step. Once your filler is dry, you need to sand. Start with a medium-grit sandpaper, maybe 120 or 150 grit.
Sand the entire surface of the plywood. Sand over the filled areas too. The goal is to make the whole surface feel perfectly smooth to the touch.
You shouldn’t feel any bumps or ridges. Then, switch to a fine-grit sandpaper, like 220 grit. Give it another good sanding.
This makes it super smooth. After sanding, wipe away all the dust. A tack cloth works best.
It picks up even the finest dust particles. Make sure the surface is completely dust-free. Any dust left will show up under the vinyl.
It will also prevent good adhesion.
Sanding Tips for Vinyl Wrap Success
Use the Right Sandpaper
- Medium Grit (120-150): For initial smoothing and leveling.
- Fine Grit (220+): For final polishing and creating a super smooth finish.
Sand Evenly
Don’t just sand one spot. Work across the entire piece. This ensures a uniform surface.
Always sand in the direction of the wood grain if possible. This helps avoid visible scratches. After sanding, always clean up the dust thoroughly.
A damp cloth is okay, but a tack cloth is best. It grabs the tiny particles better.
4. Priming (Optional but Recommended)
For an even better, more durable finish, consider priming. A good quality primer can seal the wood further. It also gives the vinyl wrap something extra to grip onto.
Use a primer designed for wood. Make sure it dries to a smooth finish. Once the primer is dry, you might need to do a very light sanding with fine-grit sandpaper.
This ensures the primer surface is perfectly smooth. Then, clean off the dust again. This extra step adds a layer of protection.
It also helps prevent potential issues with the plywood’s natural oils bleeding through the vinyl over time. Some people skip this, but I’ve found it really helps.
5. Sealing Edges and Seams
If your plywood has exposed edges or visible seams where the veneer layers meet, you might want to seal these. A thin bead of clear caulk or even a wood sealer can work. Smooth it out so it’s level with the surface.
Let it dry completely. This prevents the vinyl from catching on these edges later. It also stops air from getting in under the wrap.
This is especially important if the plywood might get damp. These small details really contribute to a professional-looking and long-lasting job.
Quick-Scan Checklist: Plywood Prep
| Step | Action | Why It’s Important |
|---|---|---|
| Clean | Wash with mild soap, rinse, dry. | Removes dirt, grease, and anything else that stops sticking. |
| Fill | Use wood filler for holes/dents. | Creates a smooth, even surface. |
| Sand | Medium then fine grit sandpaper. | Achieves maximum smoothness. No bumps! |
| Dust Off | Use a tack cloth. | Tiny dust specks ruin the finish. |
| Prime (Optional) | Apply wood primer. | Helps vinyl stick better and seals wood. |
| Seal Edges | Caulk or seal seams/edges. | Prevents lifting and snagging. |
Choosing the Right Vinyl Wrap
Not all vinyl wraps are created equal. For plywood, you want a good quality wrap. Look for thicker vinyl.
Thicker wraps tend to be more forgiving. They can stretch a bit better. They also hide minor surface imperfections more easily.
Matte finishes are often easier to work with than high-gloss finishes. Glossy wraps show every tiny flaw. Read reviews.
See what other DIYers say about specific brands. Some vinyls are designed for furniture or cabinets. These might be a better choice than generic vinyl.
Consider the adhesive too. You want a strong adhesive. But you also want one that allows some repositioning.
This is called a “removable” or “repositionable” adhesive. It gives you a little wiggle room.
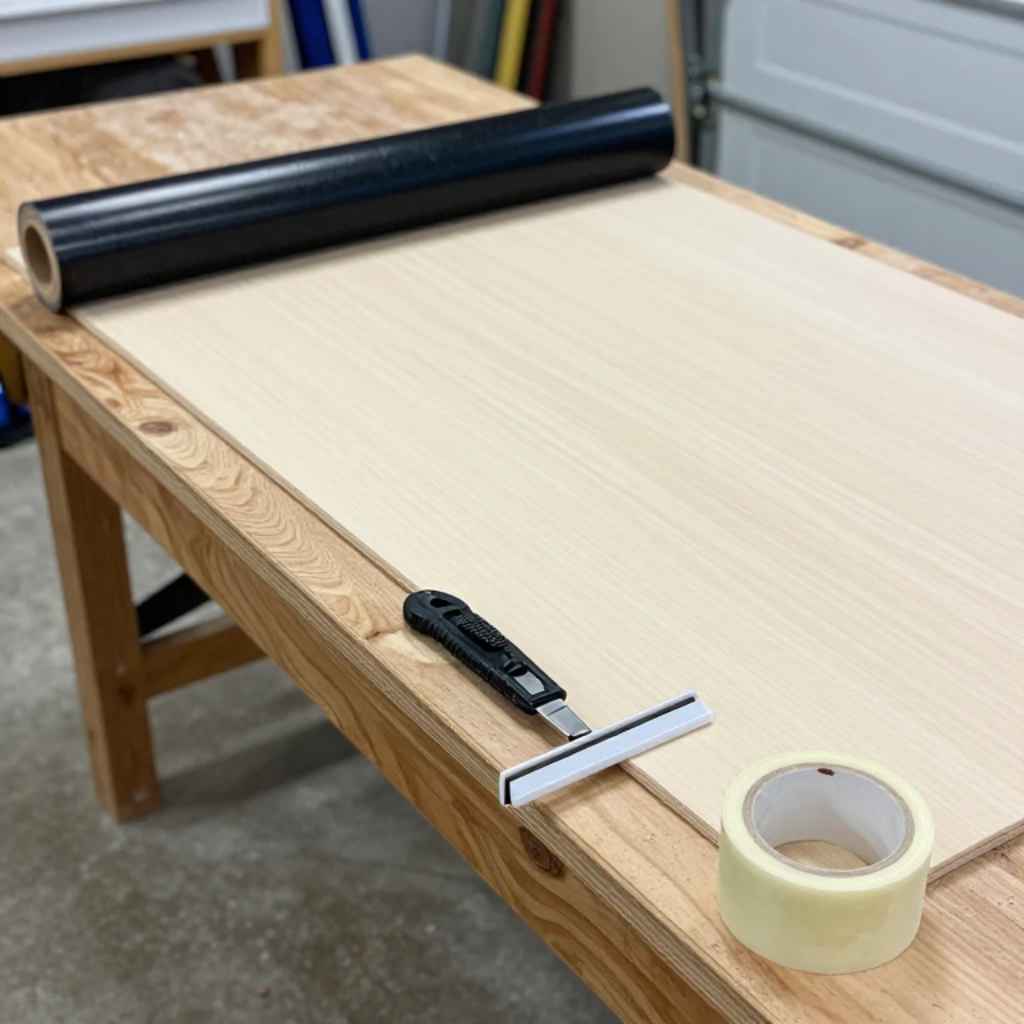
The Application Process: Taking Your Time
Once your plywood is prepped and ready, it’s time to apply the wrap. This is where patience really pays off. Work in a well-lit area.
Have your tools ready. These include a sharp craft knife or utility knife. A squeegee or credit card for smoothing.
And a hairdryer or heat gun to help with curves and edges. Remember, slower is better. Rushing leads to mistakes.
And mistakes are hard to fix with vinyl wrap.
1. Measure and Cut
Measure your plywood piece carefully. Then, cut your vinyl wrap. Leave a few extra inches (about 2-3 inches) around all sides.
This extra material is called “overage.” It gives you something to wrap around the edges. It also helps create a clean finish. For large panels, you might need to overlap seams.
If you do, make sure the overlap is minimal and smooth. Cut the vinyl on a flat surface. Use a ruler and a sharp blade for clean, straight cuts.
2. Position and Start Applying
Peel back a small section of the backing paper, maybe 3-4 inches. Fold the backing paper down. Position the vinyl wrap on your plywood.
Make sure it’s straight and centered. Start by pressing down the exposed adhesive strip. Use your squeegee.
Work from the center outwards. This pushes out any air bubbles. Keep the rest of the vinyl lifted slightly.
Don’t let the whole thing stick down at once. That’s a recipe for disaster. Slowly peel more backing paper as you go.
Continue smoothing with the squeegee. Always work from the center to the edges.
3. Dealing with Bubbles and Creases
Even with careful application, you might get a small bubble. If you catch it early, you can often lift the vinyl gently. Reapply it and smooth again.
For stubborn bubbles, you can use a tiny pin or needle. Poke a small hole in the center of the bubble. Then, use your squeegee to push the air out.
This works best for small, isolated bubbles. Creases are harder to fix. If you get a crease, you might need to lift the vinyl.
Try to smooth out the crease. Sometimes, a hairdryer on a low setting can help. Heat makes the vinyl more pliable.
It can help you gently stretch out minor creases. But be careful not to overheat or stretch too much. Overstretching can distort the color or pattern.
Infographic: Vinyl Wrap Application Toolkit
Essential Tools for a Smooth Finish
Squeegee / Credit Card
Smooths out air and creates a flat surface.
Craft Knife / Utility Knife
Sharp blade for precise trimming of excess vinyl.
Heat Gun / Hair Dryer
Softens vinyl for easier stretching around curves and edges.
Tack Cloth
Picks up fine dust particles before application.
Measuring Tape / Ruler
For accurate measurements and straight cuts.
4. Wrapping Edges and Corners
This is often the trickiest part. For edges, use your squeegee to press the vinyl down. Wrap the overage around the back or side of the plywood.
Trim any excess neatly with your knife. For corners, you can often use heat. Gently warm the vinyl with a hairdryer.
This makes it more pliable. Carefully stretch and fold it around the corner. Try to create a clean, neat fold.
Avoid bunching up the material. Some people find cutting small relief slits in the vinyl at the corner helps. This allows it to lay flat.
Take your time here. Look at how professional wrappers do it for ideas. Small details make a big difference.
When Vinyl Wrap on Plywood is a Good Idea
So, when should you go for this? Vinyl wrap on plywood is best for:
- Temporary Updates: If you’re renting and want to change the look of cabinets or furniture for a while.
- Low-Traffic Areas: Surfaces that don’t get a lot of bumps or wear and tear.
- Decorative Projects: Like covering the sides of a bookshelf or a decorative panel.
- Budget Projects: When you need a quick cosmetic upgrade without a huge expense.
- Testing a Look: If you’re unsure about a color or style.
It’s a good way to get a new look without permanent changes. It can be a fun DIY project. The key is realistic expectations.
It won’t always look like brand-new factory-finished wood. But it can look really good if done right. The success hinges on the prep work.
Seriously, that cannot be stressed enough.
Contrast Matrix: Vinyl Wrap vs. Paint on Plywood
Myth vs. Reality
Vinyl Wrap on Plywood
Pros:
- Quick application (if prepped well)
- Huge variety of colors/textures
- Less messy than paint
- Can be removed (sometimes)
- Good for temporary changes
Cons:
- Requires meticulous prep
- Can show imperfections easily
- Edges and corners are tricky
- Durability can vary
- Not ideal for heavy-use surfaces
Paint on Plywood
Pros:
- Very durable finish
- Covers imperfections well
- Wide range of colors
- Professional look possible
- Good for high-traffic areas
Cons:
- More labor-intensive prep (sanding, priming)
- Drying times can be long
- Can be messy
- Permanent change
- Requires skill for a flawless finish
When to Think Twice About Vinyl Wrapping Plywood
There are times when vinyl wrap might not be your best option for plywood. Consider these scenarios:
- High-Traffic Areas: Kitchen countertops, tabletops, or cabinet fronts that get a lot of daily use. The edges can lift easily.
- Uneven Surfaces: If the plywood is very rough or has many deep gouges that are hard to fill.
- Curved or Complex Shapes: Very intricate designs or tight curves can be extremely difficult to wrap smoothly.
- Desire for a Perfectly Flawless Finish: If you need that showroom-quality, seamless look, painting might be a better choice.
- Long-Term Durability is Key: For projects that need to withstand a lot of wear and tear for many years.
In these cases, a well-prepped and painted plywood surface will likely last longer and look better. Paint offers a more robust and integrated finish for demanding applications. It becomes part of the material itself.
Observational Flow: Plywood Wrap Longevity
The Journey of Vinyl on Plywood
Initial Application: Looks great! Smooth, clean finish. Feels like a win.
First Few Weeks/Months: Still holding strong. Light use doesn’t seem to bother it.
Around 6 Months to 1 Year: Edges near high-traffic zones might start to show slight lifting. Tiny bubbles could appear if temperature changes a lot.
1-3 Years: With moderate use, some edges may lift more noticeably. You might see wear marks or scuffs on the vinyl surface itself. This is more likely in areas with repeated contact.
5+ Years: If well-maintained and in low-wear areas, it can still look decent. However, significant wear and tear can lead to peeling, tearing, or permanent damage to the vinyl. Replacement might be considered.
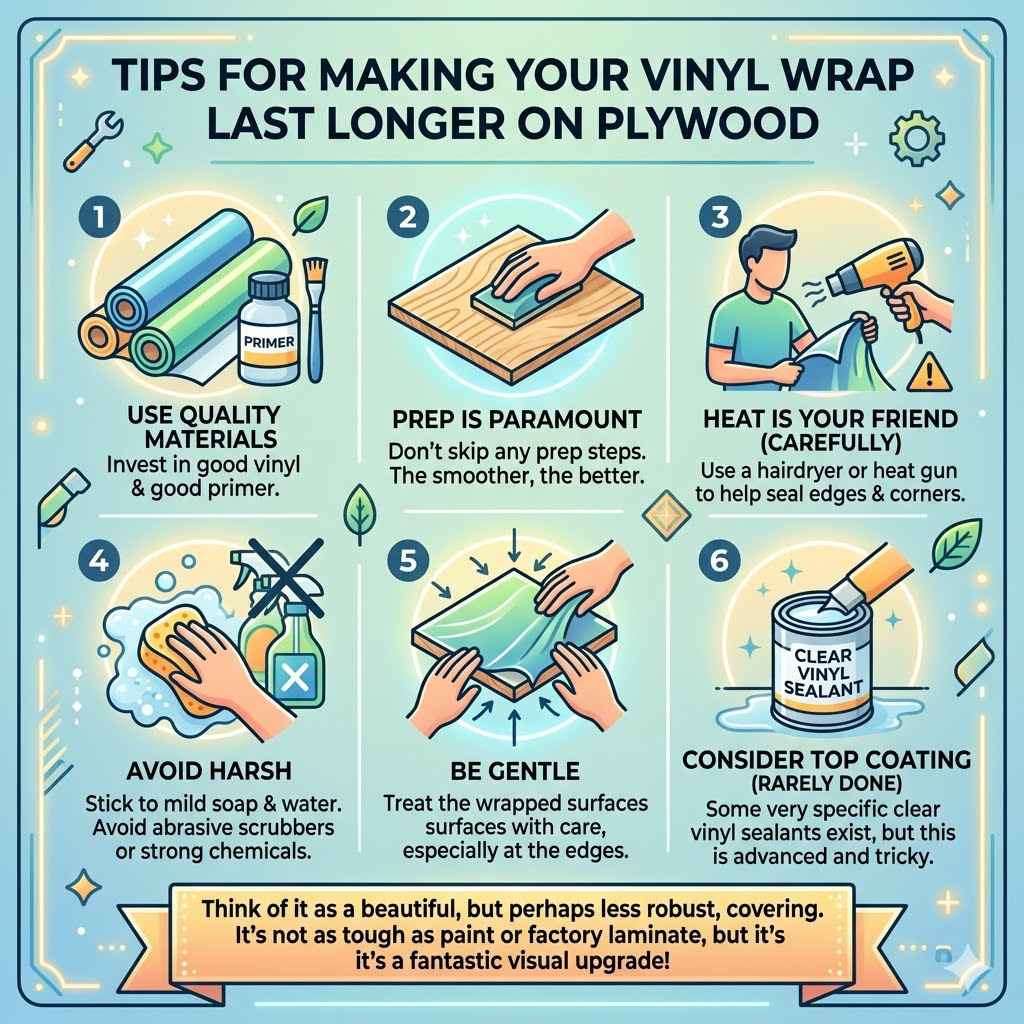
Tips for Making Your Vinyl Wrap Last Longer on Plywood
If you decide to go ahead with vinyl wrapping your plywood, here are some tips to help it last:
- Use Quality Materials: Invest in good vinyl and good primer.
- Prep is Paramount: Don’t skip any prep steps. The smoother, the better.
- Heat is Your Friend (Carefully): Use a hairdryer or heat gun to help seal edges and corners.
- Avoid Harsh Cleaners: Stick to mild soap and water. Avoid abrasive scrubbers or strong chemicals.
- Be Gentle: Treat the wrapped surfaces with care, especially at the edges.
- Consider Top Coating (Rarely done, but possible): Some very specific clear vinyl sealants exist, but this is advanced and can be tricky.
Think of it as a beautiful, but perhaps less robust, covering. It’s not as tough as paint or a factory laminate, but it’s a fantastic visual upgrade for the right project.
Frequently Asked Questions About Vinyl Wrapping Plywood
Can I vinyl wrap unfinished plywood?
While technically possible, it’s strongly not recommended. Unfinished plywood is porous and rough. The vinyl won’t adhere well.
It will likely peel and bubble quickly. You must prep it first. This means filling, sanding, and possibly priming.
A smooth, sealed surface is crucial for any vinyl wrap project.
Will vinyl wrap damage the plywood when I remove it?
It depends on the vinyl quality and how long it’s been on. Good quality vinyl, especially with removable adhesive, should come off cleanly. However, on porous surfaces like plywood, especially if not perfectly prepped, it might pull off some of the wood surface or filler.
Using a hairdryer to gently warm the vinyl can help. Always test in an inconspicuous area first if possible.
How do I clean vinyl-wrapped plywood?
Clean with a soft cloth and warm, soapy water. Avoid harsh chemicals, abrasive scrubbers, or high-pressure sprayers. For stubborn spots, try a diluted isopropyl alcohol solution.
Always test any cleaner in a small, hidden spot first. Gentle cleaning is key to prevent lifting or damaging the wrap.
Can I use vinyl wrap on outdoor plywood projects?
Most interior vinyl wraps are not designed for outdoor use. Exposure to sun, moisture, and temperature changes will cause them to degrade, fade, and peel. There are outdoor-specific vinyls, but they are usually more expensive and still require proper surface preparation.
For outdoor plywood, painting or using exterior-grade materials is generally a much better and more durable option.
What’s the difference between vinyl wrap and contact paper on plywood?
Contact paper is generally thinner, less durable, and often less adhesive than true vinyl wrap. Vinyl wrap is typically thicker, designed for greater durability, and comes in a wider range of finishes and textures. For projects that need to last or look very high-quality, vinyl wrap is usually the better choice over basic contact paper.
Can I wrap plywood with large knots?
Knots can be problematic. If they are raised or uneven, they must be filled and sanded smooth like any other imperfection. If they are very prominent or deep, they might still show through the vinyl wrap, especially with thinner vinyl.
For a perfectly smooth finish, filling and sanding is essential. Some people embrace the knot texture, but it will be visible.
Conclusion
So, can you vinyl wrap plywood? Absolutely. But it’s not a simple peel-and-stick job.
Success hinges on diligent preparation. Cleaning, filling, and sanding are your best friends here. With the right approach, you can achieve a beautiful, updated look for your plywood projects.
Just remember to manage your expectations. It’s a fantastic cosmetic fix for the right situation. It offers a fresh, modern appearance with a bit of DIY magic.