Can You Glue Wood to Tile? Safe Trim Attachment Tips
In some cases, wood can be glued to tile for light trim or decor, especially when the tile is clean, dry, and lightly scuffed; a flexible adhesive or a two-part epoxy is often used, and glue should be avoided for anything load-bearing. Bad adhesion usually means cracked trim, stained grout, or a falling piece in a wet room. This guide gives a simple adhesive choice matrix and the prep steps that keep bonds alive on glossy, glazed, or damp tile.
Can you glue wood to tile safely?


What this works for
This fits small trim strips, edge caps, decorative appliqué, mirror frames, and light accent pieces. It is not a safe plan for shelves, towel bars, brackets, handholds, or anything that must carry repeated weight.
When you should not rely on glue alone
If the piece can be bumped, pulled, leaned on, or exposed to steam every day, the bond needs real mechanical support. Tile is not the problem by itself; the problem is asking adhesive to do a job it was never meant to carry.
According to Glue Wood to Ceramic Tile: Best Adhesives and Techniques — Wood moisture is said to typically be below 12% for interior installations.
Why tile makes wood bonding tricky
Ceramic tile is typically hard, glazed, and fairly non-porous, so glue may have little to grip unless the surface is prepared properly. Wood also expands and contracts with humidity, unlike ceramic tile, so a rigid bond can fail even when the adhesive itself is strong.
Ceramic tile is hard, glazed, and non-porous
That smooth fired surface sheds weak bonds. Adhesive grips better when it can wet the surface and lock into microscopic scratches, which is why cleaning and light abrasion matter so much here.
How grout lines and glossy finishes hurt adhesion
Grout lines reduce contact area, and glossy tile often carries wax, cleaner residue, or a finish that lowers grip. A piece that bridges high spots and voids can pop loose long before the adhesive reaches full strength.
Why wood movement changes the bond
Solid wood moves more than engineered wood. If the strip is narrow, flat, and dry, the risk drops; if it is thick, warped, or cut from solid stock, the bond is under more stress and needs more forgiveness from the adhesive.
What adhesive sticks wood to ceramic tile?
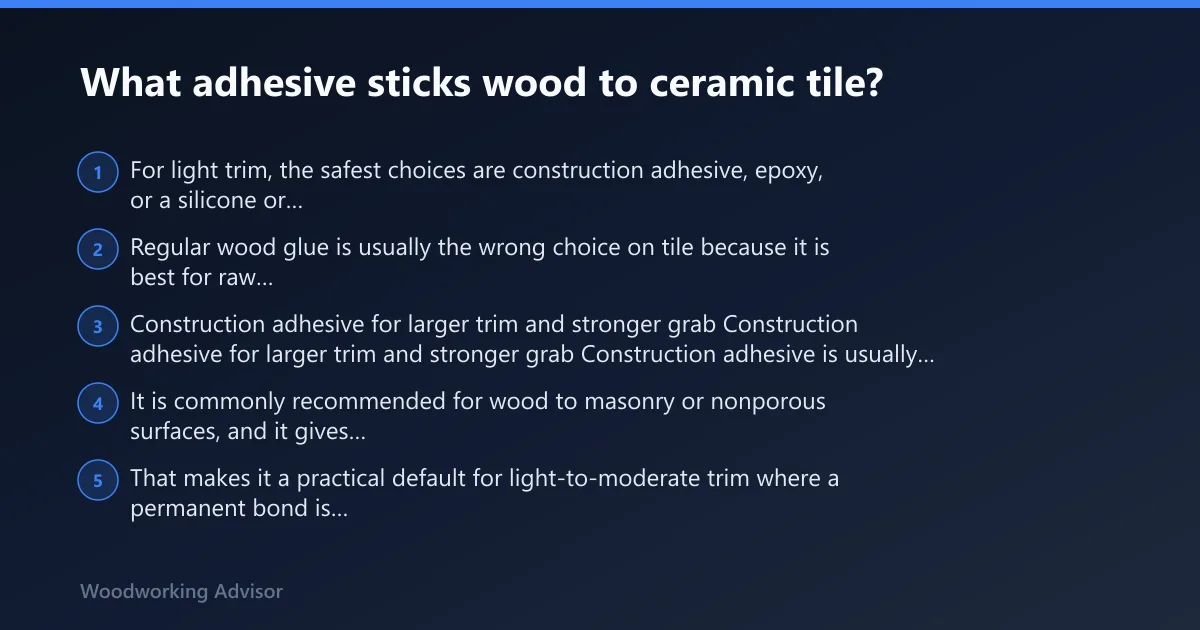
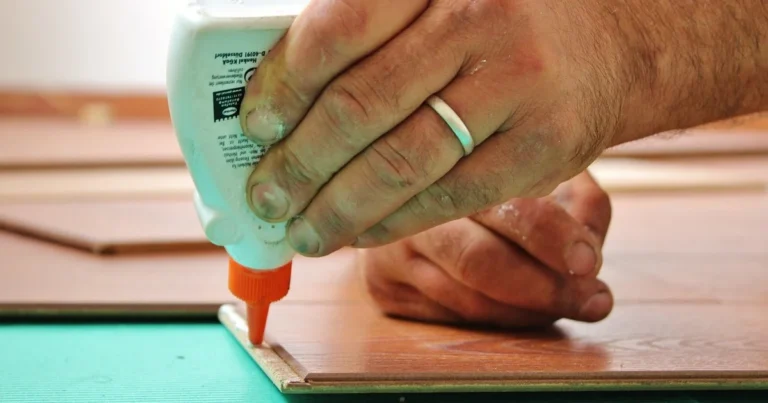
For light trim, the safest choices are construction adhesive, epoxy, or a silicone or hybrid sealant, depending on weight, moisture, and whether removal matters later. Regular wood glue is usually the wrong choice on tile because it is best for raw wood-to-wood joinery, not a hard, non-porous surface.
Construction adhesive for larger trim and stronger grab
Construction adhesive is usually a polyurethane or hybrid polymer. It is commonly recommended for wood to masonry or nonporous surfaces, and it gives strong initial grab plus gap-filling ability. That makes it a practical default for light-to-moderate trim where a permanent bond is acceptable.
Epoxy adhesive for high-strength or moisture-prone spots
Epoxy is a two-part mix that is often used for strong bonds, decent gap filling, and some moisture resistance. It is the better choice when the trim is short, the tile is a little uneven, or the area sees bathroom or kitchen moisture and you want the stiffest bond.
Silicone or hybrid sealant for small decorative edges
Silicone or hybrid sealants are best for small trims or decorative edges, not structural use. They stay flexible, which helps when the wood moves a little, but they should be treated as a light-duty option rather than a substitute for construction adhesive or epoxy.
Why standard wood glue is usually the wrong choice
Wood glue wants porous wood fibers on both sides of the joint. Tile gives it almost nothing to grab, and any humidity swing can peel a weak bond right off the glaze. For that reason, standard wood glue belongs on wood-to-wood joints, not tile.
Choose the safest adhesive with this decision table
Pick the lightest adhesive that still matches the job, because more strength is not always better when future removal matters. Trim weight, tile finish, moisture, and reversibility should drive the choice, not habit.
| Trim weight and thickness | Tile finish and surface | Room conditions | Need to remove later | Safest adhesive choice |
|---|---|---|---|---|
| Very light, thin decorative strip | Matte tile, clean and flat | Dry room | Yes, possibly | Silicone or hybrid sealant |
| Light trim, narrow profile | Glazed tile with light abrasion | Dry room or low splash area | No | Construction adhesive |
| Short trim, small gaps, or slightly uneven tile | Glossy tile, well prepared | Kitchen backsplash or damp-adjacent area | No | Epoxy adhesive |
| Any piece that may be pulled, leaned on, or loaded | Any finish | Any room | Any | Do not rely on glue alone |
Do you need to sand tile before gluing wood to it?
Usually yes, but only lightly. Clean, degrease, and remove grout haze first, then lightly abrade the glaze with a fine grit sanding pad if the tile allows it. The aim is to dull the shine, not gouge the surface, and dry-fit the piece before any adhesive goes on.
Clean, degrease, and remove grout haze first
Tile should be cleaned with a degreaser or solvent before bonding. That step removes cooking residue, soap film, wax, and anything else that interferes with wetting the surface. If grout haze is left behind, the adhesive may stick to the haze instead of the tile.
When light abrasion helps and when to avoid it
A fine grit sanding pad can improve grip on glazed tile. Use light pressure and stop once the shine is dulled. If the tile is brittle, decorative, or already chipped, aggressive sanding can create more risk than benefit.
Dry-fit the piece before any adhesive goes on
Dry-fitting checks length, contact points, and visibility before the bond becomes permanent. It also shows where grout lines leave gaps, where the wood is warped, and where the strip needs trimming to sit flat.
How to attach trim to tile without drilling
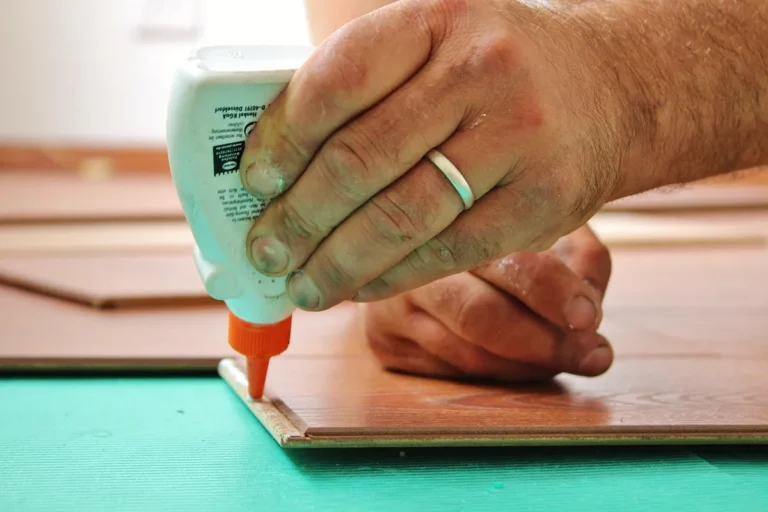
Prep both surfaces, apply the adhesive in a pattern that gives full contact, then clamp or weight the piece during cure. For light decorative strips, a thin, even adhesive layer is better than a few thick blobs that create voids and weak spots.
Prep both surfaces
Tile needs cleaning and light abrasion. Wood needs a flat, dust-free back face, and prefinished wood often needs its glossy coating dulled where the adhesive will sit. If the back of the trim is sealed and slick, the bond can fail at the wood side instead of the tile side.
Apply adhesive in the right pattern
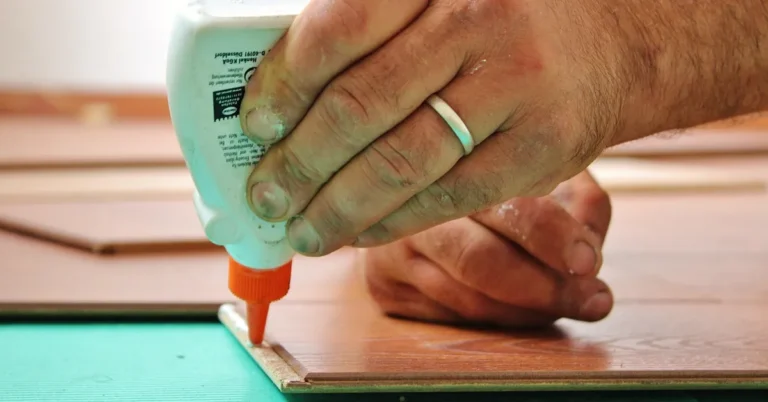
Run enough adhesive to make full contact, but avoid so much squeeze-out that it contaminates visible grout or finishes. For narrow trim, a continuous bead or spaced beads that compress into a near-solid layer usually works better than random dabs.
Clamp or weight the piece during cure
Clamping or weighting holds the trim in place while the bond sets. Cure time depends on the product, so the piece should stay supported until the adhesive reaches handling strength and then continue curing without stress.
Let the bond cure fully before loading it
For stressed joints, Family Handyman says not to stress the joint for at least 24 hours. That is a useful floor, not a guarantee for every product. Thicker beads, cooler rooms, and damp conditions often need more time. (familyhandyman.com)
What causes wood trim to pop off tile?
Most failures come from poor surface prep, glossy tile, silicone residue, prefinished wood, or a bad fit over grout lines. Bathroom moisture and seasonal wood movement make weak bonds fail faster, especially when the trim was forced against uneven tile instead of fitted to it.
Glossy tile, silicone residue, and poor cleaning
Old caulk residue is a common problem because many adhesives will not bond well to cured silicone. Soap film and wax cause similar trouble. If a tile feels slick after cleaning, the bond may look fine at first and still fail later.
Prefinished wood and warped stock
Prefinished trim can resist adhesion on the back side unless the finish is dulled. Warped stock is worse, because adhesive ends up bridging a hollow instead of bonding across a flat surface. That leaves a weak line waiting to pop.
Grout lines, gaps, and uneven contact
Grout lines reduce bond area and can create rocking points. If the tile is uneven, the trim should be scribed or shimmed so the adhesive layer is not being asked to fill a large unsupported void.
Bathroom moisture and seasonal wood movement
Moisture control matters in kitchens and bathrooms. Check wood moisture content before installation, aim for interior-dry stock, and use moisture-tolerant products where needed. A stable, dimensionally better behaved piece is less likely to shear the bond loose.
What should I do if the tile is uneven or the wood is warped?
Do not force a warped strip onto uneven tile and hope the adhesive will fill everything. Flatten, recut, or replace the wood if possible, and use a product with gap-filling ability only for small irregularities. If the gap is obvious by eye, the joint is already asking for trouble.
Flatten or replace the wood first
Engineered wood is often more dimensionally stable than solid wood, and a flat back improves bond quality. If the piece twists, cup bends, or rocks on a bench, it will do the same on tile and put constant peel stress on the adhesive.
Deal with small irregularities, not large ones
Epoxy is the best fit when there are minor surface voids, because it fills gaps while curing hard. Construction adhesive can also bridge modest irregularities. Silicone or hybrid sealant should be reserved for light decorative edges, not for hiding bad fit.
Know when to stop and use fasteners instead
If the tile is too uneven, the wood too warped, or the piece too heavy, adhesive is the wrong answer. Drilling, anchors, or a different mounting method may be safer, especially in a wet room where failed glue can damage both surfaces during removal.
How long does glue need to cure on tile?
Most tile bonds need enough time for initial grab and then full cure before any load or movement. That timing varies by adhesive and room conditions, but the practical rule is simple: hold the piece still, keep it dry, and avoid stressing the joint until the adhesive has fully set.
Expect hold time, then full cure
Clamping or weighting is often needed during the first phase, especially on vertical tile. After that, the bond may feel firm but still be curing inside. Rushing the next step is a common reason a clean-looking installation later peels off.
Temperature and humidity matter
Cool rooms can slow curing. Damp rooms can slow curing. That is why bathroom work needs extra patience and, where appropriate, moisture-tolerant adhesive choices. A bond that seems ready can still be weak if the room stayed humid the whole time.
What is the safest way to attach trim to tile without drilling?
The safest no-drill method is to keep the load light, use the least aggressive adhesive that fits the job, and prepare both surfaces carefully. For thin decorative trim, a hybrid sealant can work. For stronger grab on light trim, construction adhesive or epoxy is safer.
Use glue only for decorative duty
The main point is that glue is generally suitable for decoration and light trim, not for load-bearing use. Once the piece is expected to support weight, resist pull forces, or take daily abuse, adhesive alone stops being the safe choice.
Match the adhesive to the room
Dry rooms allow more flexibility. Kitchens and bathrooms need moisture-resistant products, better surface prep, and more cautious expectations. The wetter the room, the less forgiving the bond becomes.
How do you stop wood from popping off tile?
Stop failures before they start: clean the tile, remove residue, lightly abrade the glaze, use a flat and dry wood backer, and clamp or weight the piece through cure. Most pop-offs come from poor contact, poor prep, or movement that the adhesive was never meant to handle.
Watch the three weak points
The weak points are tile finish, wood movement, and fit. If any one of those is ignored, the best adhesive in the world can still fail. In practice, the bond survives when all three are handled with the same care.
Have a removal plan before you start
If the adhesive fails later, removal should protect the tile first. Work slowly with a thin putty knife or plastic scraper, soften residue only with methods safe for both materials, and expect that cured construction adhesive or epoxy may pull finish from the back of the trim during removal.
Frequently asked questions
Can you glue wood directly to tile?
Yes, for light trim or decor, but only after cleaning and light surface prep. Direct bonding is not a safe answer for shelves, hooks, or anything that carries real weight. Tile gives limited grip, and wood movement can still break the bond over time.
What glue sticks wood to ceramic tile?
Construction adhesive, epoxy, and silicone or hybrid sealants can all work, but for different jobs. Construction adhesive suits light trim and stronger grab, epoxy suits higher strength and moisture, and sealant suits tiny decorative edges. Standard wood glue is a poor pick on tile.
Will wood glue work on tile?
Usually no. Wood glue is best for raw wood-to-wood joinery, where fibers can absorb and lock the bond. Tile is hard and non-porous, so the glue has little to grab. A construction adhesive or epoxy is the safer route for tile.
Can construction adhesive hold wood on bathroom tile?
It can hold light trim or decor in a bathroom if the tile is cleaned, lightly abraded, and the wood is dry and stable. Bathroom humidity raises the risk, though, so construction adhesive should not be treated as a fix for anything structural or heavily handled.
Sponsored / affiliate links. As an Amazon Associate I earn from qualifying purchases. I may earn additional commission from eligible campaigns.