Caulking Wood Siding in Cold Weather
Caulk wood siding gaps only if the wood is dry and the air is at least about 40°F, or use a sealant whose label says it can be applied at lower temperatures; if the joint is wet, icy, or moving from freeze-thaw, it is usually better to wait or repair it another way. Bad timing can trap moisture, weaken adhesion, and leave you recaulking by spring. This guide covers when to caulk, when to defer, and how to prep, apply, and finish a winter-safe seal.
Cold-weather siding basics


Exterior caulk on wood siding has to do more than fill a line. It must stand up to UV exposure, freeze-thaw cycling, and joint movement as the boards swell when wet and shrink when dry. That is why product choice matters more outdoors than indoors.
Wood siding also keeps moving after the bead cures. A sealant that is too rigid can crack at the edges, while one with the wrong finish can block paint or fail to blend with existing trim.
What winter changes
Cold can slow curing, and cool, humid weather can stretch full cure to as long as about 30 days depending on the chemistry. Skin-over and paint-over times also vary. A bead that looks set on top can still be soft underneath if the temperature stays low.
Freeze-thaw cycling drives seam failure because water expands when it freezes. On siding laps and trim joints, that repeated movement can open hairline cracks, break adhesion, and pull a bead away from the wood.
What wood siding needs from a sealant
For painted wood siding, a paintable sealant is usually the better match. Siliconized acrylic latex caulk is water-cleanup while wet, paintable, and commonly used where color match matters. One example product rating is 55% total joint movement.
For wet or high-moisture areas, 100% silicone sealant offers excellent flexibility and waterproofing. The tradeoff is paintability, since most silicone is not paintable. For siding that still needs paint, that limitation matters.
What you’ll need
- Exterior caulk or sealant matched to the joint
- Caulk gun for cartridge control
- Utility knife or razor scraper
- Rag or shop towel
- Exterior cleaner that leaves no residue
- Painter’s tape
- Backer rod for wider joints
- Tooling stick, plastic spoon, or gloved finger
- Paint for the planned finish, if the sealant is paintable
Can you caulk in cold weather?
Yes, but only when the surface is dry, the joint is sound, and the product label allows the temperature you have. A cold-day repair is reasonable for a narrow, stable seam that needs weather sealing and can be kept clean during cure.
If the siding is damp, frosty, icy, or actively moving, stop and wait. In those conditions, adhesion is less reliable and the bead is more likely to fail at the edges before spring.
When a cold-day repair is reasonable
Use a winter repair when you can clean the joint fully, the gap is narrow, and the boards are not shifting with weather changes. A painted siding seam around trim often fits this category if the wood is dry and the forecast stays above the product’s minimum application temperature.
When to stop and wait
Wait if the joint has visible moisture, ice, or frost, or if the boards have opened and closed with the weather. Do not use caulk as a cover for movement, rot, or a gap that keeps changing size. Those conditions call for repair, not a quick seal.
What temperature is too cold for caulking outside?
Surface temperature matters more than air temperature. A shaded wall can stay colder than the air, and a warm afternoon can still leave the siding too cold for adhesion if the panel never warms up. Check the board, not just the weather app.
In winter, the bigger issue is often moisture. If dew, frost, or ice is present, the sealant is trying to bond to water instead of wood. That is a poor setup even when the air temperature seems acceptable.
Surface temperature vs. air temperature
Use the product label first. Some sealants are rated for lower application temperatures, but that does not remove the need for a dry, stable surface. If the substrate is below the label limit, wait for warmer conditions or move to a repair method that does not depend on a fresh bead.
Moisture, ice, and dew point checks
Run a dry rag across the joint. If it comes away damp or frosty, stop. Check shady laps, the underside of trim, and the north side of the house, because those spots often hold moisture longer and freeze first.
Wood siding decision table
This table gives a practical winter rule for siding seams. Start with temperature and moisture, then look at gap width and movement risk before you choose a sealant or decide to wait.
| Surface temperature | Air temperature | Moisture or ice present | Gap width | Movement risk | Recommended sealant type | Caulk now or wait? |
|---|---|---|---|---|---|---|
| 40°F or warmer | 40°F or warmer | No | Hairline to 1/4 inch | Low | Siliconized acrylic latex caulk if paintable finish matters | Caulk now |
| 35°F to 39°F | 35°F to 39°F | No | Hairline to 1/4 inch | Low to moderate | Use only a sealant labeled for lower application temperatures; paintable if the joint will be painted | Caulk now only if the label allows it |
| Below 40°F | Below 40°F | No | Hairline | Low | Delay unless the product label specifically allows lower-temperature application | Usually wait |
| Any cold surface | Any | Yes | Any narrow gap | Low to moderate | None yet; dry the joint first | Wait |
| Any cold surface | Any | No | Over 1/4 inch | Moderate to high | Backer rod plus a paintable exterior sealant, or a different repair if the gap is structural | Wait or repair differently |
| Any cold surface | Any | Yes | Any | High | 100% silicone only if paint is not needed and the area is appropriate for it | Wait |
- Do not caulk over frost, ice, or wet wood.
- Do not fill a joint that keeps opening and closing.
- Do not use a nonpaintable sealant where color match matters.
- Do not treat rot, loose boards, or missing trim as a caulk job.
- Do not stuff caulk into a gap wider than the product can bridge.
How to caulk siding gaps
Start with a dry, stable seam and a sealant that fits the finish plan. For painted siding, a paintable exterior caulk is usually the right choice. For a damp-prone location that will not be painted, 100% silicone may fit better if the label matches the substrate.
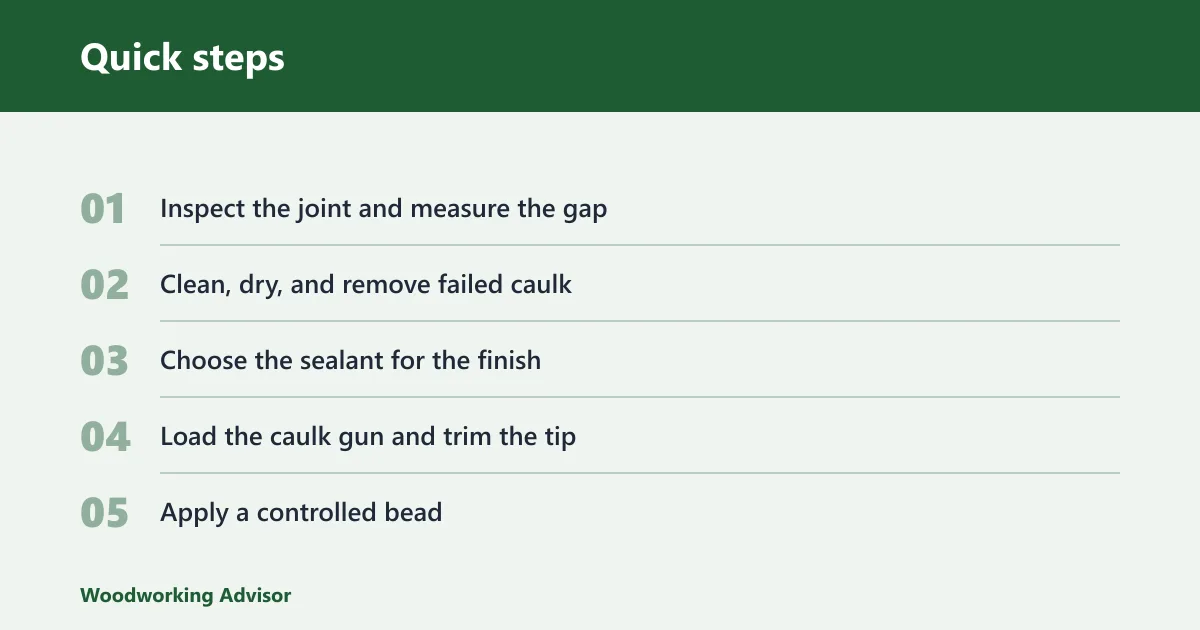
- Inspect the joint and measure the gap. If the opening is wider than 1/4 inch, plan for backer rod or another repair instead of a simple bead.
- Clean, dry, and remove failed caulk. Cut out loose material, scrape residue, and wipe away dust so the bead bonds to wood, not debris.
- Choose the sealant for the finish. Use siliconized acrylic latex when paintability matters; use 100% silicone when waterproofing matters more than paint.
- Load the caulk gun and trim the tip. Cut the nozzle for the bead size you need. A 10.1 oz tube covers roughly 25-30 linear feet at a 1/4-inch bead.
- Apply a controlled bead. Keep the gun moving at a steady pace so the bead fills the seam without smearing onto the siding.
- Tool the bead and protect it during cure. Smooth it immediately, then keep rain, condensation, and freeze-thaw exposure off the joint until it skins and cures.
Backer rod and wider gaps
For wider seams, backer rod helps control depth and supports the bead. That matters on exterior wood siding cracks because a deep void can make the caulk stretch too much and fail early. If the opening keeps growing, replacement of the board or trim is the better fix.
Two common winter scenarios
Say your painted lap siding has a 3/16-inch crack on the south wall, the board feels dry, and the forecast stays above 40°F. That is a good candidate for a paintable siliconized acrylic latex bead, followed by paint after the sealant skins.
Suppose the same crack appears on a north-facing wall with frost in the morning and a gap that opens slightly by afternoon. That points to moisture and movement, so the safer choice is to wait and inspect for board movement or hidden damage.
Common mistakes
Most winter failures come from trying to seal the wrong joint at the wrong time. Caulk is a finish repair for stable seams, not a cure for damp wood, structural movement, or rot.
Caulking over damp, icy, or dirty wood
Any moisture on the surface weakens the bond. Dirt does the same. If the joint is not fully clean and dry, skip the bead and come back when conditions improve.
Using the wrong sealant for movement or paint
Paintable and waterproof do not mean the same thing. Siliconized acrylic latex is better when the siding will be painted. 100% silicone is better where water resistance matters most and paint is not part of the job.
Sealing gaps that are too wide
A wide opening is often a symptom, not the problem. If the gap is large enough to need a lot of filler, look for movement, loose fasteners, or rot. Caulk alone will not stabilize a failing board.
Skipping cure protection
Cold, humid conditions slow cure, and freeze-thaw can disturb a fresh bead. Keep the repair dry while it sets, and do not paint until the product is ready. Dynaflex 230, for example, can be painted the same day after it skins over, but only after it reaches that stage.
Should siding be caulked?
Yes, but selectively. Caulk helps on painted wood siding where the seam is stable and the gap is narrow enough for the product to bridge. It is a maintenance repair for joints, not a substitute for damaged wood or changing board movement.
Caulking every few years is common on wood siding that is properly maintained. Wood siding expands when wet and contracts when dry, so joints need periodic attention. That is normal maintenance, not a sign that the siding has failed.
Where caulk helps
Use it at trim joints, small siding seams, and around exterior openings where the joint is stable and paintability matters. Exterior caulk is also common around windows and doors, but the same cold-weather rules still apply: dry surface, proper temperature, and the right chemistry.
Where a different repair is better
Choose a different repair when the board is loose, cracked through, softened by rot, or opening too widely with the weather. In those cases, replacing the board or repairing the trim gives a better result than packing a failing seam with sealant.
Frequently asked questions
What is the best caulk for exterior wood siding?
For painted siding and trim, a paintable siliconized acrylic latex caulk is usually the most practical choice. For wet or high-moisture spots where paint is not needed, 100% silicone sealant is the stronger waterproofing option. Match the sealant to the joint, not just the color.
How do you caulk exterior siding gaps?
Clean the joint, remove failed material, and check the width before you start. Use backer rod for wider seams, then apply a steady bead with a caulk gun and tool it smooth. Keep the area dry until the sealant skins and cures.
How do I caulk around wood siding without trapping moisture?
Only seal wood that is fully dry and stable. Leave out any joint that shows soft wood, active movement, or trapped water behind failed caulk. If the seam cannot dry, the better fix is repair or replacement, not a fresh bead.
Sponsored / affiliate links. As an Amazon Associate I earn from qualifying purchases. I may earn additional commission from eligible campaigns.