Nativity Patterns for Wood: Choosing the Right Style
Size the pattern to the display location first, then match it to your cutting method: 1/2-inch plywood or MDF fits many scroll saw and jigsaw patterns, while thicker stock and layered silhouettes are often better suited to band saw work. If the pattern is too small, too detailed, or too wide for your tools, you can waste material, snap parts, and end up with figures that are hard to paint or store. This guide compares common nativity pattern styles by skill level, tool choice, figure size, wood selection, storage, and outdoor durability.
What makes a nativity pattern worth using?



A useful wooden nativity pattern gives you a full-size or printable template that traces cleanly, fits your display area, and matches your tool. Good patterns also tell you if the design is meant for flat-pack assembly, self-standing display, wall mounting, or outdoor staking.
Full-size versus printable patterns
Full-size patterns save setup time because the shapes already match cutting scale. Printable patterns work better when you need to resize the scene for a mantel, shelf, porch, or yard. Either way, the pattern should show clean outlines, clear interior cutouts, and enough spacing so fragile parts do not break during cutting.
Pattern scale matters because a small increase in figure height can raise waste, cut time, and storage space. A design with many tiny details may look good on paper, but thin arms, narrow legs, and small stars are often the first points to fail in wood.
Flat-pack, self-standing, and wall-mounted layouts
Flat-pack patterns help when the set must fit in a closet after the season. Self-standing patterns need broad bases or interlocking feet. Wall-mounted or shadow box layouts work best when the display stays in one place and you want fewer parts touching the floor or yard.
| Pattern style | Skill level | Best wood thickness | Tool fit | Display location | Storage needs | Likely failure points |
|---|---|---|---|---|---|---|
| Classic silhouette | Beginner to intermediate | 1/2-inch plywood | Scroll saw or jigsaw | Mantel, shelf, wall | Flat stack | Thin arms, small cutouts, edge fuzz |
| Layered plywood scene | Intermediate | 1/2-inch to 3/4-inch plywood | Scroll saw for detail, jigsaw for outer cuts | Indoors or covered porch | Moderate stack | Misaligned layers, weak glue lines, excess weight |
| Rustic stable | Beginner to intermediate | Reclaimed boards and framing stock | Jigsaw, handsaw, drill | Mantel, porch, yard backdrop | Bulky pieces | Warped boards, split ends, loose joints |
| Chunky 2×4 figures | Beginner | 2×4 lumber | Jigsaw or handsaw | Shelf, floor, child-friendly display | Heavy stack | Tipping, rough edges, uneven bases |
| Shadow box | Intermediate | 1/2-inch plywood and thin backer | Scroll saw preferred | Indoor wall or table | Flatter than layered scenes | Depth errors, dark corners, fragile inner cuts |
| Outdoor yard scene | Intermediate | 3/4-inch exterior grade plywood | Jigsaw or scroll saw for smaller parts | Yard, porch, church lawn | Large panels | Weathering, stake failure, paint breakdown |
Say your shelf is narrow and you want a scene that stores flat in one box. A six-piece self-standing set fits that need better than a layered village scene, because there are fewer loose parts and less depth to protect during the off-season.
Which wood works best?
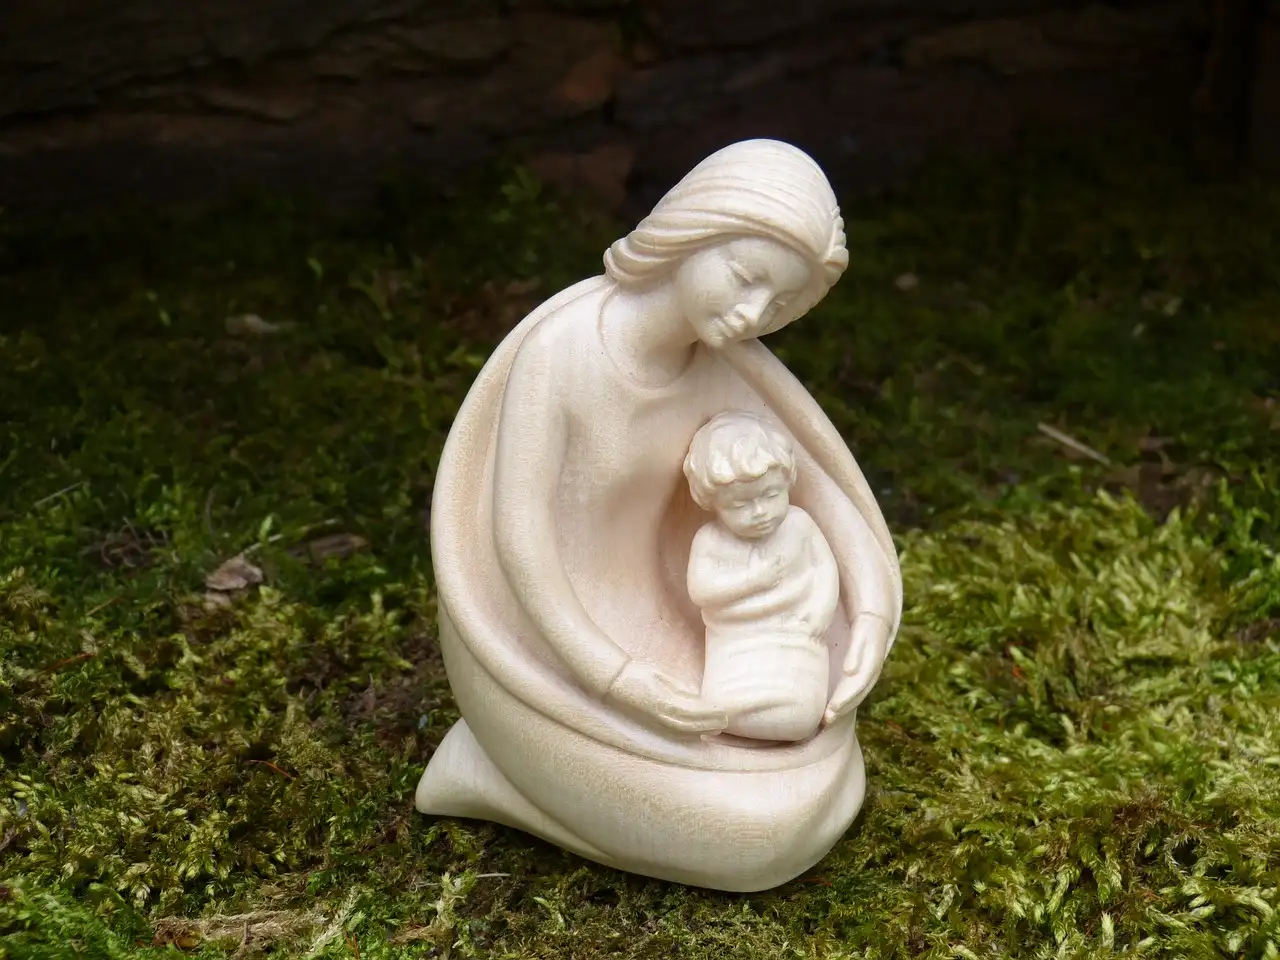
Plywood is a versatile starting point for nativity patterns because it traces cleanly and is commonly available in 1/2-inch and 3/4-inch stock. Use it for silhouettes, layered pieces, shadow boxes, and many outdoor patterns. The best choice still depends on where the scene will sit, how it will be cut, and how much handling it must take.
Plywood for silhouettes and layered pieces
For many indoor patterns, 1/2-inch plywood is easier to handle and lighter to store. 3/4-inch plywood gives more stiffness for outdoor use or large figures, but it also adds weight and blade load. Plywood edges can show layers, so plan for sanding and paint if the edge will be visible.
Reclaimed barnwood for rustic shelters
Reclaimed barnwood and fence boards fit rustic stable roofs, sidewalls, and backdrop pieces. Their weathered gray patina suits a rough-hewn look. The limit is consistency: old boards may be cupped, split, or contaminated with nails, so check each piece before using it in a pattern that needs straight lines and tight joints.
2×4 lumber for block-style figures
2×4 lumber works well for block-style Mary, Joseph, shepherds, and wise men because the shapes can be cut into graduated rectangles. That makes the design friendly for beginners and family projects. The tradeoff is bulk; block figures take more shelf space and can look heavy if the pattern is not balanced.
Outdoor plywood for yard displays
3/4-inch exterior-grade plywood suits porch and yard displays because it is stiffer and can be staked to the ground. Coat all faces and edges with primer and paint, then add stakes or a support frame so wind does not tip the set. Seal exposed edges carefully, since they absorb moisture first.
Can you cut a nativity pattern with a scroll saw?
Yes. A scroll saw is a strong match for detailed nativity figures, especially when the pattern includes fine silhouettes, interior cutouts, stars, or delicate hands and faces. It works best on thinner stock and on designs that need clean curves more than speed.
Fine blades for detailed figures
Fine blades help on small openings and narrow curves, but they also raise the chance of breakage if the pattern has thin bridges or sharp inside corners. If the design includes tiny fingers, halos, or thin animal legs, expect a slower cut and a higher chance of waste if the layout is too delicate.
When a scroll saw is the better choice
Choose a scroll saw when the pattern includes detailed silhouettes, nested layers, or small parts that would be awkward to steer with a jigsaw. It is also the better choice for paper patterns that have many interior pierce cuts. The tradeoff is blade stress on thicker stock and slower progress on large panels.
Where fragile cuts create trouble
A common first-timer mistake is choosing a detailed scroll saw pattern with narrow ankles or a thin star point on 1/2-inch plywood. Those parts can snap during cutting or later when the figure is moved. A slightly simpler outline often finishes cleaner and lasts longer than a very detailed one.
When is a jigsaw the better choice?
A jigsaw is the better choice for larger or simpler nativity patterns, especially when the wood is thicker or the project is meant for beginners. It handles broad curves, outer profiles, and rustic shapes well. It is less suited to tiny interior details that need very tight turns.
Simple cuts on thicker panels
Use a jigsaw for stable outlines, large figures, roof panels, and porch displays cut from 3/4-inch stock. The wider blade path makes it easier to keep moving on longer cuts, but it also means you should choose patterns without tiny inner openings or sharp decorative notches.
How to reduce tear-out on plywood
To limit tear-out, trace the pattern clearly, support the sheet close to the cut line, and cut at a steady pace instead of forcing the blade. Painter’s tape on the cut line can help some plywood faces, especially where the grain is loose. Sand the edges smooth after cutting so the figures are safer to handle.
How should you size a wooden nativity pattern?
Size the pattern to the display location first, then check the piece count and storage footprint. A mantel scene needs shorter figures and a shallow base. A porch or yard scene needs a wider stance, stronger support, and enough visible detail to read from a distance without becoming fragile.
Mantel and shelf dimensions
For mantels and shelves, the height and depth of the display matter as much as the figure count. Keep the tallest piece low enough to clear nearby decor, and leave room for any lighting, backdrop, or stable roof. A smaller pattern often cuts faster and stores more easily than a tall scene with many separate parts.
Porch and yard scale
Porch and yard scenes need larger silhouettes because viewers stand farther away. The Medium Silent Night Pattern is described as a 2/3 life-size display, which shows how scale changes the presence of a set. Larger outdoor patterns also increase transport weight and the amount of primer, paint, and staking support needed.
Base width, stability, and storage footprint
Self-standing patterns need a base wide enough to resist tipping. If the base is too narrow, the figures may lean after assembly or in light wind. Storage matters too: flat-pack patterns are easier to tuck away, while thick layered or block-style scenes need more shelf space between seasons.
Suppose a porch display uses 3/4-inch exterior plywood and a tall Joseph figure, but the base is kept narrow to save material. The scene may stand at first, then lean after a gust or when the ground softens. A wider base or stake system prevents that problem before it starts.
A simple pattern-selection checklist
- Confirm the display location: mantel, shelf, porch, or yard.
- Match the pattern to the tool: scroll saw for detail, jigsaw for larger cuts.
- Check wood thickness: 1/2-inch for many indoor patterns, 3/4-inch for stiffer outdoor pieces.
- Look at piece count and decide whether flat storage matters.
- Inspect the narrowest parts of the design for breakage risk.
- Choose an assembly style: flat-pack, self-standing, layered, or wall-mounted.
- For outdoor scenes, plan primer, paint, seal edges, and add stakes.
Frequently asked questions
How to make a nativity scene out of wood
Pick a design that fits your skill level, then choose wood based on where the set will live. Use plywood for most silhouettes and layered pieces, reclaimed boards for rustic shelters, or 2×4 lumber for block-style figures. Add paint or stain after sanding, and use lights if the scene will be viewed at night.
How do you size a wooden nativity pattern?
Measure the shelf, mantel, porch, or yard area first, then match the tallest figure and the widest base to that space. A printable pattern is useful when you need to resize the scene. Check piece count too, because more parts usually mean more cutting time and a larger storage footprint.
Can you make a nativity scene with a scroll saw?
Yes, especially for fine silhouettes, interior cutouts, and layered figures. A scroll saw is best with thinner stock and patterns that have smooth curves rather than many sharp corners. If the design has tiny narrow parts, it may be safer to simplify the outline or switch to a jigsaw for the larger cuts.
What tools do you need for a wooden nativity scene?
Most projects need a saw, sandpaper, a way to trace the pattern, and finishing supplies such as paint or stain. A scroll saw helps with detailed figures, while a jigsaw suits larger cuts. For outdoor sets, add primer, exterior paint, sealers, and stakes or another support method.
How do you store a flat nativity set?
Store flat nativity pieces in a labeled box or between sheets of cardboard so edges do not rub together. Wrap fragile figures separately if the pattern has thin parts. Flat-pack designs are easier to store than bulky block scenes, and a six-piece self-standing set is a good example of that convenience.
Sponsored / affiliate links. As an Amazon Associate I earn from qualifying purchases. I may earn additional commission from eligible campaigns.