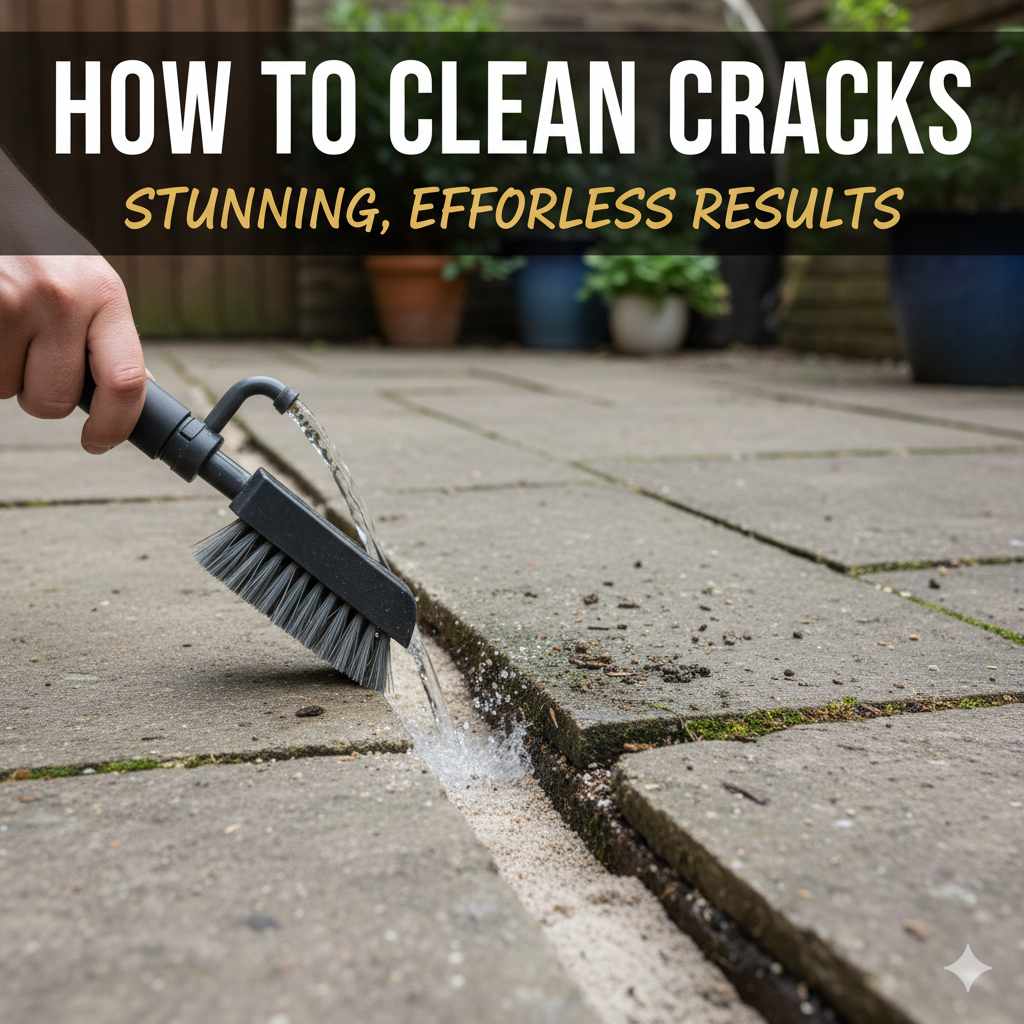
How to Clean Cracks: Stunning, Effortless Results
Effortlessly clean cracks in hardwood floors with simple DIY methods using common household items and gentle tools. Achieve stunning, refreshed results with minimal fuss, bringing back your floor’s natural beauty.
Are those persistent dark lines between your hardwood floor planks making your beautiful floor look tired and neglected? You’re not alone! Many homeowners find that even with regular sweeping and mopping, the dirt, dust, and grime seem to settle deep into those narrow crevices, no matter how hard they try. It can be frustrating when your floors lose their luster, but don’t worry! With a few easy tricks and simple tools, you can banish that stubborn debris and reveal the gorgeous finish underneath. This guide will walk you through everything you need to know to get your hardwood floor cracks looking like new, bringing a touch of brightness back to your home.
We’ll cover the best methods, the tools you’ll need, and some handy tips to keep those cracks clean long-term. Get ready to tackle this common issue and be amazed by the stunning, effortless results you can achieve!
Why Do Cracks in Hardwood Floors Get Dirty?
Hardwood floors, especially older ones, naturally develop small gaps between the planks. As wood dries and shrinks over time, these gaps can widen slightly. These spaces become perfect little traps for dust, dirt, pet dander, food crumbs, and all sorts of small debris. When you sweep or mop, the larger particles might get pushed around, but the finer particles and dust easily get wedged into these cracks. If left unchecked, this settled dirt can be hard to remove, making the entire floor look dull and uninviting. Some debris, like grease or sticky spills, can even become embedded, leading to stains that are tough to tackle.
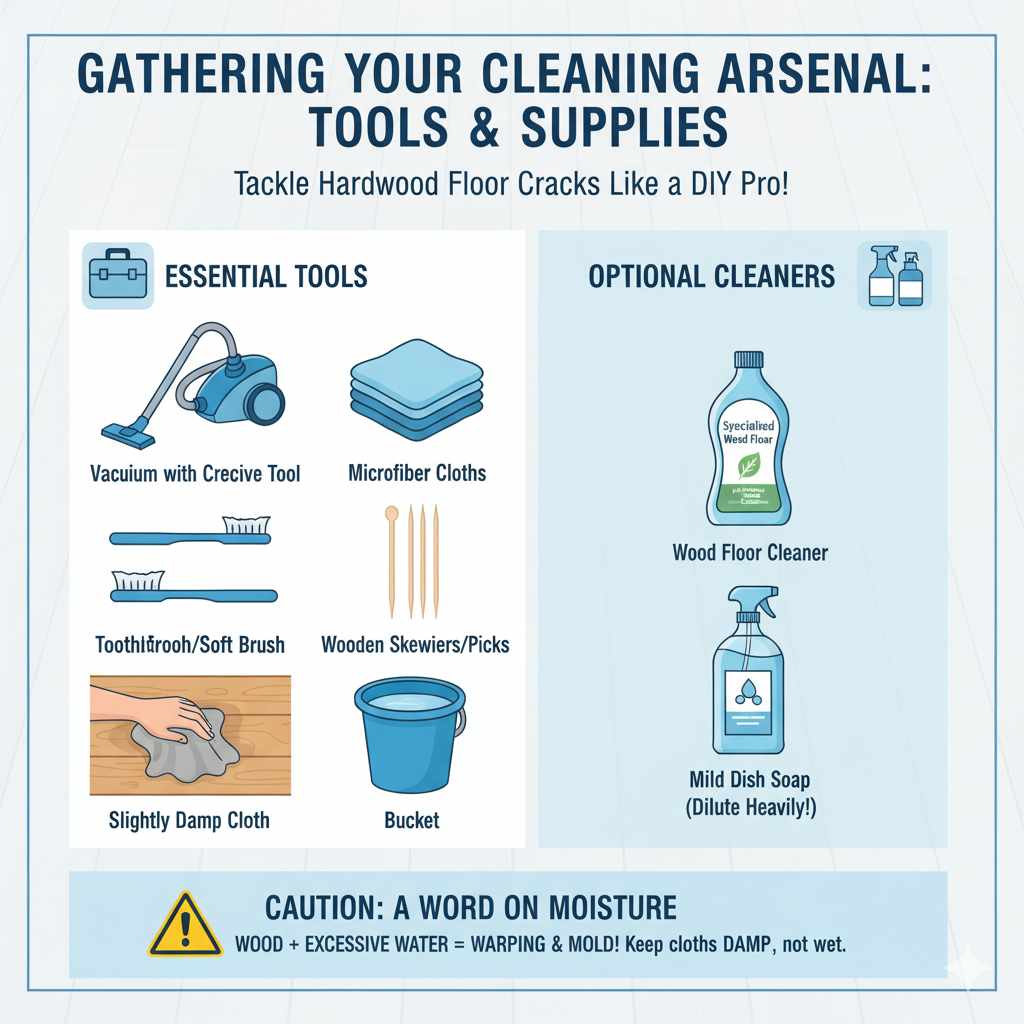
Gathering Your Cleaning Arsenal: Tools and Supplies
Before we dive into the cleaning process, let’s make sure you have everything you need. The great news is that you likely already own most of these items, or they are very inexpensive to acquire. This makes cleaning your hardwood floor cracks a budget-friendly DIY project!
Essential Tools:
- Vacuum Cleaner with Crevice Tool: This is your first line of defense. A good vacuum with a specialized attachment for narrow spaces is invaluable.
- Microfiber Cloths: Soft, absorbent, and non-abrasive, microfiber cloths are ideal for most wood cleaning tasks.
- Old Toothbrush or Soft-Bristled Brush: Perfect for gently loosening debris stuck deep within the cracks.
- Wooden Skewers or Toothpicks: For delicately picking out larger, stubborn bits of gunk.
- Slightly Damp Cloth: For wiping away residual moisture and loosened dirt.
- Bucket: To hold your cleaning solution or rinse water.
- Optional: Specialized Wood Floor Cleaner: Choose a pH-neutral cleaner specifically designed for hardwood floors.
- Optional: Mild Dish Soap: A tiny amount can be used if you don’t have a dedicated wood cleaner, but always dilute it heavily.
Should You Use Water? A Word on Moisture
Wood and excessive water are not friends. Too much moisture can cause hardwood planks to warp, swell, or even develop mold and mildew. Therefore, when cleaning cracks, always err on the side of caution. A slightly damp cloth is usually sufficient for wiping away loosened dirt. If you’re using a cleaning solution, ensure it’s designed for wood and apply it sparingly to your cloth, not directly to the floor. Always follow up with a dry cloth to remove any lingering moisture.
Step-by-Step Guide: Cleaning Your Hardwood Floor Cracks
Ready to get started? Follow these simple steps for a sparkling clean finish. We’ll break it down into easy-to-manage stages so you can see the difference as you go.
Step 1: Dry Removal of Loose Debris
The first and most crucial step is to remove as much loose dirt and debris as possible without using liquids or excessive scrubbing. This prevents you from pushing dirt deeper into the cracks when you start cleaning with moisture.
- Vacuum Thoroughly: Start by vacuuming your entire floor. Pay extra attention to the areas between the planks.
- Use the Crevice Tool: Attach the crevice tool to your vacuum cleaner. This narrow tool is designed to get into tight spaces. Go slowly along each crack, holding the tool as close to the floor as possible. This will suck up a surprising amount of dust and debris.
- Sweep with a Stiff Brush: For any remaining loose debris that the vacuum missed, use a stiff-bristled brush (like a grout brush or a firm paintbrush) to gently sweep dirt out of the cracks. Brush outwards towards an open area where you can then vacuum it up.
Step 2: Loosening Stubborn Grime
Sometimes, dirt gets packed into the cracks and won’t budge with just vacuuming. This is where a little gentle persuasion comes in.
- Employ the Toothbrush Method: Take an old, clean toothbrush or a soft-bristled brush. Gently scrub along the length of each crack. Work in short, side-to-side or back-and-forth motions to loosen embedded dirt. Be gentle; you don’t want to scratch your flooring.
- For Very Stubborn Bits: If you encounter small, caked-on pieces of debris, you can carefully use a wooden skewer or a sturdy toothpick. Delicately pick out these bits of gunk. Be patient and avoid digging too deeply, which could damage the wood or finish.
- Vacuum Again: After using your brush or skewer, vacuum the floor again to remove all the loosened debris from Step 2.
Step 3: Gentle Cleaning with Moisture
Now that the dry debris is gone, we can tackle any lingering dirt or grime. Remember, less is more when it comes to moisture on hardwood.
- Prepare Your Cleaning Solution: If you’re using a commercial hardwood floor cleaner, follow the manufacturer’s instructions. Usually, this involves diluting it in water. If you’re using a very mild solution of dish soap, use just a drop or two in a bucket of water. Too much soap will leave a residue.
- Dampen Your Cloth: Dip a clean microfiber cloth into your chosen cleaning solution, and then wring it out thoroughly. The cloth should be barely damp, not wet.
- Wipe Along the Cracks: Work in small sections. Gently wipe your slightly damp cloth along each crack. You can wrap the cloth around a thin, flat object like a credit card or a plastic putty knife to help guide it into narrower gaps, or simply use the edge of the cloth. This will pick up any residue and remaining dirt.
- Rinse Your Cloth Periodically: As your cloth picks up dirt, rinse it thoroughly in clean water (or a separate bucket with just plain water) and wring it out again. You don’t want to spread dirty water back onto your floor.
Step 4: Drying and Polishing
The final step is crucial for protecting your hardwood floor’s finish and ensuring a lovely sheen.
- Dry Immediately: Use a clean, dry microfiber cloth to immediately wipe down the cleaned cracks and the surrounding plank surfaces. This removes any residual moisture.
- Buff if Desired: For an extra touch of shine, you can gently buff the cleaned areas with a dry cloth. This step also helps to ensure no streaks are left behind.
Maintenance Tips for Clean Cracks
Keeping your hardwood floor cracks clean is easier if you establish a regular maintenance routine. Here are some tips to help:
- Frequent Sweeping/Vacuuming: Aim to sweep or vacuum your floors at least once or twice a week, paying special attention to the cracks. This prevents dirt from accumulating in the first place.
- Use Doormats: Place sturdy doormats both inside and outside all exterior doors. This is your first line of defense against tracked-in dirt and grit, which are prime perpetrators of floor grime.
- Consider Area Rugs: In high-traffic areas like entryways or living rooms, area rugs can significantly reduce the amount of dirt and wear on your hardwood floors, including in the cracks.
- Address Spills Immediately: Wipe up any spills as soon as they happen. Use a slightly damp cloth, and then dry the area. Don’t let liquids sit on the wood.
- Avoid Harsh Cleaners: Never use abrasive cleaners, steel wool, or excessive amounts of water on your hardwood floors. These can damage the finish and the wood itself. For a comprehensive guide on wood floor care, the U.S. Environmental Protection Agency (EPA) offers excellent advice on greener cleaning practices that are safe for many household surfaces.
- Regular Deep Cleans: Depending on your household traffic, aim for a more thorough clean every one to three months. This would involve the step-by-step process outlined above.
When to Call a Professional
While most crack cleaning can be handled with DIY methods, there are times when you might need professional help. If you notice:
- Deeply Embedded Stains: Some stains, especially from old pet accidents or rust, might have penetrated the wood and require specialized treatment.
- Significant Damage: If the cracks are very wide, or if you see signs of rot, mold, or significant warping, it might be beyond simple cleaning.
- You’re Unsure About Your Floor’s Finish: Some antique or specially finished hardwood floors require very specific care that a professional can provide.
- Extensive Cleaning Needed: For very large homes or severely neglected floors, professional detailing might be more efficient.
A professional refinisher or floor cleaner can assess the situation and recommend the best course of action, ensuring your floors are cared for correctly.
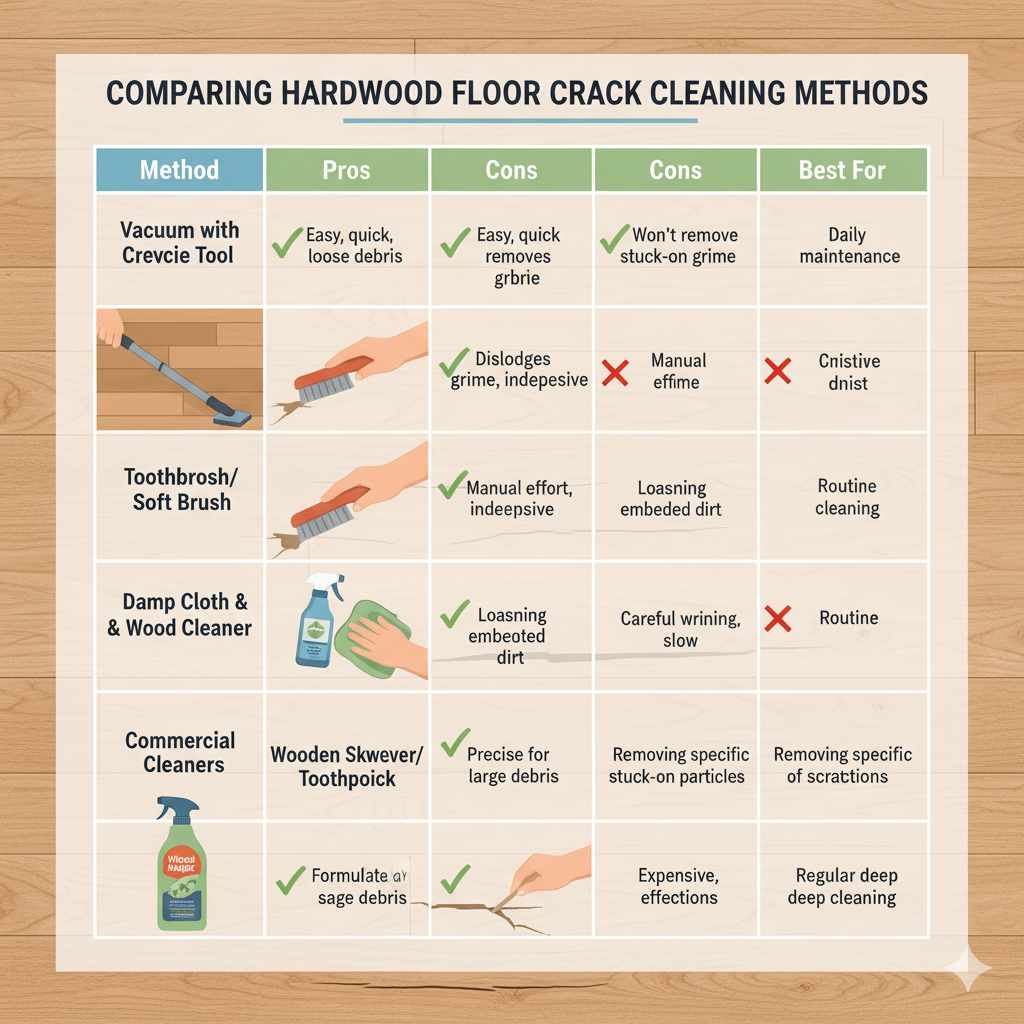
Comparing Cleaning Methods
To help you choose the best approach for your needs, here’s a quick comparison of some common methods for cleaning hardwood floor cracks.
| Method | Pros | Cons | Best For |
|---|---|---|---|
| Vacuum with Crevice Tool | Easy, quick, removes loose debris efficiently. | Won’t remove stuck-on grime or stains. | Daily/weekly maintenance, removing surface dust. |
| Toothbrush/Soft Brush | Good for dislodging grime from cracks. Inexpensive tool. | Can miss finer dust; requires manual effort. | Loosening embedded dirt before wiping. |
| Slightly Damp Cloth & Wood Cleaner | Effective for removing light grime and residue. Safe for finished wood. | Requires careful wringing of cloth; slow for large areas. | Light cleaning after dry removal, routine maintenance. |
| Wooden Skewer/Toothpick | Precise for picking out larger debris chunks. | Time-consuming; risk of scratching if not careful. | Removing specific, large stuck-on particles. |
| Commercial Wood Floor Cleaners | Formulated to be safe and effective for hardwood. | Can be expensive; always follow instructions. | Regular deep cleaning, residue removal. |
Frequently Asked Questions (FAQ)
Q1: How often should I clean the cracks in my hardwood floors?
For best results, aim for a quick vacuum or sweep of the cracks at least once a week to catch dust and debris. A more thorough clean using a damp cloth and cleaner is recommended every 1-3 months, depending on traffic and how quickly they get dirty.
Q2: Can I use a bleach or ammonia-based cleaner on my hardwood floor cracks?
Absolutely not. Bleach and ammonia are harsh chemicals that can strip the finish off your hardwood floors, cause discoloration, and damage the wood itself. Always use cleaners specifically labeled for hardwood or a very mild, diluted soap solution.
Q3: My cracks are very wide. Is it safe to clean them?
Yes, it is generally safe to clean wide cracks, but you need to be extra cautious. Use your crevice tool generously, and consider using a slightly wider tool or a thicker cloth to work into the wider gaps. However, very wide cracks can sometimes indicate larger issues with the flooring itself, such as shrinkage due to humidity changes. If the cracks are excessively wide or you see any signs of damage, consult a flooring professional.
Q4: What if I have pets? How do I clean pet hair and dander from floor cracks?
Regular vacuuming with a good pet-hair attachment is crucial. The crevice tool is your best friend here. You can also try using a slightly damp microfiber cloth to wipe along the cracks after vacuuming; the dampness helps hair cling to the cloth.
Q5: Can I use a steam cleaner on my hardwood floors?
It’s generally not recommended to use steam cleaners on most hardwood floors. The high heat and moisture can be too intense for the wood and its finish, potentially causing it to warp, swell, or delaminate. Always check your flooring manufacturer’s recommendations, but most advise against steam cleaning.
Q6: My floor has a dark, almost black grime in the cracks. What can I do?
Dark grime usually indicates dirt that has been there for a long time and possibly mixed with oils or spilled substances. After dry removal, try using a dedicated hardwood floor cleaner with your slightly damp cloth. You may need to gently scrub with a soft brush or toothbrush. For very stubborn, dark stains that don’t come out with standard cleaning, you might need a specialized wood floor cleaner designed for tougher jobs, or consider consulting a professional.
Conclusion
Tackling the cracks in your hardwood floors doesn’t have to be a chore. By using the right tools and simple, gentle techniques, you can effectively remove that stubborn dirt and grime, restoring the beautiful, clean appearance of your floors. Remember, consistent, light maintenance is key to preventing heavy build-up. Start with dry removal methods, use moisture sparingly, and always finish by drying thoroughly. With these steps, you’re well on your way to enjoying stunning, effortless results that will bring a renewed sense of warmth and polish to your home. Happy cleaning!