How to Glue a Broken Chair Leg Back Together Safely
Glue works only on a clean split or a loose joint that still fits tight; if the leg is crushed, missing wood, or split through the load path, replace or reinforce it. A bad fix can fail under a sitter’s weight and dump the chair. This guide shows how to spot the failure, choose glue, clamp, splint, or replace, and make the smallest repair that can still carry load.
What you’ll need


- Fresh wood glue for tight wood-to-wood joints
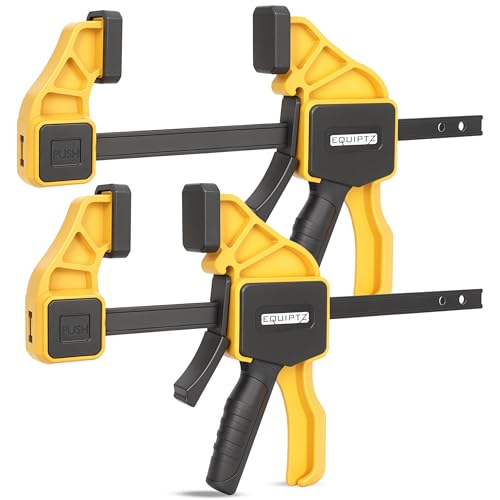
- Clamps that can reach the joint without twisting the leg
- Small cauls or scrap pads to spread clamp pressure
- Masking tape for marking alignment before disassembly
- Scraper, utility knife, or chisel for old glue residue
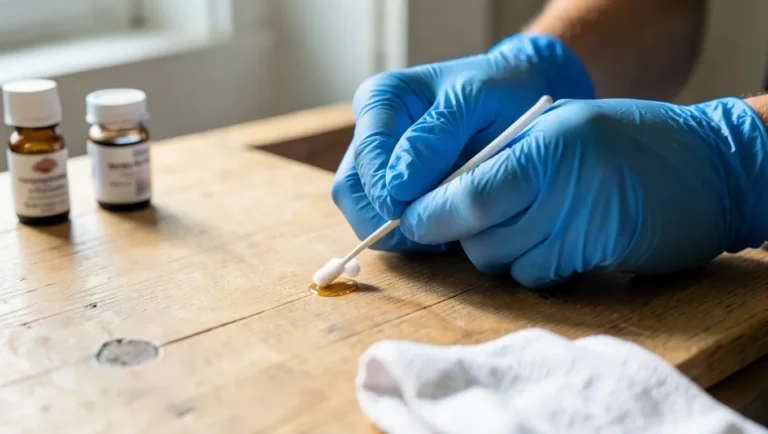
- Rag, water, and a small brush for cleanup
- Square or straightedge for checking leg alignment
- Optional reinforcement: dowels, splines, brackets, bolts, or corner blocks
According to How much to fix a chair leg? – Winstar Furniture Accessory — A simple chair leg repair can cost $100–$130 for stick chairs.
How do you tell if the chair leg is just wobbly or actually broken?
A wobble often points to a loose tenon-and-mortise joint; the leg still meets the socket, but the fit has opened up. A broken leg may show a visible snap, a split through the grain, crushed wood, or a missing section. If the chair rocks under hand pressure, stop using it before the joint opens farther.
Look for the failure pattern
Move the leg by hand, not by sitting on it. A loose joint will move at the shoulder or apron, while a snapped leg usually opens on the leg itself. Diagonal grain can fail where the leg angle changes, so inspect the whole load path, not only the obvious crack.
Check for crushed or missing wood
If the socket is out of shape, the tenon is damaged, or fibers are missing, glue alone may not restore the bearing surfaces. That is the point where a simple re-glue stops being the smallest useful repair.
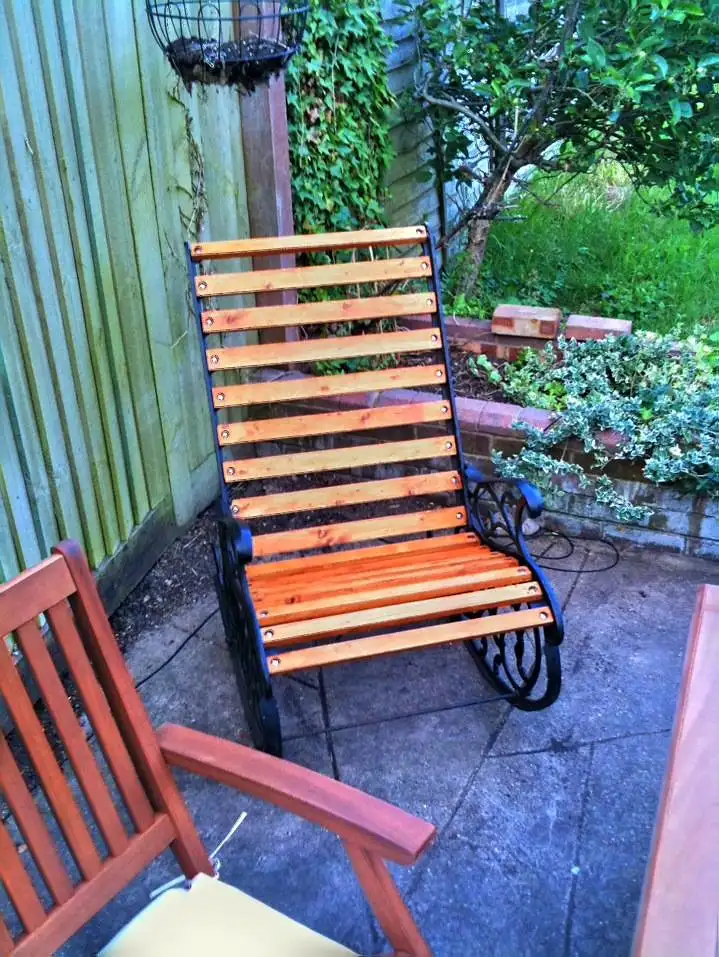
What the damage actually tells you
The failure type decides the repair. Loose joints want separation and regluing. Clean breaks can be glued if the pieces fit tightly. Crushed sockets, stripped holes, and missing wood need rebuild work or reinforcement. If the grain has split along the leg, the leg may still be salvageable, but only if the break closes tight and the load path is intact.
| Failure type | Prep | Glue choice | Clamp approach | Stop point for pro repair |
|---|---|---|---|---|
| Loose joint | Separate joint, remove old glue, dry-fit | Wood glue for tight-fitting wood-to-wood surfaces | Clamp in final position with cauls | Stop if the joint is too sloppy to center |
| Clean break | Align grain, clean both faces bare | Wood glue; epoxy only if fit is imperfect and rebuild is needed | Even pressure, no side twist | Stop if the break is crushed or missing fibers |
| Crushed tenon/socket | Remove damaged wood, assess fit loss | Rebuild adhesive or epoxy with reinforcement | Clamp with fixtures that restore shape | Stop if the socket is too loose for registration |
| Split or missing wood | Stabilize split, fill or replace lost section | Glue plus splines, dowels, or replacement stock | Clamp to close split and hold alignment | Stop if the leg will not hold shape after rebuild |
What you’ll need before you start
Use wood glue only on tight-fitting wood-to-wood chair repairs. For softwood chair frames with weak fastener areas, through-bolts with washers or heavy corner blocks may be needed. A broken chair leg can also need fluted doweling to avoid the piston effect, or inline maple splines when the split follows the grain.
Should you glue it, or take it apart first?
A loose chair joint is usually best taken apart before regluing it. Old glue residue must not be covered with new wood glue, because it blocks fresh adhesive from bonding well and often causes the same wobble to return. If the leg is snapped, take a different path: clean, align, and repair the break rather than forcing a loose-joint method onto it.
Keep the alignment when you disassemble
Mark the orientation before pulling the joint apart. I put masking tape across the failing joint before disassembly so the parts go back at the same rotation and angle. That matters on chair legs, where a small twist leaves the chair out of square.
Know when disassembly is the wrong move
If the chair leg is broken into multiple pieces, crushed at the socket, or missing wood, complete disassembly may create more damage than it solves. In those cases, rebuild the bearing surface or move to reinforcement.
Chair-leg repair decision checklist
Use the smallest repair that can still carry load. If the branch below does not fit the damage, step up one level. When in doubt, stop at the first branch that matches the failure and do not try to make a poor fit work with extra glue.
- Loose joint: Separate the joint, scrape to bare wood, use wood glue, and clamp it square. Stop for pro repair if the tenon no longer centers.
- Clean break: Dry-fit the grain, clean both faces, glue, and clamp with even pressure. Stop if the break is crushed or the mating faces do not close fully.
- Crushed tenon/socket: Remove damaged fibers, rebuild shape, then use glue plus reinforcement. Stop if the socket is too oversized for a solid fit.
- Split or missing wood: Add a spline, dowel, patch, or replacement stock before clamping. Stop if too much leg section is gone to restore strength.
How to repair a chair leg step by step
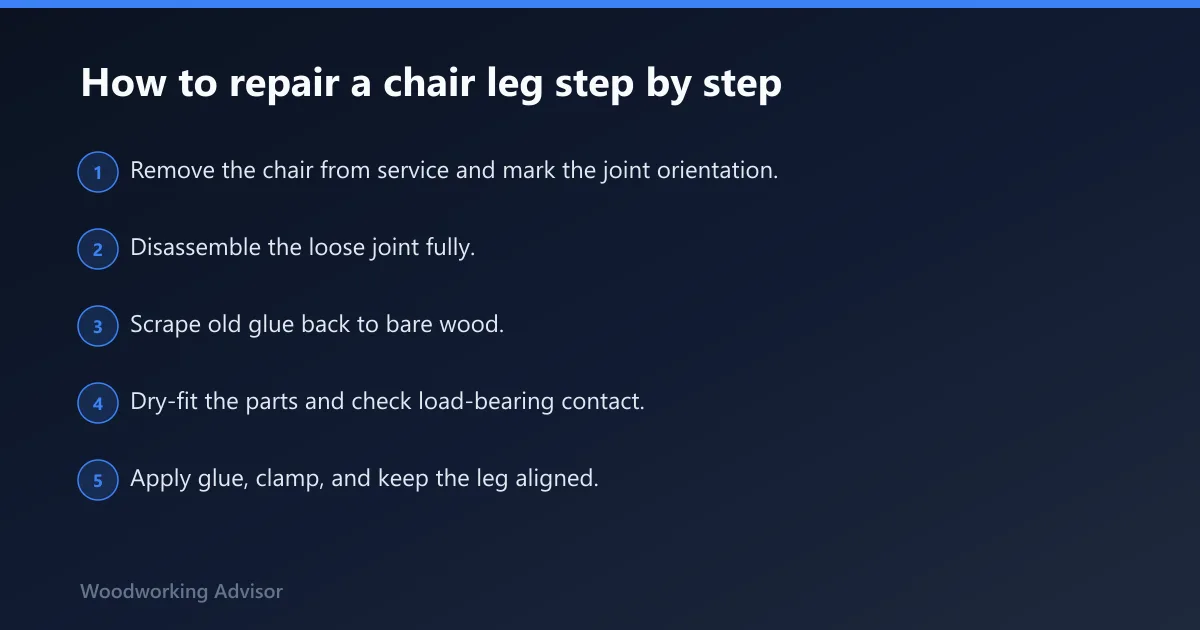
- Remove the chair from service and mark the joint orientation.
- Disassemble the loose joint fully.
- Scrape old glue back to bare wood.
- Dry-fit the parts and check load-bearing contact.
- Apply glue, clamp, and keep the leg aligned.
- Leave the clamp in place until fully cured.
- Add reinforcement only if the joint still needs it.
Step 1: Remove the chair from service and mark alignment
Do not test it by sitting down again. Mark the leg, rail, and socket before anything moves so the repair goes back together in the same orientation. That keeps the chair square and stops a twist from becoming a permanent wobble.
Step 2: Disassemble the joint if it is loose
Pull the joint apart carefully. If it resists, work slowly instead of prying hard enough to split the surrounding wood. A loose chair joint is usually a tenon that has shrunk over time, so the goal is to open it without enlarging the damage.
Step 3: Clean old glue back to bare wood
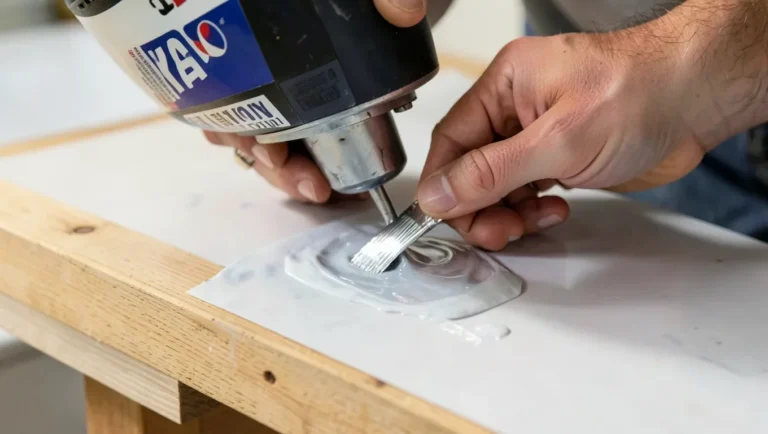
Remove every glossy patch of old adhesive. Old glue residue should be removed back to bare wood, since fresh wood glue is meant to bond to wood rather than to a layer of cured glue. On stubborn spots, use a scraper and a sharp knife, then dry-fit again.
Step 4: Dry-fit and check the load-bearing surfaces
Set the leg in place without glue. The parts should close fully with hand pressure and sit at the same angle they had before the failure. If the fit is sloppy, stop and add a rebuild or reinforcement step instead of counting on extra glue to fill the gap.
Step 5: Apply glue, clamp, and hold alignment
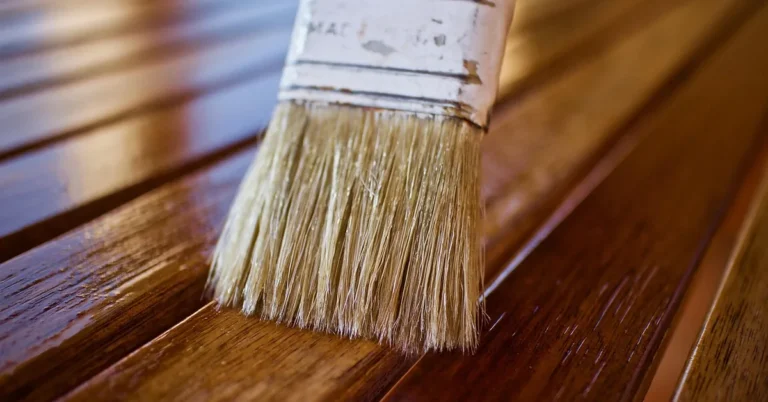
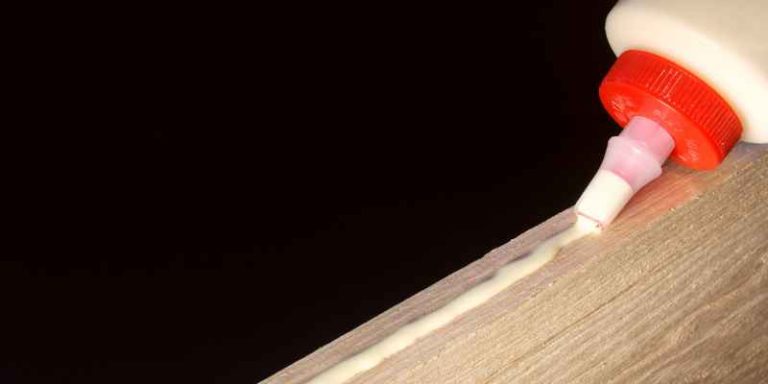
Brush on a thin, even coat of wood glue. Clamp the joint so the faces meet firmly but do not slide out of position. Use cauls where needed to keep the clamp from marking the wood, and watch the leg from two directions so the chair stays square.
Step 6: Cure fully before testing
Leave the clamp in place until the glue has set enough to hold. Do not rock the chair to “check” the repair early; that can shear the bond before it reaches strength. If the joint creaks or drifts under clamp pressure, reset it before the glue skins over.
Step 7: Add reinforcement only when the joint needs it
Use splines, dowels, brackets, bolts, or corner blocks when glue alone will not restore rigidity. Softwood frames, stripped fastener holes, and joints with missing material often need mechanical support. A thickened epoxy with steel embeds is a repair path for some badly compromised pieces, not a first-choice fix.
When is glue not enough?
Glue is not enough when the joint is too sloppy, the socket is crushed, the leg is split through the load path, or the break is missing material. In those cases, a repair needs rebuilt wood or mechanical reinforcement to transfer load. If the joint will not self-register during dry-fit, adhesive alone is the wrong tool.
Use reinforcement when the chair frame is weak
Stick chairs and frame chairs need different access and repair effort, and upholstered frame chairs add another layer of work. Corner blocks can help where a seat frame has lost rigidity. On softwood chair frames, through-bolts with washers or heavy corner blocks may be the cleaner answer than repeated gluing.
Choose replacement when the leg is beyond rebuilding
If the leg is missing a major section, split into multiple unstable pieces, or too worn to accept a sound joint, replacement is safer. Custom antique leg replication can run from $400 to $1,000, which is why a careful damage check matters before committing to that path.
Common mistakes that make the break come back
The most common failure is gluing over old residue. Another is clamping the leg out of square, which locks in a twist and keeps the chair from sitting level. Using the chair before full cure can weaken the bond. Trying to bond missing or crushed wood without rebuilding usually ends in another break.
What not to do
- Do not cover old glue with fresh wood glue.
- Do not clamp the leg in a new position just to make it look straight.
- Do not sit in the chair before the glue has fully cured.
- Do not hope extra glue will make up for missing wood.
Repair cost and when to call a pro
A simple chair-leg re-glue on stick chairs can cost $100–$130. Upholstered frame chairs often land at $130–$195+ because access takes longer and upholstery gets in the way. Custom antique leg replication can reach $400 to $1,000. The price climbs with access difficulty, missing wood, and how much rebuilding the joint needs.
DIY versus pro
DIY makes sense for a clean loose joint or a clean break with full contact faces. A pro is the better call when the chair is upholstered, the socket is crushed, the leg is missing material, or the repair needs matching old wood geometry. One failed DIY attempt often adds labor the second time around.
Prevention
Once repaired, keep the chair off uneven floors and stop tightening or rocking the leg during use. If the chair starts to move again, address it early while the joint still has recognizable shape.
Frequently asked questions
How do you fix a broken chair leg without making it worse?
Take the chair out of use, mark the leg orientation, and inspect whether the failure is a loose joint or a snapped leg. Clean to bare wood, dry-fit the parts, then use the lightest repair that still restores full contact and alignment.
Should I glue a chair leg back together or take the joint apart first?
Take the joint apart first if it is loose. Glue belongs on clean wood-to-wood faces, not over old residue or a half-open crack. If the break is clean and the parts fit tightly, a direct glue repair can work after proper cleanup.
What kind of wood glue works for a chair leg repair?
Use wood glue for tight-fitting joints where the surfaces meet fully. It is the right choice for a sound loose joint or a clean break with close contact. If the joint is sloppy, crushed, or missing wood, move to reinforcement or rebuild work instead.
When is a chair leg repair too damaged for glue alone?
Glue alone is not enough when the socket is crushed, the tenon is stripped, the leg is split through the structural line, or wood is missing. At that point, a spline, dowel, bracket, corner block, or replacement part is the safer route.
How long should a glued chair leg stay clamped?
Keep the clamp on until the adhesive has fully cured and the joint no longer shifts under light hand pressure. Do not move the chair early just to check it. If the leg creeps under the clamp, reset the alignment before the glue sets.
Do I need to clean old glue off the joint before regluing a chair leg?
Yes. Old glue residue must be removed back to bare wood, or the new bond can fail early. Scrape until the surface looks dull and clean, then dry-fit again before applying fresh adhesive. Leaving old glue in place is a common repeat-failure cause.
When should I replace a chair leg instead of repairing it?
Replace the leg when the wood is missing, the grain split leaves no sound bearing face, or the repair would need so much rebuild work that it no longer behaves like the original leg. If the fix would depend on filler alone, replacement is the safer choice.
Sponsored / affiliate links. As an Amazon Associate I earn from qualifying purchases. I may earn additional commission from eligible campaigns.