How to Paint MDF Cabinet Doors Without Swollen Edges
Paint MDF cabinet doors with a water- or shellac-based primer made for dense fiberboard, two to three thin coats of a cabinet-grade enamel, and light sanding between every coat. The one step most guides leave out: sealing the raw cut edges separately, because unsealed MDF edges absorb far more moisture than the flat faces and are the first place a paint job bubbles or swells.
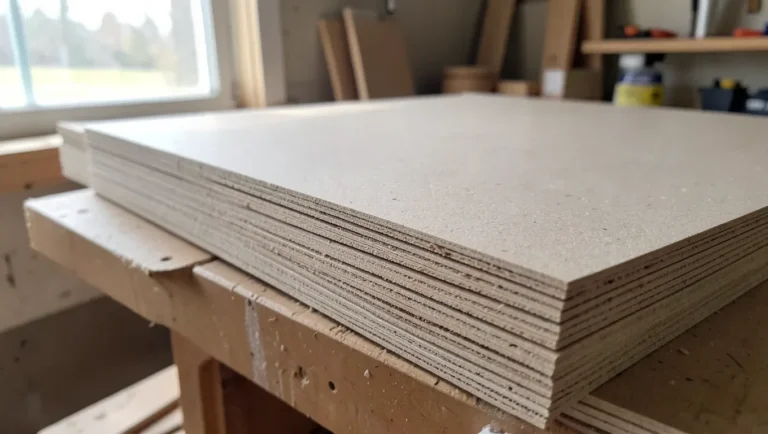
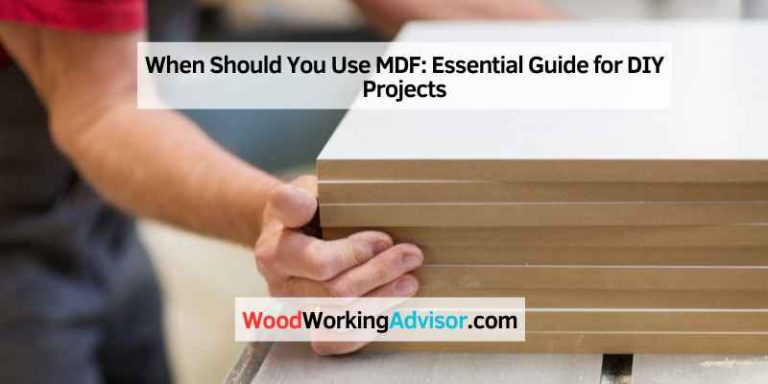
MDF (Medium-Density Fiberboard) is the material behind most flat-panel and shaker-style cabinet doors sold today, and it’s a genuinely good painting substrate — smooth, stable, and free of the grain telegraphing that ruins a paint job on plywood or solid wood. The catch is that MDF is compressed wood fiber held together with resin, and the cut edges of every door expose thousands of those raw fibers directly to the air. Paint alone won’t stop them from soaking up humidity. Get the prep and the edge-sealing step right, and a set of tired MDF cabinet doors can look factory-sprayed for a fraction of the cost of replacing them.
Why Paint MDF Cabinet Doors?
Best Edge-Sealer Pick for MDF
 |
Zinsser B-I-N Shellac Primer-Sealer, Turbo Spray – $30.37 This is the sealer this guide’s edge-sealing step calls for — shellac dries harder and blocks the raw, fiber-exposed cut edges of MDF far better than a straight latex primer.
|
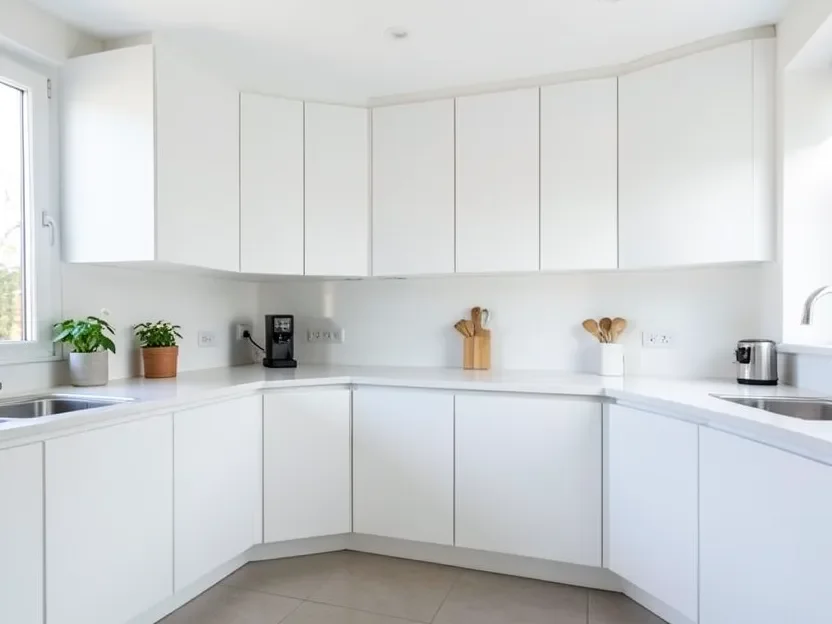
MDF is the default choice for painted cabinet doors because it’s dimensionally stable, doesn’t have knots or grain to telegraph through paint, and its density gives crisp, clean panel edges on shaker-style doors. Unlike solid wood, it won’t split along a grain line, and unlike raw plywood, there’s no veneer layer to sand through by accident. Repainting your existing MDF doors instead of replacing them is one of the highest-value kitchen updates you can do yourself:
- Refresh the whole room fast: A new color changes the character of a kitchen or bathroom in a weekend, without touching cabinet boxes, counters, or layout.
- Cost a fraction of replacement: New cabinet doors typically run $50–$200+ each; painting the ones you have usually costs $150–$400 in materials for an entire kitchen.
- Any color, any sheen: Go from builder-grade oak-toned laminate to a custom color match in satin, semi-gloss, or matte.
- Hold up for years if sealed correctly: A properly primed, painted, and edge-sealed MDF door resists chipping and moisture damage as well as a factory-finished one.
Getting Started: What You’ll Need
Gather everything before you start — MDF prep and priming go faster with a clean workflow, and running out of primer mid-coat is how lap marks happen.
Essential Tools and Materials:
- Screwdriver or drill with bits (to remove doors and hardware)
- Painter’s tape
- Sanding sponges or fine-grit sandpaper (120–220 grit)
- Tack cloth or damp microfiber cloth
- Shellac-based or water-based primer-sealer rated for MDF (a shellac-based sealer is the better choice for the raw cut edges specifically)
- Cabinet-grade enamel paint (acrylic-urethane or a fine-finish acrylic latex)
- Small foam or microfiber paint roller
- Angled sash brush, 1–1.5 inch, for edges and panel details
- Paint tray
- Drop cloths
- Wood filler, for dings or dents in the face before priming
- Optional: HVLP spray gun and compressor for a fully sprayed finish
Safety first. Work in a ventilated space, and wear a respirator rated for organic vapors when using shellac-based primer or spray equipment — shellac primer uses a denatured-alcohol solvent with a much stronger odor than latex products. Gloves and eye protection are worth it too. OSHA publishes general guidance on safe paint and solvent handling if you want the fuller picture.
Step-by-Step Guide: Painting MDF Cabinet Doors
Work through these in order. Skipping ahead to painting before the edges are sealed is the single most common reason a DIY MDF cabinet repaint fails within the first year.
Step 1: Remove and Label the Doors
Take each door off its hinges with a screwdriver or drill, and pull the knobs and pulls. Label the back of each door with masking tape (which face it came from, which way is up) before you lose track — in a full kitchen it’s easy to mix up doors that look nearly identical once the hardware is off.
Lay doors flat on a covered workbench or sawhorses rather than the floor; flat and elevated keeps dust off the wet finish and makes it easier to reach every edge. Fill any dings or screw holes in the face with wood filler, let it cure fully per the label, and sand it flush.
Step 2: Clean and Sand
Wipe every door with a barely damp cloth to pull off dust and hand oils, then let it dry fully — MDF’s surface fibers will swell slightly from even a damp wipe, so give it time before sanding.
Scuff-sand the faces with 120–220 grit. You’re not removing material, just breaking the surface sheen so primer has something to key into. Get the panel edges and any routed detail too. Vacuum, then wipe everything down with a tack cloth, working in one direction so you’re not just redistributing dust.
Step 3: Prime the Faces
MDF’s compressed fibers pull moisture out of wet primer unevenly, so an unprimed panel paints up blotchy no matter how good the paint is. A quality water-based or shellac-based primer-sealer made for MDF or laminate solves this by giving the paint a uniform, non-absorbent base.
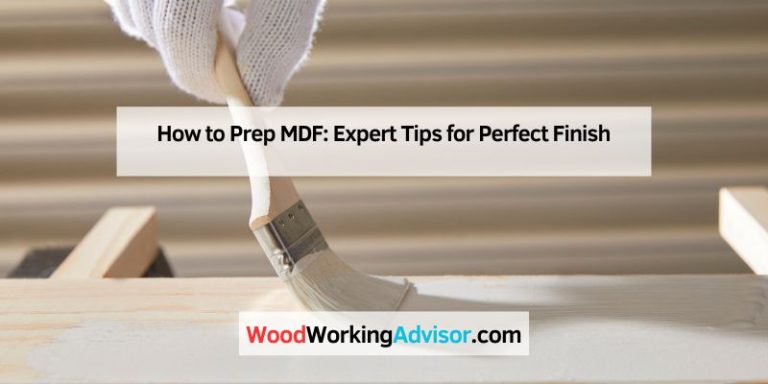
Roll a thin, even coat with a foam roller on the flats and cut in the details with the angled brush. Keep it thin — a heavy primer coat is the easiest way to end up sanding out drips later. Let it dry fully, then de-nib with fine sandpaper to knock down any raised fibers the primer lifted, and wipe the dust away. Very porous MDF, or MDF showing its original color through one coat, needs a second thin primer coat before you move on.
The Step Most Guides Skip: Sealing the Raw Edges
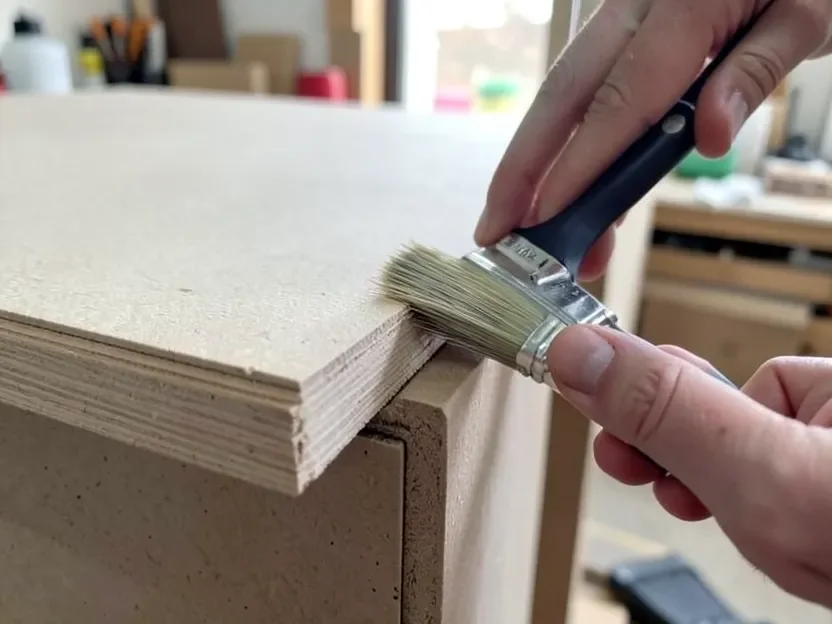
Look closely at the cut edge of an MDF door and you’ll see dense, exposed fiber — nothing like the smooth factory face. That edge is far more absorbent than the surface, and it’s usually the first place moisture gets in around a sink, dishwasher, or humid bathroom. A single coat of ordinary primer rolled over it the same as the face is rarely enough; the edge keeps drinking in moisture and paint after everything else looks finished, which is how you end up with a puffy, slightly raised ridge along the door’s perimeter months after the project looked done.
Give edges their own pass with a shellac-based sealer before or alongside your regular primer coat — shellac dries harder and seals the fiber ends more completely than a straight latex primer. Brush it on generously along every cut edge, including the inside edges of any cutouts, and let it dry completely before sanding lightly and moving to your primer coat on the rest of the door. This one extra pass is the difference between a paint job that still looks tight in three years and one with telltale swollen edges by the next humid summer. It’s also worth reading up on how MDF reacts to standing moisture generally — the same absorption problem is covered in more depth here if you want the full picture on what happens when MDF gets wet, and the companion piece on stopping MDF from warping has more on protecting edges long-term.
Step 4: Apply Your Paint
Stir the paint well; if you’re brushing more than rolling, a conditioner like Floetrol in latex paint extends open time and reduces brush marks — test it on a scrap piece first since it does thin the paint slightly.
Roll the flats, brush the edges and details, and keep a wet edge as you go — overlap each pass into the still-wet section before it starts to tack up, or you’ll get visible lap lines. Don’t chase full coverage on the first coat; a thin, slightly see-through first coat that dries flat beats a heavy one that sags.
Let it dry fully per the can’s recoat time, then knock down any dust nibs or drips with fine sandpaper and wipe clean before the next coat.
Step 5: Second and Third Coats
Most doors need two coats minimum for even coverage; darker or more saturated colors over a light primer often need a third. Repeat the same rhythm each time: paint thin, let it dry fully, sand lightly, wipe the dust, recoat.
Step 6: Cure Before You Rehang
Dry-to-touch and fully cured aren’t the same thing. Cabinet paint typically needs anywhere from several days to a full month to reach its final hardness, depending on the product and your humidity. Leave the doors flat and undisturbed during this window — don’t stack them, lean things on them, or rehang and start slamming them shut on day two.
Once cured, reattach hardware and rehang. This is also a good moment to double-check hinge alignment, since doors sometimes shift slightly in storage while flat.
Tips for a Flawless Finish
- Control dust before you start, not after: Sweep and let dust settle for a few hours before painting in a garage or basement shop.
- Thin coats, every time: This applies to primer, sealer, and paint alike — it’s the single biggest factor in a smooth MDF finish.
- Don’t shortchange the tools: A cheap roller sheds lint into wet paint; a good microfiber or foam roller pays for itself on the first door.
- Respect the recoat window: Recoating too soon traps solvent underneath and can cause peeling weeks later.
- Spray if you can: An HVLP sprayer gives the smoothest, most factory-like finish, but it takes practice, ventilation, and careful masking. Rollers and brushes are still perfectly capable of a great result for a first project — Popular Mechanics has a solid rundown on getting started with a sprayer.
Paint and Primer Options for MDF
Here’s how the main product categories compare for an MDF cabinet project:
| Product Type | Pros | Cons | Best For |
|---|---|---|---|
| Water-Based Primer (e.g., Kilz Premium) | Easy cleanup, low odor, low VOCs, good general adhesion. | May need 2 coats on very porous MDF; weaker on raw edges. | Flat faces, most DIY projects. |
| Shellac-Based Primer-Sealer (e.g., Zinsser B-I-N) | Dries fast, seals fiber ends and stains completely, best moisture resistance. | Strong solvent odor, needs denatured alcohol for cleanup. | Raw MDF edges specifically, high-moisture rooms, stubborn stains. |
| Cabinet-Grade Enamel (Acrylic-Urethane) | Hard, durable, self-levels well, resists chipping and cleaning chemicals. | Costs more than basic latex. | Kitchen and bathroom cabinets, high-touch surfaces. |
| Fine-Finish Acrylic Latex | Budget-friendly, easy cleanup, wide color range. | Softer finish, can show brush marks without care. | Lower-traffic cabinets, budget repaints. |
| Spray-Applied Alkyd or Acrylic | Smoothest possible finish, fastest coverage per coat. | Requires spray equipment, ventilation, and practice. | Experienced DIYers with HVLP or airless equipment. |
For most kitchens, a shellac-based sealer on the edges, a water-based primer on the faces, and two to three coats of a cabinet-grade acrylic-urethane enamel is the combination that holds up best without needing spray equipment.
Frequently Asked Questions (FAQ)
Q1: Do I really need to prime MDF cabinet doors?
A: Yes. MDF’s compressed fibers absorb paint unevenly without a sealing coat first, which leads to a blotchy, dull finish and weaker paint adhesion. Priming is not optional on MDF the way it sometimes is on pre-finished surfaces.
Q2: What’s the best type of paint for MDF cabinets?
A: A cabinet-grade acrylic-urethane enamel gives the best combination of hardness and smoothness. Standard latex with a fine-finish additive is a workable budget option, but it’s softer and shows wear sooner. Avoid flat or matte sheens; they don’t clean up as easily.
Q3: Should I use a roller or a brush?
A: Use a foam or microfiber roller on flat panel faces and an angled sash brush on edges, corners, and any routed detail. Most people use both on the same door.
Q4: How many coats of paint do I need?
A: Plan on two thin coats minimum, three if you’re going from a dark or saturated original color to a lighter one, or vice versa. Two thin coats beat one thick coat every time on MDF.
Q5: How long does it take for painted MDF cabinets to cure?
A: Dry-to-touch happens in hours, but full cure — the point where the finish reaches maximum hardness — typically takes anywhere from about a week to a month depending on the product and your humidity. Handle doors gently during that window.
Q6: Can I spray paint MDF cabinet doors?
A: Yes, and an HVLP sprayer gives the smoothest possible finish. It requires more equipment, ventilation, a proper respirator, and masking than rolling and brushing. If it’s your first cabinet project, rolling and brushing is more forgiving and still produces a great result.
Q7: How do I prevent brush marks or roller marks?
A: Thin coats, good-quality tools, and keeping a wet edge while rolling all help. Light sanding between coats with 220+ grit and wiping with a tack cloth before the next coat smooths out most imperfections. A paint conditioner like Floetrol also helps latex paint self-level.
Q8: Why did the edges of my painted MDF door swell or bubble?
A: Almost always because the raw cut edges weren’t sealed before painting. The exposed fiber on an MDF edge absorbs moisture much faster than the smooth face, and a single primer pass often isn’t enough to fully seal it. Sanding the swollen area back down, sealing it properly with a shellac-based sealer, and repainting just that section usually fixes it — but sealing the edges correctly the first time avoids the repair entirely.
Conclusion
Painting MDF cabinet doors is one of the best-value updates you can make to a kitchen or bathroom, and the process itself isn’t complicated: clean, sand, prime, seal the edges, paint in thin coats, and let it cure before rehanging. The edge-sealing step is the one detail that separates a paint job that still looks tight in three years from one that starts bubbling at the seams by the next humid season — don’t skip it.
Take your time between coats, use good tools, and you’ll end up with cabinets that look like they came from a paint shop, not a weekend project.
Sponsored / affiliate links. As an Amazon Associate I earn from qualifying purchases. I may earn additional commission from eligible campaigns.