How to Replace Deck Boards: Tools, Steps and Joist Repair
Replacing a deck board is a four-part job: cut the damaged board out over a joist, pull every fastener, check the joist underneath, then fit a new board with the same gaps as its neighbors. The part that decides whether the repair lasts is the joist check, because a new board screwed to a soft joist fails again. This guide covers removal, joist triage, fastener and gap rules, and cut-end protection.
Best Pry Bar for Removing Deck Boards
Best Deck Board Removal Pry Bar | |
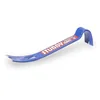 |
VAUGHAN SuperBar 12 Inch Stubby Flat Pry Bar: $14.99 A short flat bar with a rocker head and beveled nail slots, sized for the slow, lift-near-each-joist approach this guide uses to free an old board without splitting it.
|
As an Amazon Associate we earn from qualifying purchases. | |
The most common way a board replacement goes wrong is the removal, not the install. Prying a board up from one end snaps the board and can crush the joist edge. A short flat bar, used near each joist in small lifts, avoids both. We picked the VAUGHAN 12 inch stubby bar for that job. We have not used it ourselves, so this is a pick based on the maker’s listed features (blade, rocker head, nail slots) and the price we checked.
Replace the Board or Fix the Joist First? A Quick Diagnostic
Most guides say to check the joist and stop there. This table turns what you actually find into a decision, using the sources we read: Trex for board removal and decks.com for joist repair.
| What you find | What it means | What to do |
|---|---|---|
| Board is split or worn, joist below is firm | Board-only damage | Replace the board and follow the steps below |
| Board is soft, and the joist top is also soft under a screwdriver | Rot has traveled into the framing | Stop. Repair or replace the joist before any new board goes down |
| Joist is firm but old screw holes are open and dark | Water has been entering through fastener holes | Seal the holes (Trex suggests a waterproof sealant or joist tape) and replace the board |
| Several boards in a row are soft | Likely a drainage or structural problem, not bad luck | Look under the deck for pooling water and check every joist in that bay |
| Rot near the ledger or at a post | Structural area | Do not patch it yourself. Have a qualified contractor or your local building department look at it |
On joist rot specifically, decks.com says to probe the existing joist and a new one with a flat head screwdriver, then compare how much pressure it takes to push in at the same depth. It also warns against sistering onto a partly rotted joist and says to replace a rotted joist rather than sister over the damage. Overlap length for a sister board is a local code matter, so ask your building department. Source: decks.com, sistering joists.
For general deck damage beyond a single board, see our guide to fixing a damaged wooden deck. This page stays on swapping the board itself.
Tools and Materials for Replacing a Deck Board
- Circular saw to cut the board free (our guide to a straight circular saw cut helps here)
- Flat pry bar, plus a scrap of wood to use as a fulcrum under hammer claws
- Drill/driver and locking pliers for stripped screws
- A nail puller if the deck was nailed
- Tape measure and speed square, plus spacers or shims for the gaps
- Replacement board that matches the existing material and thickness (measure a neighbor, do not trust the label)
- Exterior deck screws rated for your lumber, covered below
- Brush-on copper naphthenate for cut ends if the board is pressure treated
- Safety glasses, gloves, and a dust mask. Trex lists glasses, gloves, hearing protection, and a dust mask for its removal work.
How to Replace a Deck Board Step by Step
1. Cut and free the damaged board
Set the saw depth to the board thickness so the blade does not score the joist. For a partial replacement, cut directly over the center of a joist at each end so the patch has full support instead of an unsupported butt joint. Keep the blade clear of nails and screws, since hitting one can kick the saw.
2. Remove fasteners and lift the board
Back out screws with the drill. If heads strip, Trex says to pry up the board using a wood scrap under the hammer claws as leverage, then remove the leftover screws with locking pliers or cut them. On nailed decks, a pry bar lifts the board. Lift a little at each joist rather than from one end. If the board is composite held by hidden clips, the clips have to be loosened first, which is covered in the Trex removal guide.
3. Clear every fastener and seal the old holes
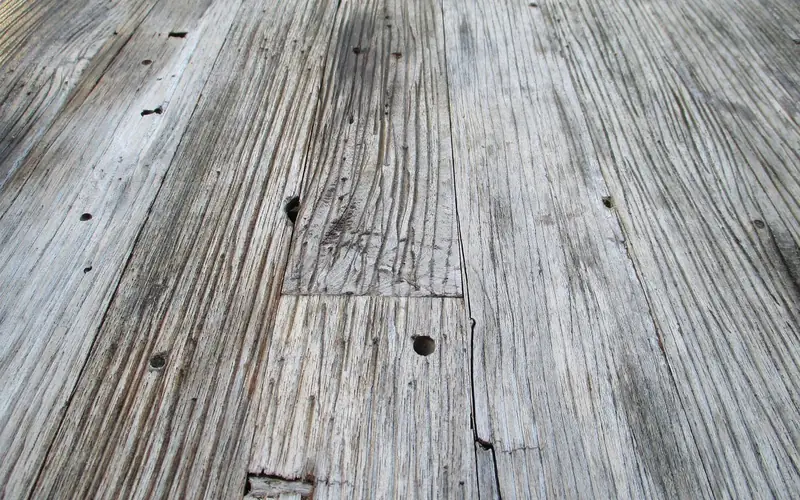
Pull every nail or screw from the joist top, including any flush with the surface. A leftover fastener keeps the new board from sitting flat and can split it when a new screw lands beside it. Trex says to cover existing screw holes with a dab of waterproof sealant or its joist tape, and our guide on joist tape on wet wood explains when that tape is a good idea.
4. Check the joist
Use the screwdriver comparison from the diagnostic table above. If the joist passes, continue. If it does not, stop here and handle the framing first.
5. Measure, cut, and test-fit
Measure the actual opening instead of copying the old board’s length. Dry-fit with spacers that match the existing gaps. Trex’s guide says to use shims to keep the gaps beside a new board consistent with the existing ones, and the same idea works for wood.
6. Treat the cut ends, then fasten
If the new board is pressure treated, brush preservative on every cut end before installing. Then fasten with the right screw for your board (see the reference table below). Our guide to sealing cut ends of pressure-treated wood walks through that step.
Deck Board Gap and Fastener Reference
This is the part most replacement guides leave vague. The right gap and the right screw depend on what the board is made of, and the sources differ enough that one number does not fit every deck.
| Board type | Gap guidance from sources | Fastener guidance from sources |
|---|---|---|
| Wet pressure-treated wood | Butt boards tightly. They shrink as they dry and open up on their own (Today’s Homeowner). Our wet vs dry spacing guide cites 1/4 to 3/8 inch after drying | Hot-dip galvanized or stainless per Simpson; do not mix the two |
| Kiln-dried after treatment (KDAT) | About 1/8 inch, the thickness of an 8-penny nail, since little shrinkage follows (Today’s Homeowner) | Same as above |
| Composite (Trex) | Depends on install temperature; use the maker’s installation guide | Maker’s composite screws or hidden clips; flush with the surface, not sunk |
For wood, Simpson Strong-Tie says to use hot-dip galvanized or stainless steel fasteners with treated wood, and that for higher preservative retention levels, such as ground contact use, stainless steel, copper, or silicone bronze is recommended. It also says not to mix hot-dip and stainless on the same connection. Source: Simpson Strong-Tie, preservative-treated wood FAQ.
One code summary we read lists a #8 or #10 hot-dip galvanized or 316 stainless deck screw for wood decking, with 2-1/2 inch as the minimum length for 5/4 boards. That came from a secondary code-summary site, not the code text, so confirm it with your local building department before relying on it.
For composite, Trex says to set screws flush with the top of the board and not to indent them past the surface, and that pre-drilling may be needed in tight spaces. Its Enhance guide places fasteners 1 inch from the edge and 1 inch from the board end, one at each joist. Other makers differ, so follow the one printed for your product. Source: Trex Enhance fastening guide.
If a screw hole strips on the new install, Trex suggests a longer screw so it bites fresh wood, or filling the hole with pressure-treated slivers or copper wire before driving a new screw.
Cut Ends and Dust: Safety Notes for Pressure-Treated Boards
The American Wood Council says cut ends and drilled holes in pressure-treated wood need to be treated with a preservative such as copper naphthenate, referencing AWPA Standard M4. Cutting exposes wood with little or no preservative, so this one step protects the new board where water gets in first. Source: American Wood Council.
- Wear glasses, gloves, and a dust mask when cutting. Cut outdoors and sweep up the sawdust.
- Follow the label of the end-cut preservative you buy. We have not tested individual products.
- Do not burn treated offcuts. See our guide on disposing of old deck wood for what to do with the old board.
- Our page on sanding pressure-treated wood covers the dust question if the new board needs smoothing.
- Use a stable ladder or stay at ground level for under-deck joist checks, and never lean on a railing while you test boards.
Matching a New Board to the Old Deck
A fresh wood board looks lighter than its weathered neighbors, and new lumber often holds too much moisture to take stain right away. Read our guides on when treated lumber can be stained and applying stain to a deck before you finish the patch. If you are swapping several boards and thinking about changing materials, our comparison of composite vs pressure-treated decking and the guide to replacing wood deck boards with composite cover the tradeoffs.
A Few Boards or the Whole Deck?
Replacing individual boards makes sense when the damage is limited and the joists and ledger are sound. It stops making sense when rot shows up in several joists, not just the boards, or when you are swapping so many boards that working around the good ones costs more time than resurfacing. At that point the problem is probably the framing or the drainage, and a new surface will not fix either one.
Frequently Asked Questions
Can I replace just one deck board?
Yes. Cut it out over a joist, pull the fasteners, check the joist below, and fit a new board with the same gaps as its neighbors. The exception is a board that is rotted because the joist under it is rotted. In that case the joist needs repair first, or the new board will fail the same way.
What screws should I use to replace a deck board?
Match the board. For pressure-treated lumber, Simpson Strong-Tie says to use hot-dip galvanized or stainless steel fasteners, and not to mix the two on one connection. For composite, the maker’s own screws or hidden clips are the safer choice, because Trex tells installers to use composite deck screws and drive them flush with the surface.
How much gap do you leave between deck boards?
It depends on the board. Wet pressure-treated boards go down tight because they shrink as they dry. Kiln-dried boards get about a 1/8 inch gap. Composite gaps come from the maker’s chart and change with the temperature at install, so check that chart rather than a general number.
Do you need to seal the cut ends of a pressure-treated board?
Yes. The American Wood Council says cut ends and drilled holes need field treatment with a preservative such as copper naphthenate, which follows AWPA Standard M4. Brush it on the cut end before the board goes into the deck.
How do you remove a deck board with stripped screws?
Pry up the board with a scrap of wood under the hammer claws for leverage, then cut off the stubborn screw heads or grab them with locking pliers. Trex also describes filling stripped holes with pressure-treated wood slivers or copper wire, or using a longer screw so it bites fresh wood.
The reliable order is: confirm the damage, free the board over a joist, pull every fastener, test the joist, treat the cut ends, then fasten with the right screw and the right gap. For the finishing step, see how to stain between deck boards, and for choosing lumber, see our guide to a pressure-treated wood deck.
Sponsored / affiliate links. As an Amazon Associate I earn from qualifying purchases. I may earn additional commission from eligible campaigns.