Epoxy Resin Calculator: How Much You Need for Any Pour
Use an epoxy resin calculator based on volume: multiply length × width × depth in inches, divide by 1,728 for cubic feet, or convert cubic inches to fluid ounces with 1 in³ being about 0.554 fl oz, then add about 10% to 20% for waste. Under-ordering leaves pours short, can spoil color matching, and can stop a tabletop or repair fill halfway through. This guide shows the formula, unit conversions, and shape-by-shape methods for slabs, river tables, voids, and coating layers.
How is this calculated?
Press Calculate to see the math with your numbers.
How much epoxy do you need?
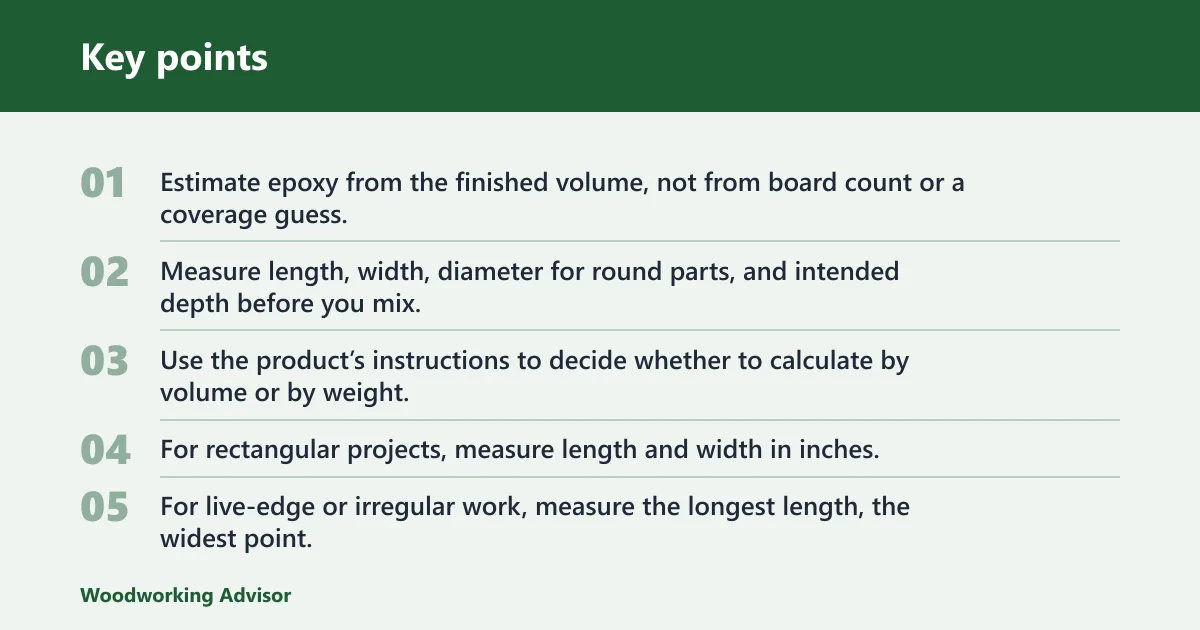


Estimate epoxy from the finished volume, not from board count or a coverage guess. Measure length, width, diameter for round parts, and intended depth before you mix. Use the product’s instructions to decide whether to calculate by volume or by weight, then add a waste buffer before you buy.
What to measure before you start
For rectangular projects, measure length and width in inches. For circular pours, measure diameter. For live-edge or irregular work, measure the longest length, the widest point, and the average depth you expect to fill. If the shape changes across the pour, split it into smaller sections and total them.
Why depth matters more than guesswork
Depth drives the epoxy total faster than most first-time estimates. A shallow seal coat can use a small fraction of what a flood coat needs, and a deep river pour can jump past the range of surface coatings entirely. Upstart’s calculator uses inch-based length and width inputs and offers preset depths up to 2 inches, which matches the need to plan by thickness rather than by area alone.
When to choose volume or weight
Use volume when the data sheet says the mix ratio is by volume, which is common for 2:1, 3:1, and 5:1 epoxy systems. Use weight only when the manufacturer specifies a weight-based ratio. Do not convert one system to the other unless the product instructions say the two methods are interchangeable.
Epoxy depth guide
Choose depth by the job type, then confirm the system can handle that pour thickness. A seal coat is thin. A flood coat is thicker. A deep-pour system is for heavy fills such as river tables, casting, and large voids.
Seal coat depth
A seal coat is usually very thin, and Mas Epoxies recommends 1/16 inch for seal coats. Use this for a first pass that closes pores and reduces bubble release from the wood surface. It is not a build coat for level correction.
Flood coat depth
Mas Epoxies recommends 1/8 inch for flood coating. That thickness is common for a clear top layer that levels a tabletop after sealing. It gives more build than a seal coat, but it still sits in the shallow-coating range.
Deep-pour depth
Deep-pour epoxy is the right category for thicker fills, including river tables and casting work. Upstart offers preset pour depths up to 2 inches, which fits the deep-pour planning range many woodworkers need. If the project needs more than a surface coat, check the manufacturer’s maximum pour depth before you commit.
Epoxy quantity formulas
Calculate the finished cavity or coat volume first, then convert that number into the units you need to buy. Use cubic inches for the math, then convert to ounces, gallons, milliliters, or liters. For irregular shapes, build the estimate from smaller sections instead of treating the whole piece like a perfect rectangle.
Rectangle formula
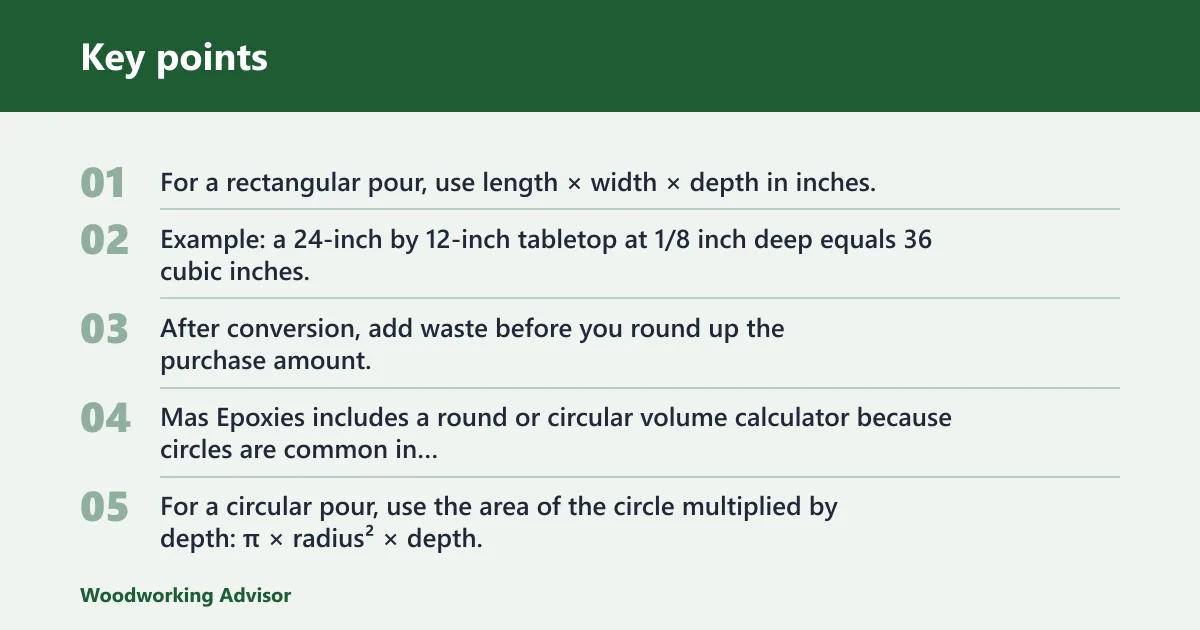
For a rectangular pour, use length × width × depth in inches. That gives cubic inches. Example: a 24-inch by 12-inch tabletop at 1/8 inch deep equals 36 cubic inches. After conversion, add waste before you round up the purchase amount.
Round pour formula
Mas Epoxies includes a round or circular volume calculator because circles are common in tabletops, trays, and casting forms. For a circular pour, use the area of the circle multiplied by depth: π × radius² × depth. If the diameter is 30 inches, the radius is 15 inches, and a 1/8-inch coat gives a much larger volume than a shallow rectangular panel of similar area.
Irregular and live-edge formula
Live-edge and irregular slabs need a section-by-section estimate. Break the shape into rectangles, triangles, or shallow zones, then total the pieces. Add edge-loss allowance for bark gaps, uneven edges, and resin that settles into low spots. That is the part many generic calculators miss.
| Project type | Measure | Suggested depth | Calculation path |
|---|---|---|---|
| Tabletop seal coat | Length × width | 1/16 inch | Rectangle or round formula |
| Flood coat | Length × width | 1/8 inch | Rectangle or round formula |
| River table | Length × gap width × depth | Up to 2 inches, per system | Rectangle plus edge-loss allowance |
| Void fill or casting | Sectional volumes | Per manufacturer limit | Sum of smaller shapes |
Volume conversions that matter
Use one conversion path at a time so the buy amount stays clear. Cubic inches are the cleanest starting point for wood projects. Then convert to the package unit on the label. The same source lists outputs in ounces, gallons, milliliters, and liters, which matches the units most woodworkers need when ordering.
Cubic inches to fluid ounces
A practical conversion is 1 in³ = 0.554 fl oz. Multiply cubic inches by 0.554 to estimate fluid ounces. A 36 in³ coat comes to about 19.9 fl oz before waste. That is the number to carry into the next step.
Fluid ounces to gallons
Use 128 fluid ounces per gallon. If your total is 64 fl oz, that equals 0.5 gallon. If the result is close to a full container, round up to the next container size after you add the waste buffer.
Milliliters and liters
For metric planning, 1 fluid ounce is about 29.57 milliliters, and 1 liter is 1,000 milliliters. A 19.9 fl oz estimate is about 588 mL, or 0.588 L. These conversions help when the product sheet or mixing cups use metric marks.
When grams enter the picture
Some systems specify mix by weight, so grams matter only when the product data sheet says so. Do not assume grams match milliliters one-for-one. Resin and hardener can have different densities, which changes the weight ratio even when the volume ratio stays the same.
What the worksheet gives you
This worksheet turns the estimate into an order size. It separates the shape, the depth, the conversion, and the waste buffer so you can buy enough epoxy the first time. Round the final figure up after you apply the buffer, not before.
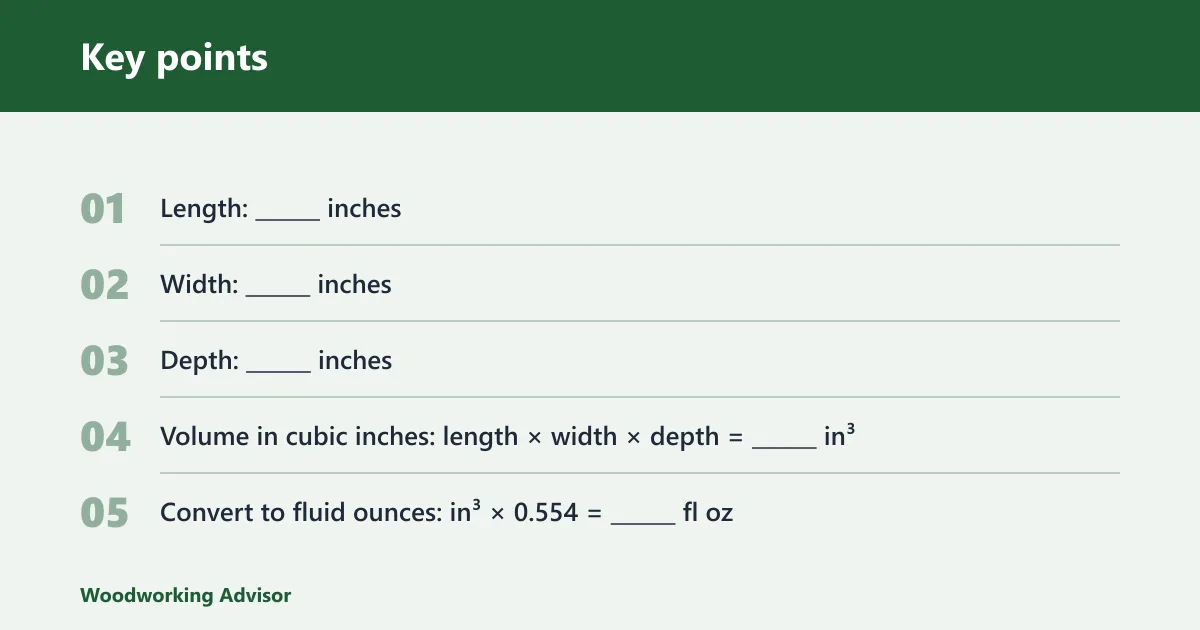
Text-only epoxy quantity worksheet
Rectangular path
- Length: ______ inches
- Width: ______ inches
- Depth: ______ inches
- Volume in cubic inches: length × width × depth = ______ in³
- Convert to fluid ounces: in³ × 0.554 = ______ fl oz
- Waste buffer: add 10% to 20% = ______ fl oz
- Buy amount: round up to the next container size = ______
Round path
- Diameter: ______ inches
- Depth: ______ inches
- Radius: diameter ÷ 2 = ______ inches
- Volume in cubic inches: π × radius² × depth = ______ in³
- Convert to fluid ounces: in³ × 0.554 = ______ fl oz
- Waste buffer: add 10% to 20% = ______ fl oz
- Buy amount: round up to the next container size = ______
Irregular or live-edge path
- Section A length × width × depth = ______ in³
- Section B length × width × depth = ______ in³
- Section C length × width × depth = ______ in³
- Total cubic inches: A + B + C = ______ in³
- Edge-loss allowance: add 10% if the edge is uneven, or 20% if the voids are deep = ______ in³
- Convert to fluid ounces: in³ × 0.554 = ______ fl oz
- Buy amount: round up to the next container size = ______
Waste buffer line
Upstart notes that estimates can vary about 10 percent, and that is a good floor for a simple job. For a river table, a live-edge slab, or any pour with bubbles, edge loss, or uncertain fill, add 20 percent extra epoxy buffer. That extra headroom helps cover mixing loss and the small amount left in the cup.
Rounded buy amount
Do not order the exact calculated amount if it lands near a container break. Round up to the next available kit or bundle size. Say your calculation lands at 1.2 gallons. Buying 1.5 gallons is safer than buying 1 gallon and stopping mid-pour. A short pour can leave a visible line and a poor cure blend.
How much epoxy do you need for a river table
River tables usually need deep-pour epoxy, because the center channel is deeper than a standard tabletop coat. Measure the gap length, average width, and planned depth, then calculate the channel volume alone. Add edge-loss allowance, because live edges and irregular slabs can drink more epoxy than a clean rectangle suggests.
Deep-pour setup
Check the product’s maximum pour depth before you order. If the channel is 60 inches long, 8 inches wide, and 1.5 inches deep, the calculator should treat that as a deep-pour volume, not a surface coat. The total is larger than most people expect once the depth is multiplied through the full length.
Edge-loss allowance
A common first-timer mistake is measuring only the visible center gap and ignoring porous bark edges, knots, and open end grain. Those areas can absorb extra material or leave pockets that need topping off. Add 10 percent for a clean, predictable channel, and 20 percent if the edges are rough or the pour will be dyed.
Mix ratio check
Confirm the mix ratio on the label before you pour. The same source lists 2:1, 3:1, and 5:1 systems by volume. If the kit is weight-based, do not use the volume ratio from another product. A bad mix ratio can leave soft spots, sticky sections, or a failed cure.
A common example is a river table with a 48-inch by 10-inch channel at 1 inch deep. The volume is 480 in³ before waste. That is about 266 fl oz, or a little over 2 gallons, so a 20 percent buffer pushes the order higher and avoids a short pour if the slab edges absorb more than expected.
How much epoxy do you need for a seal coat?
A seal coat uses a much thinner layer than a flood coat, so the total volume is small but still worth measuring. Use 1/16 inch for a sealer when the product calls for it, then cover the full top surface and any exposed end grain. Buy enough to keep the whole coat wet.
Thin coat planning
Seal coats often go on first so the wood does not release bubbles into the top layer. Measure the surface area, multiply by 1/16 inch, and convert the result. A thin coat can still run short on large slabs, especially if the wood is porous or the edges are open.
Topcoat versus sealer
Table top epoxy is commonly used for the visible flood coat, while penetrating epoxy sealer is used to soak and seal porous wood before the finish coat. Marine epoxy appears in moisture-prone work, and art resin is often chosen for smaller decorative pours. Do not assume one product category fits every task.
When to buy extra
Buy extra when the slab is rough-sawn, the surface has end grain, or the project includes edges that are likely to pull in resin. Underbuying a seal coat can leave dry patches that show through the finish. If the project is large, the safer move is to round up to the next kit size.
Frequently asked questions
How much epoxy resin do I need?
Measure the project’s length, width, diameter, and intended depth, then calculate volume in cubic inches. Convert that number into fluid ounces, gallons, milliliters, or liters as needed. Add 10 percent to 20 percent for waste, then round up to the next container size.
How much epoxy resin calculator
A useful epoxy resin calculator should accept shape, depth, and unit conversion in one place. For rectangles, multiply length by width by depth. For circles, use radius squared times pi times depth. For irregular work, split the shape into smaller sections and total them.
How to figure out how much epoxy resin you need
Start with the pour type. Use 1/16 inch for a seal coat, 1/8 inch for a flood coat, and a deep-pour system for river tables or large casts. Then calculate the volume, convert it, and add a waste buffer before you order.
How much epoxy resin do I need for a river table
Measure the river channel’s length, average width, and depth, then calculate that space alone. River tables usually need deep-pour epoxy, and the edge loss around live-edge slabs can add more demand. A 10 percent buffer is the minimum; 20 percent is safer for rough edges.
How thick should epoxy resin be?
That depends on the job. The same source recommends 1/16 inch for seal coats and 1/8 inch for flood coating. Deep-pour systems can go much thicker, and Upstart lists preset pour depths up to 2 inches. Always follow the product’s maximum pour depth.
Should I round up when calculating epoxy resin?
Yes. The same source recommends always rounding up for river table pours, and that rule helps on most woodworking projects. A rounded-up order reduces the risk of a dry edge, a stopped pour, or a color mismatch between batches. Add the waste buffer before you round.
Sponsored / affiliate links. As an Amazon Associate I earn from qualifying purchases. I may earn additional commission from eligible campaigns.