Old Radial Arm Saw Restoration (Plus the 2000 Recall History)
An old radial arm saw still cuts accurately once it’s cleaned, squared, and fitted with a negative-hook blade – a standard positive-hook blade can climb into the wood and kick back. In 2000, the CPSC and Emerson Tool Co. recalled 3.7 million Craftsman models over missing blade guards. This guide covers assessing your saw’s condition, the right blade and guard setup, disassembly, rust removal, and squaring the arm for square cuts.
Do You Need a Special Blade for an Old Radial Arm Saw?
Best Radial Arm Saw Blade Pick
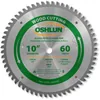 |
Oshlun SBW-100060N 10″ 60T Negative Hook Blade – $63.59 Built specifically for radial arm and sliding miter saws with a -5° negative hook angle, exactly the blade type this guide says to look for instead of a standard positive-hook blade.
|
As an Amazon Associate we earn from qualifying purchases.
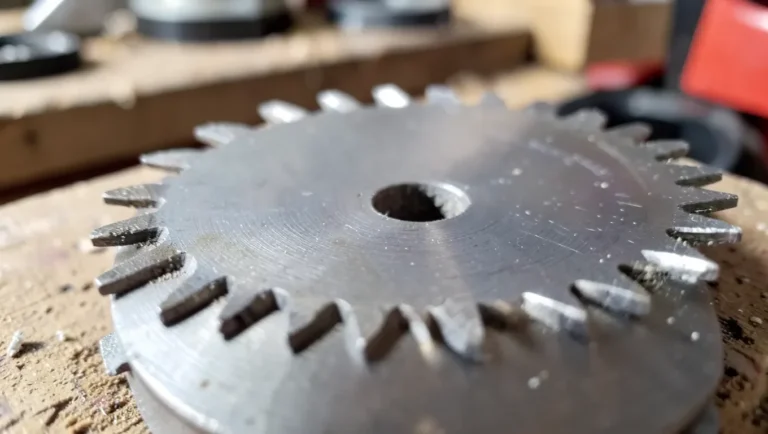
A radial arm saw blade needs a negative hook angle, typically around -5°, because the blade travels toward the operator as it cuts. A standard table saw or miter saw blade is built with a positive hook angle designed to self-feed forward – on a radial arm saw, that same design can grab the wood and pull the whole saw sharply toward you.
Never install a positive-hook or general “combination” blade on an old radial arm saw, even if the arbor size matches. Look for blades labeled for “radial arm” or “sliding compound miter” use – the negative hook angle is usually printed right on the packaging or spec sheet.
Is an Old Radial Arm Saw Safe to Use? (The 2000 Recall)
Yes, once the blade guard and anti-kickback pawls are intact and the blade is squared – but check your saw’s history first. Older Craftsman-brand models in particular were part of one of the largest power tool recalls on record.
“CPSC and Emerson have received about 300 reports of injuries while using these saws, including hand and finger amputations; lacerated hands, arms and fingers; fractured hands and fingers; and facial injuries.”
How to Tell If Your Saw Has the Safety Retrofit
Look at the blade from above: a compliant guard fully encloses the top of the blade, not just the back half. Check that anti-kickback pawls (small spring-loaded teeth just ahead of the blade) are present and move freely. If your saw is missing either, do not use it for ripping cuts until you fit a full guard – older Craftsman owners can search their model number on CPSC.gov for retrofit kit details.
Why Restore Instead of Buy New?
A sound vintage radial arm saw is usually cheaper than a comparable new tool, built from heavier cast iron and steel, and restoring one is a real way to build repair and calibration skills. The tradeoff is exactly the safety check above – a restoration isn’t finished until the guard and blade are both correct.
A Quick History of the Radial Arm Saw
Radial arm saws spread through home and professional shops from the 1950s through the 1970s as an affordable way to make crosscuts on long stock without a separate miter saw. That same era’s guard designs are exactly what the 2000 recall targeted decades later.
| Era | Significance |
|---|---|
| 1950s | Introduced to enhance efficiency in home and professional workshops. |
| 1960s | Became a standard crosscut tool among professional carpenters. |
| 1970s | Widely sold by Sears/Craftsman, Rockwell, and DeWalt; peak production years. |
Initial Assessment
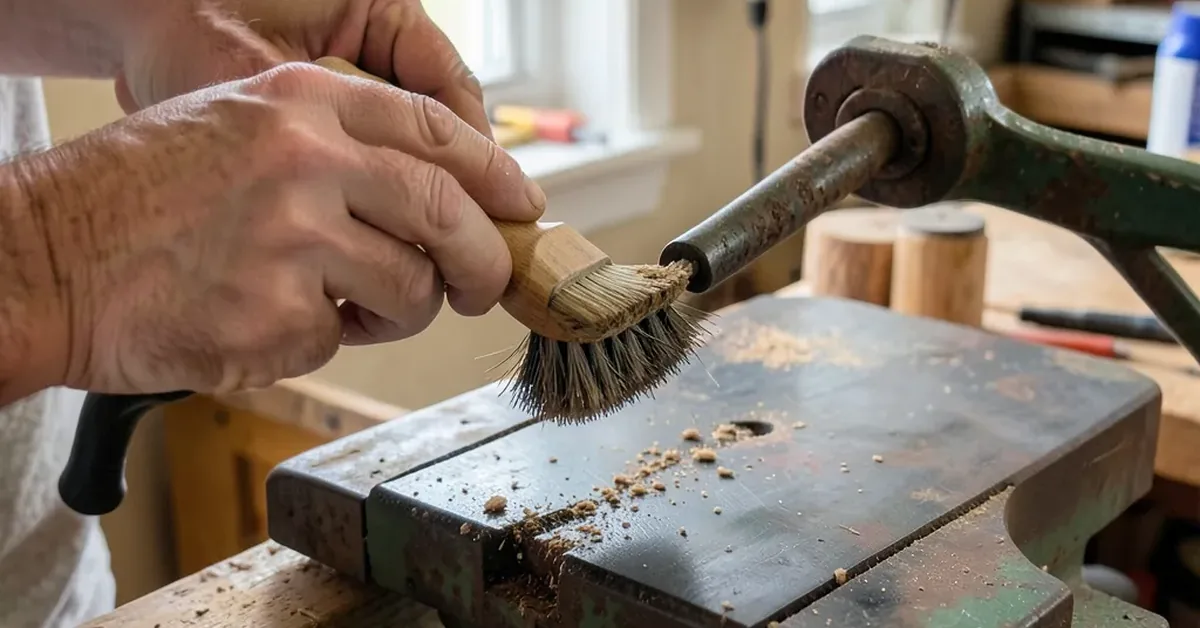
Assessing an old radial arm saw is essential. This process helps determine its usability and potential repairs. Start with a thorough examination of the saw’s features. Still shopping for one rather than restoring a saw you already own? See our pre-purchase inspection checklist for what to check before you pay.
Identifying Model And Age
Knowing the model and age of your radial arm saw is crucial. Each model has unique features and specifications.
Follow these steps to identify your saw:
- Look for the brand name on the saw.
- Check for model numbers. They are often on the motor casing.
- Search online for the brand and model. Find its production year.
Older models may have different parts and designs. Understanding your saw’s age helps you find the right replacements.
Evaluating Condition And Needs
Next, assess the condition of the radial arm saw. A thorough inspection reveals its performance and safety.
Consider these factors:
- Rust: Look for any signs of rust on the frame.
- Blade: Check for dullness or chips on the blade.
- Motor: Ensure the motor runs smoothly without unusual noises.
- Wiring: Inspect the power cord and switch for frays or damage.
Make a list of needed repairs. This will help prioritize tasks and budget for parts. Maintain a safe working environment by addressing any hazards.
| Condition | Action Needed |
|---|---|
| Rust present | Clean and apply rust remover |
| Dull blade | Sharpen or replace the blade |
| Motor issues | Inspect and service the motor |
| Damaged wiring | Replace faulty wiring or components |
Completing this assessment helps you understand the saw’s needs. A well-maintained saw performs better and lasts longer.
Gathering The Right Tools And Materials
Before starting with your old radial arm saw, gathering the right tools is crucial. Proper tools ensure smooth operation and safety. This section covers essential cleaning supplies and parts you might need for maintenance.
Essential Cleaning Supplies
Cleaning your radial arm saw keeps it in top shape. Here are some essential supplies:
- Soft cloths: Use these for wiping surfaces.
- Brushes: A small brush helps remove sawdust.
- Vacuum cleaner: Use this to clean hard-to-reach areas.
- Degreaser: A safe degreaser removes sticky residues.
- Oil: Use machine oil for lubrication.
Having these items ready makes cleaning easier and more effective. Regular cleaning extends the life of your saw.
Parts Replacement: What You Might Need
Old radial arm saws may need parts replacement over time. Genuine replacement blades, bearings, and switches are often available through brand-specific parts sources like Delta radial arm saw parts or DeWalt radial arm saw parts, depending on your saw. Here’s a list of parts you might need:
| Part | Description |
|---|---|
| Blades | Sharp blades ensure smooth cutting. |
| Drive belts | Replace worn belts for better performance. |
| Bearings | Keep the saw running smoothly. |
| Switches | Ensure safe operation with a new switch. |
Inspect your saw regularly. Replace parts as needed. This practice keeps your saw safe and effective.
Disassembly Process
Disassembling an old radial arm saw can seem daunting. This guide will simplify the process. Follow these steps to ensure a smooth disassembly.
Step-by-step Guide
- Gather Tools: Collect necessary tools like wrenches and screwdrivers.
- Unplug the Saw: Safety first! Always disconnect the power source.
- Remove the Blade: Use the appropriate wrench to loosen the blade nut. Carefully take off the blade.
- Detach the Arm: Locate the bolts securing the arm. Unscrew them gently.
- Take Off the Table: Remove the screws holding the table in place.
- Disassemble the Base: Unscrew the base from the floor or workspace.
- Organize All Parts: Store parts properly to avoid losing anything.
Organizing Parts For Ease
Keeping parts organized makes reassembly easier. Follow these tips:
- Use Containers: Place small parts in labeled containers.
- Group Similar Items: Keep bolts with bolts, screws with screws.
- Label Everything: Use tape to label parts clearly.
| Part | Container | Notes |
|---|---|---|
| Blade | Blade box | Keep sharp edge protected |
| Bolts | Small jar | Label with size |
| Screws | Plastic bag | Seal to avoid spillage |
Following these steps ensures you can disassemble your radial arm saw safely. An organized workspace makes the process efficient.
Cleaning And Rust Removal
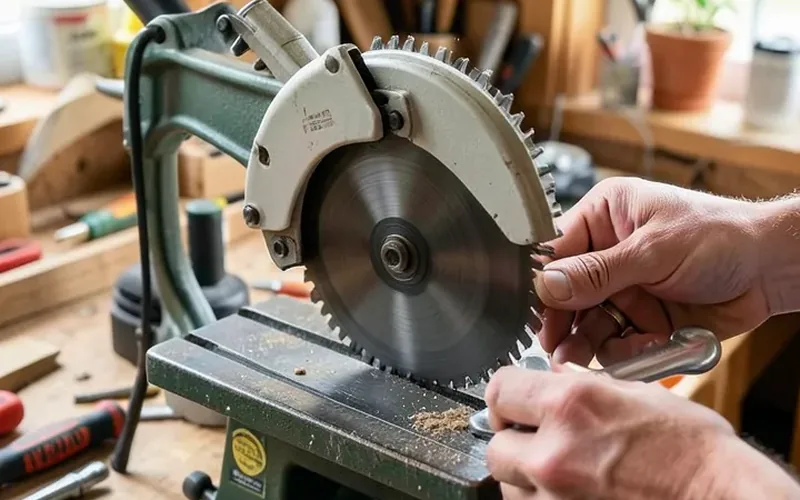
Maintaining your old radial arm saw is essential for its longevity. Regular cleaning prevents rust and improves performance. Follow these techniques to keep your saw’s table and arm in top shape.
Effective Techniques
Cleaning your radial arm saw involves several simple steps. Use the right tools and materials for effective results. Here are some techniques:
- Dust Removal: Use a soft brush or compressed air.
- Surface Cleaning: Wipe surfaces with a damp cloth.
- Degreasing: Apply a degreaser for tough stains.
- Rust Prevention: Regularly check for rust spots.
Protecting Metal Surfaces
Protecting metal surfaces is crucial for your saw. Rust can weaken the structure and affect performance. Here are ways to protect the metal:
- Apply a Rust Inhibitor: Use a rust-resistant spray.
- Store Properly: Keep the saw in a dry area.
- Use a Cover: Protect the saw with a tarp.
- Regular Maintenance: Schedule cleaning every few months.
Following these methods helps maintain your radial arm saw. Keep it clean and rust-free for better performance.
Mechanical Repairs And Adjustments
Maintaining an old radial arm saw requires attention to mechanical repairs and adjustments. Proper care keeps your saw running smoothly. Regular adjustments can improve accuracy and extend the tool’s life.
Fixing Common Issues
Old radial arm saws can face several common problems. Here are some issues and their fixes:
- Blade Misalignment: Check the blade angle. Adjust it to 90 degrees for crosscuts.
- Worn Bearings: Listen for unusual noises. Replace worn bearings to ensure smooth operation.
- Loose Parts: Regularly check screws and bolts. Tighten any loose components to avoid vibrations.
- Dust Accumulation: Clean the saw regularly. Dust can hinder performance and safety.
Calibrating For Precision Cuts
Squaring a radial arm saw happens in a specific order – doing it out of sequence just moves the error around instead of removing it:
- Flatten the table first: confirm the table itself is flat before adjusting anything else.
- Square the arm to the fence: hold a framing square against both and adjust the arm’s travel until they meet at 90 degrees.
- Square the blade to the arm, then to the table: check the blade reads 90 degrees against the table top with the square.
- Test cut on scrap wood: the blade should neither dig in nor lift as it travels the full length of the arm.
- Re-shim and repeat: if the test cut is off, shim the arm’s guide rails and re-check before cutting real material.
Use a negative-hook blade for this test cut, not a standard positive-hook blade – see the blade section above. If your projects need a lot of bevel work, it’s worth comparing a radial arm saw’s bevel range against a table saw’s before committing to one setup.
Electrical Safety And Upgrades
Old radial arm saws can be powerful tools. Yet, they need proper electrical safety measures. Upgrading electrical components ensures safety and efficiency. Regular inspections and modern upgrades protect users and enhance performance.
Inspecting And Replacing Wiring
Old wiring can be a hazard. Inspecting and replacing it is crucial. Follow these steps:
- Turn off the power supply.
- Remove the saw’s cover.
- Check for frayed or damaged wires.
- Look for loose connections.
- Replace any faulty wiring promptly.
Use high-quality wires for replacements. This ensures durability and safety.
Consider hiring a professional electrician for complex issues. Properly installed wiring helps prevent electrical fires and accidents.
Modernizing With New Components
Modernizing your radial arm saw can greatly enhance safety. Consider these upgrades:
Beyond the electrical side, several radial arm saw attachments can expand what your restored saw can do once it passes the safety checks above.
- Switches: Install a safety switch for quick shutdowns.
- Motor: Upgrade to a more efficient motor.
- Blade Guard: Ensure proper protection with a new guard.
- Extension Cords: Use heavy-duty cords to prevent overheating.
These updates improve performance and safety. Always follow the manufacturer’s guidelines during upgrades.
Reassembly And Testing
Reassembling an old radial arm saw can be rewarding. This process ensures that the saw functions efficiently. Proper testing is crucial for safety and performance.
Guidelines For Reassembly
Follow these guidelines to reassemble your radial arm saw:
- Clean All Parts: Remove dust and debris.
- Organize Components: Keep screws and parts in order.
- Refer to the Manual: Use the manual for guidance.
- Reattach the Arm: Secure it tightly to avoid movement.
- Install the Blade: Ensure the blade is sharp and correctly positioned.
Check each component as you reassemble. Make sure all parts fit well. Tighten screws securely to avoid any issues.
Safety Tests And Fine-tuning
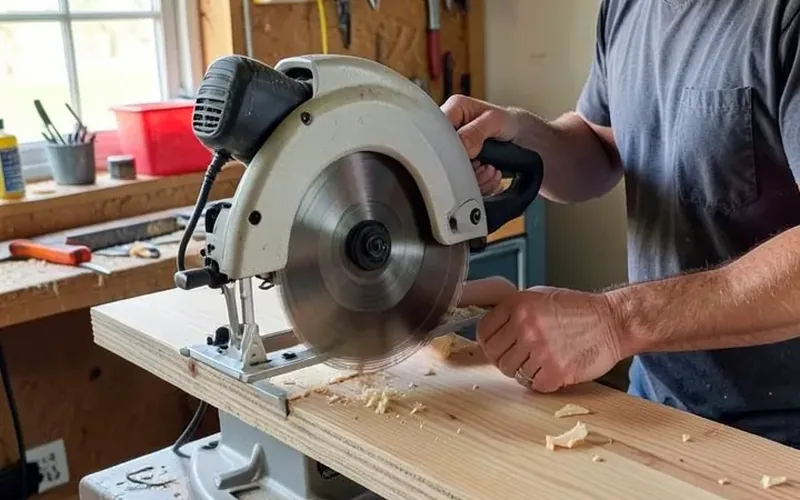
Conduct safety tests after reassembly. This ensures your saw operates safely:
- Power-On Test: Plug in the saw and turn it on.
- Blade Alignment: Check if the blade is straight.
- Functionality Test: Make a few cuts on scrap wood.
Fine-tuning improves performance:
| Adjustment | Action |
|---|---|
| Blade Height | Adjust for desired cutting depth. |
| Angle Settings | Ensure correct angles for bevel cuts. |
| Speed Control | Set speed based on material type. |
Always prioritize safety during tests. Wear protective gear and use caution. Regular maintenance will extend your saw’s life.
Final Touches And Maintenance
Maintaining your old radial arm saw is vital for its longevity. Proper care ensures safety and efficiency during use. Here are key practices for applying finishes and routine maintenance.
Applying Finishes And Preservatives
Protecting your radial arm saw with finishes and preservatives is essential. These products help prevent rust and extend the life of the wood and metal parts.
- Wood Finishes: Use varnish or polyurethane for wooden surfaces.
- Metal Preservatives: Apply oil or wax to metal components.
Follow these steps for applying finishes:
- Clean the surface thoroughly.
- Apply the chosen finish evenly.
- Allow to dry completely before using the saw.
Routine Care Tips
Regular maintenance keeps your radial arm saw in peak condition. Follow these simple care tips:
| Task | Frequency | Description |
|---|---|---|
| Clean Saw Blades | After Each Use | Remove sawdust and resin build-up. |
| Check Blade Alignment | Monthly | Ensure blades are straight and true. |
| Lubricate Moving Parts | Every Three Months | Use machine oil on gears and pivots. |
| Inspect Cords and Plugs | Monthly | Look for frays or damage. |
Follow these tips for safe and effective use:
- Store the saw in a dry place.
- Cover it to prevent dust accumulation.
- Always check safety features before use.
Frequently Asked Questions
What Is An Old Radial Arm Saw?
An old radial arm saw is a versatile woodworking tool. It features a circular saw blade mounted on a swinging arm. This design allows for crosscuts, rip cuts, and bevel cuts. Vintage models may have unique features, appealing to collectors and hobbyists alike.
How To Maintain An Old Radial Arm Saw?
To maintain an old radial arm saw, start by cleaning the saw regularly. Remove dust and debris from the motor and blade. Check the alignment of the blade and arm frequently. Lubricate moving parts to ensure smooth operation. Regular maintenance prolongs the saw’s lifespan and enhances performance.
Can I Still Use An Old Radial Arm Saw?
Yes, you can still use an old radial arm saw. However, ensure it’s in good working condition. Inspect the electrical components and blade for safety. If maintained properly, it can be an effective tool for woodworking projects. Always prioritize safety when operating older machinery.
What Are The Benefits Of Using A Radial Arm Saw?
Radial arm saws offer precision and versatility in cutting. They can perform various cuts, including crosscuts and miters. This tool saves time and effort compared to hand saws. Additionally, it allows for larger workpieces to be cut easily. Overall, it enhances woodworking efficiency.
Do Old Radial Arm Saws Need a Special Blade?
Yes. Radial arm saws need a blade with a negative hook angle, not a standard table saw or miter saw blade. A positive-hook blade spins toward the operator on a radial arm saw and can self-feed into the wood, causing dangerous kickback. Blades sold specifically for radial arm or sliding miter saws are built with the correct negative hook angle.
Were Radial Arm Saws Recalled?
Yes. In 2000, the CPSC and Emerson Tool Co. recalled about 3.7 million Craftsman radial arm saws sold without a guard covering the full blade, after roughly 300 reported injuries. Emerson offered a free repair kit with a complete blade guard — check your saw’s guard and anti-kickback pawls before use, or search CPSC.gov for retrofit details.
Conclusion
An old radial arm saw is worth restoring once you’ve confirmed the guard is complete, the blade has a negative hook angle, and the arm is squared to the table. Skip any of those three and you’re trading a cheap tool for a real safety risk instead of a good deal.
Still deciding whether to restore an old saw or buy new? Read what a radial arm saw is actually used for first.
Sponsored / affiliate links. As an Amazon Associate I earn from qualifying purchases. I may earn additional commission from eligible campaigns.