Ryobi Table Saw Motor Replacement: Brushes or Full Motor?
A Ryobi RTS10 or RTS21 table saw that won’t start almost always has worn carbon brushes (Ryobi part 080015001641), not a dead motor — these saws use a brushed universal motor with no drive belt. Buying a full motor assembly first can waste $50 on the wrong fix. This guide covers diagnosing the real cause, safely replacing brushes or the switch, and the rare case when a full motor swap is needed.
Note: Insert your Affiliate Disclosure reusable block here.
Introduction to Ryobi Table Saw Motor Issues
Best Ryobi Table Saw Motor Fix Pick
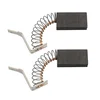
Ryobi 080015001641 Carbon Brush Set – $14.89
Fits RTS10, RTS10G, RTS21, and RTS22 — the exact part behind most “dead motor” complaints covered in this guide’s diagnosis table above.
- Best for: Stalling, sparking, or a motor that won’t start at all
- Why we picked it: OEM-fit replacement, confirmed compatible with four RTS-series models
- Main drawback: Only fixes brush wear — won’t help a seized bearing or shorted winding
Compare more Ryobi table saw repair parts
 Option 1 Ryobi 089110109712 Switch – $22.64
|
 Option 2 Table Saw Wrench Set – $9.69
|
 Option 3 Blade Guard Assembly – $63.99
|
As an Amazon Associate we earn from qualifying purchases.
If your Ryobi 10″ table saw motor won’t start, runs slowly, or sparks, the cause is almost always one of five things: worn carbon brushes, a bad on/off switch, a tripped motor overload, a damaged power cord, or — least commonly — a genuinely failed drive motor. Compact benchtop saws like the RTS10, RTS10G, and RTS21 use a brush-type universal motor connected directly to the arbor. There’s no drive belt or pulley to inspect, which is a common misdiagnosis with these models.
Start by resetting the motor overload switch (usually a small red button near the motor housing) and confirming the outlet itself is live with a voltage tester. If the saw still won’t run, the brushes and switch are the next things to check — both are cheap, commonly available parts, unlike a full motor assembly.
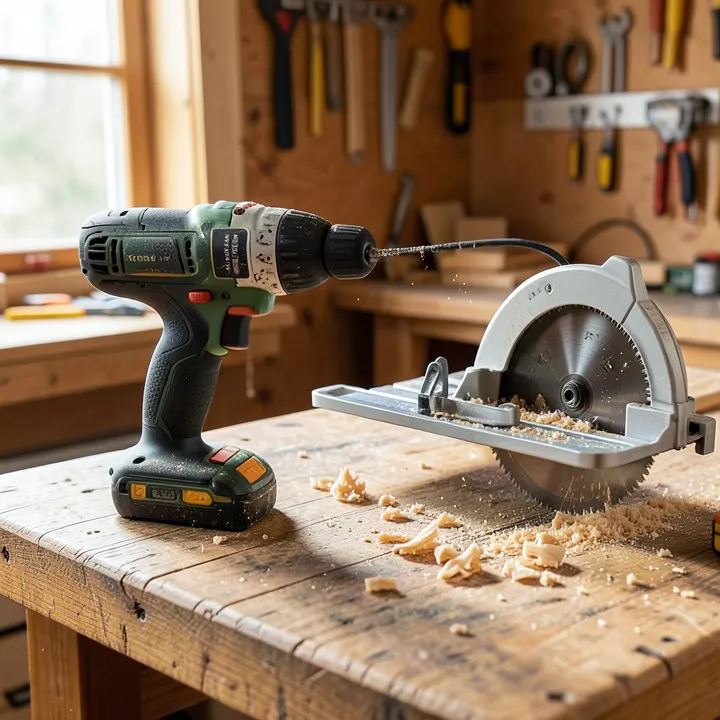
Safety First: Preparing for Motor Replacement
Unplug the saw before touching the motor housing, switch, or wiring — never work on a table saw motor while it’s connected to power. OSHA’s power tool guidance requires disconnecting tools before servicing or changing any accessory, and the same rule applies to internal repairs like this one.
📊 OSHA requires disconnecting power tools before servicing, adjusting, or changing accessories — the same rule governs opening a table saw’s motor housing. Source: OSHA, Hand and Power Tools
- Protective goggles to shield your eyes from debris and sparks.
- Earplugs or earmuffs if you’ll be test-running the saw repeatedly.
- Heavy-duty gloves when handling the blade or sharp motor housing edges.
- A voltage tester to confirm the outlet and cord are dead before you open anything.
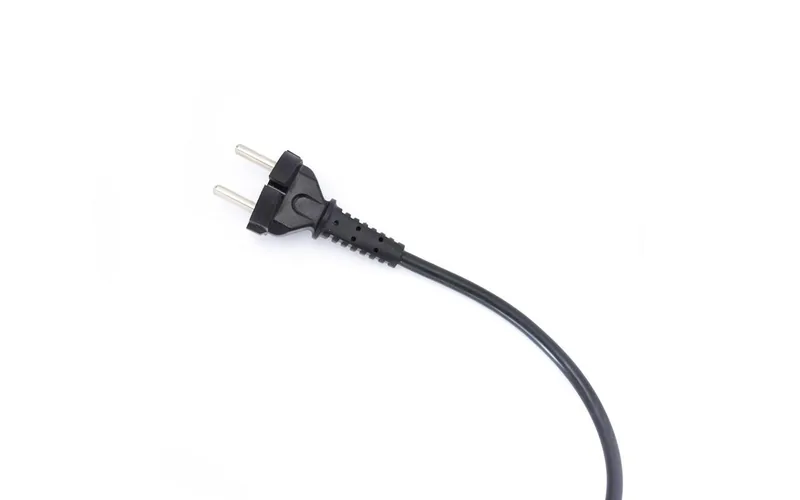
- Unplug the saw from the wall outlet — don’t just switch it off.
- Confirm it’s dead with a voltage tester at the cord end.
- Lock out the circuit breaker or remove the fuse if you’re sharing a workspace, so no one re-energizes the outlet while you’re working.
Diagnosing the Real Problem: Brushes vs. Full Motor Failure
Carbon brushes are the small spring-loaded contacts that ride against the motor’s spinning commutator to deliver current. They’re a wear item by design — expected to wear down over normal use and get replaced, unlike the motor windings themselves, which should last the life of the tool under normal conditions.
Before ordering a full motor assembly, rule out the cheap fix first. Most Ryobi RTS-series “dead motor” cases are one of these two parts, not the motor itself:
| Symptom | Likely Cause | Typical Part Cost |
|---|---|---|
| Won’t start, no sound at all | Bad switch or dead outlet | $20–$25 (switch) |
| Starts, then stalls or sparks heavily | Worn carbon brushes | $10–$15 (brush set) |
| Runs but underpowered/slow | Worn brushes or bad bearings | $10–$15 (brushes) / professional bearing service |
| Humming, no rotation, hot to the touch | Seized bearing or failed windings — genuine motor failure | Varies — often cheaper to compare against a new saw |
If your saw is a Ryobi RTS10, RTS10G, RTS21, or RTS22, part number 080015001641 is the OEM carbon brush that fits all four models — check this before assuming the motor itself has failed.
Identifying Your Ryobi Table Saw Model
The model number matters because brush, switch, and motor parts are not interchangeable across the whole Ryobi table saw lineup. Find it on a sticker on the saw’s base or motor housing, or in the owner’s manual. Common compact 10″ models include the RTS10, RTS10G, RTS12, RTS20, RTS21, RTS21G, and RTS22 — each has its own confirmed part list, so match your exact model before ordering anything.
Why Model Identification Matters
A brush or switch that fits an RTS10 doesn’t automatically fit an RTS12 or RTS23 — those use different switch part numbers (for example, 089240028147 on the RTS12/RTS23 versus 089110109712 on the RTS10/RTS20/RTS30). Ordering by model number, not by “10-inch Ryobi table saw” alone, is what prevents a return and a second wait for shipping.
Replacing the Carbon Brushes (Most Common Fix)
Carbon brush replacement is the repair that solves the majority of “motor won’t start” or “motor sparking” complaints on RTS-series saws, and it takes about 15 minutes with the saw unplugged.
- Unplug the saw and confirm it’s dead with a voltage tester before opening anything.
- Locate the brush caps on the motor housing — on most RTS-series saws these are two small slotted or hex caps on opposite sides of the motor casing.
- Remove each cap with a screwdriver and slide out the old brush and spring, noting the orientation.
- Compare brush length against a new 080015001641 brush — if the old brush is visibly shorter or the spring has lost tension, replace both brushes as a pair, even if only one looks worn.
- Insert the new brushes in the same orientation, reinstall the springs, and thread the caps back in by hand first to avoid cross-threading.
- Plug in and test-run the saw briefly with the blade guard on and no material on the table, listening for smooth, even sound with no sparking at the caps.
Replacing the On/Off Switch
If the saw gives no response at all — no hum, no click, nothing — when you flip it on, suspect the switch before the motor. With the saw unplugged, remove the switch cover screws, note which wire goes to which terminal (or take a photo first), and swap in the matching part number for your model. Reassemble, plug back in, and test with the yellow safety key inserted. For a deeper walkthrough of swapping switches across different Ryobi and universal table saw models, see our table saw switch replacement guide.
When You Need a Full Motor Replacement
A full motor swap is genuinely necessary when the motor hums but won’t spin, runs hot to the touch within seconds, or shows visible winding damage or a seized bearing after the brushes and switch have already been ruled out. Be aware: complete motor assemblies for the compact RTS-series aren’t widely stocked as standalone parts the way brushes and switches are — check our comparison of Ryobi table saw parts sources for current OEM and aftermarket availability by model, and compare the repair cost against a replacement saw before committing.
When a genuine replacement motor assembly is available for your exact model, buy only from an authorized Ryobi parts retailer and confirm the part number matches your saw’s model plate — a mismatched motor amperage or shaft size will not fit the housing correctly.
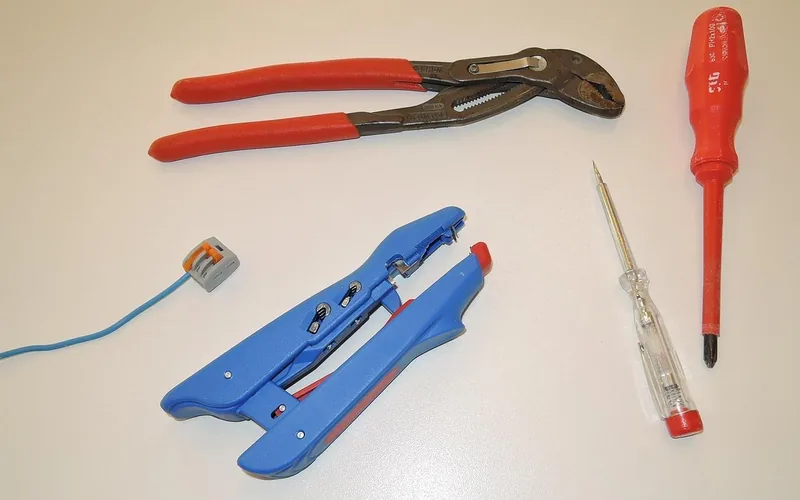
Tools and Materials Needed
- Phillips and flathead screwdrivers
- Voltage tester (confirm the outlet and cord are dead before opening the saw)
- Needle-nose pliers and wire strippers (only needed for switch or wiring work)
- Replacement carbon brushes, switch, or motor — matched to your exact model number
- A well-lit, dust-free workspace to keep debris out of the open motor housing
Step-by-Step Full Motor Removal and Installation
If diagnosis confirms the motor itself has failed, removal and installation follow the same basic sequence regardless of model.
Uninstalling the Old Motor
With the saw unplugged, remove the blade and blade guard, then locate the motor housing underneath the table. Remove the screws or bolts securing the motor to its mounting bracket, keeping them together in a labeled cup — you’ll reuse them for the new motor.
Rust or corrosion on the mounting screws is the most common snag; a penetrating oil applied a few minutes beforehand usually breaks it loose without stripping the head. Clear sawdust and debris from the housing before installing the new motor — trapped dust is a common cause of premature brush wear and overheating.
Installing and Testing the New Motor
Align the new motor with the mounting bracket, secure it with the original screws, and reattach the blade guard and blade. Plug in and briefly test-run the saw before putting material on the table — listen for smooth, even sound with no wobble at the arbor, and check that the blade tilt and height adjustments still move freely.
Post-Installation Checks
Run the saw for a minute with no material loaded, confirming the blade spins true with no wobble and the motor sounds even. Check that the blade and fence are parallel, and that the miter gauge is square to the blade — a motor swap can shift alignment slightly if the mounting bracket was disturbed.
Maintenance Tips to Prevent Repeat Motor Problems
- Clean the motor housing regularly: compressed air or a soft brush clears sawdust before it works into the brush contacts and bearings.
- Check connections after any repair: a loose wire nut or terminal is a common cause of intermittent starting.
- Inspect brushes at the first sign of sparking: catching brush wear early avoids commutator damage that a brush swap alone can’t fix.
- Don’t force cuts that bog down the motor: repeated overload trips shorten brush and bearing life faster than normal use.
Troubleshooting Post-Replacement Issues
If the saw still underperforms after a repair, work through these before assuming the new part is defective:
- Motor still runs slow: confirm the outlet delivers full voltage under load — an overloaded extension cord or shared circuit is a common cause on jobsite saws.
- Motor overheats: check that the dust port and housing vents aren’t clogged, restricting airflow to the motor.
- Inconsistent cuts after the repair: recheck blade alignment and rip fence lock-down — these can shift during any internal service, not just a motor swap.
Persistent electrical problems, or any burning smell or visible arcing, are a sign to stop and consult a qualified technician rather than continuing to troubleshoot — that’s a safety issue, not just a performance one.
Frequently Asked Questions
Why Is My Table Saw Motor Not Working?
The most common causes are a tripped overload, a bad on/off switch, worn carbon brushes, a damaged power cord, or — least often — a genuinely failed drive motor. Reset the overload and check the outlet first, then test the switch and brushes before assuming the motor itself is bad.
Why Does My Table Saw Motor Run Slow?
A slow-running motor on an RTS-series saw is usually worn carbon brushes or insufficient voltage at the outlet, not a drive belt — these compact saws don’t use one. Check brush length against a new 080015001641 brush and confirm the outlet delivers full voltage under load.
Why Is My Table Saw Motor Sparking?
Light, even sparking at the brush caps is normal wear on a brushed universal motor. Heavy or uneven sparking usually means the brushes are worn down or the spring tension has weakened — replace both brushes as a pair rather than just the shorter one.
Does a Ryobi RTS10 Table Saw Use a Drive Belt?
No. Compact benchtop saws like the RTS10 and RTS21 connect the motor directly to the arbor with no belt or pulley — a belt-drive design is more common on larger contractor and cabinet saws. If you’re troubleshooting an RTS-series saw, rule out brushes and the switch instead of looking for a belt.
What Is the Standard Size of a Table Saw?
The standard blade size for a benchtop and jobsite table saw — including the Ryobi RTS-series — is 10 inches.
Conclusion
Before ordering a full motor assembly for your Ryobi RTS10 or RTS21, rule out the two cheap, common fixes first: carbon brushes (part 080015001641) and the on/off switch. Both take under 30 minutes to swap with the saw safely unplugged, and both cost a fraction of a new motor. Reserve a full motor replacement for the cases where the motor genuinely hums without turning, runs hot within seconds, or shows visible winding or bearing damage.
For more on sourcing genuine parts for your saw, see our Ryobi table saw parts list and our guide to upgrading your Ryobi table saw fence once the motor is running smoothly again.
Sponsored / affiliate links. As an Amazon Associate I earn from qualifying purchases. I may earn additional commission from eligible campaigns.