What Happens If You Don’t Sand Between Coats of Polyurethane
Skip sanding between coats of polyurethane and you will not just end up with a slightly less glassy shine. Dust nibs get sealed under the next coat, the new layer has almost nothing to mechanically grip onto, and on a project that sees real use, that weak bond can eventually show up as cloudy patches or actual peeling between coats months down the road, not just a rougher-looking surface today.
What Actually Happens When You Skip Sanding Between Coats
The short-term effects show up immediately: trapped dust specks under a glassy surface, faint brush or roller texture that never levels out, and a hazy or slightly cloudy look where light doesn’t reflect evenly off the film. The longer-term effect is the one most guides skip – a weak mechanical bond between coats that can fail later, not just look imperfect now. Here’s a sanding sponge that makes the between-coat step fast enough that skipping it stops being tempting.
Best Between-Coat Scuff-Sanding Pick
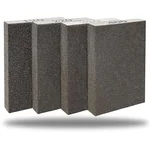 |
SACKORANGE 4-Pack Sanding Sponge Set (120/220/320/400 Grit) – $4.59 A flexible foam sponge with four grits in one pack, sized right for the light scuff-sanding polyurethane needs between coats.
|
Both problems trace back to the same cause, and understanding why makes the extra ten minutes per coat much easier to justify.
Why Sanding Between Coats Is a Mechanical Bond, Not a Cosmetic Step
Once a coat of polyurethane cures, it forms a hard, smooth, semi-glossy film – and that smoothness is exactly the problem. Polyurethane doesn’t fuse into a fully cured layer the way wet paint blends into wet paint; a cured coat is chemically “done,” so the next coat has nothing to chemically bond with. It has to rely on mechanical adhesion instead: microscopic scratches from sanding give the new coat something to physically key into, the same way paint needs a primer coat or a deliberately scuffed surface to hold rather than sheeting off a slick one.
A light pass with 220 to 320-grit is enough – you’re not trying to remove material, just knock the surface from glossy-smooth down to a dull “scuffed” texture (finishers sometimes call this breaking the sheen). Skip that step and the new coat is essentially resting on top of the old one rather than gripping it.
You can tell you’ve scuffed enough by the sheen, not by feel: a properly sanded coat looks evenly dull across the whole surface, with no shiny, untouched patches left in corners, along edges, or near mouldings. Any glossy spot you missed is a spot the next coat has nothing to grip, so it’s worth checking under raking light (a work lamp held low and to the side) before wiping down and recoating.
Cure time factors into this too. Water-based polyurethane typically firms up enough to scuff-sand within a couple of hours, while oil-based polyurethane can take significantly longer – sanding either one before it’s fully cured just gums up the abrasive with soft finish instead of cutting a scratch pattern into it, which defeats the purpose of sanding at all.
The Real Risk: Cloudiness, Poor Adhesion, and Eventual Delamination
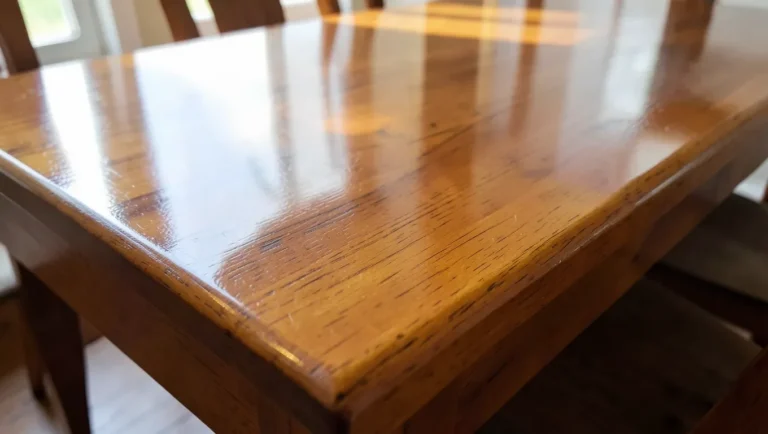
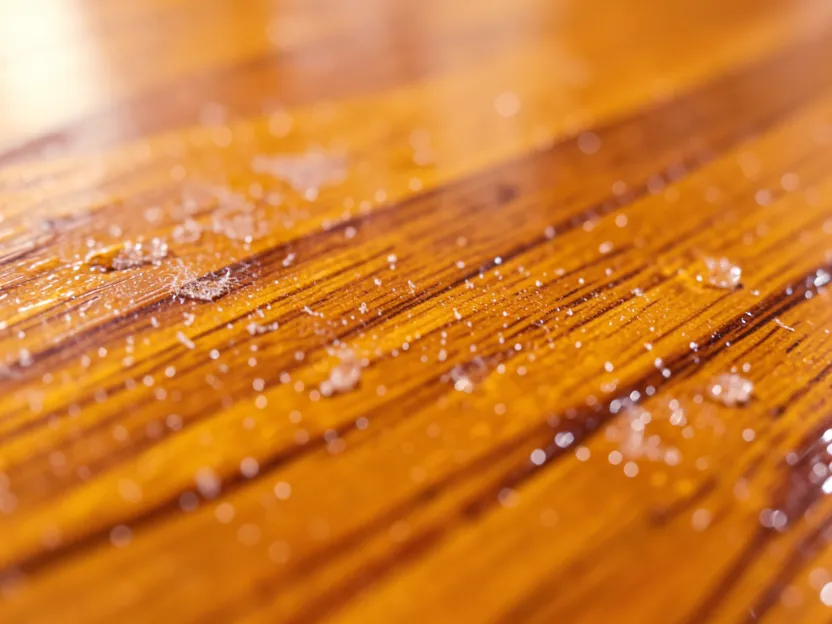
Most articles on this topic stop at “it’ll look less smooth.” That undersells the actual risk. Without mechanical tooth to grip, a new coat can look fine on day one and still fail later – the adhesion problem doesn’t announce itself until the finish is stressed by heat, moisture, or repeated use. On a tabletop or a floor, that failure mode is visible cloudiness or a slightly milky haze where the coats never fully keyed together, and in worse cases it’s actual delamination: the top coat separating, flaking, or peeling away from the layer underneath, sometimes in sheets, months or years after the project looked finished.
This is a genuine finish-failure risk, not just a cosmetic downside – it’s closer to paint peeling off an unprimed wall than to a merely “less shiny” result. It’s also why dust matters as much as the scratch pattern itself: any sanding dust left on the surface gets sealed under the next coat along with the poor adhesion, so removing it (a dry microfiber cloth or a barely damp one both work – a dedicated tack cloth is the traditional choice but isn’t strictly required) is not optional.
The stakes also depend on what you’re finishing. On a picture frame or a decorative box, a weak bond between coats might never get stressed enough to fail visibly. On a dining table, stair treads, or a floor – anything that takes daily heat, moisture, and abrasion – that same weak bond is under constant load, which is exactly why delamination on unsanded finishes tends to show up first at high-wear spots like a table’s front edge or a floor’s traffic lane, not in the middle of a rarely-touched surface.
How to Sand Between Coats of Polyurethane the Right Way
The process itself is quick once you know the sequence:
- Let the coat cure first, not just dry to the touch – follow the label’s recoat window (typically a few hours for water-based polyurethane, longer for oil-based). Sanding a coat that’s still soft will gum up the abrasive instead of cutting it.
- Use 220 to 320-grit for scuffing between coats; save anything coarser for correcting drips or runs, and switch to 320 to 400-grit only for the final pass before the last coat.
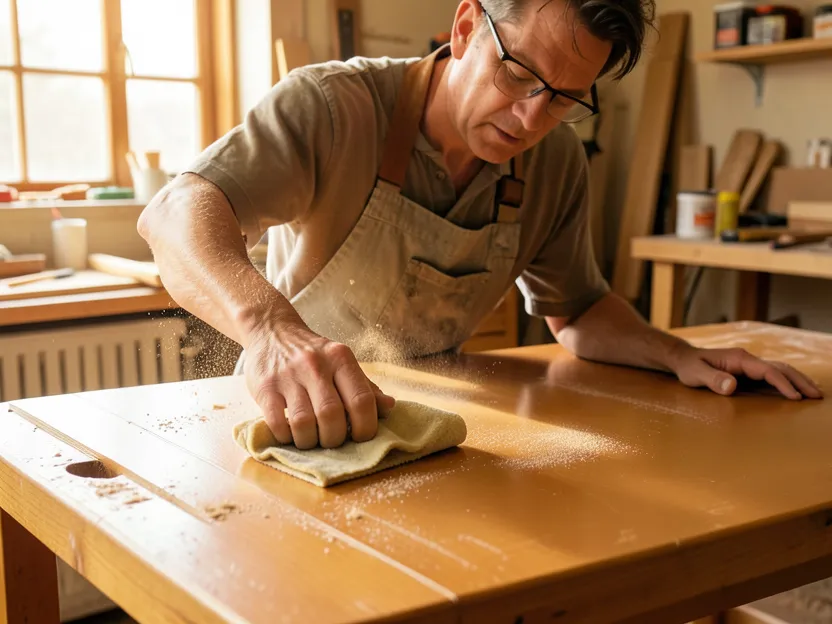
- Sand with very light pressure, with the grain – the goal is to dull the sheen and knock down dust nibs and brush marks, not remove the coat. On flat panels, a flexible sanding sponge conforms better than a rigid block and is less likely to cut through on an edge.
- Remove every trace of dust before recoating – vacuum first, then wipe with a tack cloth or a barely damp lint-free cloth. Dust left behind gets sealed under the next coat along with the adhesion problem.
- Recoat within the manufacturer’s recommended window where possible – most polyurethanes have a recoat range; waiting far longer than that window can mean an even harder, glossier surface to key into, which is the same problem in a more stubborn form.
If you’re unsure how long to wait before that first coat goes on over stain, our guide on how long to wait to apply polyurethane after staining covers that timing. If you’d rather use a powered tool for the scuff pass on a larger surface, see whether an orbital sander between coats of polyurethane is a good fit for your project first.
Frequently Asked Questions
Is sanding between coats of polyurethane necessary?
Yes. Cured polyurethane needs a scuffed surface for the next coat to mechanically grip, since it can’t chemically bond to an already-cured layer the way wet coats bond to each other. Skipping it risks trapped dust, a cloudy or uneven finish, and weak adhesion that can eventually lead to peeling.
Can I apply polyurethane over old, unsanded polyurethane?
You can, but it’s a gamble on adhesion. If the old coat is glossy and unsanded, scuff it with 220-grit first and clean off the dust. Skipping that step on an older, fully cured coat is exactly the scenario most likely to end in peeling later, since there’s nothing for the new coat to key into.
What grit should I use to sand between coats of polyurethane?
220 to 320-grit for most between-coat scuffing. Move up to 320 or 400-grit only for the final pass before the last coat. Anything coarser than 220 is for fixing a specific defect like a drip, not routine scuffing.
Can you put too many coats of polyurethane on without sanding?
Yes – stacking coats without sanding between them compounds the adhesion problem with every layer. Each unsanded coat is a weak point, so a finish built from several unsanded coats can end up with several potential failure points instead of one solid film, plus a thicker, less durable, longer-curing build overall.
Bottom Line
Sanding between coats of polyurethane isn’t a cosmetic nicety – it’s how each layer physically grips the one underneath it. Skip it and you risk more than a rougher-looking surface: trapped dust, visible cloudiness, and a weak bond that can show up later as peeling or delamination. A light scuff with 220 to 320-grit and a quick wipe-down between coats is a small amount of extra time for a finish that actually holds up.
Sponsored / affiliate links. As an Amazon Associate I earn from qualifying purchases. I may earn additional commission from eligible campaigns.