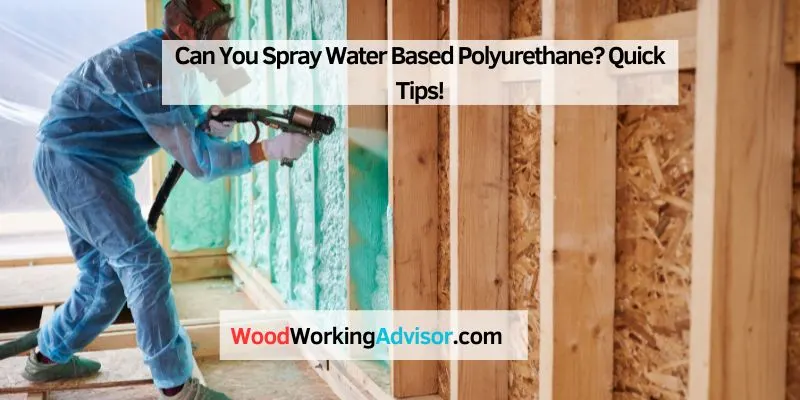
Can You Spray Water-Based Polyurethane? (Tip Size & PSI Settings)
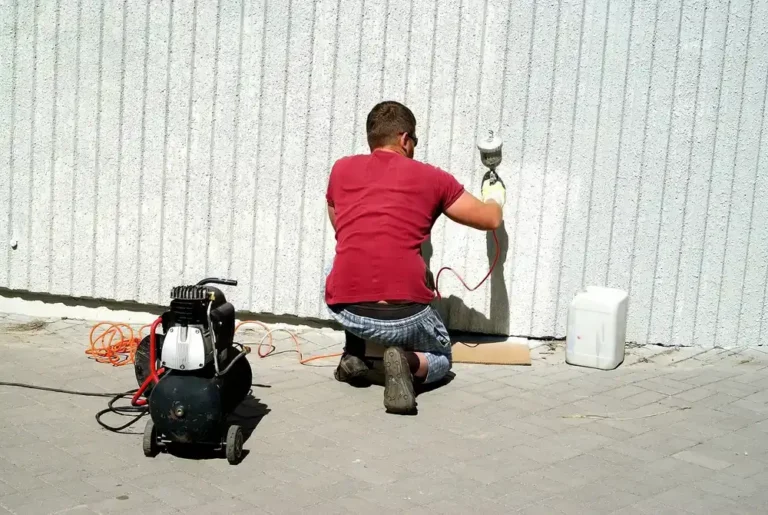
Yes, water-based polyurethane sprays well with an HVLP gun — but only with a 1.0 to 1.5mm fluid tip and no more than 10% water added, or the finish runs and shows orange peel. Get the settings wrong and you’ll spend an afternoon sanding out drips instead of admiring a clear coat. This guide covers gun settings by sprayer type, the exact spraying steps, and the mistakes that ruin a sprayed finish.
What You Need to Spray Water-Based Polyurethane
Best HVLP Sprayer Pick
Fuji Spray 2203G Semi-PRO 2 Gravity HVLP Spray System
A turbine HVLP system that ships with a 1.3mm air cap already installed — the exact tip size this guide recommends for water-based polyurethane.
- Best for: furniture, cabinets, and trim where finish quality matters most
- Why we picked it: factory-installed 1.3mm cap and a 400cc gravity cup match this article’s settings exactly
- Main drawback: a real investment for occasional DIY use
Compare more HVLP sprayer options
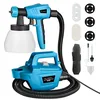 Option 1 Tilswall 800W HVLP Electric Spray Gun
|
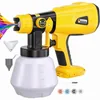 Option 2 DTEZTECH Cordless Sprayer (DeWalt 20V)
|
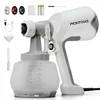 Option 3 PICKITOLES Electric HVLP Sprayer
|
As an Amazon Associate we earn from qualifying purchases.
Spraying water-based polyurethane needs three things a brush job doesn’t: a sprayer sized for waterborne finish, the right fluid tip, and a ventilated, dust-free space. Skimping on any one of these is the most common reason a first spray attempt goes badly.
- HVLP or electric spray gun: high-volume low-pressure guns give the most control for furniture-grade work.
- Compressor or turbine unit: gravity-feed HVLP guns need a compressor; turbine HVLP and most electric sprayers are self-contained.
- Respirator and goggles: water-based poly is lower-odor than oil-based, but atomized overspray still irritates eyes and lungs.
- Drop cloths and cardboard baffles: overspray travels further than brush drips ever do.
- 220-grit sandpaper and a tack cloth: for surface prep and between-coat scuffing.
HVLP vs. Airless: Which Sprayer for This Job?
Most furniture and cabinet work sprays better through an HVLP gun; large flat runs like decking or a whole hardwood floor are usually faster with an airless rig. The table below compares the two for water-based polyurethane specifically.
| Sprayer Type | Best For | Typical Fluid Tip | Learning Curve |
|---|---|---|---|
| HVLP (turbine or compressor-fed) | Furniture, cabinets, trim — fine, controlled finish | 1.0–1.5mm | Moderate |
| LVLP (low volume, low pressure) | Smaller guns, tighter budgets, still fine work | 1.0–1.3mm | Moderate |
| Airless / air-assisted airless | Decking, floors, large flat surfaces, speed over finesse | Larger, gun-specific | Higher (more overspray risk) |
An airless unit pushes material through the tip using pump pressure alone, which is why it covers a deck or a floor so much faster — and why it’s more prone to overspray and a textured, less refined finish on a vertical cabinet door than a properly tuned HVLP gun.
Spray Gun Settings Cheat Sheet
These are starting points, not fixed rules — every gun and every brand of water-based polyurethane behaves slightly differently, so confirm against your product’s technical data sheet and test on scrap before spraying the actual project.
| Setting | Typical Range | Why It Matters |
|---|---|---|
| Fluid tip / nozzle | 1.0–1.5mm (1.3mm is the most common all-purpose size) | Too small clogs on waterborne finish; too large lays down too much material and causes runs. |
| Air pressure at the cap | 8–12 PSI (this is what makes a gun “HVLP” by definition) | Higher cap pressure atomizes more finish into overspray instead of onto the surface. |
| Gun inlet pressure | Often 30–40 PSI on many compressor-fed guns before internal pressure drop | The compressor gauge and the pressure actually hitting your work are two different numbers — dial in by test spray, not by gauge alone. |
| Thinning with water | Up to 10% by volume, added in 2–3% increments | Adding more than about 10% water can break down the finish’s film-build and durability. |
Never add mineral spirits or any oil-based thinner to water-based polyurethane. The two don’t mix chemically — the solvent coagulates the waterborne polymer on contact and ruins the batch. Water is the only thinner that works.
How to Prepare the Wood and Mix the Finish
Preparation determines whether the sprayed coat looks professional or shows every flaw underneath it. Thinning water-based polyurethane correctly is part of this step, not an afterthought.
- Sand the surface: 220-grit, with the grain, then wipe with a damp (not wet) cloth to pull up dust.
- Mask off adjacent areas: painter’s tape on trim, hardware, and anything you don’t want overspray on.
- Stir, don’t shake: shaking introduces air bubbles that show up as tiny craters in the dried finish.
- Thin only if needed: add water in 2–3% increments, up to 10% total, and test the spray pattern on scrap before touching the project.
Step-by-Step: Spraying Water-Based Polyurethane
Spraying water-based polyurethane follows the same core sequence regardless of gun type — only the settings change.
- Set up in a ventilated space: open windows or run a fan pointed away from the work, and hang plastic sheeting to contain overspray.
- Load and test the gun: fill the cup, then spray a test pattern on cardboard before touching the actual piece.
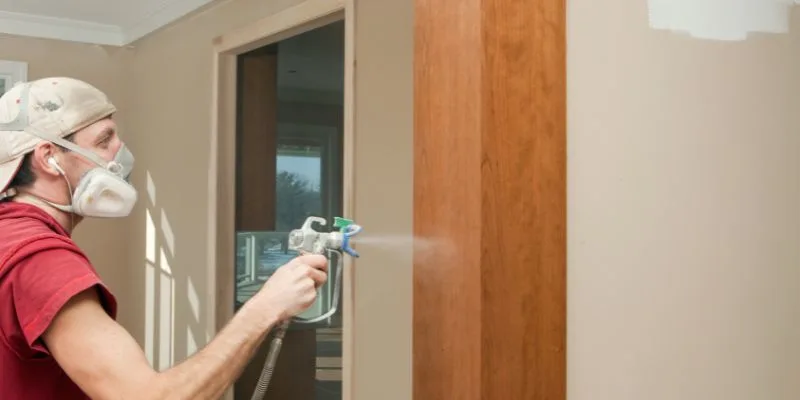
- Hold the gun 6–8 inches from the surface: closer causes runs, farther causes a dry, gritty texture.
- Spray in overlapping passes: overlap each stroke by about 50% and keep the gun moving at a steady speed — stopping mid-stroke pools finish.
- Apply thin coats: aim for a wet film of roughly 2–3 mils per coat rather than one heavy pass.
- Let each coat dry before recoating: typically 1–2 hours to dry, 2–4 hours before recoating, and up to 30 days for a full cure.
- Scuff-sand between coats: 220-grit, light pressure, then wipe clean before the next coat.
📊 HVLP guns are only classified as HVLP if air-cap pressure stays at or under about 10 PSI — the compressor or gun-inlet reading feeding that cap is a separate, usually much higher, number. — Source: industry HVLP equipment guidance (Pittsburgh Spray Equipment Company)
Spraying vs. Brushing: Which Should You Use?
Spraying isn’t automatically the better choice — it’s the better choice for specific situations. Here’s how the two methods actually compare.
| Factor | Spraying | Brushing |
|---|---|---|
| Finish smoothness | No brush marks; smoothest option on flat, open surfaces | Can leave brush strokes unless leveled with a very fine brush |
| Speed on large areas | Much faster for floors, cabinets, big flat panels | Slower, more consistent for detail work |
| Material waste | Overspray loses some product to the air | Minimal waste, but harder to lay down thin coats |
| Equipment and setup | Gun, compressor/turbine, ventilated space, masking | Just a brush and the can |
| Best for | Cabinets, tabletops, floors, anything with a large open area | Touch-ups, tight corners, small projects, no spray setup available |
Common Mistakes That Ruin a Sprayed Finish
Spraying rewards patience and punishes shortcuts. These are the mistakes that actually show up in finished projects — see our guide on common woodworking pitfalls for more.
Applying Too Thick
A heavy pass leads to drips, runs, and a longer wait before it’s dry enough to sand or recoat. Aim for a wet film thickness of about 2 to 3 mils per coat and build up with multiple thin passes instead of one heavy one.
Orange Peel Texture
A bumpy, textured surface that looks like the skin of an orange usually means the finish was too thick, the gun was held too far away, or the pressure and tip size didn’t match. Fix an existing orange-peel coat by letting it dry fully, wet-sanding with 220-grit, and respraying a properly thinned coat at the correct distance. Prevent it next time by testing your settings on scrap first.
Insufficient Drying Time
Rushing between coats traps solvent under the surface and softens the final finish. Typical timing:
| Coat | Wait Time |
|---|---|
| First coat | 1–2 hours before recoating |
| Second coat | 2–4 hours before recoating |
| Final cure | Up to 30 days before heavy use |
Skipping Protective Gear
Water-based polyurethane is lower-odor than oil-based finishes, but atomized overspray still irritates skin, eyes, and lungs. Wear a respirator rated for fine particulates, safety goggles, and gloves every time you spray, not just for “big” jobs.
“I am usually around 35 to 40 psi give or take at the gun. This drops to around 18 or so with the trigger pulled.” Professionals on the forum stress finding your specific gun’s minimum effective pressure by testing, rather than trusting a single fixed number.
How to Clean and Maintain Your Spray Equipment
Water-based finish dries fast — inside a gun’s passages, that’s a clog waiting to happen if you don’t clean up immediately after spraying.
- Empty the cup: pour any remaining finish back into its container.
- Rinse with warm water: flush the cup, hose, and pickup tube until it runs clear.
- Flush the nozzle: spray clean water through the gun until no color comes through.
- Remove and rinse the filter: dried finish here is the most common cause of a clogged, sputtering spray pattern.
- Dry everything: wipe metal parts to prevent rust before storing.
Check hoses for cracks, inspect the nozzle for buildup, and test the pressure every few months if the gun sees regular use — a clogged or worn tip is the single most common cause of a suddenly inconsistent spray pattern.
Frequently Asked Questions
Can you spray water-based polyurethane?
Yes. Water-based polyurethane sprays well through an HVLP or LVLP gun using a 1.0 to 1.5mm fluid tip. It levels out smoothly, avoids brush marks, and dries fast enough to recoat the same day.
What PSI should you spray water-based polyurethane at?
Keep air pressure at the cap around 8 to 12 PSI, which is the range that technically defines an HVLP gun. The pressure gauge on the compressor or gun inlet will read higher — often 30 to 40 PSI on many guns — before the gun’s internal design drops it down at the cap.
Do you need to thin water-based polyurethane before spraying?
Not always, but many guns run smoother with a small amount of water added — up to about 10% by volume, mixed in 2 to 3% increments. Never add mineral spirits or any oil-based thinner; it will coagulate the waterborne finish.
Can you use an airless sprayer for water-based polyurethane?
Yes, and it’s often the faster choice for large flat areas like decking or hardwood floors. For furniture, cabinets, and other fine work, an HVLP gun gives more control and a smoother result.
What equipment is needed to spray polyurethane?
You need a spray gun, a compressor or turbine (unless the gun is self-contained), and protective gear. An HVLP gun with a 1.0 to 1.5mm tip is recommended for a fine finish.
How do you prepare wood for spraying?
Sand with 220-grit sandpaper, wipe away dust with a damp cloth, and let the surface dry fully. Mask off any areas you don’t want finish on before you start spraying.
How many coats of polyurethane should you apply?
Two to three thin coats is standard for most projects. Each coat adds durability and clarity; sand lightly between coats and always follow the manufacturer’s recoat window.
Conclusion
Spraying water-based polyurethane is a reliable way to get a professional, brush-mark-free finish — the outcome depends far more on gun settings and patience than on the product itself. Match your tip size and pressure to the job, keep coats thin, and give each one its full drying window.
For the full picture on finishing with polyurethane, see our wood finishing guide, or start with everything we cover on polyurethane.
Sponsored / affiliate links. As an Amazon Associate I earn from qualifying purchases. I may earn additional commission from eligible campaigns.