Why Is My Chalk Paint Cracking? Fixes That Work
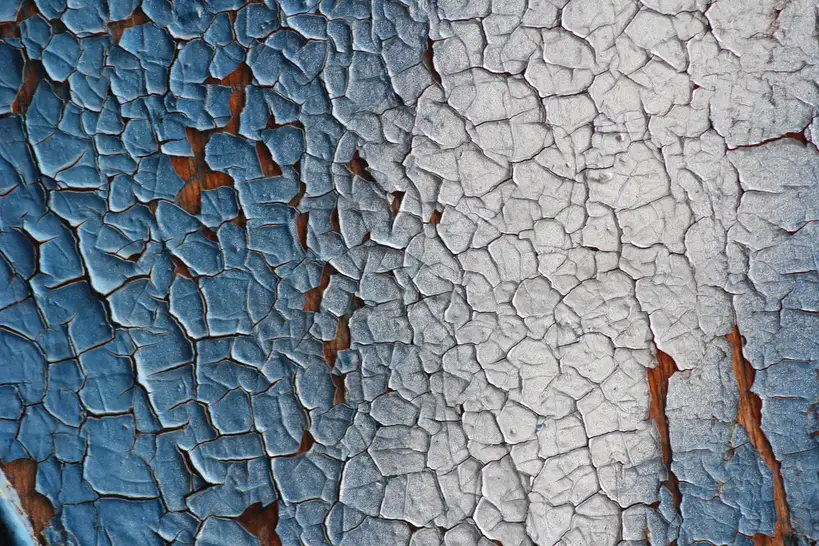
Chalk paint cracks when the surface was dirty, slick, damp, overbuilt, or incompatible with the existing finish; if the crack is deep or the paint lifts with tape, you usually need to sand, prime, or strip before repainting. Skip that check, and the finish can flake off in sheets. This guide explains how to diagnose cracking, peeling, and checking on wood, laminate, and previously finished furniture, then choose the right fix.
Common causes of paint adhesion failure


Chalk paint is water-based and often used on furniture and porous surfaces, but it still depends on adhesion. Cleaning, sanding, and priming are the prep steps that keep it bonded. Skip one, and the coating can shrink, split, or lift as it dries.
How adhesion failures start
Poor adhesion is the root cause behind many paint failures. If the surface still has wax, grease, dust, silicone polish, or factory residue, the paint may dry on top of contamination instead of bonding to the substrate. That is when you see scratches, chips, and peeling, often near handles, edges, and corners first.
Different substrates fail differently. Raw wood can drink in the first coat unevenly. Laminate and slick factory finishes often need more prep because the surface offers little mechanical grip. Previously painted furniture can be fine, but only if the old coating is sound and not glossy, waxy, or flaking.
How thick coats shrink as they dry
Thick coats can dry unevenly and may lead to cracking. The surface skins over first, then the lower film keeps shrinking and pulls at the top layer. That can leave fine cracking, surface checking, or a rough, ridged texture that shows through the next coat.
A topcoat can make this more obvious if it goes on before the paint is fully dry and level. Instead of hiding the problem, it can lock in texture and reveal weak spots in the base coat.
How moisture and temperature change curing
Humidity and temperature change dry time, film formation, and bond strength. High humidity can add moisture to the drying area, which may slow curing and increase the risk of cracking or bubbling. Temperature extremes can also interfere with how the film sets.
For spray paints, one source lists a temperature range of 10 to 32 degrees Celsius and humidity below 85% while drying, while another recommends 65–85°F and humidity below 60%. Chalk paint is not spray paint, but the same drying-space logic applies: steady conditions beat guesswork.
Cracked chalk paint triage table
| Damage pattern | Likely cause | Is sanding enough? | Need shellac primer? | Is full stripping better? |
|---|---|---|---|---|
| Hairline surface cracks | Thin film shrinkage, quick skinning, or a slightly rough base coat | Often yes, if the cracks are shallow and the paint is still bonded | Only if stain bleed or a problem surface is involved | No, unless cracks keep returning after recoating |
| Widespread alligatoring | Heavy coats, trapped moisture, or layered failure across the whole panel | No, sanding alone usually leaves unstable layers in place | Sometimes after stripping, if tannins or stains are expected | Yes, this is often the cleaner fix |
| Peeling edges | Poor adhesion on corners, handles, or glossy surfaces | Only after removing loose paint and feathering the edge | Often helpful on slick or stained substrates before repainting | Yes, if peeling reaches large areas or keeps spreading |
| Bleed-through-related failure | Tannins, old stains, or finish contamination pushing through the coating | No, sanding will not block stains by itself | Yes, shellac primer is the better barrier | Sometimes, if the old finish is unstable or contaminated |
Why is my chalk paint peeling off?
Chalk paint peels off when it cannot grip the surface below it. Dirty, waxy, glossy, or factory-finished furniture gives the coating too little tooth, so the film releases in flakes or sheets. Peeling is an adhesion problem, not the same thing as a crack in a sound film.
Dirty or waxy surfaces
Furniture polish, wax, grease, and handling grime block adhesion. Even a clean-looking surface can still have residue that prevents the paint from keying in. If the coating peels at edges or pulls away with tape, prep failure is the first place to look.
Glossy or factory-finished substrates
Laminate and slick factory finishes are common trouble spots. They often need cleaning plus light sanding before any paint goes on. Without that step, the coating may sit on top of the sheen and fail under normal use.
Sanding and cleaning gaps before paint
Dust, wax, grease, and polish must come off before you paint. Lightly scuffing the surface gives the next coat something to bite into. If you skip both cleaning and sanding, even good chalk paint can fail early.
When is sanding enough?
Sanding is enough when the damage is shallow, local, and still firmly attached. Use fine-grit sandpaper to remove sheen, smooth crackled areas, and feather loose edges before a fresh coat or topcoat. If the film is stable, you are preparing the surface, not rebuilding it.
Lightly roughing the surface
For sound paint, a light sanding does two things: it removes gloss and creates a fresh, even surface. The goal is not to strip to bare substrate. It is to improve adhesion before repainting or applying a topcoat.
Removing loose paint and edge ridges
If the crack has raised lips or peeling edges, sand until those high spots are gone. Leave stable paint in place. A fine-grit option, such as 400 grit or 220 grit, is commonly used for smoothing before recoating.
Suppose a dresser front has a few hairline cracks near the drawer pulls, but the rest of the paint is solid. In that case, sanding the cracked area, cleaning it, and recoating is usually a better choice than stripping the whole piece.
Do you need shellac primer?
Shellac primer is the better choice when you need a barrier against stains or tannins, or when the surface keeps causing adhesion trouble. It is especially useful on furniture with bleed-through risk, light colors that show stains fast, and old finishes that keep telegraphing through the new coat.
Stain and tannin bleed
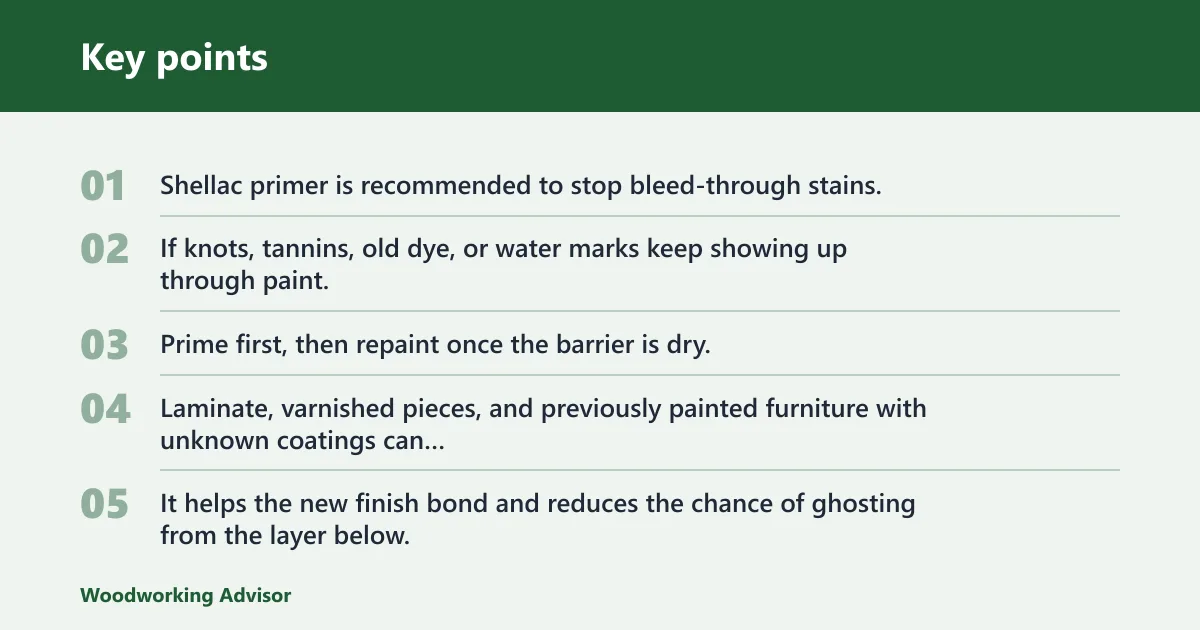
Shellac primer is recommended to stop bleed-through stains. If knots, tannins, old dye, or water marks keep showing up through paint, sanding alone will not block them. Prime first, then repaint once the barrier is dry.
Problem substrates and old finishes
Some surfaces need more than scuff sanding. Laminate, varnished pieces, and previously painted furniture with unknown coatings can benefit from shellac primer before chalk paint. It helps the new finish bond and reduces the chance of ghosting from the layer below.
When primer improves adhesion before repainting
Do not treat primer as a universal fix. Use it when the substrate is stain-prone, slick, or inconsistent, or when the first coat already failed from poor adhesion. On raw, porous wood, prep may be simpler. On problem surfaces, primer can save a repaint.
What causes chalk paint to crack when it dries?
Chalk paint cracks as it dries when the coat is too heavy, the surface is damp, or the drying space slows curing. The film shrinks as water leaves it. If the base is weak or the environment is off, that shrinkage can show up as checking, surface cracking, or a brittle top layer.
Thick coats and uneven drying
Thick paint is a common reason for cracking. The top skins over before the lower layer finishes moving. That mismatch creates tension in the film. Thin coats dry more evenly and are less likely to split.
Moisture left on the surface
Moisture must be removed before painting. Wet surfaces reduce sticking power and can cause cracking or bubbling. That includes condensation, damp wood, and furniture that has not fully dried after cleaning.
Temperature and drying space
Painting conditions should stay in an appropriate range. Extreme cold slows drying. Excess heat can make a coat skin too quickly. Keep the piece in a stable indoor space with air moving gently, not blasting directly at the finish.
How to stop cracking before the next coat
The fix starts before the next brush stroke. Thin coats, full dry time, and controlled drying conditions matter more than the label on the can. If the surface is still moving, dusty, glossy, or damp, the new coat is likely to fail in the same way.
- Clean the furniture until wax, grease, dust, and polish are gone.
- Let all moisture dry off the surface before paint touches it.
- Lightly sand glossy areas and any raised crack edges.
- Use shellac primer on stains, tannin bleed, or slick problem surfaces.
- Apply thin coats instead of heavy ones.
- Wait for full dry time before the next coat or topcoat.
- Keep humidity and temperature as steady as possible while it cures.
Say your kitchen chair has chalk paint that cracked along the seat rail after a humid day. If the crack is only in the top film and the paint still holds, sanding and recoating may be enough. If the edge peels when you tape it, the coating has lost adhesion and needs a stronger repair path.
Frequently asked questions
Why is my chalk paint cracking when it dries?
Cracking during dry time usually means the coat was too thick, the surface was damp, or the bond below was weak. Chalk paint is water-based, so it shrinks as it cures. If that shrinkage happens over a slick or contaminated surface, the film can split instead of setting smoothly.
Why did my chalk paint crack after I top-coated it?
A topcoat can expose a weak base coat if the paint underneath was not fully dry or level. It can also make texture more visible. If cracking appeared after top-coating, check whether the base was overbuilt, whether moisture was trapped, and whether the finish had enough dry time before sealing.
Can humidity or moisture make chalk paint crack?
Yes. High humidity slows drying and can weaken adhesion, while moisture on the surface reduces sticking power. Both can lead to cracking, bubbling, or soft failure under the film. A dry, steady indoor environment gives the coating a better chance to cure properly.
Do I need primer before chalk paint on furniture?
Not always, but primer is the better choice on stain-prone, glossy, or problem surfaces. Shellac primer is especially useful when tannins or bleed-through are likely, or when the old finish keeps causing adhesion failure. On sound, porous wood, light prep may be enough.
How do I fix cracked chalk paint without starting over?
If the cracks are hairline and the paint is still bonded, light sanding and recoating may be enough. Remove loose edges, smooth the surface, and clean off dust before repainting. If the cracking is widespread, the layer is unstable, or tape lifts the paint, full stripping is usually the better fix.
What preparation prevents chalk paint from cracking?
Start with cleaning, then light sanding, then primer where the substrate calls for it. Keep moisture off the surface, avoid heavy coats, and let each coat dry fully before the next one. That prep matters as much as the paint choice itself, especially on laminate and previously finished furniture.
Sponsored / affiliate links. As an Amazon Associate I earn from qualifying purchases. I may earn additional commission from eligible campaigns.