Wood Toy Chest DIY: Safe Build Steps and Sizing
Build a wood toy chest from 3/4-inch plywood or solid hardwood. Add soft-close lid supports, and size the lid so it cannot drop shut or trap fingers. The safety details matter because toy chests have been involved in pinch-point injuries and entrapment hazards, and CPSC guidance specifically calls for safe lid support and ventilation considerations in storage chests used by children. Done badly, it can pinch hands, tip over, or turn into a storage box that is hard to open and harder to keep safe. This guide covers material choice, hinge and lid-support decisions, safe sizing, and the build choices to make before you cut anything. For safety references, see the U.S. Consumer Product Safety Commission’s toy chest guidance and ASTM F963 toy safety provisions covering accessible edges and entrapment-related hazards.
What you’ll need


- 4×8 sheet stock, usually plywood, for the case and lid
- 1×2, 1×12, 2×4, or 3×3 stock for trim, feet, or decorative framing
- Pocket hole jig, screws, and glue for assembly
- Clamps for holding the case square while the glue sets
- Table saw, circular saw with a straightedge, or track saw for sheet breakdown
- Drill/driver and drill bits
- Sandpaper or a sanding block, plus a random-orbit sander if available
- Wood filler for nail holes and seams
- Primer if you plan to paint
- Paint or stain, plus a finish that is fully cured before use
- Soft-close hinges or lid-support hinges sized for the lid you build
- Safety glasses, hearing protection, and a dust mask or respirator rated for sanding dust
Toy chest decision table
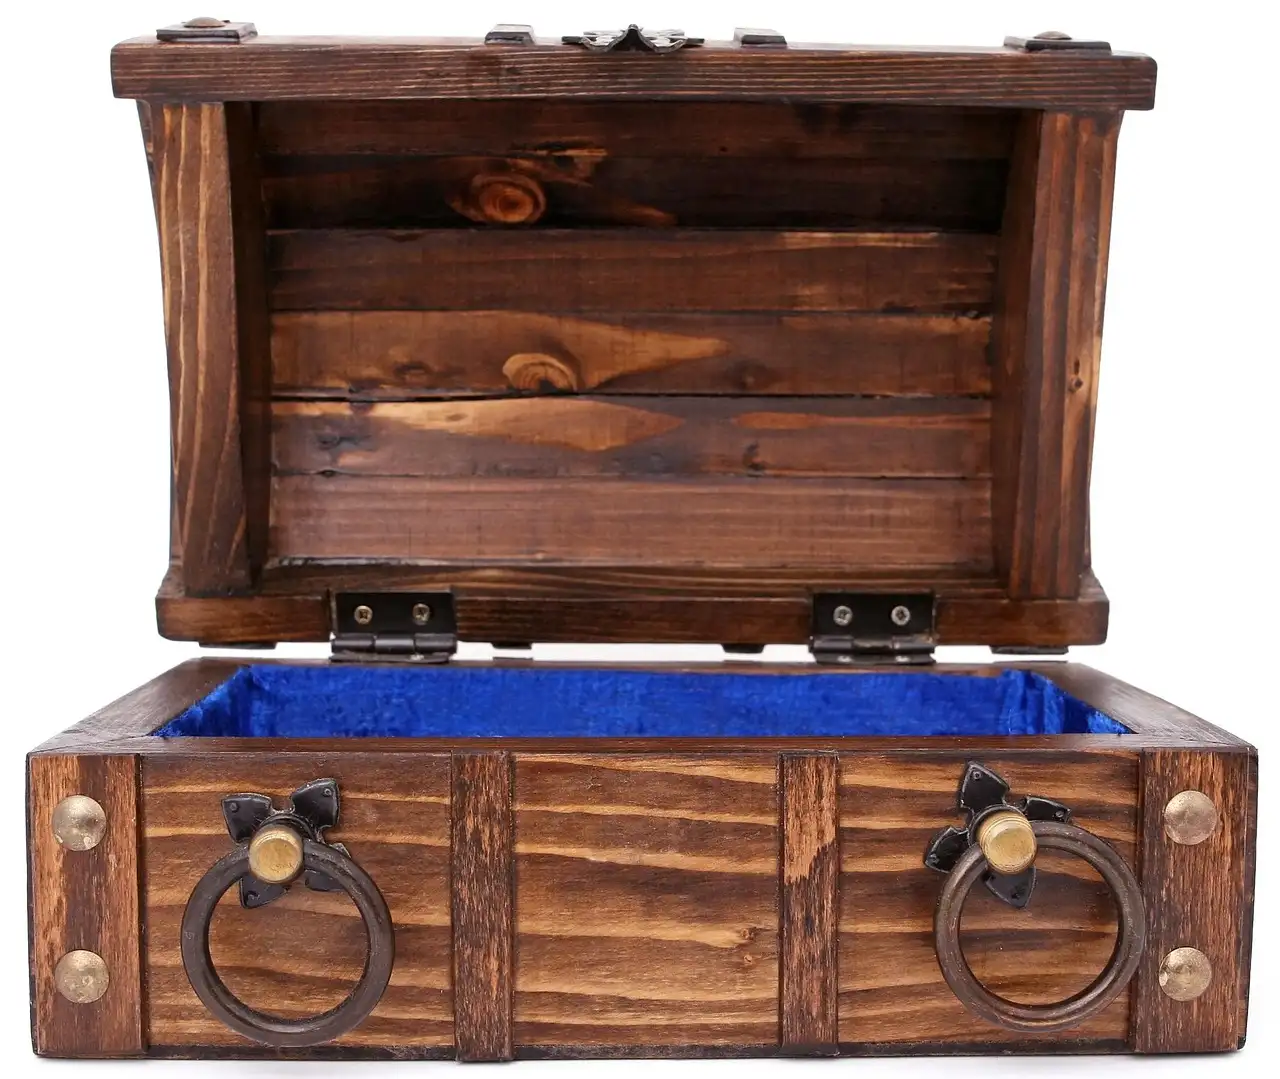
Pick the material and lid hardware before you cut. Weight, finish type, and the amount of wear the chest will take in a kid’s room should drive the decision. For lid hardware, manufacturer specifications matter: soft-close hinges are commonly sold with load ratings tied to lid weight, while gas struts are listed by Newton force and should be matched to the finished lid, not guessed.
| Material | Weight | Cost | Paintability | Durability | Kid-safety notes |
|---|---|---|---|---|---|
| Plywood | Moderate | Moderate | Good after filling and priming | Good, especially for a painted case | Stable panel stock; sand edges well to reduce splinter risk |
| MDF | Heavy | Often lower than hardwood plywood | Very smooth for paint | Fair for dry indoor use | Edges need careful sealing; avoid moisture exposure and handle weight carefully |
| Pine | Light to moderate | Usually lower than hardwoods | Good for paint, fair for stain if grain is accepted | Fair to good for trim and frames | Can dent and splinter more easily than plywood; round edges thoroughly |
| Furring strips | Light | Low | Accepts paint after prep | Fair for rustic frames and decorative builds | Knots, warp, and rough surfaces can raise splinter risk unless you select and sand carefully |
Lid safety checklist
Use the U.S. Consumer Product Safety Commission’s toy chest safety guidance as a baseline and verify the lid hardware against the manufacturer’s load chart. For toys and furniture intended for children, ASTM F963 safety principles also reinforce the importance of avoiding accessible pinch points and hazardous closures.
| Check | What to use or verify | Why it matters |
|---|---|---|
| Hinge type | Soft-close or lid-support hinge that holds the lid open safely | Reduces slam risk and helps prevent finger pinching |
| Pinch-point control | Test the closing path by hand before final assembly | Shows whether the lid can trap fingers at the back or front edge |
| Finger gap | Provide a handhold cutout, inset lift edge, or other safe access point instead of a tight finger slot | Lets a child lift the lid without reaching into a pinch zone |
| Front-edge clearance | Leave a safe opening path at the front edge and avoid a lid that binds on trim | Prevents sudden closing and makes the lid easier to open |
| Edge rounding | Ease all exposed corners before finishing | Reduces scrape and splinter risk |
Size and layout trade-offs
| Layout choice | Best for | Trade-off |
|---|---|---|
| Low, bench-style chest | Shared room storage and seat-like use | Needs stronger lid support and better tip-over awareness |
| Narrow footprint | Small bedrooms and tight wall spaces | Less interior volume |
| Wider chest | Large toy collections | Heavier lid and more need for reliable supports |

How big should a toy chest be?
Common finished toy chest sizes are about 16-20.5 inches tall, 33.5-36 inches wide, and 17-19 inches deep. That range keeps the chest useful for toys without turning it into an awkward bench or a box that is too tall for a child to reach into safely.
Common finished dimensions to target
One build finishes at 16 inches tall by 36 inches wide by 17 inches deep. Another measures 33 1/2 inches wide, 20 1/2 inches tall, and 19 inches deep. Both fit the common toy chest range, but the taller example gives you more depth for stacked toys and a slightly higher profile in the room.
How to size for room footprint and toy volume
If the chest will sit against a wall, measure the footprint first and leave room for the lid to open fully. A wider box stores more but takes more floor space; a deeper box increases volume but can make it harder to reach items at the bottom. Keep the opening easy to reach from the front.
Bench-style use and lid clearance
Suppose the chest will double as a bench in a playroom. Keep the top flat, use sturdy structure under the lid, and make sure the lid support holds it open without a sudden drop. A low bench-style chest also needs enough front clearance so hands do not get trapped by trim when the lid swings down.
What wood should I use for a DIY toy chest?
Plywood is the most practical choice for many toy chests because it stays stable, paints well after filling and priming, and keeps the box lighter than MDF. MDF gives you smooth paint surfaces, but it is heavier and less forgiving around moisture and edge damage. Pine and furring strips work best for trim, framing, feet, and rustic details.
Plywood for a stable, painted build
Plywood is the default for sides, front, back, bottom, and lid in many plans because it stays flat and handles paint well. A common sheet size is 4×8 feet, and one build uses 1/2-inch plywood for the main panels. Another build uses 3/4-inch thick lumber and pine trim, with a bottom made from about 2 feet by 4 feet of 3/4-inch plywood.
MDF for smooth paint but higher weight
MDF can make a clean-looking painted chest, and one example build uses 1/2-inch thick MDF. It is also mentioned alongside plywood as an option. The downside is weight; if the box will move often or sit where a child may climb, heavier parts are a real drawback.
Pine and furring strips for trim or rustic builds
Dimensional lumber appears in many toy box plans as 1×2, 1×12, 2×4, and 3×3 stock. A rustic chest can be built from at least eight 8-foot 1×4 furring strips, with a pair of strap hinges and 1/2-inch rope handles. That style is lighter and inexpensive, but it needs careful sanding and edge treatment.
Build the box
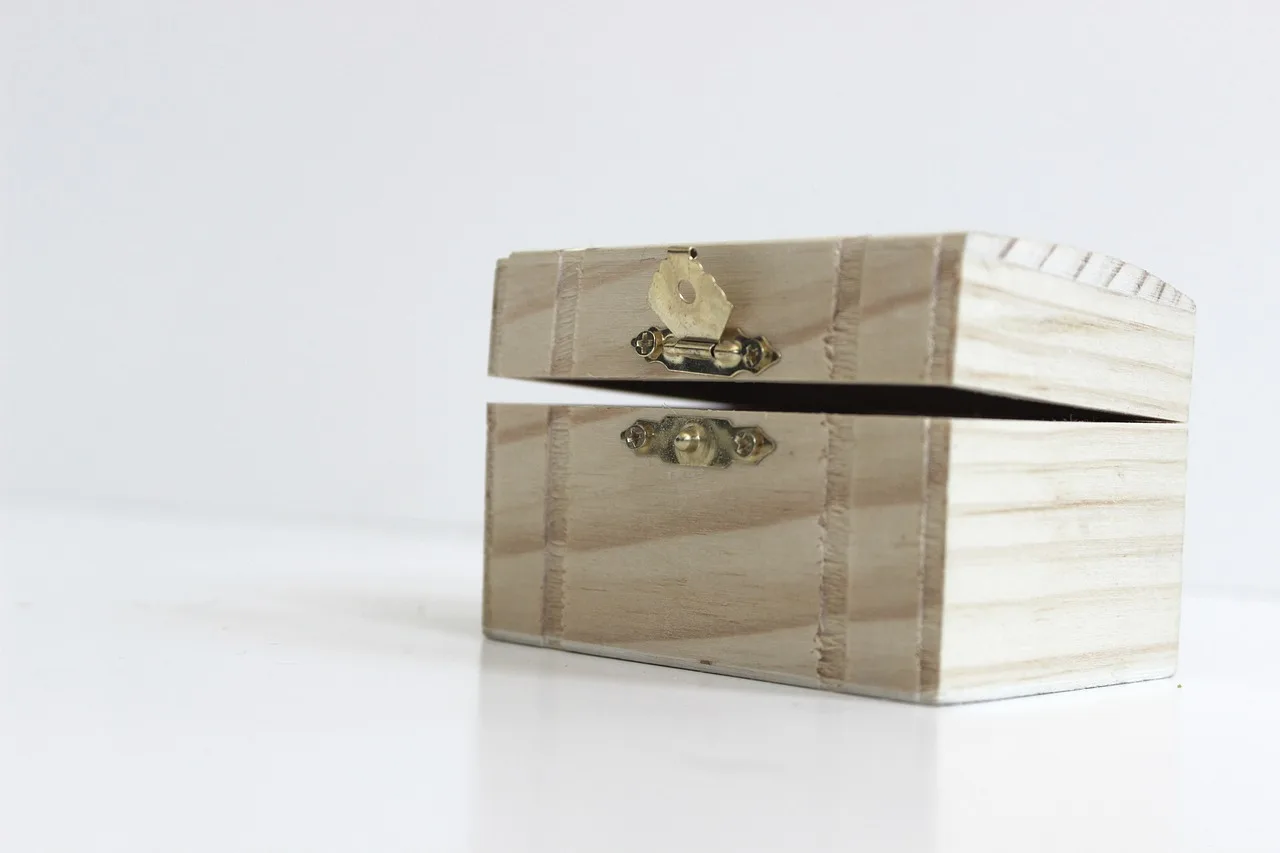
Break down sheet goods safely first, then assemble the case with glue, screws, and pocket holes. Pocket hole joinery works well here because it speeds assembly and gives you clean exterior faces, but the method depends on a pocket-hole jig such as a Kreg jig and still needs glue for strength. If you are choosing between tools, a track saw or circular saw with a straightedge usually gives cleaner sheet breakdown than trying to force a miter saw into a job it is not meant to do.
- Lay out the parts on paper before cutting.
- Break down plywood or MDF with a table saw and a straightedge guide, or use a track saw; do not use a miter saw for full sheet breakdown.
- Cut the side, front, back, bottom, and lid panels to your chosen size.
- Drill pocket holes in the parts that will join the case sides, front, and back.
- Apply glue at each joint and clamp the box square before driving screws.
- Add the bottom support so the bottom panel is clearly supported, not left floating without a plan.
- Fit the lid structure and confirm that the opening path matches the hinge style you chose.
One build uses a finished size of 16 inches tall by 36 inches wide by 17 inches deep, with a 4-foot by 8-foot plywood sheet that is 1/2-inch thick. Another example uses 2-inch-by-4-inch construction pine for the feet, which lifts the chest off the floor and can help with cleaning underneath.
If the chest is about 36 inches wide and uses a 1/2-inch bottom panel, cleats, grooves, or another support method are commonly used to help prevent sagging. If the bottom is not supported by cleats, grooves, or another named support detail, the load path is unclear and the panel can sag. Decide on the support method before the case goes together.
How do I keep a toy chest lid from slamming shut?
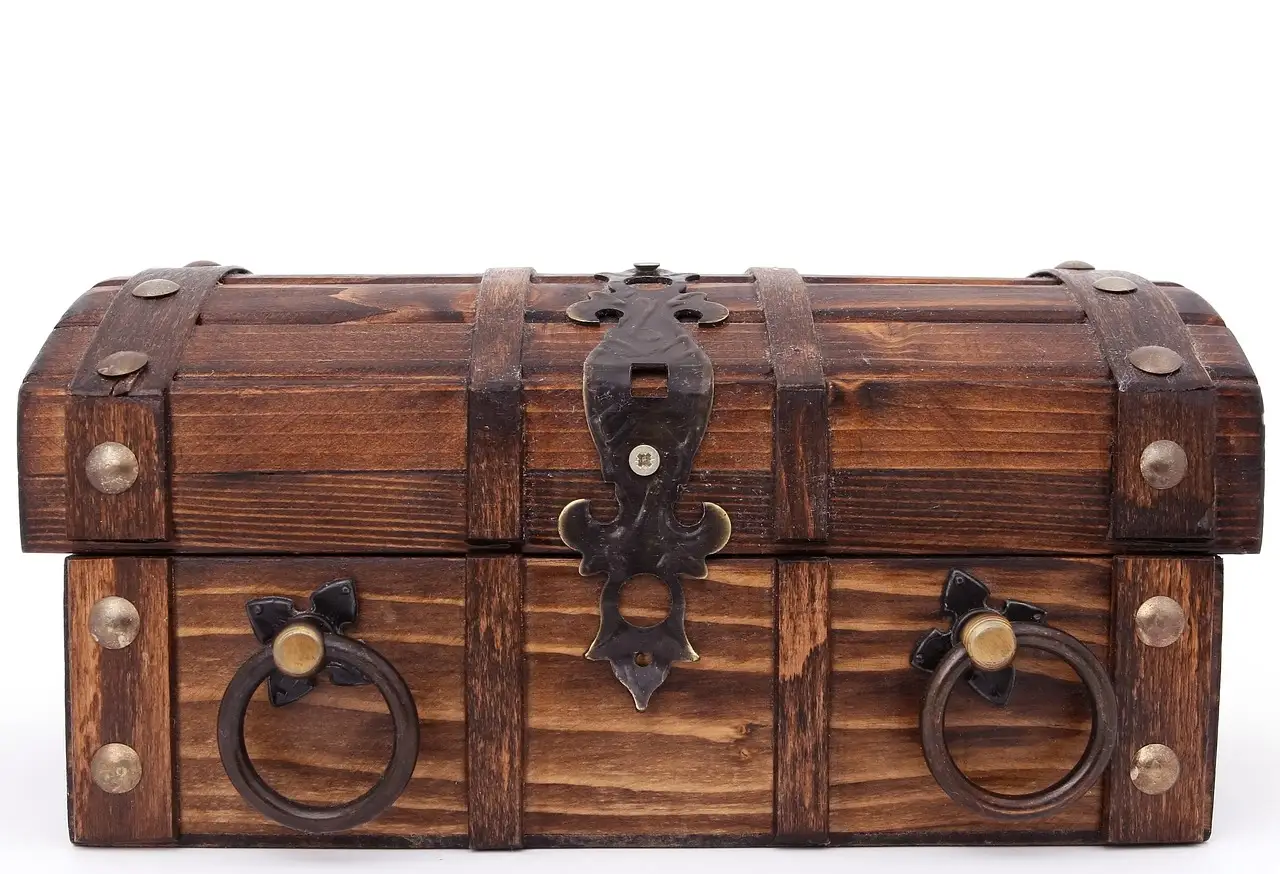
Use a soft-close hinge or another lid support hinge that is rated for the lid and that holds the lid open safely. The goal is controlled movement across the full swing so the lid cannot drop suddenly on hands, fingers, or toys left on the edge. CPSC toy chest guidance and ASTM F963 safety principles both point toward controlled closure and reduced accessible pinch points, which is why hardware selection matters as much as the cabinet build.
Choose a soft-close or lid support hinge
One build list includes surface-mount hinges and one soft-close hinge. Another explicitly uses two soft-close safety hinges to avoid smashing fingers. If the lid is wide or heavy, confirm how many supports the hinge maker calls for on your model rather than guessing. Use the manufacturer’s stated lid-weight range, and if you are using gas struts, match the force rating in Newtons to the finished lid so the lid neither drops nor rockets open.
Set hinge position and check pinch points
Mount the hinge so the lid opens freely without rubbing trim or catching on the back edge. Then close the lid slowly and check both back and front corners for pinch points. If the lid wants to snap closed, reposition the hardware before finishing the chest.
Confirm finger gap and opening clearance
Build in a handhold cutout, inset lip, or other safe lift point so fingers do not reach into the hinge zone. Leave enough front-edge clearance that a hand can lift the lid without skinning knuckles on trim. A chest that is easy to open is less likely to be forced or slammed.
Finish and detail the chest
Fill gaps, sand in stages, and round over edges before you paint or stain. For painted builds, use primer first so the finish coats cover evenly. For stained builds, sand carefully and keep filler use limited to areas that will not show as mismatched patches.
- Fill nail holes, seams, and dents with wood filler.
- Sand the filler flush, then sand the whole chest with progressively finer grits.
- Round over all exposed edges and corners, especially around the lid and the top rim.
- Vacuum dust from the surface and wipe it clean.
- Apply primer if you are painting.
- Paint or stain the chest, then let the finish cure exactly as the product label requires.
- Add trim, feet, rope handles, or a painted treasure-chest look only after the safety hardware is installed and tested.
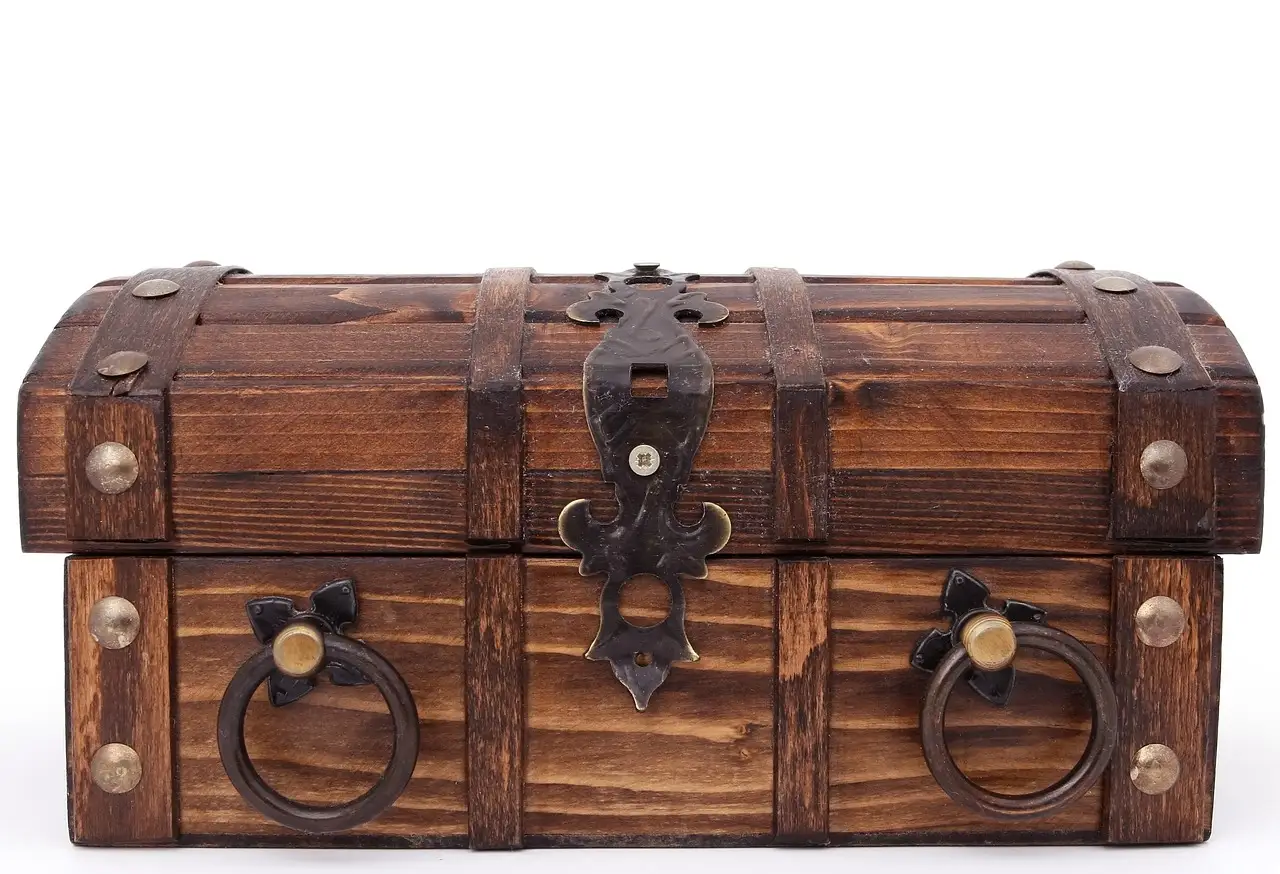
Picture a painted chest with a fake iron-band look. You can add pine trim or strap-hinge-style details for the style, but do not let decorative bands or corner trim block lid travel or create sharp edges where a child’s hand reaches first. Keep the hardware’s function ahead of the decoration.
Common mistakes
Most problems come from mixing a pretty layout with weak safety details. The chest may look finished, but if the lid can slam, the bottom is not supported, or the edges stay sharp, the build is not ready for a child’s room. The CPSC’s storage-chest guidance is a useful reminder that lid control and ventilation are not optional safety details.
- Unsafe sheet-goods cutting: Break down plywood or MDF with an appropriate saw and guide. Save the miter saw for crosscuts on smaller parts.
- Bottom support mismatch: Decide whether the bottom sits on cleats, grooves, or another support before assembly.
- Skipping edge rounding: Ease corners before paint so the finish does not just seal in a sharp edge.
- No lid support: Do not rely on friction or wishful thinking. Use soft-close or lid-support hardware that holds open safely.
- Ignoring cure time: Paint that feels dry can still be soft. Follow the product label for full cure before putting toys back inside.
- Too much weight up high: Heavy lids and tall chests need better support and a stable footprint to reduce tip-over risk.
A common first-timer mistake is building a 36-inch-wide chest from heavy MDF, then choosing a lid support by guesswork. The result is a lid that feels sluggish and a box that is harder to move. Confirm the material choice and hinge plan before the first cut.
Frequently asked questions
What size should a toy box be for kids?
The article recommends a finished toy chest height range of about 16-20.5 inches for kids. That gives enough storage without making the chest too tall to reach into safely. If it also serves as a bench, keep the top low and the lid movement controlled.
Do I need soft-close hinges on a toy chest?
Yes, if you want the lid to stay open safely and reduce finger-pinching risk. A soft-close hinge or lid-support hinge is the simplest way to control the lid’s travel. For wider or heavier lids, use the number of supports the hinge maker calls for on that model.
Can I build a toy box from plywood instead of solid wood?
Yes. Plywood is a common choice for the sides, front, back, bottom, and lid, including 1/2-inch sheets in many plans. It is usually more stable than solid boards across a wide panel and is often easier to keep square during assembly. Fill and prime it before painting.
What tools do I need to build a wooden toy chest?
You need a saw for sheet breakdown, a drill/driver, a pocket-hole jig if you use that joinery method, clamps, and sanding tools. A Kreg jig is a common pocket-hole option. Add safety glasses and dust protection, because sanding and panel cutting create plenty of debris.
How do I make a toy chest look like a treasure chest?
Use pine trim, strap hinges, dark paint or stain, and a simple banded front, but keep the lid opening clear. A treasure-chest style works best when the decorative parts do not interfere with the hinge motion or create sharp edges. Rope handles can fit the look if they are firmly attached.
Sponsored / affiliate links. As an Amazon Associate I earn from qualifying purchases. I may earn additional commission from eligible campaigns.