DIY Wood Toys for Kids: Safe Build Ideas by Age
Choose toy complexity by age: A common rule of thumb is that A common rule of thumb is that 0–3 needs large, sealed pieces with no small parts; 3–5 can handle simple push toys and blocks; 6+ can use basic kits or hand-cut projects with close sanding and finish control. Bad sizing, loose parts, and poor finishes create choking, splinter, and chemical risks. This wood toys safety guide covers age-based project picks, tool needs, and the safest build limits for DIY wood toys for kids.
Choose the right toy first
Start with the child’s age band, then work backward to part size, build style, and finish. A toy can look simple and still fail for a toddler if it has detachable wheels, a thin cord, or a center peg that can pinch fingers. The safest choice is the one you can build cleanly with the tools you already have.
Match the project to the child’s age band
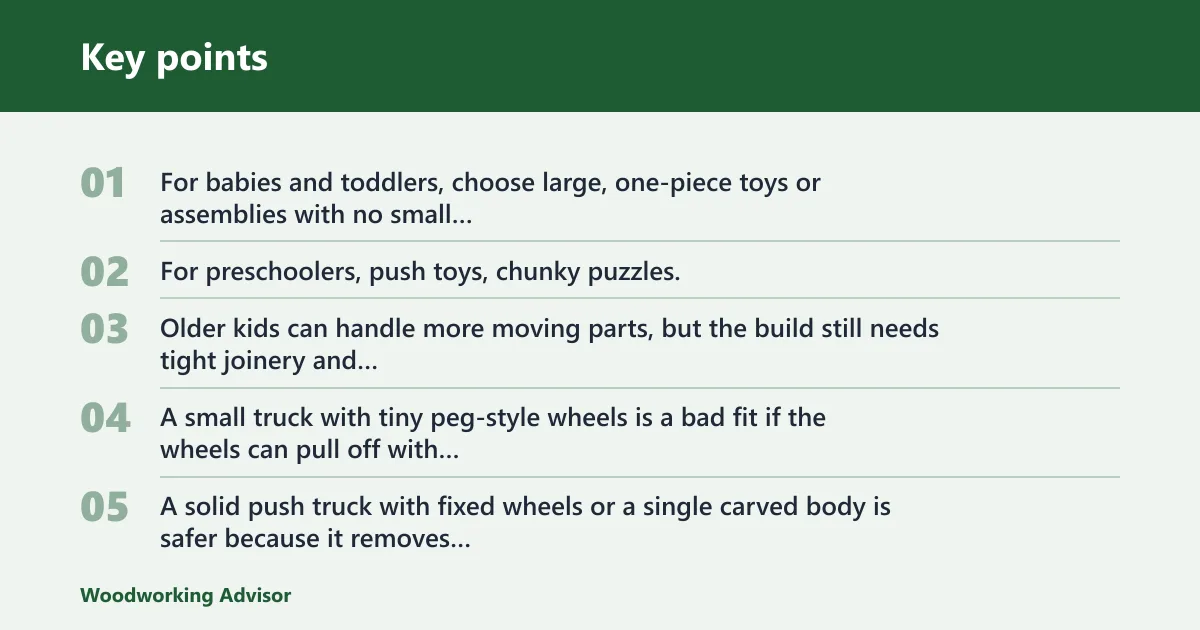
For babies and toddlers, choose large, one-piece toys or assemblies with no small detachable parts. For preschoolers, push toys, chunky puzzles, and simple pretend-play shapes work well if edges are rounded and hardware is buried or inaccessible. Older kids can handle more moving parts, but the build still needs tight joinery and smooth finishes.
Say your child is 2 and loves vehicles. A small truck with tiny peg-style wheels is a bad fit if the wheels can pull off with hand force. A solid push truck with fixed wheels or a single carved body is safer because it removes a common choking and pinch point.
Check the main hazard before you cut
Before you start, a common hazard check is to see whether any part fits fully inside a small-parts test tube or would fit entirely through about a 31.7 mm opening; if so, it is too small for toddlers. For younger children, also avoid cords longer than what you can keep well clear of the neck and crib use; if a cord is present, keep it short, inaccessible, and only for older children under close supervision.
Loose wheels, sharp end grain, and center posts are the next failure points. Stackers need a post that is smooth, firmly anchored, and large enough that it cannot splinter into a sharp spear. Pull toys need a rigid handle and a short connector, not a loose string.
Pick a build that fits your tools
If you have only a hand saw, drill, sandpaper, and a hammer, start with blocks, simple push toys, and flat puzzles. If you also have a jigsaw or circular saw, you can cut profiles for animals, vehicles, and pretend-play pieces. A drill press or careful hand drill improves wheel alignment and axle holes, which matters for rolling toys.
Wood toys safety guide
Safe toy design is mostly about removing failure points. Round over edges, bury fasteners, keep moving parts secure, and choose finishes that dry and cure fully before play. For toddlers, the safest toys are the ones with no removable hardware at all.
Pass-fail part size checks for toddlers
Use this rule for under-3 toys: no part should fit fully inside about a 31.7 mm small-parts cylinder, and no cylinder-sized piece should come loose during normal play. Anything smaller belongs in an older-child toy or should be glued, doweled, or permanently trapped inside the build. That includes beads, decorative plugs, and loose washers.
For stackers and puzzle knobs, keep grasping features large enough that a toddler cannot bite them off. If a peg or knob can be twisted loose by hand, treat it as a choking hazard and redesign it.
Safe edges, corners, and sanding targets
Sand all exposed edges until they feel smooth in every direction, then break corners so they do not feel knife-sharp. End grain needs extra attention because it splinters more easily than long grain. On small toys, a rounded-over edge is better than a merely sanded square edge.
A common first-timer mistake is stopping at 120-grit because the surface looks smooth. That can still leave whiskers in softwood end grain. Move through finer grits until the toy no longer catches fibers when rubbed across the edge and until no loose dust remains in corners.
Fixing loose wheels, pegs, and cords
Vehicle wheels should spin freely without wobble. Use drilled axle holes that are square and centered, and add nylon washers so moving parts spin freely instead of grinding wood against wood. If a wheel can slide off its axle with light finger pressure, it is not ready for a toddler.
For stackers, the center post must be smooth, firmly fixed, and too large to snap into sharp fragments. For pull toys, avoid long cords on toddler models; if a rope is used for an older child, keep it short and attached to a handle that cannot slip into a loop around the neck.
What wood and tools do you need?
Beginner toy projects work best with straight, stable stock and simple tools. Pine is generally easy to cut and sand, while beech and maple are denser and may hold up better to repeated play. For tools, a saw, drill, sandpaper, and a jigsaw cover most toy shapes; a drill press helps with accurate holes.
Best beginner woods for toy projects
Pine is a common beginner choice because it is soft, easy to shape, and usually affordable. Beech and maple are harder, smoother-grained options that stand up better to wear, especially on wheels, stackers, and toys that get dropped often. Choose stock that is straight-grained, dry, and free of chemical treatment.
Use only wood that is free of toxic chemicals and surface contamination. That means avoiding pressure-treated lumber, unknown reclaimed boards, and offcuts that have glue, paint, or oily residue you cannot identify. If the grain is rough or the board checks at the end, cut around the defect or choose another piece.
Basic tools for cutting, drilling, and shaping
A hand saw or circular saw handles rough cuts. A drill or drill press makes axle holes, peg holes, and assembly holes. Sandpaper refines edges, a hammer helps with simple dowel or peg work, and a jigsaw is useful for profiles such as animals, vehicles, and pretend-play shapes.
One example build uses a 25mm spade bit for the car seat opening and a 35mm hole saw for wheels, while another lists a 6mm drill bit among the required materials. Those sizes are useful when you are copying a proven plan, but they should match the toy’s scale rather than being treated as universal defaults.
Scrap wood can be a low-cost source for beginner projects, especially offcuts and odds and ends from larger builds. It is useful for blocks, simple puzzles, and small pretend-play accessories. Check every scrap piece for hidden nails, staples, glue buildup, and split end grain before you cut it.
Suppose you have a maple offcut with one clean face and one edge nicked by a saw blade. Cut the damaged end away instead of sanding it flat. That gives you cleaner grain, fewer splinters, and a better finished edge with less work.
Toy build matrix
Use this matrix to match toy idea, age band, tools, and risk before you commit stock. The safest build is not always the fanciest one. Pick the simplest project that still fits the child’s age and the tools you actually have.
| Toy idea | Age band | Tool complexity | Estimated material cost | Main hazard | Safest finish choice | One-line recommendation |
|---|---|---|---|---|---|---|
| Chunky blocks | 0–3 | Low | Low, often scrap wood | Splinters at edges | Water-based clear finish | Best first project if you want a no-moving-parts toy. |
| Rattle cube | 0–3 | Low | Low | Loose insert inside the body | Water-based finish | Only build it if the sound-making part cannot come loose. |
| Simple stacker | 0–3 | Medium | Low to medium | Center post splintering or loosening | Water-based finish | Choose a fixed, smooth post and no detachable decorative caps. |
| Push car | 0–3 | Medium | Low to medium | Loose wheels | Water-based finish | Good starter vehicle if the wheels are permanently retained. |
| Animal puzzle | 3–5 | Medium | Low | Small knobs on pieces | Child-safe paint label with water-based topcoat | Use large pieces with finger holes that cannot fit in the mouth. |
| Truck with axle pins | 3–5 | Medium to high | Low to medium | Wheel wobble | Water-based finish | Good choice if you can drill clean axle holes and add washers. |
| Toy camera | 3–5 | Medium | Low to medium | Small decorative button or lens | Natural oil finish | Keep the lens and buttons carved in or glued permanently. |
| Barn play set | 3–5 | Medium | Medium | Loose doors or tiny animal figures | Water-based paint labeled for children’s products | Build thick walls and large doors that cannot be swallowed. |
| Dollhouse room block | 6+ | High | Medium to high | Thin trim pieces | Water-based finish | Best for older kids who can manage a larger, sturdier build. |
| Balance toy | 6+ | High | Medium | Tipping parts or loose weights | Natural oil finish or water-based clear coat | Good for hand-eye coordination if every component stays fixed. |
Can you make wooden vehicles safely?
Yes, but vehicle toys need more care than blocks because wheels, axles, and body cutouts create pinch and loosening risks. The safest vehicle is simple, with large wheels, centered holes, and washers that keep the parts spinning without grinding. Keep decorative details shallow and permanent.
Cars, trucks, and helicopter bodies
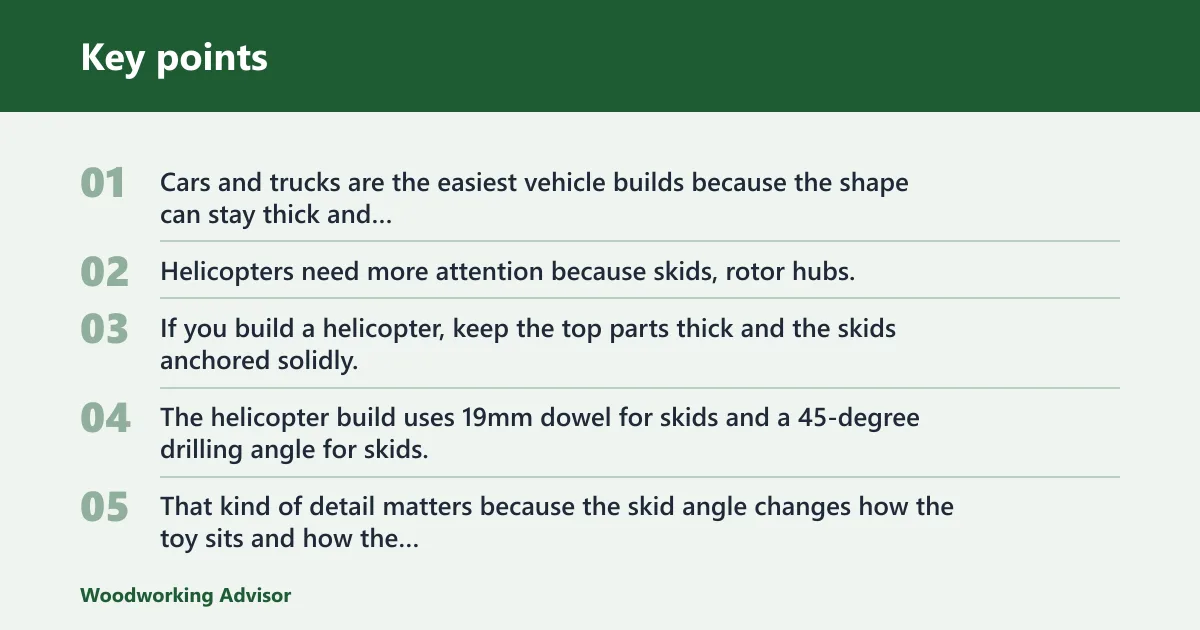
Cars and trucks are the easiest vehicle builds because the shape can stay thick and sturdy. Helicopters need more attention because skids, rotor hubs, and tail pieces create more edges and more chances for breakage. If you build a helicopter, keep the top parts thick and the skids anchored solidly.
The helicopter build uses 19mm dowel for skids and a 45-degree drilling angle for skids. That kind of detail matters because the skid angle changes how the toy sits and how the dowel meets the body. If you adapt the plan, keep the joints tight and the grain aligned with the load.
Axles, wheels, washers, and drilled holes
Axle holes need to be straight enough that the wheels do not bind. Nylon washers are used so moving parts spin freely, which also reduces wear on the wood. If the axle drags, the child will tug harder, and that turns a small alignment issue into a breakage risk.
Use smooth, rounded wheel edges and keep the wheel thickness large enough that it cannot chip easily. If a wheel can wobble side to side more than a little by hand, re-drill or replace the axle setup before the toy goes to a child.
What keeps rolling parts from becoming hazards
The key hazard is a wheel or axle that can come apart. Fix that by retaining each wheel with a method that cannot be pulled off by a child’s fingers, and by covering any sharp axle end. If you are using a peg-style axle, test it with repeated twisting and pulling before finishing the toy.
For a toddler, a rolling toy should feel solid in the hand and resist tearing apart. For an older child, the parts can move more freely, but the toy still should not shed hardware or expose sharp ends.
Which pretend-play toys work best?
Pretend-play toys work best when they invite open-ended use and stay sturdy through repeated handling. Dollhouses, barns, toy cameras, and play kitchens can all work well if you keep the forms simple, the openings large, and the details permanent. Small add-ons are where these toys usually fail.
Dollhouse, barn, toy camera, and play kitchen
A dollhouse or barn is best built from thick panels with wide openings and chunky doors. A toy camera can be a simple block with a fixed lens and carved controls. A play kitchen should keep knobs large, doors solid, and edges rounded so little hands can explore safely.
These toys support imaginative play because the child supplies the story, not the mechanism. That also makes them easier to adapt: one large room can become a barn stall, a bedroom, or a shop counter without adding fragile parts.
Open-ended designs for longer use
Open-ended designs age better because they are not locked to one script. A plain house shell, a basic camera block, or a simple kitchen unit can stay useful longer than a toy packed with tiny themed accessories. The less you depend on loose pieces, the easier it is to keep the toy safe.
Competitor toy lists often include a wooden balance board, a wooden scooter, and baby rattles or teethers. Those can be useful ideas, but they belong in different age bands and need different safety decisions than pretend-play builds with doors, windows, and fixed props.
Simple details that stay sturdy
Use engraved lines, shallow cutouts, and painted panels instead of glued-on trims that can pop off. If you want knobs, chimneys, or camera buttons, make them oversized and permanent. Any part that looks decorative but can be grasped should be treated as a structural piece, not an accessory.
Finishes and paint that are safer for kids
Use water-based finishes, natural oil finishes, or paints clearly labeled for children’s products, and do not rely on vague marketing terms alone. A finish is only useful if it dries and cures fully before the toy goes into a child’s hands. Tacky surfaces, strong odors, or soft rub-off mean it needs more time.
Water-based finishes and natural oils
Water-based finishes are the most straightforward option for many toy projects because they dry faster than many oil-based products and are commonly used on kids’ items. Natural oil finishes can work on simple toys too, but they still need full cure time and should be used only when the product directions allow child contact.
Use thin coats and let each coat dry according to the can or bottle directions. If the surface feels sticky after the listed dry time, do not hand the toy over yet. Sticky finish can transfer to skin and hold dust where a child’s mouth will find it.
What child-safe labels should say
Look for labels that plainly state non-toxic use and suitability for children’s products, not just “safe” or “natural.” If the label gives a cure time, follow it. If it does not give a cure time, choose a product with clearer instructions or leave the toy unfinished and smooth instead of guessing.
“Child-safe” should still mean the coating is fully cured, odor-free, and stable enough for mouthing risk appropriate to the child’s age. For toddlers, that matters more than color alone.
Dry-time and cure-time before play
Dry to the touch is not the same as cured. A toy should not go to a child until every coated surface is fully cured and no longer transfers scent, tack, or pigment to a cloth. If the finish is layered, the total wait is based on the slowest coat, not the fastest one.
Picture a paint line that feels dry in a few hours but still marks a paper towel the next day. That toy should stay off-limits. The finish may look done, but the surface is still too soft for handling, chewing, or stacking.
Frequently asked questions
How to make wooden toys for toddlers
For toddlers, build large pieces with no detachable parts, no small decorative add-ons, and no thin cords. A good toddler toy is heavy enough to feel solid, smooth enough to resist splinters, and simple enough that nothing can be pulled off with finger strength.
What wood is best for homemade wooden toys
Pine is the easiest beginner choice, while beech and maple are better when you want a harder, smoother, more durable toy. The best stock is straight-grained, dry, and free of toxic chemicals, glue, paint, or pressure treatment. Avoid mystery scraps unless you can verify what they are.
How do I make wooden toys safe for toddlers?
Keep every removable part large enough that it cannot fit in a toddler’s mouth, and do not use small magnets, beads, or loose hardware. Round all edges, secure wheels and pegs, and choose a finish that is fully cured. If a part can wobble loose, redesign it before use.
What tools do I need to build wooden toys at home?
Most home toy builds start with a saw, a drill, sandpaper, and a hammer. Add a jigsaw for profiles and a drill press if you want cleaner axle holes and more accurate alignment. You can do a lot with a small tool set if the design stays simple.
How can I finish wooden toys without toxic paint?
Use a water-based finish, a natural oil finish allowed by the label, or a paint clearly labeled for children’s products and non-toxic use. Apply thin coats, let them cure fully, and do not rush playtime. If the finish still smells strong or feels tacky, it is not ready.
Sponsored / affiliate links. As an Amazon Associate I earn from qualifying purchases. I may earn additional commission from eligible campaigns.