Toy Storage DIY Wood Projects: Choose the Right Build
Choose toy storage by matching the structure to the toy type: low open cubbies for daily-access toys, deep bins for mixed sets, and closed cabinets for small parts; keep any tall unit anchored and below child reach for heavy items. Poor sizing wastes floor space, makes cleanup harder, and creates tipping or choking risks. This guide shows how to pick dimensions, access style, and safety details for wood toy storage projects.
Toy storage decision table
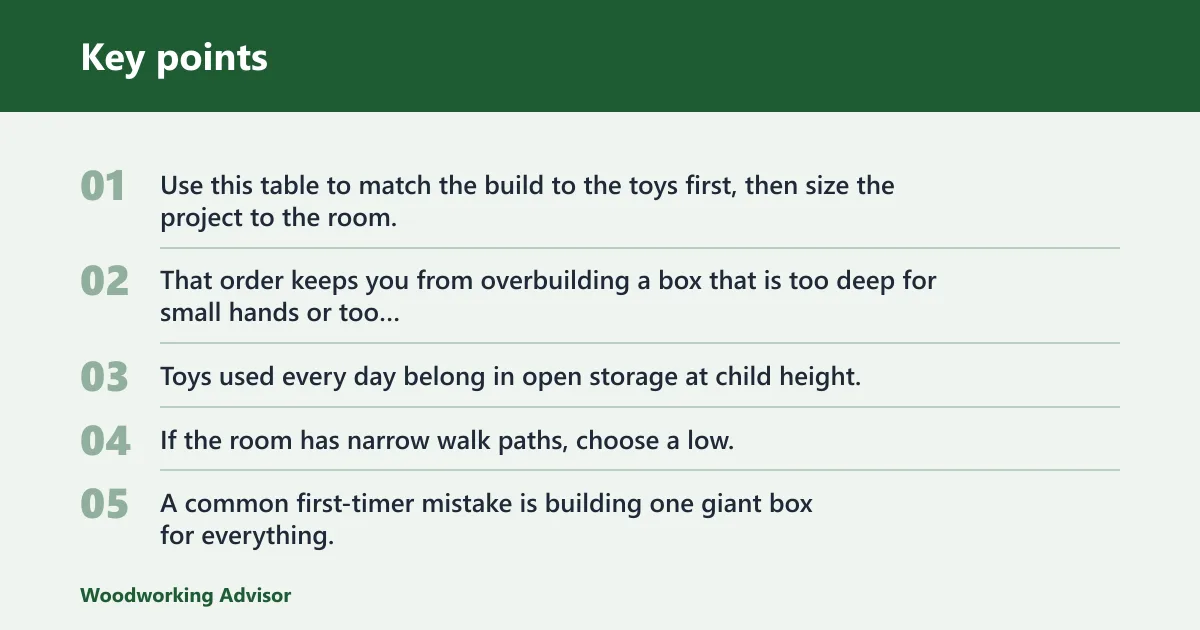


Use this table to match the build to the toys first, then size the project to the room. That order keeps you from overbuilding a box that is too deep for small hands or too tall for a tight corner.
| Toy type | Best wood storage format | Recommended dimensions | Safety notes | Mobility needs | Estimated material complexity |
|---|---|---|---|---|---|
| Stuffed animals | Open-top wooden toy box or cubby shelf | About 18-24 inches deep, 24-36 inches wide | Open top avoids lid pinch points; sand edges and seal surfaces | Optional caster wheels for easy room-to-room movement | Low to moderate |
| Small parts, blocks, and figures | Stackable wooden crates or wall-mounted toy buckets | Shallow bins about 6-10 inches deep | Keep parts out of tall open shelves; use a secure wall mount | Usually stationary; removable bins help sorting | Low |
| Books and flat games | Cubby shelves with open compartments | Compartment height around 10-14 inches | Anchor tall units to the wall; avoid overloaded top rows | Fixed placement is best | Moderate |
| Oversized toys | Deep wooden toy box or storage bench | About 18-24 inches deep, sized to the largest toy | Choose lidless or soft-close lid hardware; avoid heavy lids | Handles or casters help if the box moves often | Moderate |
| Mixed daily toys | Toy storage bench with cubbies or compartments | Seat depth about 12-16 inches; height suited to a child seat | Use durable joinery; round over front edges; secure the frame | Usually fixed; casters only if the floor plan changes often | Moderate to high |
| Small rooms | Rolling under-bed storage | Low-profile height matched to bed clearance | Keep hardware low and stable; avoid tall handles that catch | Yes, caster wheels are the point of the build | Moderate |
| Wall space available | Wall-mounted toy buckets with a clear-coated shelf | Bucket size based on the toy; shelf width set by wall studs | Use brackets or hooks rated for the load; anchor into framing | Stationary, with removable buckets if needed | Low to moderate |
Compare size, mobility, and safety needs
Start with access frequency. Toys used every day belong in open storage at child height, while seasonal or mixed sets can go deeper or higher. If the room has narrow walk paths, choose a low, mobile build instead of a fixed cabinet that steals floor area.
A common first-timer mistake is building one giant box for everything. That usually creates a heavy bin with poor sorting, wasted lumber, and cleanup that turns into a dig-through exercise. Smaller compartments often save more time than a single oversized container.
Use the table to narrow your build fast
If the toy category changes often, pick a modular format such as crates or cubbies. If the room is fixed and the load is heavy, choose a bench or anchored shelf. If the storage must slide out from under a bed, keep the height low and the wheelbase wide.
Which toy storage build fits your space?
The best wood toy storage for small spaces uses dead space first, under beds, on walls, and in narrow corners. In larger rooms, floor-standing boxes and benches make sense because they can hold more without blocking traffic.
For bedrooms, hallways, and shared family rooms, go low and mobile. Rolling under-bed storage, shallow crates, and wall-mounted buckets keep toys available without turning the floor into a permanent obstacle course.
Keep doors and drawer pulls in mind before you cut wood. A low cart that clears the bed but bumps the door swing is still a bad fit.
Playrooms with floor space to spare
When floor space is not tight, a toy storage bench or large wooden toy box gives you simpler construction and larger capacity. These are the easiest places to use plywood, pine, or solid wood in straightforward box joinery.
If the build will sit in one place, weight matters less than stability. That lets you choose thicker stock or a sturdier frame without worrying as much about portability.
Wall space, under-bed space, and corners
Wall-mounted toy buckets work well for small toys that need quick access but do not need a deep bin. Under-bed storage fits flat toys, sets, and books. Corner cubbies can hold categories that get used often but do not need a full cabinet.
One of the included DIY idea sets lists 65 DIY toy storage ideas, including a project for playrooms, living rooms, or nurseries and a DIY IKEA Trofast shelf for extra wall storage. Those examples fit the same rule: use the space the room already gives you.
How safe should a DIY toy box be?
A safe toy box starts with the lid, edge treatment, and stability. Open-top boxes are usually safer for quick access because they remove hinge pinch points, but a lidded design can work if the lid is light, supported, and easy for an adult to control.
Open-top vs lidded design
An open-top wooden toy box is the simplest safe choice for daily use. It is especially practical for stuffed animals, larger toys, and fast cleanup. A lidded box is better when dust control matters or when the box doubles as furniture, but the lid must not slam shut or trap fingers.
Use a lid only if you can fit proper lid supports and keep the closing motion slow. Heavy lids are a bad fit for kids’ rooms because they create a crush hazard and make the box harder to use.
Finger clearance, lid stays, and hinge choice
Leave enough finger clearance at the front edge so hands do not get caught as the lid closes. Lid stays or soft-close supports are safer than a plain hinge on a box used by children. If you skip those parts, the box should stay open-top.
Hinges should move smoothly and stop where intended. Loose hardware, wobbly screws, or poor alignment can create pinch points even if the lid looked fine at assembly.
Sand, seal, and round over edges
Finish every exposed edge with sanding, then apply a non-toxic finish or clear coat that seals the wood fibers. That reduces splintering and makes daily handling safer. Paint is fine if it is fully cured and appropriate for indoor use around children.
For a toy box or shelf, sealed wood surfaces are not cosmetic. They help the build resist scuffs, sticky hands, and repeated cleaning. If the surface feels rough now, it will only get worse with use.
Wooden toy box basics

A wooden toy box is the most direct build when you want one container, simple cuts, and a clear place for large toys. It works best when the size is customized to the largest item you plan to store, not guessed from a generic plan.
Plywood vs solid wood
Plywood is usually the easier beginner choice because it stays flat, uses sheet goods efficiently, and gives you predictable panels. Solid wood can look better and be repairable, but it moves more with humidity and usually needs more careful joinery.
The source material notes that a DIY toy box can use plywood or upcycled bifold doors, and that the design uses an open top for safety. It also sits on wheels for easy movement. Those details make the box more practical in a nursery, living room, or playroom.
Caster wheels and handles
Wheels make sense when the box must move for cleaning or room changes. Choose casters that roll smoothly on your floor and keep the base stable. If the box is heavy when full, oversized or poor-quality casters can make it harder to control rather than easier.
Handles help on fixed boxes and side-mounted bins, but they should not replace good balance. A box that is awkward to carry probably needs smaller compartments or wheels, not a bigger grip.
Size customization for daily use
Size the box to the toy mix you actually have. Deep boxes suit bulky toys; shallow boxes suit sets that need sorting. If the box will also store books or games, plan a narrower front-to-back depth so items do not disappear into the bottom.
Suppose a child has a small set of blocks plus three stuffed animals. A wide, deep box invites clutter. Two shallower compartments or a cubby shelf usually keep the categories separate and easier to reach.
Toy storage bench options
A toy storage bench combines seating and storage, so it works best when the room needs furniture as well as organization. It is useful in entryways, playrooms, and bedrooms where a box alone would look out of place.
Cubby or compartment layout
Choose cubbies if you want visible sorting and easy cleanup. Choose closed compartments if you want the front of the bench to look tidy. The cubby layout is better for everyday toys, while enclosed storage suits mixed items that do not need to stay on display.
Seat-plus-storage joinery
This build needs a durable frame, because the top takes repeated sitting loads as well as storage weight. Strong joinery matters more here than on a simple crate. Pocket-hole joinery can work for beginners, but the frame should still be braced and checked for racking.
Keep the top kid-friendly. Avoid sharp front corners, and do not make the seat so high that small children have trouble getting on and off safely.
Paint and finish choices
Paint gives the bench a furniture look and helps hide mixed materials. A clear coat is better if you want the grain visible. Either way, use a non-toxic finish and seal all edges, including undersides and cut ends.
Durability matters because a bench gets sat on, shoved, and wiped down. A soft decorative finish that chips quickly is a poor choice for a multi-use piece.
What works for small toys and books?
Small toys and books need storage that keeps items visible and prevents them from becoming a single loose pile. The best options are shallow crates, open cubbies, and wall-mounted buckets because they sort small items without requiring deep reach.
Stackable wooden crates
Stackable wooden crates can work as bins or as a low shelving system. They are a good choice when you want flexibility, because you can rearrange them as toy categories change. Use new wood for a cleaner, more predictable build, or reclaimed stock only if it is sound, sanded, and free of hidden fasteners.
Use box joinery or equally stable corner fastening, then finish with clear matte varnish or paint. Crates that sit on the floor should stack securely; wobbly stacks create a tip hazard and can dump small pieces.
Cubby shelves with open compartments
Cubby shelves are a strong choice for books, puzzles, and sets that need quick access. The modular cube layout makes sorting easier and lets you stack or rearrange the unit later. Plywood or pine both work well here if the structure is kept square.
A DIY kids bookshelf can be made with plywood, and a natural clear coat finish keeps the look simple while still sealing the wood. That approach suits shared spaces where you want the shelf to work for toys now and books later.
Wall-mounted toy buckets
Wall-mounted toy buckets save floor space and keep small items off the ground. Use hooks or brackets rated for the load, then mount into framing or solid blocking. A clear-coated wooden shelf above or below the buckets can hold labels, books, or rotated toys.
Do not overload a wall bucket system. If the hardware is weak or the mount is only in drywall, the whole unit can pull free under repeated use.
Rolling under-bed storage and mobile bins
Rolling under-bed storage is one of the best small-space wood projects because it uses dead space without changing the room layout. It is especially useful for flat toys, spare sets, and seasonal items that need easy slide access.
Low-profile sizing
Measure the clearance under the bed before you cut. The box should slide freely with a little margin above the lid or rim. A low profile matters more than decorative height, because a cart that binds will not get used.
Keep the front edge simple and low so the unit does not snag on carpet or bed rails. If the bed height is tight, choose a lidless tray or shallow drawer-style bin.
Caster wheel selection
Caster wheels are the key hardware choice here. Pick stable wheels that roll straight and do not add too much height. Small, wobbly casters can turn a light cart into a hard-to-control bin, especially on thicker flooring or transitions.
The DIY toy box example in the source material is built on wheels for easy movement, and that same idea applies to under-bed storage. Mobility only helps if the cart still tracks well when loaded.
Pocket-hole joinery for quick assembly
Pocket-hole joinery is a practical option for beginner builds because it speeds up assembly and keeps the structure compact. It is well suited to under-bed bins, mobile crates, and simple frames where the joints are hidden.
Keep the load path in mind. If the cart will carry heavy toys, reinforce the corners and do not rely on a few screws alone.
How do I make a toy storage box safe for kids?
Make a toy storage box safe by controlling the lid, edges, finish, and stability. Use sanded, sealed wood, avoid heavy closing forces, and keep the structure from tipping if a child climbs on it or pulls at the front.
Failure cases to avoid
Broken hinges, weak lids, overfilled bins, and unstable wall mounts are the main problems to prevent. A lid that drops fast can pinch fingers. A bin packed beyond its design depth can tip forward when opened. A wall unit mounted into weak material can fail under repeated use.
Anti-tip anchoring is important for tall shelves and cubbies. If the build is narrow or tall, attach it to the wall instead of trusting the base alone.
Non-toxic finish and splinter control
Use a non-toxic finish that seals exposed fibers and makes cleaning easier. Sand every cut edge, including holes and corners that are easy to miss. If the surface still feels rough after finishing, it needs more prep before it goes into a child’s room.
The goal is not a showroom sheen. The goal is a smooth, sealed surface that holds up to daily handling.
Frequently asked questions
What wood is best for a DIY toy box
Plywood is usually the best beginner choice because it is stable, efficient to cut, and easy to finish. Pine is a good option for lighter builds and visible grain, while solid wood works best when you want a sturdier furniture look and can handle more movement in the material.
How do I make a toy storage box safe for kids: keep the design low, smooth?
Keep the design low, smooth, and stable. Round over edges, sand splinters away, use a non-toxic finish, and avoid heavy lids unless you add proper lid stays or soft-close hardware. Anchor tall units to the wall, and do not let small parts sit loose on high open shelves.
How do I keep a wooden toy box from splintering?
Sand every edge and end grain before assembly and again after final shaping. Then seal the wood with paint, clear coat, or another child-safe finish made for interior use. Splinters often start at rough cuts, so clean saw marks and exposed corners matter more than a decorative top coat.
What is the best wooden toy storage for small spaces?
For small spaces, rolling under-bed storage and wall-mounted toy buckets usually give the best payoff. Low cubbies and stackable crates also work when floor space is limited. Choose shallow, accessible storage rather than deep bins that hide toys and make cleanup slower.
Sponsored / affiliate links. As an Amazon Associate I earn from qualifying purchases. I may earn additional commission from eligible campaigns.