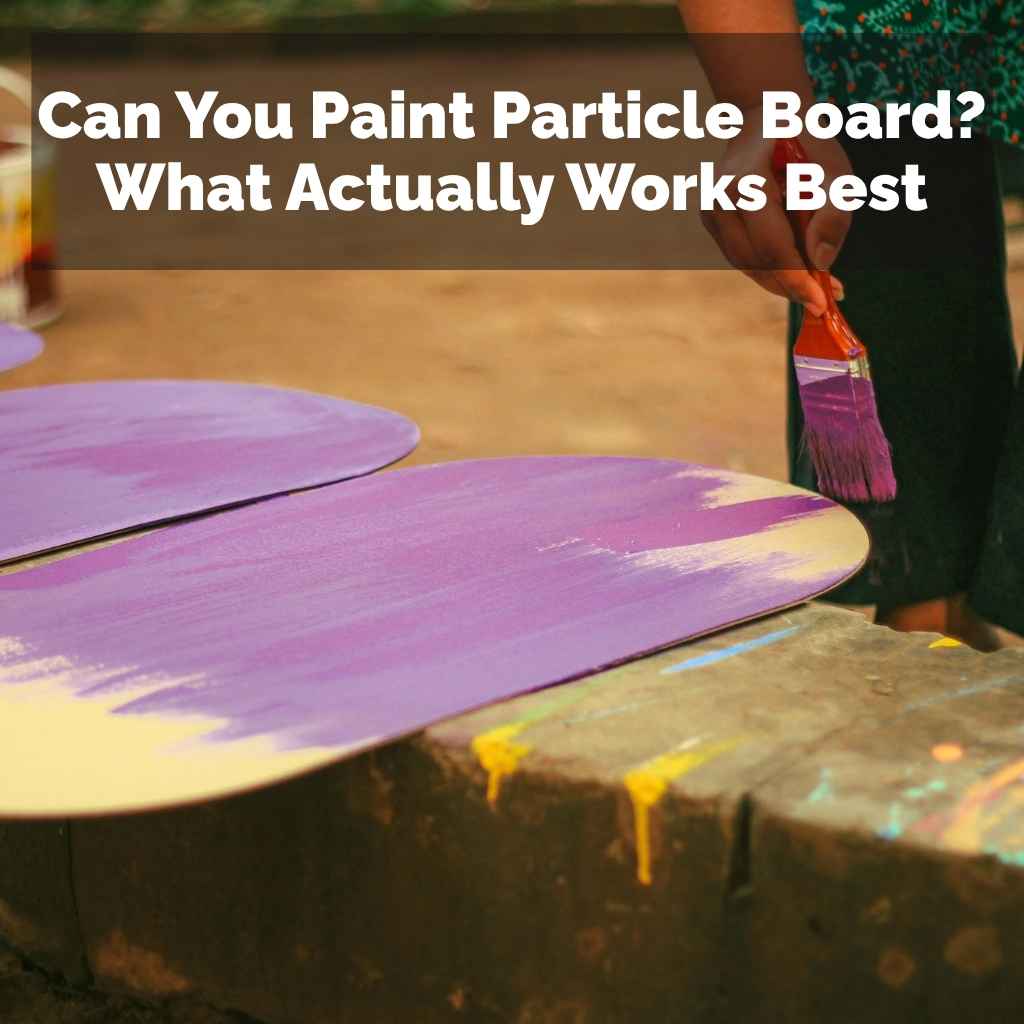
Can You Paint Particle Board? What Actually Works Best
Painting particle board is possible. The key is proper preparation and using the right materials. You’ll need to seal it first to prevent it from absorbing paint and swelling. Then, a good primer and a few coats of paint will give you a durable, attractive finish. Always test your method first.
What is Particle Board and Why is it Tricky to Paint?
First off, what exactly is particle board? It’s made by pressing together wood chips, sawdust, and scraps. These bits are mixed with a binder, like resin or glue.
Then, they are heated and pressed into large sheets. This makes it a strong, affordable material. It’s often used in furniture, cabinets, and shelving.
The reason it’s tricky to paint is its porous nature. Think of a sponge. Particle board is very much like that.
It has lots of tiny holes and gaps. When you put liquid paint on it, the board soaks it right up. This can lead to a few problems.
The surface might not look even. It might feel rough, even after painting. It can also swell or warp if it gets too wet.
Also, particle board is not as strong as solid wood. It doesn’t hold screws as well. And if it gets damaged, it can crumble easily.
These are all things to keep in mind. But don’t let this scare you. Knowing these traits helps us choose the best way to paint it.
My First Particle Board Painting Disaster
I remember a few years back. I found a great little bookshelf at a yard sale. It was particle board, painted a dull beige.
I thought, “Easy fix! A coat of bright white paint, and it’ll look brand new.” Oh, how wrong I was. I skipped the primer.
Big mistake. I just grabbed a can of leftover white latex paint.
I slapped it on. The particle board drank it up like a desert drinks rain. It looked patchy.
Some spots were shiny, others were dull. I tried a second coat. It got a little better, but the texture was still off.
It felt rough and fuzzy. Then, I noticed the edges. They were starting to look a bit soft.
I had used too much paint, and it was just sitting there, not really adhering. It looked terrible. I ended up having to sand the whole thing down and start over, this time doing it the right way.
That experience taught me a lot. It showed me that particle board needs special care. You can’t just treat it like solid wood.
It needs a solid foundation. It needs to be sealed. It needs the right kind of paint.
And it definitely needs patience.
Particle Board vs. MDF vs. Plywood
It’s good to know what you’re working with. Particle board is the least expensive. It’s made of wood bits.
MDF (Medium-Density Fiberboard) is smoother. It’s made of fine wood fibers. It’s denser and better for painting.
Plywood is made of thin wood layers glued together. It’s the strongest and most stable. Knowing the difference helps you choose the right painting steps.
The Absolute Best Way to Paint Particle Board: Step-by-Step
So, you want to paint particle board and have it look good? You can do it. Follow these steps.
They are proven to work. They’ll help you get a smooth, professional-looking finish.
Step 1: Clean it Well
Before you do anything else, clean the surface. Use a damp cloth. You want to wipe away all dust and dirt.
If there are any greasy spots, use a mild soap and water solution. Then wipe it down again with a clean, damp cloth. Make sure it’s completely dry before moving on.
This step is super important. Paint won’t stick well to a dirty surface.
Step 2: Sand Lightly (Optional but Recommended)
Some particle board has a smooth veneer or laminate finish. If yours is like that, a light sanding can help. Use fine-grit sandpaper, like 150 or 220 grit.
Just a gentle scuff. You don’t need to go deep. This just gives the primer something to grip onto.
If your particle board is already rough or unfinished, you might skip this or sand to smooth out any rough spots.
Wipe away all the dust after sanding. A tack cloth works great for this. It picks up even the smallest dust particles.
This is key for a smooth finish. You don’t want dust trapped under your paint.
Step 3: Seal Those Edges!
This is where many DIYers run into trouble. The edges of particle board are the most porous. They will soak up paint like crazy.
And if they get too wet, they can puff up. To stop this, you need to seal them.
Use a good quality primer. Some people like to use wood filler or a specialized grain filler on the edges first. You can apply a thin layer.
Let it dry completely. Then, sand it smooth. This fills in any deep gaps.
After filling or if you skip that, apply a coat of primer to the entire piece. Pay extra attention to the edges. You might need two coats on the edges to really seal them.
Let each coat dry fully according to the product directions. This sealing step is non-negotiable for a good paint job.
Step 4: Prime the Entire Surface
Now it’s time for primer. For particle board, you need a good adhesion primer. A stain-blocking primer is also a great choice.
These primers are designed to stick to tricky surfaces. They also block stains from coming through your paint.
You can use a roller or a brush. A foam roller often gives a smoother finish. Apply a thin, even coat.
Don’t try to cover everything in one go. It’s better to have two thin coats than one thick, drippy one.
Let the primer dry completely. Check the can for drying times. Some primers need to cure for a bit before you paint.
Lightly sand the surface again with fine-grit sandpaper (220 grit or higher) after the primer is dry. This will knock down any little bumps. Wipe off all dust again.
Choosing the Right Primer
For particle board, look for adhesion primers. Brands like Kilz or Zinsser offer excellent options. A stain-blocking primer is also a smart move.
It prevents any old color or material from showing through your new paint. Two thin coats of primer are usually better than one thick coat.
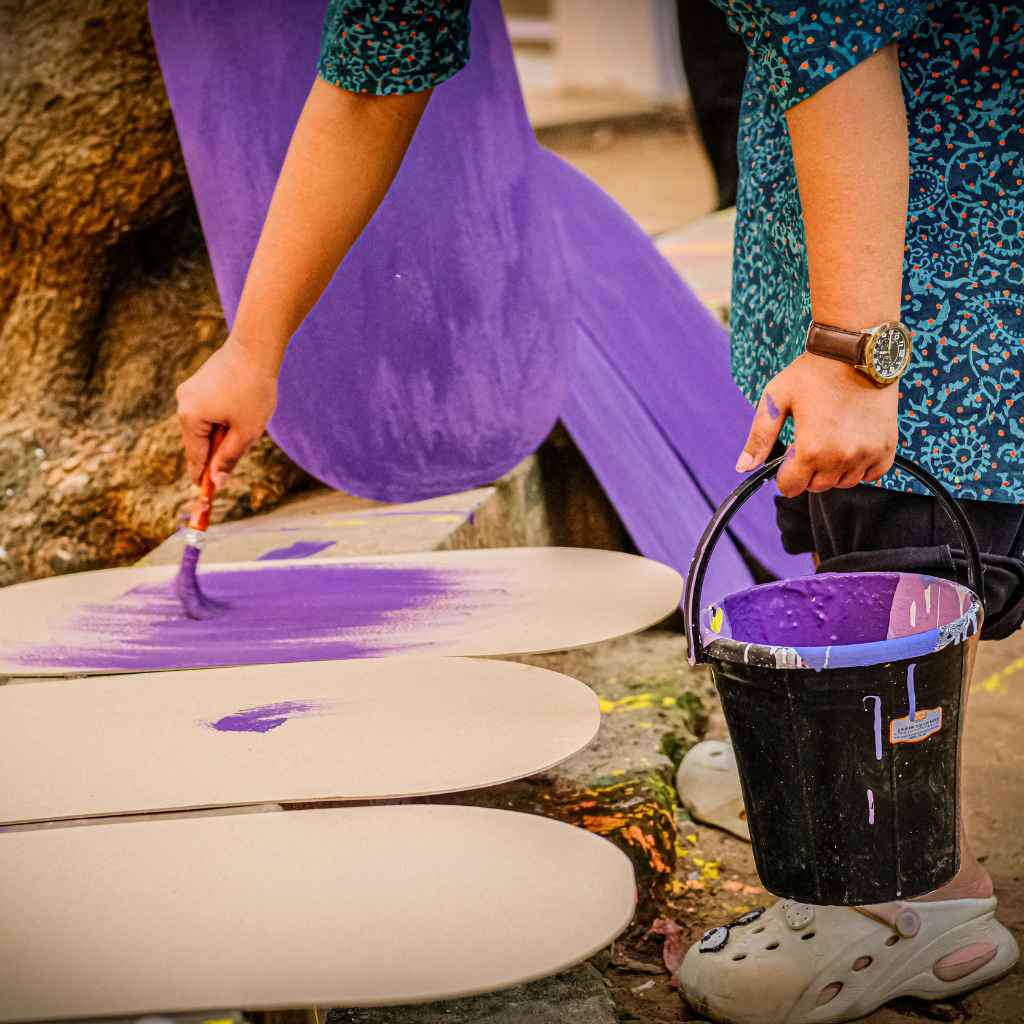
Step 5: Apply Your Paint
Now for the fun part: painting! Use a good quality paint. Acrylic latex paints are a good choice for most projects.
For furniture that gets a lot of use, consider a paint with a durable finish, like a semi-gloss or satin sheen. These are easier to clean.
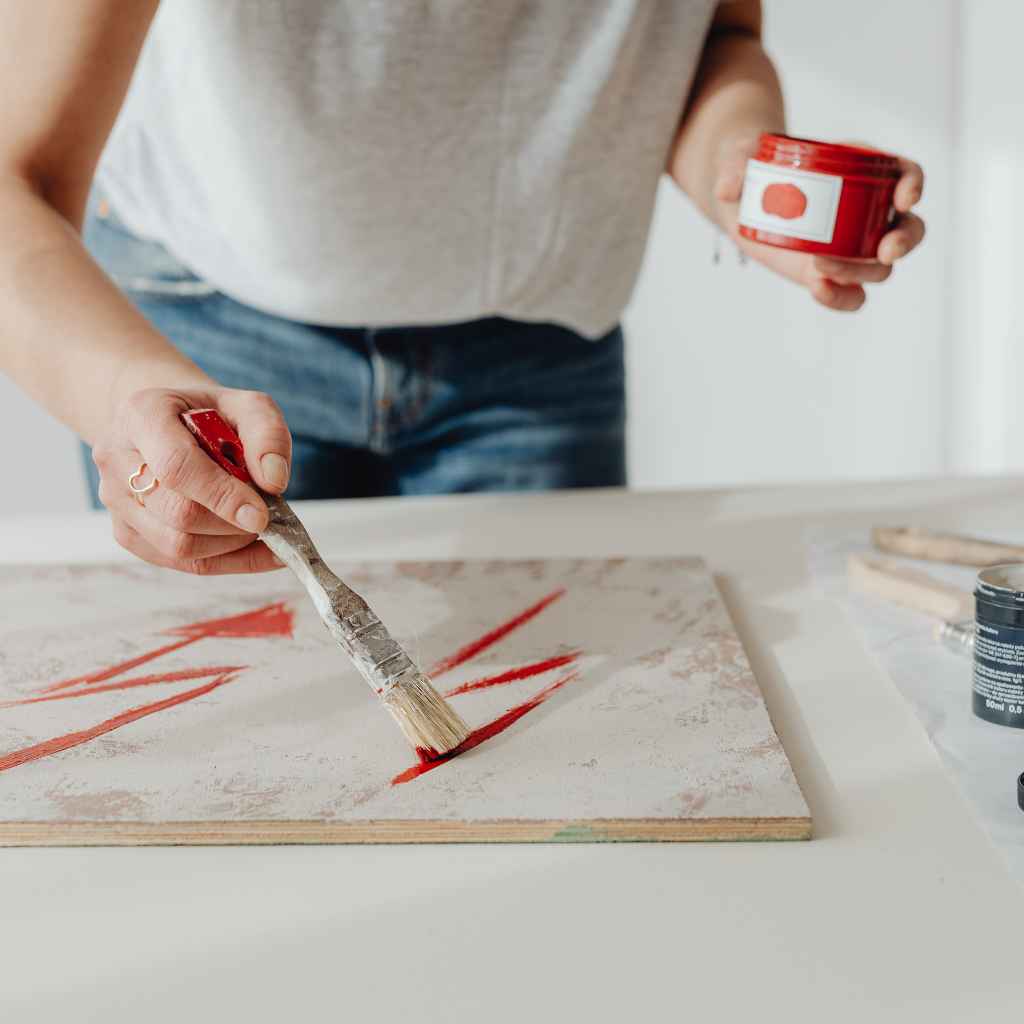
Apply your paint in thin, even coats. Just like with the primer, a foam roller is often best for a smooth finish. If you use a brush, use a high-quality one to avoid brush strokes.
Work in one direction.
Allow each coat to dry completely before applying the next. This is crucial. Rushing this step will lead to a streaky, unprofessional look.
You will likely need two to three coats of paint to get full coverage. Don’t be tempted to put on a super thick coat to speed things up.
Step 6: Add a Top Coat (Optional but Recommended)
For extra protection, especially on furniture that gets a lot of wear and tear, a top coat is a good idea. A clear polyurethane or a water-based sealer can add durability. It will also make the surface more resistant to scratches and moisture.
Apply the top coat in thin layers. Let each layer dry thoroughly. Again, more thin coats are better than one thick one.
This step really seals the deal and helps your painted particle board last for years.
Paint Types and Finishes
Latex Paint: Good all-around choice. Water-based and easy to clean up.
Oil-Based Paint: More durable but harder to clean.
Can be good for high-traffic areas.
Sheens: Matte (hides flaws, less durable), Satin (slight sheen, good balance), Semi-Gloss (more durable, easier to clean), Gloss (very durable, shows every flaw). For particle board, satin or semi-gloss is often best.
Common Problems and How to Avoid Them
Even with the best intentions, you might run into some issues when painting particle board. Knowing these common problems can help you avoid them from the start.
The “Fuzzy” Surface
This happens when the particle board fibers swell and become rough. It’s most common if the board gets too wet during painting or if the edges aren’t sealed properly. The best way to avoid this is to work with thin coats.
Don’t let any excess liquid sit on the surface. If it does happen, let it dry completely. Then, sand it smooth with fine-grit sandpaper.
You might need to re-prime that area.
Paint Not Sticking
This usually comes down to preparation. If the surface wasn’t cleaned properly, or if you didn’t scuff the surface enough for primer to grip, the paint might peel or chip. Make sure you’re using an adhesion primer.
Lightly sanding between coats is also key. Sometimes, a slick laminate surface needs a special bonding primer.
Edge Swelling
This is a big one for particle board. The edges are just more open to absorbing moisture. If you’ve ever seen an edge puff up like a mushroom, that’s swelling.
Sealing the edges thoroughly with primer or wood filler is the absolute best defense. Also, try not to let the piece sit in a damp environment while you’re working on it.
I once painted a set of cabinet doors that were particle board. I didn’t seal the edges well enough. After a few weeks, I noticed the bottom edges were slightly rounded.
It wasn’t terrible, but it wasn’t the crisp line I wanted. I learned to be much more careful with the edges on subsequent projects.
Quick Fixes for Fuzzy Edges
Problem: Fuzzy particle board edges.
Solution 1: Let dry fully, sand smooth with fine-grit paper.
Solution 2: Apply a thin layer of wood filler, let dry, sand smooth.
Solution 3: Apply extra coats of primer specifically to the edges. Always wipe dust after sanding.
When Is It Not Worth Painting Particle Board?
While painting particle board is often a great way to save money and update items, there are times when it might not be the best use of your time and effort. Consider these points:
Very Damaged Pieces
If the particle board is already crumbling, severely warped, or has large chunks missing, painting probably won’t fix the underlying structural issues. It might end up looking worse. In these cases, it might be better to replace the item.
Pieces with Delaminating Veneer
Sometimes, the thin layer of veneer on particle board starts to peel away. If this is happening in many places, it’s hard to get a smooth finish. You’d have to glue it down or remove it all.
That’s often more work than it’s worth.
High-Moisture Environments
Particle board does not do well in damp or humid conditions. If you’re thinking of painting something for a bathroom or a kitchen that gets very steamy, it might not last. Moisture will make it swell and break down over time.
Even with good sealing, it’s a risk.
I had a friend who tried to paint an old particle board TV stand for his basement. The basement had a slight musty smell. Within a year, the particle board was warped and started to sag in the middle.
It was a tough lesson about where particle board belongs.
Particle Board vs. Solid Wood: A Quick Look
Particle Board:
– Pros: Cheap, lightweight.
– Cons: Not durable, swells with moisture, hard to repair.
Solid Wood:
– Pros: Strong, durable, can be refinished many times.
– Cons: More expensive, heavier.
Choose based on your project needs and budget.
Alternatives to Painting Particle Board
If painting doesn’t feel like the right fit, or if you want a different look, there are other options for updating particle board items.
Contact Paper or Vinyl Wraps
These are amazing for covering up old surfaces. You can find them in tons of patterns and colors. They’re self-adhesive.
You just peel and stick. They can give a completely new look. They’re also water-resistant, which is a plus.
I used a faux wood contact paper to cover up an old particle board desk. It looked so much better. It was also much faster than painting.
Just make sure the surface is clean and smooth before applying. Wrinkles are hard to get out.
Stickers or Decals
For smaller pieces or to add a decorative touch, stickers or decals can be fun. They are easy to apply and remove. They’re a good way to personalize shelves or storage bins.
Covering with Fabric or Upholstery
If you’re feeling crafty, you can cover particle board surfaces with fabric. Use spray adhesive or staples. This works well for headboards, drawer fronts, or even the sides of cabinets.
You can create a soft, textured look.
Replacing the Surface
For some items, like shelving units or cabinet doors, you might be able to remove the particle board and
DIY Project Idea: Contact Paper Cabinet Upgrade
Goal: Update old kitchen cabinets without painting.
Method: Clean cabinets thoroughly. Measure and cut self-adhesive contact paper to fit cabinet doors and drawer fronts.
Peel backing and carefully apply, smoothing out air bubbles with a credit card. Trim excess with a craft knife.
Result: A fresh, modern look with minimal effort and a more durable finish than paint in a high-moisture area.
What This Means for Your Project
Knowing how to paint particle board means you have more options for budget-friendly decorating. You can take an old, drab piece of furniture and make it look new again. This is great for renters who might not be able to make permanent changes.
It’s also fantastic for anyone who loves to DIY and wants to save money.
It means you can match existing decor. You can update styles. You can create a custom look that feels like yours.
The key is understanding the material and taking your time. Don’t expect a perfect finish overnight. Patience and proper prep work are your best friends.
Remember that particle board isn’t as forgiving as solid wood. It won’t hold up to extreme abuse. But for most everyday uses, like bookshelves, storage units, or even bedroom furniture, a well-painted particle board piece can be quite durable and attractive.
When to Worry About Your Painted Particle Board
Most of the time, a properly painted particle board piece will just look great. But there are signs that something might be wrong, or that the material is reaching its limit.
Signs of Moisture Damage
Look out for any puffing or swelling, especially on edges or corners. This means it’s absorbing too much moisture. If you see this, move the item away from any dampness.
You might need to try and dry it out. However, swelling can sometimes be permanent damage.
Cracking or Peeling Paint
If the paint is starting to crack or peel, it’s usually a sign that the surface wasn’t prepped well enough. The primer didn’t adhere properly. This often happens if the original finish was too slick or if the particle board was very dusty when painted.
Sagging or Warping
Particle board isn’t as strong as solid wood. If a shelf is loaded with too many heavy items, it can start to sag or warp. Painting won’t fix this structural weakness.
It’s important to be realistic about how much weight your particle board furniture can handle.
I had a desk with a particle board top. I used to pile books on it. Over time, I noticed the surface wasn’t perfectly flat anymore.
It had a slight dip where the heaviest books sat. It was a clear sign that the material had its limits.
Mold or Mildew
If you see any signs of mold or mildew, especially in humid areas, this is a serious problem. Particle board can be a breeding ground for mold if it’s constantly exposed to moisture. If this happens, the item likely needs to be discarded.
Simple Check: The “Tap Test”
Lightly tap different parts of your particle board piece. Listen to the sound. A solid, even sound is good.
A hollow or soft sound might indicate internal damage or moisture issues. This isn’t foolproof but can give you a clue.
Quick Tips for a Better Finish
Here are a few extra tips to make your particle board painting project a success:
- Work in a well-ventilated area. This is good for your health and helps paint dry properly.
- Use a good quality brush and roller. Cheap tools can lead to a cheap-looking finish.
- Apply thin, even coats. This is the golden rule for almost any painting project, especially on particle board.
- Allow ample drying time between coats. Don’t rush it! Read the product labels.
- Test your paint and primer on an inconspicuous area first. This is especially important if the piece has a laminate or unusual finish.
- Consider the environment. Don’t paint or let painted pieces dry in very humid or cold conditions.
- Wear gloves. This keeps your hands clean and prevents oils from your skin from getting on the surface.
Essential Tools for Painting Particle Board
- Sandpaper: Medium (120-150 grit) and fine (220+ grit)
- Primer: Adhesion or stain-blocking
- Paint: Quality latex or acrylic paint
- Rollers: Foam rollers for smooth application
- Brushes: High-quality synthetic brush for details
- Sanding Block: For even sanding
- Tack Cloth: For dust removal
- Drop Cloths: To protect your work area
- Wood Filler (Optional): For filling gaps/imperfections
- Sealer/Top Coat (Optional): Polyurethane or water-based sealer
Frequently Asked Questions About Painting Particle Board
Can I paint particle board without sanding?
Yes, you can. But sanding lightly first helps the primer stick much better. It gives a smoother finish.
If your particle board has a very slick or glossy surface, sanding is highly recommended. Always clean off all dust after sanding.
What kind of paint is best for particle board?
A good quality acrylic latex paint is usually best. For furniture that gets a lot of use, consider a satin or semi-gloss finish for durability and ease of cleaning. Always use a good primer first.
This is more important than the type of paint itself.
Do I need to seal particle board before painting?
Yes, sealing is very important. Particle board is porous and will soak up paint. Sealing, usually with a good primer, prevents this.
It also helps prevent swelling, especially on the edges. Don’t skip the primer step!
How many coats of primer do I need on particle board?
Generally, two thin coats of primer are recommended. Pay special attention to the edges, which are the most porous. Let each coat dry completely before applying the next.
Lightly sanding between coats helps create a super smooth surface.
Will painting make particle board waterproof?
No, painting will not make particle board waterproof. It can make it more water-resistant. But particle board will still swell and degrade if it is exposed to a lot of moisture.
It’s not suitable for very damp environments like outdoor furniture or full bathrooms.
Can I use spray paint on particle board?
Yes, you can use spray paint. It can provide a very smooth finish. However, you still need to prep the surface well.
Use a good primer first. Apply thin, even coats. Make sure to do it in a well-ventilated area.
Often, several thin coats of spray paint are needed.
Final Thoughts on Painting Particle Board
So, can you paint particle board? The answer is a resounding yes! It just takes a little extra care and the right approach.
By cleaning thoroughly, using a good primer, and applying paint in thin coats, you can transform old particle board items. It’s a rewarding way to give furniture new life and save money. Enjoy your refreshed piece!