Can You Refinish Wood Veneer? A Beginner’s Guide
Thinking about giving your furniture a fresh look? Many people wonder, Can You Refinish Wood Veneer? It’s a common question, as veneer can seem delicate. But don’t worry! This guide will make it easy. Refinishing veneer isn’t as hard as you might think, and we’ll break it down step-by-step. Get ready to learn how to restore your furniture and give it new life. We’re starting with the basics.
What Exactly Is Wood Veneer?
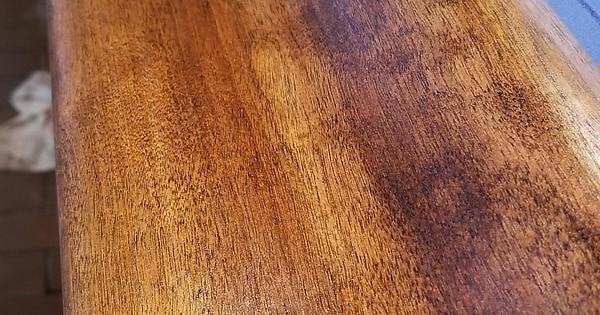
Wood veneer is a thin layer of real wood. It’s often glued to a less expensive base material, like plywood or particleboard. This allows manufacturers to create the look of solid wood at a lower cost. Veneer can come from many different types of trees, giving it a wide range of grain patterns and colors. It’s used on furniture, doors, and other items to add a touch of natural beauty. Knowing what veneer is helps you understand how to work with it properly. It’s important to treat it differently than solid wood.
The Making of Wood Veneer
Wood veneer is created in several ways, each impacting its final appearance and durability. The most common methods are rotary cut, plain sliced, quarter sliced, and rift cut. Rotary cutting involves peeling a log like a giant pencil, creating a wide, bold grain pattern. Plain slicing cuts the log straight across, yielding a flatter, less dramatic grain. Quarter slicing cuts the log at an angle, producing a striped appearance. Rift cutting cuts at a steeper angle, which results in a straight, consistent grain.
- Rotary Cut Veneer: This method spins a log against a blade, creating a continuous sheet. The grain pattern is usually wild and irregular.
- Plain Sliced Veneer: Logs are sliced parallel to the center, showing a cathedral-like grain.
- Quarter Sliced Veneer: Logs are cut at a right angle, displaying a straight grain.
- Rift Cut Veneer: The blade cuts at an angle to the growth rings, creating a more uniform look.
- Book Matching: Veneer sheets are matched so the grain mirrors each other, like pages in a book.
The type of veneer used affects how the refinishing process will go. Knowing how the veneer was made can help you anticipate how it will react to sanding and finishing.
Types of Veneer: A Closer Look
Different types of veneer are available, each offering unique characteristics. These include wood veneer, paper-backed veneer, and pre-finished veneer. Wood veneer is the most common type, made from thin slices of real wood. Paper-backed veneer has a paper backing for added stability and easier handling. Pre-finished veneer already has a factory-applied finish, simplifying the refinishing process. Understanding these types lets you choose the right approach for your project.
- Wood Veneer: This is the standard, thin sheet of real wood, known for its natural beauty.
- Paper-Backed Veneer: A wood veneer layer bonded to a paper backing, providing strength and making it easier to work with.
- Pre-Finished Veneer: Veneer that arrives with a finish already applied, reducing work needed.
- Inlay Veneer: Intricate designs created with various wood pieces.
- Edge Banding Veneer: Narrow strips used to cover the exposed edges of plywood or particleboard.
Selecting the right veneer type matters a great deal. It will determine the techniques and materials needed for successful refinishing.
Can You Refinish Wood Veneer: Prep Work
Before you start refinishing, good preparation is key. This stage includes cleaning the surface, assessing damage, and deciding on repairs. Proper prep work creates a smooth surface for the new finish. It also makes sure your refinishing job looks professional and lasts a long time. This is also where you can find out if Can You Refinish Wood Veneer on your particular project.
Cleaning and Inspection
Begin by cleaning the veneer surface. Use a mild cleaner and a soft cloth to remove dirt, dust, and any old wax buildup. Next, carefully inspect the veneer for any damage. Check for scratches, chips, loose edges, or bubbles. Address any problems before you start sanding. This preparation step makes sure your refinishing process goes smoothly.
- Clean the Surface: Use a gentle cleaner and a soft cloth to remove dirt and grime. Avoid harsh chemicals that could damage the veneer.
- Inspect for Damage: Look for scratches, chips, peeling, and bubbles. Note any areas that need repair.
- Assess the Existing Finish: Identify if the existing finish is oil-based, lacquer, or something else.
- Test for Wax: Apply a small amount of mineral spirits to a hidden area to see if the finish dissolves. If it does, there’s wax.
- Document the Condition: Take photos of the piece before starting any work.
A careful inspection helps identify the necessary steps for a successful refinishing project.
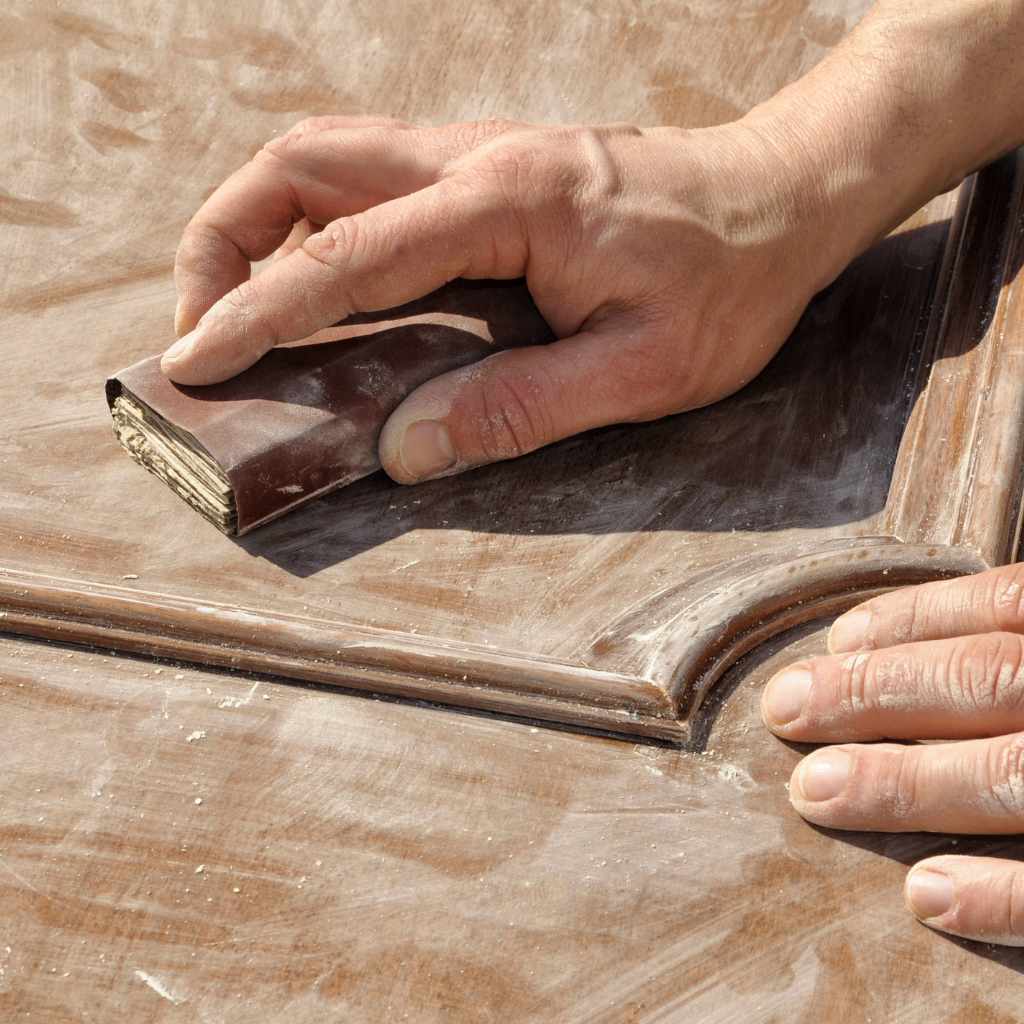
Repairing Damage
Once you’ve cleaned and inspected the veneer, it’s time to fix any damage. For small scratches, you might use a wood filler that matches the wood color. For chips or loose areas, you’ll need to use wood glue and clamps. Carefully apply the glue and clamp the damaged area until it dries. If the veneer has bubbles, you can sometimes inject glue underneath with a syringe. Repairing these flaws is important for a smooth, even finish.
- Small Scratches: Fill them with wood filler matching the wood color.
- Chips: Use wood filler or a two-part epoxy filler.
- Loose Edges: Re-glue with wood glue and clamp until dry.
- Bubbles: Inject wood glue under the veneer using a syringe.
- Large Areas of Damage: Consider replacing the damaged veneer if repair is not possible.
Successful repair creates a strong foundation. This allows the refinishing process to achieve a great result.
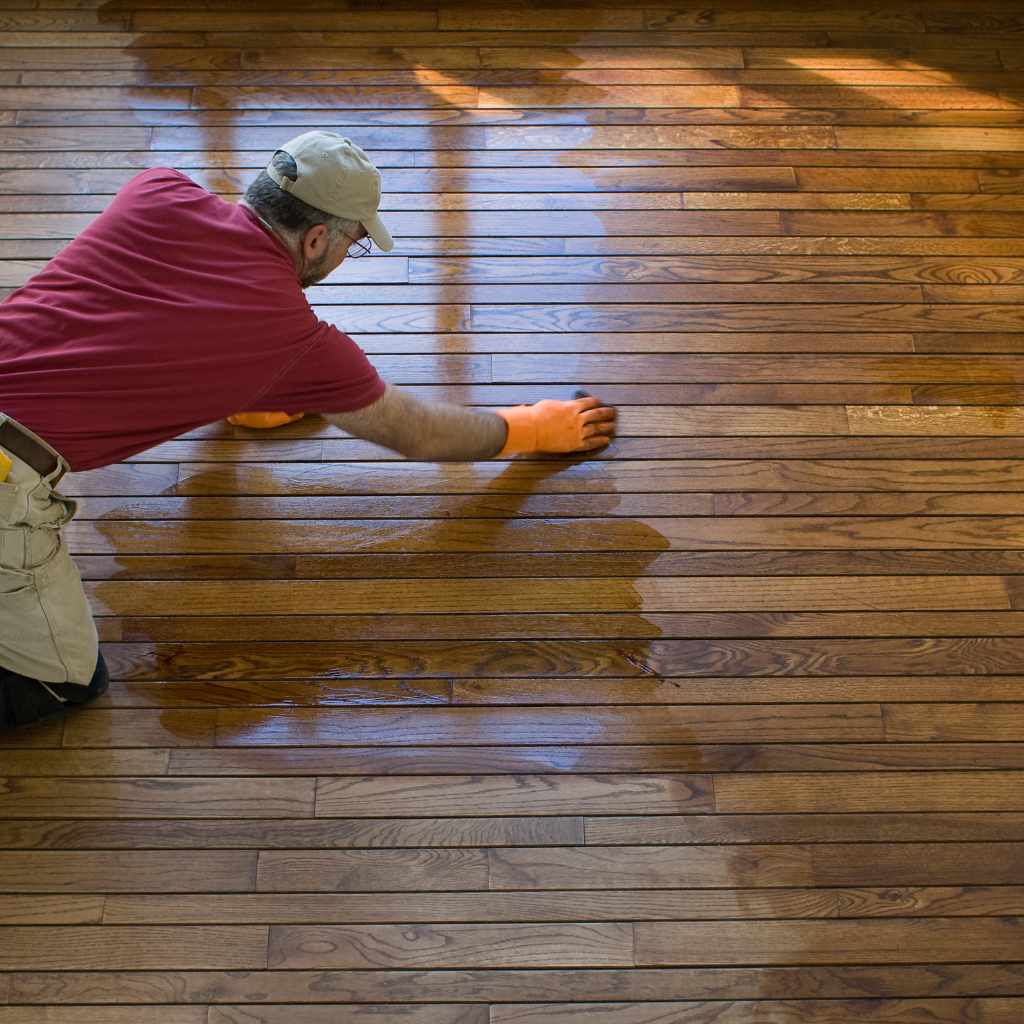
Sanding and Surface Preparation
Sanding is a very important step. It removes the old finish and creates a surface that the new finish can stick to. Begin with a medium-grit sandpaper, then move to finer grits for a smooth finish. Be careful not to sand through the veneer. The goal is to remove the old finish without damaging the wood beneath. Take your time, and you’ll get a great outcome when you refinish wood veneer.
Sanding Techniques
Use a random orbital sander for flat surfaces. This tool helps remove the old finish evenly. For edges and details, use a sanding block or hand-sand. Start with a medium grit, such as 150-grit sandpaper, and gradually move to finer grits, like 220-grit. Always sand with the wood grain. This avoids scratches. Sand until the old finish is gone and the surface is smooth to the touch.
- Use a Random Orbital Sander: This is best for large, flat surfaces.
- Sand with the Grain: Always sand in the direction of the wood grain.
- Start with Medium Grit: Use 150-grit sandpaper to remove the old finish.
- Progress to Finer Grits: Use 180-grit, then 220-grit for a smooth finish.
- Avoid Sanding Through the Veneer: Be careful not to sand through the thin layer of wood.
These sanding techniques help create a professional-looking result. A smooth surface is the key to a beautiful finish.
Choosing the Right Sandpaper
Select the right sandpaper grits for your project. A typical starting point is 150-grit. This helps remove the old finish and smooth out any imperfections. Then, move to 180-grit or 220-grit. These finer grits create a smooth surface ready for the finish. Always make sure to use sandpaper suitable for wood. Avoid using very coarse sandpaper, as it can damage the veneer.
- 150-Grit Sandpaper: Use this to remove the old finish and even out the surface.
- 180-Grit Sandpaper: This will help smooth out the surface and get rid of scratches.
- 220-Grit Sandpaper: For a final smooth touch.
- Dry vs. Wet/Dry Sandpaper: Dry sandpaper is the standard, but wet/dry can be used with water or mineral spirits.
- Consider the Type of Finish: The final grit choice may depend on the type of finish you plan to use.
Choosing the correct sandpaper will give you a great refinishing result.
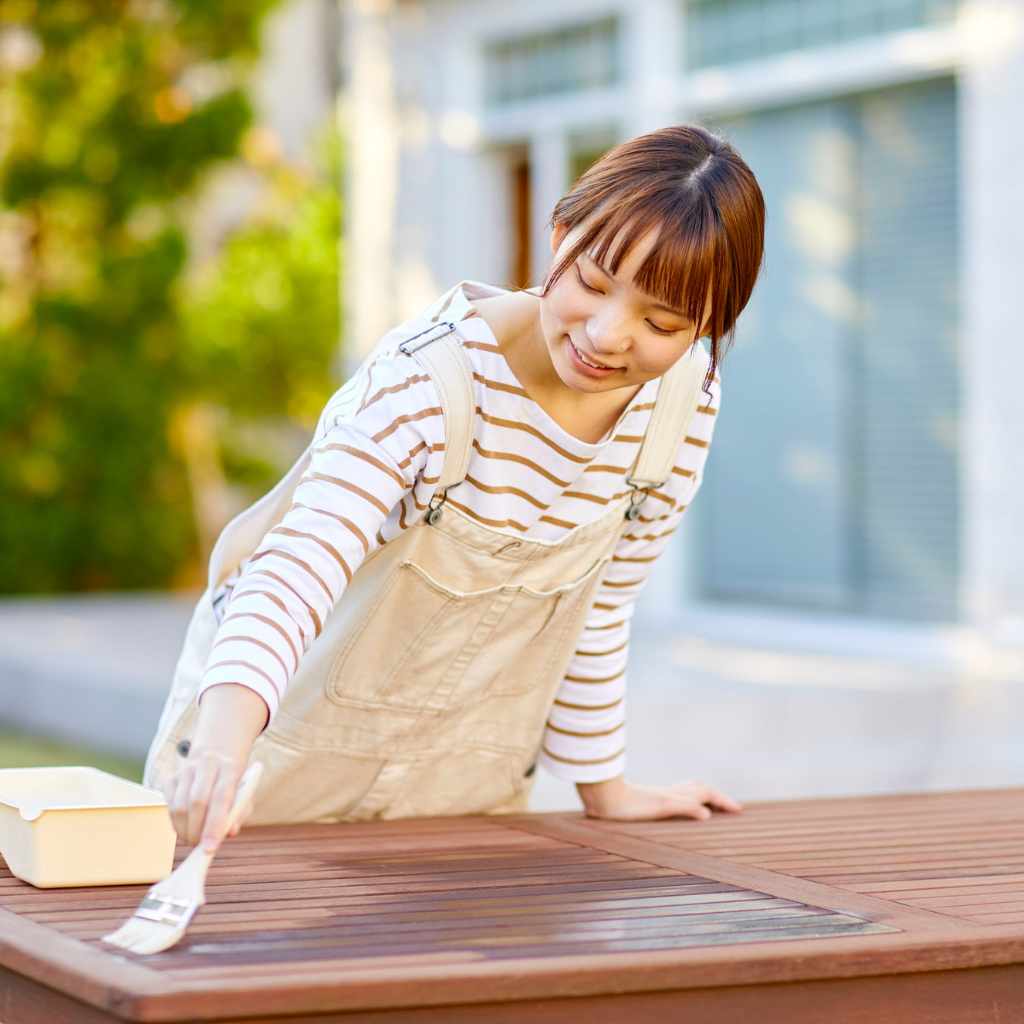
Applying the New Finish
After sanding, it’s time to apply the new finish. There are several finish options, including varnish, polyurethane, and lacquer. Choose the finish that best suits your needs and skill level. Always apply the finish in thin, even coats. Allow each coat to dry completely before applying the next. This ensures a durable and attractive finish. Always remember to consider, Can You Refinish Wood Veneer with a finish you are most familiar with.
Finish Options Explained
Several finish options can be used on veneer. Varnish is a classic choice, known for its durability and glossy appearance. Polyurethane is a tough finish that is resistant to water and scratches. Lacquer dries quickly and provides a smooth finish, but it’s more sensitive to chemicals. Each finish has its own pros and cons, so pick the one that fits your project. Consider the amount of protection and your experience level.
- Varnish: A hard, durable finish with a high gloss.
- Polyurethane: Water-resistant and scratch-resistant, great for heavy-use furniture.
- Lacquer: Dries quickly and gives a smooth finish. It’s also sensitive to solvents.
- Oil-Based Finishes: Give a warm glow and are easy to repair, but take longer to dry.
- Water-Based Finishes: Low odor, dry fast, and are friendly to the environment.
Choosing the right finish is an important step. This makes sure your refinished veneer looks its best.
Step-by-Step Finish Application
Begin by cleaning the sanded surface with a tack cloth to remove dust. Apply the first coat of finish using a brush, roller, or spray gun. Always work in the direction of the wood grain. Let the first coat dry completely, usually following the manufacturer’s instructions. Lightly sand the surface with fine sandpaper. Apply a second coat of finish, repeating the sanding process as needed. The number of coats needed will depend on the chosen finish and the desired look.
- Clean the Surface: Use a tack cloth to remove any dust.
- Apply the First Coat: Use a brush, roller, or spray gun, working with the grain.
- Let Dry Completely: Follow the manufacturer’s directions for drying time.
- Lightly Sand: Use fine sandpaper to smooth the surface.
- Apply a Second Coat: Repeat the process, sanding between coats if necessary.
Applying the finish correctly will give a smooth, even surface. This will make your refinished veneer beautiful and protected.
Final Touches and Care
Once the finish is dry, you can add final touches to complete your project. This might involve applying a protective topcoat or adding hardware. Proper care is key to keeping your refinished veneer looking its best. Clean the surface regularly with a soft cloth and avoid harsh chemicals. These simple steps will help protect your furniture for years to come. That is why it is important to understand Can You Refinish Wood Veneer, and also how to keep it looking great.
Adding Hardware and Protecting the Finish
After the finish has dried, you can add any hardware, such as knobs or pulls. Also, consider adding a protective topcoat, like a wax or a clear coat. This adds extra protection against scratches and wear. Choose a wax or clear coat that is appropriate for your chosen finish. Carefully reattach any hardware. Finally, let the finish fully cure before using the furniture. This makes sure that the finish hardens completely.
- Add Hardware: Reattach knobs, pulls, and any other hardware.
- Apply a Protective Topcoat: Consider wax or a clear coat for added protection.
- Let the Finish Cure: Allow the finish to fully harden before using the furniture.
- Check for Imperfections: Look for any imperfections and touch them up as needed.
- Buff the Finish: Use a soft cloth to buff the finish.
These final touches will complete your project. They’ll also make your furniture beautiful and protect the new finish.
Ongoing Care and Maintenance
Proper care will keep your refinished veneer looking its best. Regularly dust the surface with a soft cloth. Clean spills immediately, using a mild cleaner and a soft cloth. Avoid placing hot items directly on the surface. Use coasters under drinks and placemats under hot dishes. Periodically apply a wax or polish to protect the finish. These small actions will help keep your furniture looking great over time.
- Dust Regularly: Use a soft cloth to remove dust and dirt.
- Clean Spills Immediately: Wipe up spills with a mild cleaner and a soft cloth.
- Avoid Direct Heat: Use coasters and placemats to protect the finish.
- Use a Wax or Polish: Apply wax or polish to protect the finish.
- Inspect Periodically: Check the furniture for any damage or wear.
Following these steps will ensure that your refinished veneer will last for many years to come.
Frequently Asked Questions
Question: Can I use any type of wood filler on veneer?
Answer: It’s best to use a wood filler that matches the color of the wood. This will help the repaired area blend in better with the rest of the surface.
Question: How do I remove old glue from veneer?
Answer: You can gently scrape away the old glue with a putty knife or a plastic scraper. Be careful not to damage the veneer. You can also try using a small amount of mineral spirits to soften the glue.
Question: Is it possible to completely remove the old finish from veneer?
Answer: Yes, it is possible. Sanding is the best way to do it. You may need to use different grits of sandpaper, starting with a medium grit and moving to a finer grit.
Question: What if the veneer is peeling?
Answer: You can re-glue the veneer. Apply wood glue to the back of the veneer and clamp it until it dries. If the damage is extensive, you may need to replace the veneer.
Question: Can I stain wood veneer before applying a finish?
Answer: Yes, but it is important to use a stain specifically designed for wood. Apply the stain evenly, then let it dry completely before applying the finish.
Final Thoughts
Refinishing wood veneer can be a rewarding project. With careful preparation and the right approach, you can restore your furniture to its former glory. Remember to start with a thorough cleaning and inspection. Then, repair any damage before sanding. Choose the right sandpaper and sanding techniques. Finally, apply your chosen finish in thin, even coats, and add the final touches. By exploring each step, you can enjoy the satisfaction of restoring a piece. Now you are ready to explore your own refinishing project, and give it a try!