Can You Replant Cherry Seeds Successfully? Here Is How
So, can you replant cherry seeds? The short answer is yes, but it’s not as simple as just popping them in the ground. Cherry seeds, like many other fruit tree seeds, have a special trick they play.
They need something called stratification. This is like a winter coat for the seed. It tells the seed that spring is coming and it’s safe to grow.
Without this cold period, the seed might just sit there. It won’t know when to sprout. This is why many people think cherry seeds won’t grow.
They might try planting them directly after eating the cherry. This often leads to disappointment. Understanding this natural process is key to success.
It’s nature’s way of protecting the future tree.
Cherry seeds also contain a compound called amygdalin. This can break down into cyanide. This is why you should never eat cherry seeds.
However, it’s not a major concern for planting. The outer shell is quite tough. It protects the inner seed.
This shell needs to be breached for the seed to sprout.
The process involves getting the seed to mimic a full winter cycle. This means cold, damp conditions for a few months. It sounds like a lot of work.
But with a little patience, you can help the seed along. It’s a rewarding process. You are working with nature to create something new.
My First Cherry Seed Adventure
I remember my first attempt quite clearly. I had just finished a bowl of juicy Bing cherries on a warm summer evening. The sun was setting, painting the sky orange and pink.
I thought, “What if I tried to grow my own cherry tree?” I was so excited. I washed out a few pits, let them dry for a day, and then just planted them in little pots on my windowsill.
Weeks turned into months. Nothing happened. Not a single sprout.
I felt a bit silly. I even asked a neighbor who had a small orchard. He chuckled and said, “Oh, you need to give them a winter first, kiddo.” That’s when I learned about stratification.
My windowsill experiment was doomed from the start. I felt a pang of annoyance, but also a surge of curiosity. I had to try again, the right way this time.

What Are Cherry Seeds and How Do They Work?
When you eat a cherry, the pit you discard is actually the seed. This pit has a hard outer shell. Inside this shell is the embryo.
This is the baby plant waiting to grow. The shell protects the embryo from damage. It also keeps it from sprouting too early.
For the seed to sprout, two main things need to happen. First, the hard outer shell needs to soften. This lets water and oxygen get to the embryo.
Second, the embryo needs a signal to start growing. This signal is usually a period of cold. This is what we call stratification.
Think of it like a bear hibernating. The bear sleeps through the cold winter. When spring comes, it wakes up.
Cherry seeds do something similar. They wait for the right conditions. Cold weather tells them that winter is over.
It’s time to wake up and grow into a new plant. This natural cycle is vital for their survival.
Different cherry varieties might have slightly different needs. But the general idea of needing a cold, moist period is common. This is why simply planting a fresh pit in warm soil rarely works.
The seed is waiting for its “winter.” It needs that chill to break its dormancy.
The process of germination, or sprouting, starts when the seed has enough moisture. It also needs the right temperature. And it needs that stratification to have happened.
Once these conditions are met, the seed coat will split. A tiny root will emerge first. Then, a shoot will push upwards towards the light.
Seed Essentials: What to Know
Seed Type: The pit inside the cherry is the seed. It has a tough outer shell.
Protection: The shell guards the embryo, the baby plant, inside.
Dormancy: Seeds need a period of cold (stratification) to wake up.
Germination: Sprouting needs moisture, warmth, and the cold signal.
First Sign: A root emerges first, then the shoot reaches for sun.
The Stratification Process: Giving Your Seed a Winter
Stratification is the most important step. It’s how you trick the cherry seed into thinking it has gone through winter. There are two main types: natural and artificial.
Natural stratification happens if you plant seeds outdoors in the fall. They naturally experience the cold. Artificial stratification is what most home growers do indoors.
For artificial stratification, you need to mimic winter conditions. This means cold and moist. A good way to do this is to use a plastic bag and some damp material.
You can use peat moss, vermiculite, or even damp paper towels. Make sure the material is moist, not soaking wet. It should feel like a wrung-out sponge.
Place the cherry pits inside this damp material. Then, put the whole thing into a plastic bag or a sealed container. Label it with the date and the type of seed.
This is important. You want to keep track of time.
Now, put the bag in your refrigerator. The temperature should be between 35 and 45 degrees Fahrenheit (about 1.5 to 7 degrees Celsius). This is a typical fridge temperature.
Do not freeze the seeds. Freezing can kill them. Keep them in the fridge for at least 30 to 60 days.
Some sources say 90 days or even longer is better for some varieties. More time in the cold can increase germination rates.
During this time, check on the seeds every week or so. Make sure the material stays damp. If it dries out, mist it lightly with water.
Also, check for any signs of mold. If you see mold, discard the affected seeds. You might need to clean the container and start again with fresh damp material for the remaining seeds.
This waiting period can be tough. It requires patience. You are essentially waiting for winter to pass.
But this is the crucial step that most people skip. It’s the key to unlocking the seed’s potential to grow. By providing this cold period, you are preparing the seed for spring.
Once the stratification period is over, you can take the seeds out. They should look slightly plumper. Some might even show tiny signs of cracking.
This is a good sign. It means the embryo is ready.
Stratification Steps
- Get Seeds: Collect fresh cherry pits.
- Clean & Dry: Wash pits, let them air dry for a day.
- Damp Medium: Use moist peat moss, vermiculite, or paper towels.
- Bag It Up: Place seeds in a sealed bag with the medium.
- Refrigerate: Store in the fridge (35-45°F / 1.5-7°C) for 30-90 days.
- Check Regularly: Keep medium damp, watch for mold.
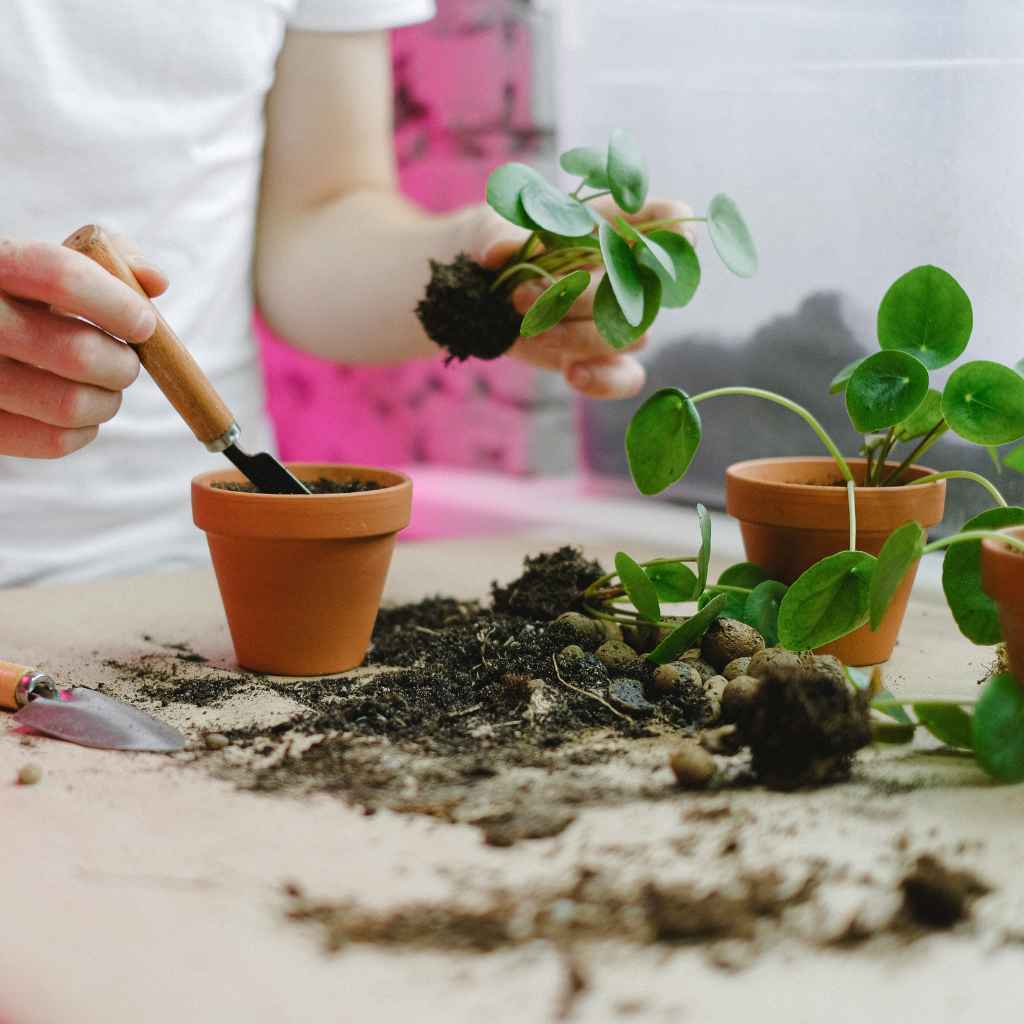
Preparing the Soil and Planting
After your cherry seeds have gone through their “winter,” it’s time to plant them. You need good soil. A potting mix is usually best for starting seeds.
It’s light and drains well. You don’t want the seeds to sit in soggy soil. That can cause them to rot.
You can use small pots or seed trays. Make sure they have drainage holes. This is very important.
Fill the pots with your potting mix. Leave about an inch of space at the top. Moisten the soil gently.
It should be damp but not waterlogged.
Now, take your stratified cherry seeds out. You can plant them about half an inch to an inch deep in the soil. The depth isn’t super critical, but don’t bury them too deep.
You don’t want them to struggle to reach the surface.
Gently cover the seeds with soil. You can lightly water the surface again. A spray bottle works well for this.
It’s gentle and won’t disturb the seeds. Place the pots in a warm spot. A sunny windowsill is often good.
The temperature should be around 65 to 75 degrees Fahrenheit (about 18 to 24 degrees Celsius). This warmth helps them wake up fully.
Keep the soil consistently moist. But again, avoid overwatering. You should see sprouts appear within a few weeks.
Sometimes it can take longer. Don’t get discouraged if it’s not immediate. Each seed is a little different.
As the seedlings grow, they will need more space. If you started them in small pots, you’ll need to transplant them into larger containers or into the ground. This is usually done when the seedlings are a few inches tall.
They should have at least two sets of true leaves.
When transplanting outdoors, choose a spot that gets full sun. Cherry trees love sunshine. The soil should also be well-draining.
If your soil is heavy clay, you might want to mix in some compost. This will help improve drainage and add nutrients. The young tree will need protection from strong winds and harsh weather.
Planting Guide
- Soil: Use a light, well-draining potting mix.
- Containers: Small pots or seed trays with drainage holes.
- Depth: Plant seeds 1/2 to 1 inch deep.
- Moisture: Keep soil consistently damp, not wet.
- Warmth: Place in a warm spot (65-75°F / 18-24°C).
- Transplant: Move to larger pots or ground when a few inches tall.
What to Expect: From Seed to Tree
Growing a cherry tree from seed is a long game. It’s not like growing a tomato plant that gives you fruit in one season. You are starting a journey that can take many years.
First, you’ll see those tiny seedlings emerge. They look so delicate. Care for them well.
They need light and water. As they grow, you will need to decide when to move them to a bigger pot or to their final outdoor spot. If you’re planting them in your yard, give them plenty of space.
A young cherry tree will need regular watering, especially during dry spells. It might also need protection from pests and diseases. This is where your learning curve begins.
You’ll learn to identify common issues and how to manage them. This might include pruning the tree to encourage good shape and fruit production.
Now, here’s the part that requires patience: fruit. It can take anywhere from 4 to 7 years, or even longer, for a cherry tree grown from seed to produce fruit. Some trees may never produce fruit at all, or the fruit might not be the same as the cherry you ate.
This is because most commercially grown cherries come from grafted trees. Grafting is a way to join a cutting from a known good fruit-producing tree onto a strong rootstock. This guarantees the type of fruit and ensures it fruits sooner.
Seeds from these trees can sometimes revert to older, wilder traits.
So, the cherries you eventually get might be smaller, tarter, or different in color. But they will be your cherries. They will be the result of your effort and patience.
And for many people, that is a wonderful reward in itself. The experience of nurturing a plant from a tiny pit is very fulfilling. Plus, you gain a beautiful tree in your yard.
It’s important to manage your expectations. If you are expecting perfect, large cherries like from the supermarket within a few years, growing from seed might not be the best route. But if you are looking for a rewarding gardening project and the joy of growing something unique, then go for it!
Timeline Expectations
- Germination: 2-6 weeks after planting stratified seeds.
- Seedling Growth: Months to years in pots or nursery beds.
- Planting Outdoors: Typically after 1-3 years of growth.
- First Fruit: 4-7 years (or more) after planting outdoors.
- Fruit Quality: May vary greatly from the parent cherry.
Common Challenges and How to Overcome Them
Growing cherry seeds is rewarding, but it’s not always smooth sailing. You might run into a few bumps along the way. Knowing these challenges can help you prepare and overcome them.
One common issue is germination failure. Your seeds might not sprout at all. This can happen if the stratification wasn’t long enough or cold enough.
It can also happen if the seeds dried out too much during stratification. Or, the seeds might have been old or damaged to begin with.
To overcome this, try stratifying for a longer period. Make sure the medium stays consistently damp. Using seeds from fresh, high-quality cherries is also important.
You can also try stratifying more seeds than you need. This increases your chances of getting a few to sprout.
Another challenge is damping-off disease. This is a fungal disease that affects young seedlings. It causes the stem to rot at the soil line, and the seedling collapses.
It thrives in overly wet conditions and poor air circulation.
To prevent damping-off, use sterile potting mix. Ensure good drainage. Don’t overwater your seedlings.
Good air circulation is also key. You can use a small fan on a low setting for a few hours a day. If you see signs of it, remove affected seedlings immediately.
You might need to treat the soil.
Pests can also be a problem. Aphids, spider mites, and other small insects can attack young plants. Birds might also try to eat your seedlings or young fruit.
For pests, regular inspection is your best friend. You can often wash aphids off with a strong spray of water. For more serious infestations, insecticidal soap or neem oil can be used.
For birds, netting can protect your developing fruit. Remember, a healthy plant is more resistant to pests and diseases.
Finally, there’s the issue of fruit quality and time to fruit. As mentioned, trees from seed might not produce the desired fruit. Or they might take a very long time.
To manage this, embrace the process. Enjoy the learning experience. If you want guaranteed fruit and quicker results, consider buying a young grafted tree from a nursery.
But if you are up for the adventure of growing from seed, appreciate whatever fruit you get. Consider it a bonus!
It’s also worth noting that not all cherries are self-pollinating. Some varieties need another cherry tree nearby to produce fruit. While a seedling might grow, it may still need a pollinator to set fruit.
Troubleshooting Tips
- No Germination: Try longer stratification, ensure consistent moisture.
- Damping-Off: Use sterile soil, avoid overwatering, ensure air flow.
- Pests: Inspect often, use water sprays, insecticidal soap, or neem oil.
- Bird Damage: Use netting on developing fruit.
- Fruit Issues: Accept variability or buy a grafted tree for predictability.
What This Means for Your Garden
So, if you’re thinking about growing cherries from seed, what does this mean for your gardening plans? It means you’re in for a long-term project. It’s not a weekend gardening task.
It’s a commitment to nurturing a plant over several years.
This approach is best for gardeners who enjoy the process. They love to see plants grow from the very beginning. They are patient and not overly concerned with immediate results or perfect fruit.
If you find joy in the journey of gardening itself, then growing from seed is a fantastic option.
It’s a great educational project for families. Children can learn about plant life cycles. They can help with the planting and care.
It teaches them patience and the rewards of nature. Even if the fruit isn’t perfect, the experience is invaluable.
You will gain a deeper understanding of how trees grow. You’ll learn about dormancy, germination, and the challenges of nurturing a young tree. This knowledge can make you a better gardener overall.
It can translate to other plants you grow.
Consider your climate too. Cherry trees need a certain number of “chill hours” each winter to produce well. Make sure your region provides enough cold for a cherry tree to thrive.
Most U.S. climates are suitable, but very warm southern regions might be challenging for some varieties.
If you have limited space, remember that cherry trees can get quite large. You might need to do regular pruning to keep them manageable. Or, you could look into dwarf varieties if you can find them available as seeds, though this is less common.
Ultimately, growing a cherry tree from seed is about connection. It’s connecting with nature, with the food you eat, and with the slow, steady rhythm of growth. It’s a beautiful, tangible way to experience the miracle of life from a tiny pit.
Quick Fixes and Tips for Seed Success
While growing from seed takes time, a few tips can boost your chances of success. These are not “quick fixes” in the sense of instant fruit, but quick ways to improve your odds.
- Freshness is Key: Always use the freshest cherry pits you can find. Don’t use pits that have been dried out for a long time.
- Variety Matters: Some cherry varieties are easier to germinate than others. While you might not know the variety from a grocery store cherry, trying several different types can help.
- Don’t Rush Planting: Ensure your stratification period is complete. It’s better to stratify a little longer than not long enough.
- Label Everything: If you’re stratifying multiple types of seeds or doing this over several years, label your bags clearly. Dates are crucial.
- Watch for Mold: Mold is the enemy of seed starting. If you see it, try to remove it and clean your container. Sometimes, using a slightly more porous medium like vermiculite can help prevent excessive moisture.
- Patience is Your Best Tool: This is the most important tip. Don’t give up if you don’t see results quickly. Some seeds can take months to germinate even after proper stratification.
- Consider Grafting Later: If your seedling grows but you’re worried about fruit quality or time to fruit, you can always graft a branch from a known good variety onto your seedling in a few years. This is an advanced technique, but it can bridge the gap.
Frequently Asked Questions About Replanting Cherry Seeds
Can I plant a cherry pit directly from the fruit?
While you can technically plant a cherry pit directly from the fruit, it is highly unlikely to sprout. Cherry seeds need a period of cold, moist stratification to break their dormancy. Planting them in warm soil immediately after eating the cherry will usually result in failure.
How long does it take for a cherry seed to sprout?
After proper stratification, a cherry seed can take anywhere from 2 to 6 weeks to sprout once planted in warm soil. Some seeds might take even longer, so patience is important. The stratification process itself typically lasts 30 to 90 days.
Will a cherry tree grown from seed produce the same fruit as the parent cherry?
Not necessarily. Most commercial cherry trees are grafted. This means a cutting from a specific fruit-producing tree is joined to a rootstock.
Seeds from these cherries can sometimes produce trees with different characteristics. The fruit might be smaller, tarter, or have a different flavor profile than the cherry you ate.
How long until a cherry tree from seed produces fruit?
It typically takes 4 to 7 years, and sometimes longer, for a cherry tree grown from seed to produce fruit. This is significantly longer than grafted trees, which can start fruiting within 3 to 5 years. Patience is key when growing from seed.
What are “chill hours” for cherry trees?
Chill hours refer to the number of hours per year that a fruit tree, including cherries, needs to be exposed to temperatures between 32°F (0°C) and 45°F (7°C). This cold period is essential for the tree to break its dormancy and produce flowers and fruit properly. Ensure your climate meets the chill hour requirements for the cherry variety you’re trying to grow.
Is it better to grow cherries from seed or buy a young tree?
For most people who want to harvest cherries within a reasonable timeframe and ensure good fruit quality, buying a young, grafted cherry tree from a reputable nursery is the better option. Growing from seed is a rewarding project for those who enjoy the process, have a lot of patience, and are interested in experiencing the natural variability of plants.
The Long Road to Your Own Cherries
Embarking on the journey to grow cherries from seed is a true act of gardening dedication. It’s a process that requires patience, a bit of planning, and a lot of hope. You are working with nature’s timeline.
It’s a reminder that good things often take time to grow. Enjoy the process, learn as you go, and cherish the growth of your own cherry tree.