How to Cure Wood for a Walking Stick (1-Year-Per-Inch Rule)
Curing wood for a walking stick means air-drying it to 10-15% moisture content — roughly one year per inch of thickness for slow-drying oak, but only 3 to 6 months for a thin hazel or sassafras branch. Skip sealing the cut ends with wax and the wood will crack as it dries. This guide covers drying times by thickness, the paraffin end-sealing method, and how to tell when a stick is truly cured.
What You’ll Need
Best End-Grain Sealer Pick
ANCHORSEAL 2 End Grain Sealer, 1 Quart – $28.45
Brush-on wax emulsion built for exactly the step above — sealing a freshly cut branch’s end grain so it doesn’t check while curing for months.
- Best for: Slow-curing woods like oak or hickory that will sit for 6+ months
- Why we picked it: Brushes on in seconds versus melting a pan of wax, and blocks up to 90% of end checking
- Main drawback: A quart is more sealer than you need for one or two sticks — worth it if you’re curing several at once
Compare more curing & finishing options
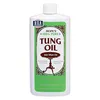 Option 1 HOPE’S Pure Tung Oil, 17oz – $17.99
|
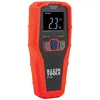 Option 2 Klein ET140 Moisture Meter – $49.97
|
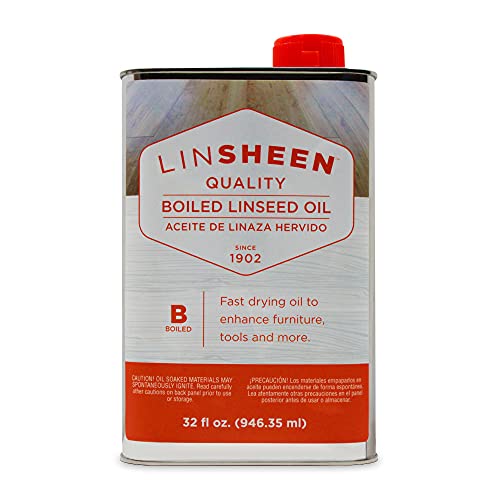
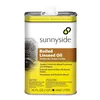 Option 3 Sunnyside Boiled Linseed Oil, Qt – $18.48
|
As an Amazon Associate we earn from qualifying purchases.
- A pruning saw or hand saw for a clean cut
- A knife or bark peeler (if you want the bark removed before curing)
- Paraffin wax or a commercial end-grain sealer (see below)
- A pinless moisture meter (optional, but the only reliable way to confirm curing is done)
- Sandpaper (medium then fine grit) and a finishing oil, varnish, or lacquer
Selecting The Right Wood
Choosing the right wood is essential for a walking stick. Consider the wood’s weight, strength, and flexibility — it needs to be durable enough for daily use without being so dense it’s tiring to carry.
Popular wood types for walking sticks include:
| Wood Type | Characteristics |
|---|---|
| Oak | Strong and heavy, great for stability; slow to cure (6-12 months) |
| Hickory | Extremely shock-resistant, a traditional cane wood |
| Blackthorn | Dense and knotty; the classic wood for an Irish shillelagh |
| Hazel | Lightweight, flexible, and fast-curing (3-6 months) |
| Sassafras | Naturally rot- and insect-resistant, very lightweight |
| Diamond Willow | Prized for its distinctive diamond-shaped bark scars |
Always test-flex the branch before committing to it, and avoid wood with visible rot, insect holes, or a hollow-sounding knock.
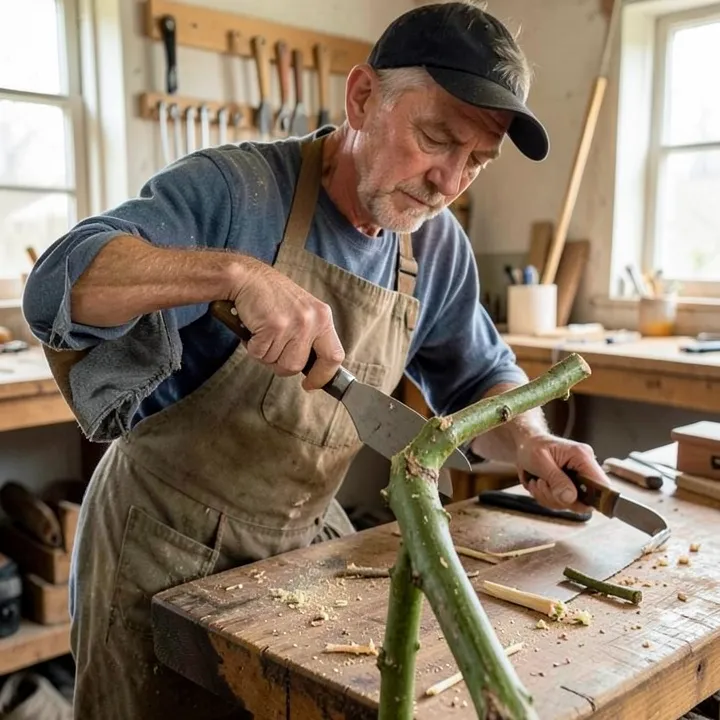
Harvesting The Wood
Cut during late fall or winter, when trees are dormant and moisture content is naturally lower — this shortens the curing time ahead. Look for healthy, straight branches and avoid trees that are weak, diseased, or growing near property lines you don’t have permission to cut on.
Use a sharp pruning saw and make one clean cut close to the branch collar. A clean cut heals faster on the parent tree and leaves less torn grain to seal on the piece you keep.
Preparing The Wood For Curing
Trim the branch to a few inches longer than your final stick — you’ll cut it to exact length after curing, once you know it hasn’t cracked or warped. Decide now whether to strip the bark: removing it speeds drying and shows the grain, but leaving it on preserves texture (common on blackthorn and diamond willow sticks).
If you do remove the bark, do it now with a knife or bark peeler, working with the grain. Don’t sand or carve the final shape yet — wood that still has excess moisture is far more prone to cracking once you start removing material, so save detailed shaping for after curing.
Sealing The Cut Ends To Stop Cracking (Paraffin Wax Method)
Wood dries fastest through its end grain, and uneven drying is what causes the long splits — called checking — that ruin a stick. Sealing both cut ends immediately slows moisture loss there so it roughly matches the drying rate through the sides.
- Melt the wax: Melt plain paraffin wax (or a commercial product like Anchorseal) in an old pan or can, uncovered — a covered pot traps fumes that can ignite.
- Dip each end: Once fully melted, dip each cut end 1-2 inches deep and hold for a few seconds so the wax penetrates rather than just coating the surface.
- Let it set: Allow the wax to cool and harden into a firm seal before moving the wood.
- Re-check after a few weeks: If the wax cracks or peels as the wood shrinks slightly, re-dip that end.
A commercial end-grain sealer like Anchorseal is faster to apply with a brush and typically blocks up to 90% of end checking, which is worth it for a wood like oak that takes the better part of a year to cure.
How Long Does Curing Take? (By Thickness And Wood Type)
The standard woodworking rule of thumb is about one year of air-drying per inch of thickness for green wood — a guideline from the USDA Forest Products Laboratory’s air-drying research. It holds fairly well for slow-drying species like oak, but fast-drying woods like pine or hazel can cure in a fraction of that time.
| Stick Diameter | Typical Curing Time | Target Moisture |
|---|---|---|
| Thin (0.75-1.25 in / 2-3 cm) — hazel, sassafras | 3-6 months | 12-15% |
| Medium (1.25-2 in / 3-5 cm) — most hardwoods | 6-12 months | 10-15% |
| Thick (over 2 in / 5+ cm) — oak billets | 12-24 months | 8-12% |
Signs that wood is properly cured include a noticeably lighter weight than when green, a firm and consistent texture, and a color that has stopped darkening. Cracks or splits at this stage usually mean the wood dried too fast, not that it needs more time.
📊 The 1-year-per-inch rule is a general guideline, not a fixed law — pine, poplar, and cedar can air-dry in 60-90 days in warm conditions, while a thick oak billet can take two years or more. Source: USDA Forest Products Laboratory, “Air Drying of Lumber” (FPL-GTR-117)
How To Know When It’s Fully Cured
A moisture meter is the only reliable way to confirm curing is finished — visual and weight checks are useful early warning signs, but they can’t tell you the exact number. Aim for 10-15% moisture for a stick that will be used outdoors, or 8-12% if you want a fully stable piece to keep indoors as a collector’s item.
A pinless meter is worth the extra cost over a pin-type one here, since it won’t leave test holes in wood you’re about to sand and finish.
Managing Humidity And Temperature While Curing
Cure the wood indoors in a stable environment — a garage, shed, or covered porch works, as long as it’s out of direct sun and rain. Maintain humidity between 40-60% and temperature around 70-80°F. Curing outdoors in full sun dries the surface faster than the core, which is exactly what causes checking.
If your space runs drier than 40% humidity, a small humidifier or a bucket of water nearby slows the drying rate. If it’s damp and humid, add airflow with a fan rather than heat, which can crack the surface. Check the stick every couple of weeks for new cracks near the wax-sealed ends.
Traditional Curing Methods: Chimney-Smoking A Blackthorn Stick
Air-drying isn’t the only curing method with a real track record. Traditional Irish shillelaghs — blackthorn walking sticks — were often cured by smearing the wood with butter and hanging it in the chimney for several months, where the smoke slowly toughened and blackened the wood while the low, steady heat drew out moisture. Other historic methods included burying the stick in a manure pile wrapped in greasy paper, or brining it in salt water to help pull moisture out while resisting warping.
These methods aren’t practical for most people today, but they explain why an authentic shillelagh has a dark, almost black finish — it’s soot from the chimney, not stain. A modern shortcut for that look is a dark wood dye or a few coats of black lacquer applied after the wood is fully air-cured.
Finishing Touches After Curing
Once the wood is cured, sand it starting with a medium grit and working up to fine, always sanding with the grain. Wipe away dust with a soft cloth before applying any finish, and never sand or carve heavily before curing is complete — wood that’s still above its target moisture level will keep shrinking after you’ve already shaped it.
The right finish depends on how the stick will be used:
| Finish | Look | Best For |
|---|---|---|
| Boiled linseed or tung oil | Natural, deepens grain | Everyday hiking sticks, easy to renew |
| Spar varnish | Glossy, film-forming | Sticks that see rain or heavy outdoor use |
| Lacquer | Hard, glass-like shine | Display or dress canes, not heavy daily use |
| Paste wax | Soft satin sheen | Light protection over an oil finish |
Whichever you choose, apply thin coats and let each one dry fully before adding the next — a single thick coat is the most common cause of a tacky, uneven finish.
Customizing Your Walking Stick
Once finished, make it your own. Wood-burning tools can etch patterns or initials into the surface, and a rubber tip or ferrule on the bottom improves grip and protects the end from wearing down on pavement. A wrist strap adds support on longer walks, and if you want to build the whole stick from scratch rather than cure an existing branch, see our guide on how to make a walking stick from a tree branch for the full shaping and carving process.

Common Mistakes To Avoid
- Drying in direct sun or near a heater: Fast surface drying causes checking — always cure slowly, out of direct sun.
- Skipping the end seal: Unsealed end grain dries many times faster than the sides, which is the single biggest cause of splits.
- Sealing the bark on too early: A full finish coat traps residual moisture underneath and can lead to mold or a soft, punky surface.
- Storing in a damp basement: Low airflow and high humidity invite mold even on wood that’s otherwise curing correctly.
- Carving the final shape before curing is done: The wood will keep shrinking and can warp out of the shape you just cut.
Frequently Asked Questions
How long does it take to cure wood for a walking stick?
Most sticks take 3 months to 2 years, depending on thickness and species. The rule of thumb is about one year per inch of diameter for slow-drying woods like oak, while thin, fast-drying branches like hazel can be ready in as little as 3 to 6 months. A moisture meter reading of 10-15% is the real finish line, not a fixed calendar date.
What wood types are best for walking sticks?
Oak, hickory, blackthorn, hazel, chestnut, and sassafras are the most commonly used. Hickory and oak offer the most strength and shock resistance, hazel and sassafras are lighter and cure faster, and blackthorn is the traditional wood for an Irish shillelagh. Choose based on the weight and durability you want in daily use.
Can I use treated wood for a walking stick?
No — pressure-treated lumber is not recommended for a walking stick. Its chemical preservatives can leach onto skin and hands with repeated contact. Stick with naturally cured, untreated hardwood, and rely on a finish like tung oil or varnish for weather protection instead.
How do I know if my wood is cured?
Check with a moisture meter — a reading of 10-15% for outdoor use (or 8-12% for an indoor piece) means it’s cured. Without a meter, look for a noticeably lighter weight, a firm and consistent texture, and a color that has stopped darkening, with no new cracks appearing near the sealed ends.
How do I stop a curing walking stick from molding?
Keep it somewhere dry with good airflow — never a damp basement or a sealed plastic bag. Don’t apply a full finish coat until curing is complete, since trapped surface moisture under a finish is the most common cause of mold on a curing stick. A light dusting of surface mold can usually be wiped off with a cloth dampened in diluted vinegar.
What is the best finish — oil, varnish, or lacquer?
For everyday hiking sticks, boiled linseed or tung oil is easiest to apply and renew. For a stick that sees rain regularly, spar varnish holds up better outdoors. Lacquer gives the hardest, glossiest finish but suits a display or dress cane more than one used for heavy daily walking.
Conclusion
Curing wood for a walking stick comes down to three things: dry it slowly, seal the cut ends immediately, and confirm it’s done with a moisture reading instead of a guess. Rushing any one of those three is what turns a promising branch into a cracked, warped stick a few months in. Take the time the wood needs, and it will reward you with a sturdy, lasting companion on the trail.
Sponsored / affiliate links. As an Amazon Associate I earn from qualifying purchases. I may earn additional commission from eligible campaigns.