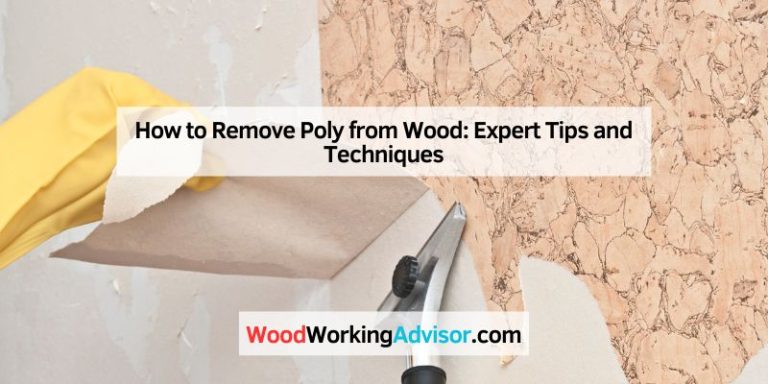
How To Remove Polyurethane From Wood Without Wrecking It
Removing polyurethane from wood requires care. You can use chemical strippers, heat guns, or sanding. Each method has pros and cons. The best choice depends on the finish’s condition and the wood type. Always test in an inconspicuous spot first. Safety gear is crucial for any method.
Understanding Polyurethane and Wood Finishes
Polyurethane is a popular wood finish. It’s a plastic polymer dissolved in a solvent. When the solvent dries, it leaves a hard, protective layer.
This layer shields wood from scratches, moisture, and wear. It makes cleaning easier too. There are two main types: oil-based and water-based.
Oil-based polyurethane is thicker. It adds a warm, amber tone to wood. It dries slower than water-based.
Water-based polyurethane is clear. It dries faster and is less prone to yellowing. It also has less odor.
Knowing which type you have helps. Oil-based finishes are often harder to remove. They can also penetrate the wood grain more deeply.
Water-based finishes are generally easier to strip. But they can sometimes lift wood fibers.
Wood itself varies a lot. Softwoods like pine scratch easily. Hardwoods like oak are more durable.
Antique woods might be brittle. Always consider the type of wood you are working with. Gentler methods are better for delicate pieces.
Why You Might Need to Remove Polyurethane
Several reasons prompt this task. A common one is wear and tear. Over time, furniture gets bumped.
Items are slid across surfaces. This can cause scratches and dull spots in the polyurethane. These aren’t just cosmetic.
They let moisture seep in. That can lead to wood damage.
Sometimes, finishes just age badly. They can yellow. They might crack or peel.
This happens more with older finishes. It can make a piece look dated or neglected. Stripping it back allows for a fresh start.
You can apply a new, modern finish.
Maybe you want a different look. You might want to stain the wood a darker color. Or perhaps you want to paint it.
Polyurethane prevents stains from soaking in. It also makes paint less likely to stick well. So, you need to remove it first.
Mistakes happen, too. A previous refinishing job might have been rushed. Or the wrong product was used.
You might find uneven coats or drips. Stripping lets you correct these flaws. You get a smooth, even surface.
Choosing the Right Removal Method
There isn’t one single “best” way. It really depends on your situation. Think about the project size.
Is it a small table top? Or a whole floor?
Consider the condition of the finish. Is it thick and peeling? Or just a thin, worn layer?
Your own comfort level matters too. Are you okay with strong chemicals? Or do you prefer a more manual approach?
Here are the main methods:
- Chemical Strippers
- Heat Guns
- Sanding
- Scraping
We’ll look at each one in detail. Safety is key for all. Always wear gloves, eye protection, and a mask.
Method 1: Chemical Strippers
Chemical strippers are powerful. They work by breaking down the polyurethane’s bond with the wood. This makes the finish soft and gummy.
You can then scrape it away easily.
There are several types of strippers:
- Solvent-based strippers: These are strong. They contain chemicals like methylene chloride. They work fast. But they have strong fumes. You need excellent ventilation.
- Citrus-based strippers: These are milder. They use natural solvents like d-limonene. They smell better. But they work slower. They might need multiple applications.
- Caustic strippers: These are alkaline. They work well on oil-based paints and finishes. They can darken wood. They require careful neutralization.
How to use them:
First, protect your workspace. Lay down plastic sheeting or old newspapers. Apply the stripper generously.
Use a natural bristle brush. Let it sit for the time recommended on the can. You’ll see the finish bubble or soften.
Then, use a scraper. A putty knife or a floor scraper works. Hold it at a low angle.
Gently push the softened finish off the wood. Work with the grain. Don’t gouge the wood.
You might need to reapply the stripper. Especially for thick or stubborn coats. Keep working until all the old finish is gone.
Once you’ve scraped everything off, you need to clean the wood. Use a mineral spirit wash for oil-based strippers. For citrus or caustic strippers, follow product instructions for rinsing and neutralizing.
This method is effective. But it creates a mess. And the fumes can be intense.
Good ventilation is non-negotiable.
Chemical Stripper Pros and Cons
Pros:
- Very effective on multiple coats.
- Can remove finishes from intricate areas.
- Less physical effort than sanding.
Cons:
- Strong fumes require good ventilation.
- Can be messy to clean up.
- Some strippers can darken wood.
- Requires careful neutralization and cleaning.
Method 2: Heat Guns
A heat gun uses hot air. It softens the polyurethane. This allows you to scrape it away.
It’s a good option for large, flat areas.
How to use it:
Set the heat gun to a medium setting. Hold it a few inches above the wood surface. Keep the gun moving.
Don’t hold it in one spot for too long. You don’t want to scorch the wood.
As the finish softens, it will bubble. Immediately follow behind with a scraper. Hold the scraper at a low angle.
Gently push the softened material off. Work in small sections. This ensures the finish doesn’t re-harden.
You’ll likely need to go over areas more than once. Especially if the polyurethane is thick. The goal is to lift the finish in large pieces.
Not to melt it into goo.
Watch out for the fumes. They can be unpleasant. Use a respirator.
Ensure good airflow. Be aware of fire hazards. Keep a fire extinguisher nearby.
Don’t use near flammable materials.
This method works best on flat surfaces. It’s less effective on curves or detailed carvings. It can also be slow work.
You need patience.
Heat Gun Technique
Heat: Hold gun 4-6 inches away. Keep it moving constantly. Medium heat is usually best.
Scrape: Use a wide putty knife or floor scraper. Hold at a low angle (15-30 degrees).
Section: Work in small, manageable areas (e.g., 6×6 inches).
Ventilation: Crucial for fumes. Use a fan. Wear a respirator.
Caution: Fire risk is real. Be alert. Keep water or extinguisher handy.
Method 3: Sanding
Sanding is a very common method. It uses abrasive paper to grind away the old finish. It can be done by hand or with power sanders.
How to use it:
Start with a coarser grit sandpaper. For polyurethane, something like 80 or 100 grit is good. This removes the bulk of the finish.
Always sand with the wood grain. Use long, even strokes.
As you sand, the polyurethane dust will fill the sandpaper’s grit. You’ll need to stop often. Brush off the dust.
Or switch to a new sheet of sandpaper. Power sanders make this faster. But they require a careful hand.
Orbital sanders are less likely to leave swirl marks. Belt sanders are aggressive. They can remove wood too quickly if you’re not careful.
For small or detailed areas, sanding blocks work well.
Once the bulk of the polyurethane is gone, you need to refine the surface. Switch to a finer grit. Move to 150 grit.
Then to 220 grit. This smooths the wood. It removes any scratches left by the coarser paper.
Sanding creates a lot of dust. Wear a good dust mask or respirator. Protect your eyes and ears.
Cover nearby furniture. You’ll need to vacuum thoroughly when you’re done.
Sanding is effective. But it can be hard work. It removes wood.
So, you can’t sand too much. This is especially true for veneers or softwoods.
Sanding Grit Progression
Step 1: Coarse Grit (80-100)
Purpose: Remove the majority of the old polyurethane. Work with the wood grain.
Step 2: Medium Grit (150)
Purpose: Smooth out the scratches left by the coarse grit. Continue sanding with the grain.
Step 3: Fine Grit (220)
Purpose: Create a smooth surface, ready for a new finish. This is often the final grit for refinishing.
Method 4: Scraping
Scraping is often used with chemical strippers or heat guns. But it can sometimes be used on its own. If the polyurethane is already peeling or very brittle, scraping might be enough.
You’ll need a good scraper. A sharp putty knife or a cabinet scraper is ideal. A cabinet scraper is a flat piece of steel.
It has a sharpened edge. It shaves off thin layers of finish.
How to use it:
For a putty knife, hold it at a shallow angle. Gently push it under a loose edge of the polyurethane. Try to lift it.
Work with the grain. Don’t force it.
For a cabinet scraper, you might need to “burnish” the edge. This means bending a tiny burr onto the edge. This makes it cut rather than drag.
Hold the scraper firmly. Push it forward at a slight angle.
This method is slow. It’s best for small areas or touch-ups. It’s not practical for removing an entire finish from a large piece.
It requires a lot of finesse. You can easily gouge the wood if you’re not careful.
I remember trying to scrape an old tabletop once. The polyurethane was old and brittle. I thought scraping would be easy.
But I kept digging into the wood. It looked awful. I ended up switching to a chemical stripper.
That worked much better for me.
What About “Natural” or “Eco-Friendly” Methods?
Some people look for gentler options. They worry about the chemicals. Or the dust from sanding.
Citrus-based strippers are a good “greener” choice. They still use solvents. But they are less toxic.
They smell better too. But they are slower. You might need more applications.
Vinegar and baking soda are sometimes mentioned. These are good for cleaning. But they are not strong enough to remove polyurethane.
Polyurethane is a tough plastic. It needs a strong chemical or abrasive action.
Boiling water is another idea. It can soften some finishes. But not usually polyurethane.
It can damage wood if left too long. So, it’s not recommended.
The most effective “natural” method is often just careful sanding. Using good dust collection helps. So does wearing a quality respirator.
If you must avoid chemicals entirely, sanding is your main choice. But it will create dust. And it takes time and effort.
Eco-Friendly Options: Fact vs. Fiction
Citrus-Based Strippers: Fact. A less toxic alternative. Works slower but is safer for fumes.
Vinegar/Baking Soda: Fiction. Not strong enough for polyurethane removal. Better for cleaning.
Boiling Water: Fiction/Risky. May soften some finishes, but can damage wood. Not ideal for polyurethane.
Scraping Only: Fact (Conditional). Only works if finish is already failing and brittle.
Careful Sanding: Fact. The most effective chemical-free option, but creates dust.
Preparing Your Workspace and Yourself
No matter the method, preparation is key. It makes the job smoother. It keeps you safer.
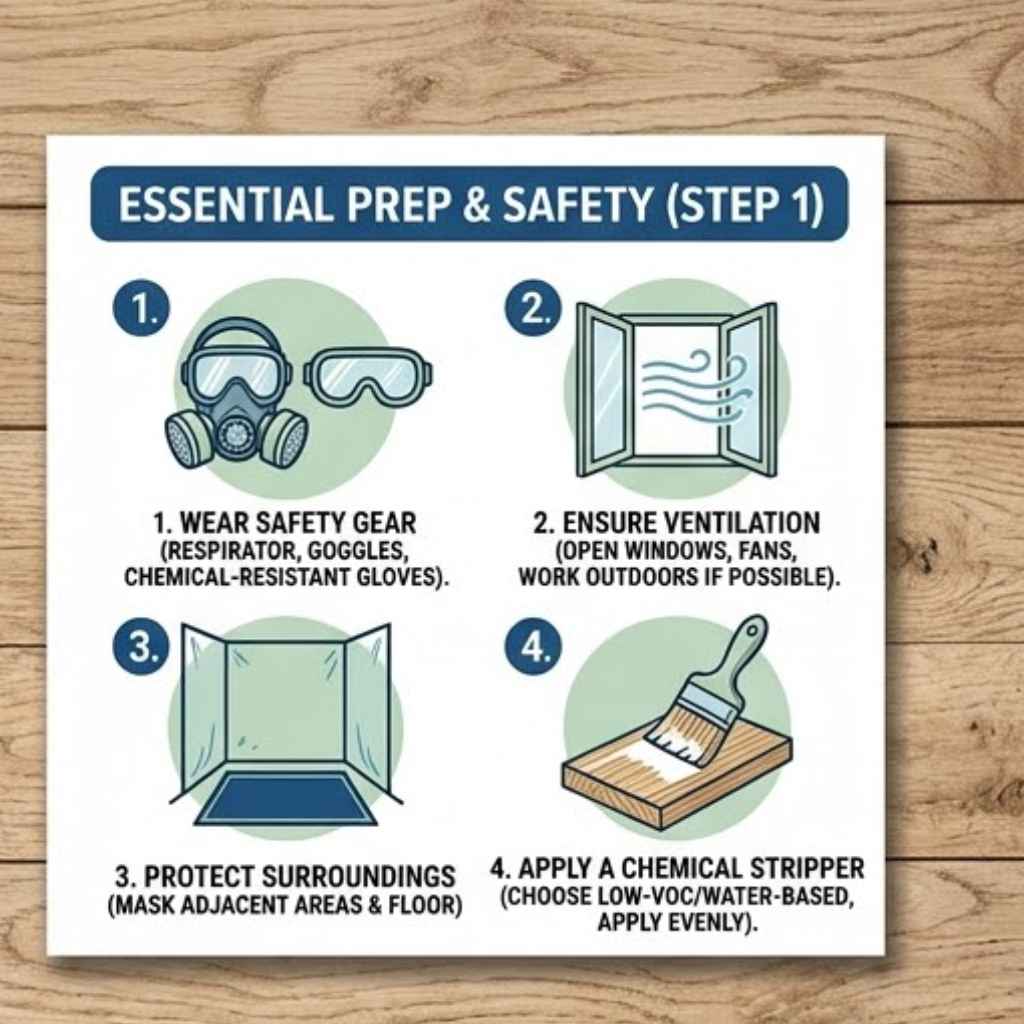
Ventilation: This is the most important. Open all windows and doors. Use fans to move air out of the room.
Chemical strippers create strong fumes. Heat guns also produce fumes. Even sanding creates dust.
Protection: Cover the floor. Use plastic sheeting or old drop cloths. Tape them down around the edges.
This prevents chemicals or dust from getting everywhere.
Safety Gear:
- Gloves: Chemical-resistant gloves are a must for strippers. Nitrile or butyl rubber works well.
- Eye Protection: Goggles or safety glasses. Protect your eyes from splashes and dust.
- Respirator/Mask: Use a respirator with organic vapor cartridges for chemical strippers. For sanding, a good dust mask (N95 or better) is essential.
- Clothing: Wear old clothes. Long sleeves and pants protect your skin.
Tools: Gather all your tools beforehand. You don’t want to stop mid-process to find a scraper.
Test Area: Always test your chosen method. Pick an inconspicuous spot. Like the underside of a table.
Or the back of a drawer. This lets you see how the method works. It helps you adjust your technique.
You can also check for any unwanted reactions with the wood.
I once skipped the test spot on a chair leg. I used a strong stripper. It worked well.
But it also darkened the wood dramatically. The rest of the chair looked fine. But that one leg was noticeably different.
I had to strip the whole thing again.
Workspace Prep Checklist
Ventilation: Open windows, use fans.
Floor Protection: Lay down plastic or drop cloths.
Personal Gear: Gloves, goggles, respirator/mask, old clothes.
Tool Gathering: Have all scrapers, brushes, sandpaper ready.
Test Area: Choose a hidden spot to test your method.
The Step-by-Step Process: A General Guide
Let’s assume you’ve chosen a method, like chemical stripping, which is common for stubborn finishes.
Step 1: Prepare Your Space and Yourself. Do all the things we just talked about. Cover the floor. Put on your gear.
Open windows.
Step 2: Apply the Stripper. Use a natural bristle brush. Apply a thick, even coat. Don’t brush it out too thin.
You want it to work. Let it sit for the time recommended. Watch for bubbling or softening.
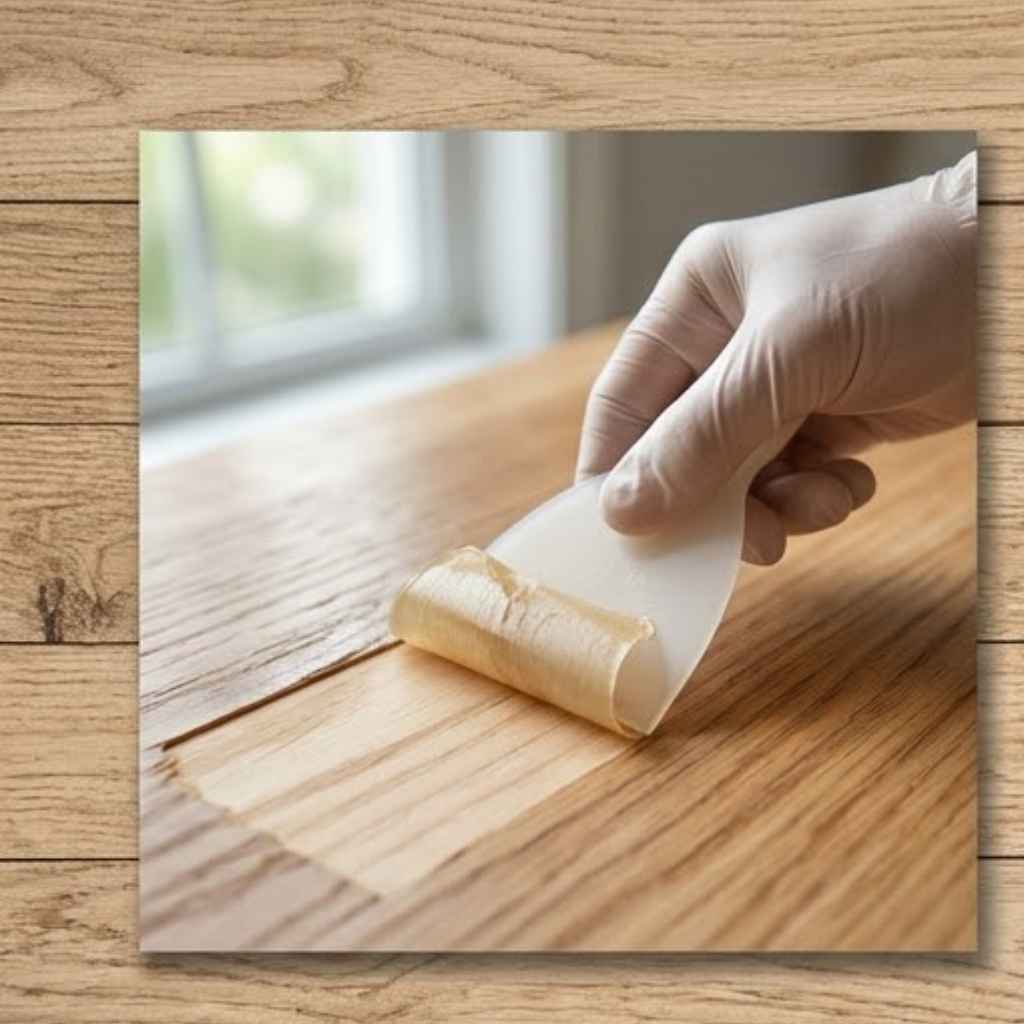
Step 3: Scrape Away the Softened Finish. Use a putty knife or scraper. Hold it at a low angle. Gently push the material off.
Work with the wood grain. Collect the waste in a disposable container.
Step 4: Repeat if Necessary. If some areas are still stubborn, reapply stripper. Or use a detail tool for corners. Keep going until all the old finish is gone.
You want to see bare wood.
Step 5: Clean the Wood. This step is crucial. For solvent-based strippers, use mineral spirits. Dampen a clean rag.
Wipe down the entire surface. This removes residue. It helps prevent the new finish from reacting poorly.
For other strippers, follow the product instructions. Some need a water rinse. Some need a neutralizing wash.
This ensures all stripper chemicals are gone.
Step 6: Let the Wood Dry Completely. This can take 24 hours or more. Wood needs to be bone dry before you refinish it. Moisture will mess up the new finish.
Step 7: Final Surface Prep. Once dry, do a light sanding. Use 220-grit sandpaper. This smooths any rough spots.
It removes any raised grain. Wipe away dust with a tack cloth.
Now your wood is ready for a new finish. This whole process takes time. But seeing that clean wood is very rewarding.
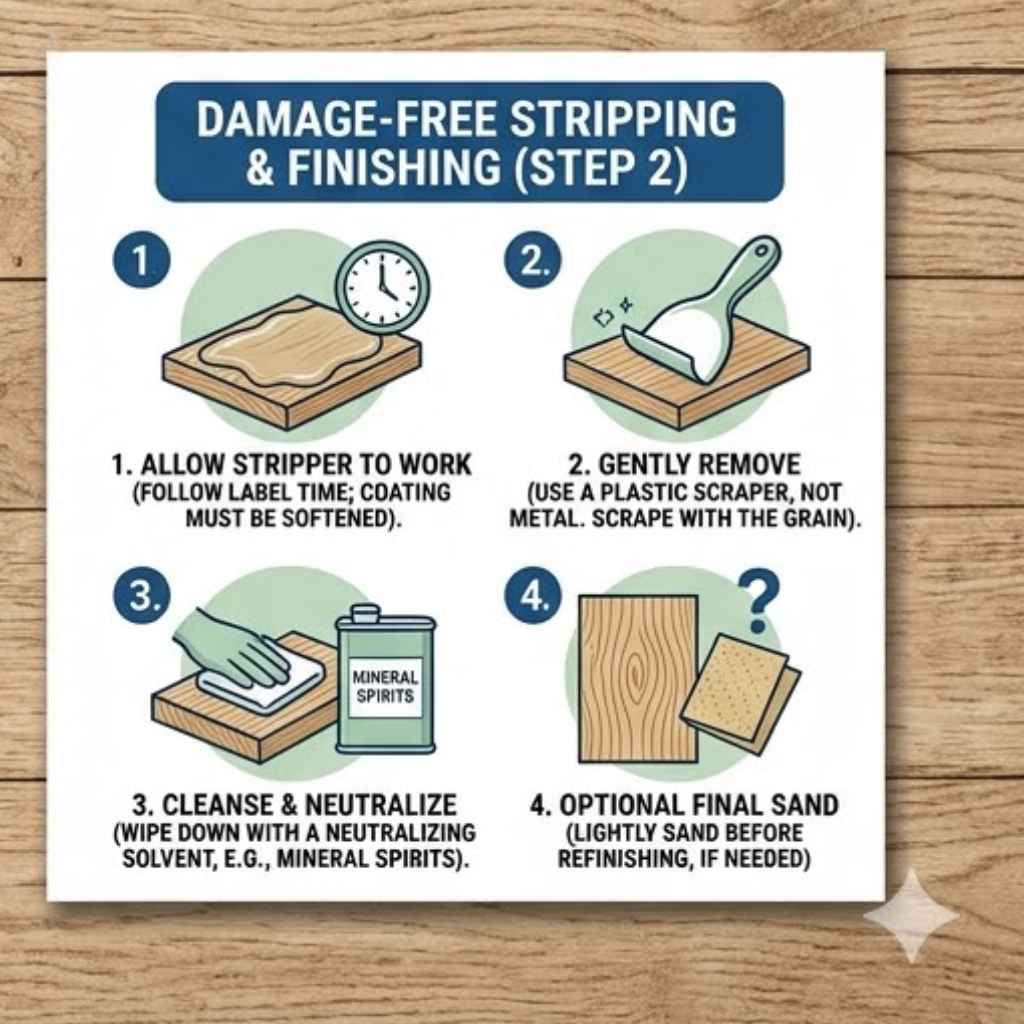
Quick-Scan Removal Process
Apply Stripper: Generous coat, let it work.
Scrape: Gently remove softened finish, with grain.
Repeat: Reapply stripper to stubborn spots.
Clean: Use mineral spirits or recommended cleaner.
Dry: Allow wood to dry fully (24+ hours).
Sand: Light final sanding with fine grit (220).
Dust Off: Use tack cloth for a clean surface.
Dealing With Specific Wood Types and Finishes
Some woods and finishes need extra care.
Veneers: Veneer is a thin layer of wood. It’s glued over a core material. You must be very gentle.
Sanding too much will go right through the veneer. Chemical strippers are often better. Use them carefully.
And scrape very lightly. Avoid heat guns, as they can loosen the glue.
Softwoods (Pine, Fir): These woods dent and scratch easily. Be careful with scrapers. Sanding should be done with lighter pressure.
Avoid aggressive power sanders if possible. Heat guns can scorch them quickly.
Hardwoods (Oak, Maple, Cherry): These are more durable. You can be a bit more forceful. Sanding is usually very effective.
Chemical strippers also work well.
Antique or Delicate Furniture: For valuable antiques, consider professional restoration. If you DIY, err on the side of caution. Start with the gentlest method possible.
Maybe try scraping first. Then move to a milder stripper. Always test!
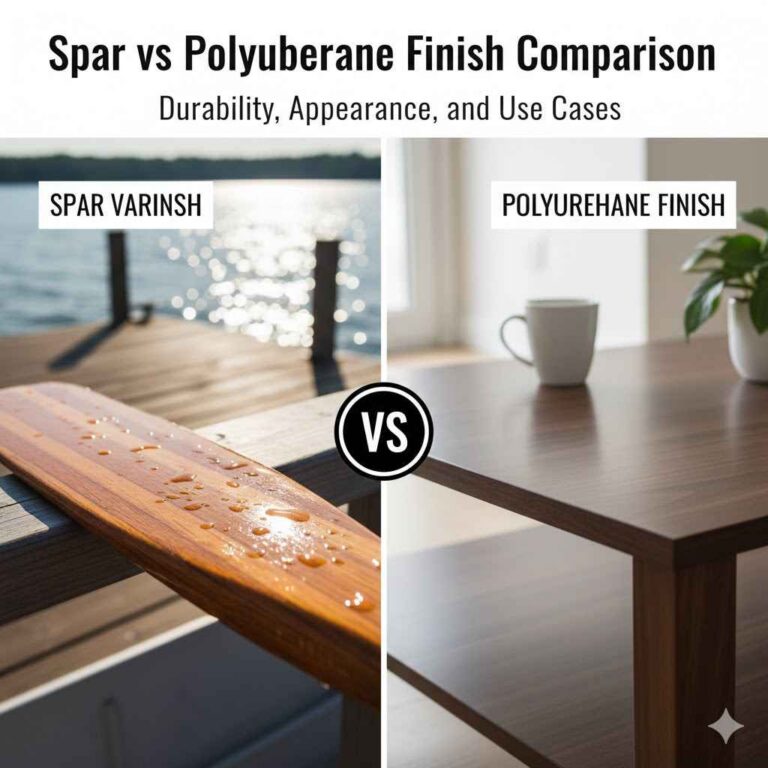
Lacquer vs. Polyurethane: Lacquer is another common finish. It often dissolves in lacquer thinner.
Polyurethane is tougher. It needs stronger strippers or abrasives. If you’re not sure what the finish is, test with lacquer thinner first.
If it dissolves it, it’s likely lacquer. If not, it’s probably polyurethane or varnish.
I once inherited an old desk. I thought it was polyurethane. I used a stripper.
It barely touched it. I tried sanding. It was slow.
Then I read up on it. It turned out to be an old oil varnish. That required a different approach.
It’s always good to identify the finish if you can.
When Things Go Wrong: Troubleshooting Common Issues
Even with care, problems can arise.
Gouges or Scratches: If you scratch the wood while scraping, you’ll need to sand them out. Use fine-grit sandpaper. Work carefully.
For deep gouges, you might need wood filler. But for minor scratches, sanding is usually enough. Then re-sand the whole area smoothly.
Raised Grain: After stripping and cleaning, wood fibers can swell. This makes the surface feel rough. A light sanding with 220-grit paper will fix this.
Wipe with a damp cloth first, let it dry, then sand. This raises the grain before you apply the new finish.
Dark Stains or Blotches: This can happen if a stripper darkens the wood. Or if a chemical was not fully removed. You may need to try a different stripper.
Or a specialized wood brightener. Sometimes a oxalic acid wash can help lift mineral stains.
Residue Left Behind: If the wood feels sticky or waxy after cleaning, residue remains. Re-clean the surface. Ensure you used enough mineral spirits or the correct cleaner.
Sometimes, the old finish was very thick. It might need another pass with the stripper.
Uneven Color After Refinishing: This can happen if not all the old finish was removed. Or if the wood has natural variations. You might need to use a wood conditioner before staining.
Or a tinted finish.
My friend tried to strip an old dining table. He got most of the polyurethane off. But he missed a spot under the edge.
When he applied the new stain, that one spot stayed lighter. He had to go back and strip again. It was frustrating, but he learned from it.
Troubleshooting Guide
Issue: Scratches/Gouges
Fix: Sand with fine grit, use wood filler for deep ones.
Issue: Raised Grain
Fix: Light sanding with 220 grit after cleaning/drying.
Issue: Dark Stains
Fix: Try a different stripper, use wood brightener or oxalic acid.
Issue: Sticky Residue
Fix: Re-clean with mineral spirits or correct cleaner.
Issue: Uneven Color
Fix: Ensure all old finish is gone, use wood conditioner before staining.
What This Means for Your Wood Project
Removing polyurethane is a necessary step for many refinishing projects. It’s not the most glamorous part. But it’s vital for a good result.
Taking the time to do it right makes a huge difference.
It means you can transform an old piece. You can give it new life. You can match it to your current decor.
Or you can simply protect it for years to come.
It also means being patient. Rushing this step will lead to problems later. Like a finish that peels.
Or a surface that feels rough. It’s a process that rewards careful work.
Knowing the options helps you pick the best path. Are you dealing with a large floor? Sanding might be most efficient.
Is it a delicate antique chair? Chemical stripping with careful scraping might be better.
Ultimately, it means investing time and effort upfront. This investment pays off with a beautiful, durable finish. It ensures your wood pieces look their best.
Quick Tips for a Smoother Removal
- Work in Good Light: You need to see what you’re doing. Especially to spot missed spots or damage.
- Keep Scrapers Sharp: A dull scraper will gouge the wood. Hone your tools.
- Work in Small Sections: Don’t try to strip an entire tabletop at once. Break it down.
- Clean Up As You Go: Dispose of stripper and finish waste properly. It’s messy stuff.
- Follow Product Instructions: Always read and follow the directions on your stripper or heat gun.
- Patience is Key: This isn’t a race. Take your time.
Frequently Asked Questions
Can I remove polyurethane with just soap and water?
No, standard soap and water are not effective for removing polyurethane. Polyurethane is a tough plastic coating. It requires stronger chemical solvents or abrasive methods like sanding to remove.
How do I know if I have oil-based or water-based polyurethane?
Oil-based polyurethane often has an amber tint and smells strongly of solvents. Water-based polyurethane is usually clear and has less odor. If the finish is old and yellowed, it’s likely oil-based.
A quick test: if mineral spirits soften it slightly, it’s likely oil-based. If denatured alcohol softens it, it might be shellac or lacquer, not polyurethane.
Will sanding always remove polyurethane?
Yes, sanding will remove polyurethane, but it creates a lot of dust. The grit of sandpaper needed depends on the polyurethane’s thickness. Start with a coarser grit (like 80 or 100) and progress to finer grits (150, then 220) to smooth the wood surface afterward.
Is it safe to use a heat gun indoors?
Using a heat gun indoors requires extreme caution. You must have excellent ventilation to remove fumes. Always be aware of fire hazards.
Keep flammable materials away. Have a fire extinguisher nearby. Many professionals prefer to use them outdoors if possible.
How long does it take to remove polyurethane?
The time it takes varies greatly. It depends on the method used, the thickness of the polyurethane, and the size of the piece. Chemical stripping might take a few hours of active work, plus drying time.
Sanding a large floor could take days. Patience is essential for a good outcome.
What’s the best way to remove polyurethane from intricate carvings?
For intricate carvings, chemical strippers are often best. They can get into small crevices. You can use small detail brushes or even cotton swabs to apply the stripper.
Follow up with small tools like dental picks or small wooden dowels to gently lift softened finish. Avoid aggressive scraping.
Conclusion
Removing polyurethane from wood is a challenging but rewarding task. It requires patience, the right tools, and careful work. By understanding your options and preparing thoroughly, you can achieve a clean wood surface.
This sets the stage for a beautiful new finish. You’ve got this!