Log Cabin Wood Stain: How to Stain a Log Home Before Winter
Stain a log home before winter only if the logs are dry, the forecast stays at or above the product’s minimum application and cure temperature for about 48 hours, and rain or snow is not expected to hit the walls. Skip that check, and you can trap moisture, start peeling, and lose a full season’s work. This guide shows how to decide whether to stain now, what prep is non-negotiable, and when to stop and wait for spring.
What you’ll need



- Exterior log cleaner or mild detergent approved for wood finishes
- Soft brush, sponge, and garden hose with a gentle spray setting
- Scraper for loose or peeling stain
- Sandpaper or sanding block for rough, fuzzy wood
- Moisture meter for wood
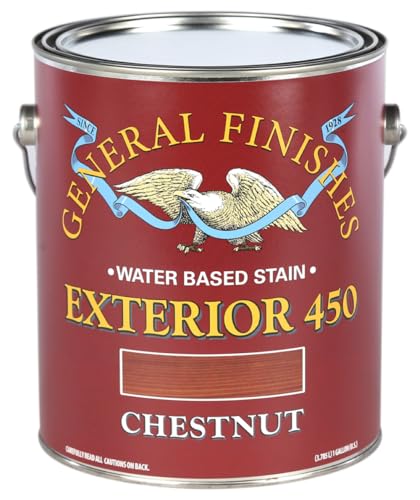
- Log home stain rated for exterior use
- Brush, roller, or sprayer approved by the stain maker
- Stiff brush for back-brushing
- Drop cloths and masking materials
- Gloves, eye protection, and a respirator if the label calls for one
- Thermometer or weather app for overnight lows, daytime highs, rain, and frost risk
Can you stain before winter?

Yes, but only when the logs are dry, the label temperature minimum is met for both air and surface, and the walls will stay dry long enough to cure. If the forecast includes frost, damp shade, or a sharp nighttime drop, stop and either prep only or wait for spring.
Check the overnight low, daytime high, and frost risk
Read the product label first. Do not guess from a generic cold-weather rule. If the label says the surface must stay above a certain temperature, that limit applies to the wall itself, not just the air. Frost on the logs, even before sunrise, can block adhesion and slow cure.
Confirm the wood is dry enough
A common target for exterior logs is under about 18% moisture content, unless the stain label calls for a lower limit. Check several spots, including shaded walls, log ends, and areas near decks or downspouts. Moisture trapped under new stain is one of the main reasons winter jobs fail.
Match the stain system to the weather window
Oil-based stain penetrates deeply and usually gives longer service life, but it dries more slowly and needs solvent cleanup. Water-based stain dries faster, cleans up with soap and water, and often carries a lower VOC profile. Gel products can help control drips on vertical logs, but they still need the right temperature and dry wood.
Winter stain decision table
| Condition | Action | Checklist |
|---|---|---|
| Overnight low 45°F or higher, daytime high 55°F to 85°F, wood at 18% moisture content or below, no rain or frost for 48 hours, walls get usable sun or mild shade | Stain now | Clean, strip failures, dry, spot-sand, apply stain, back-brush immediately |
| Overnight low 40°F to 44°F, daytime high near 50°F to 55°F, wood near 18% to 20%, light shade, no immediate rain but a short weather window | Prep only | Wash, remove loose finish, dry, sand rough spots, stage materials, stop before coating |
| Overnight low below 40°F, daytime high below 50°F, wood above 20%, frost risk, rain or snow likely, or the walls stay damp in shade | Defer to spring | Document problem areas, protect exposed logs, plan spring cleaning and recoating |
Failure risk note: The main pre-winter failure modes are surface skinning, weak penetration, trapped moisture, and delayed cure in cold weather. A stain can feel dry on top and still stay soft underneath if the wall cools too fast at night, so a short forecast gap is not enough. If frost, dew, or nighttime chill is likely, the safer move is to wait.
How do you prep and apply log stain?
Wash the wall, strip loose finish, and coat only logs that are dry and sound. Work one wall section at a time, keep the wet edge under control, and back-brush before the surface skins. Shade usually slows drying and helps the coating penetrate more evenly on warm or dry days.
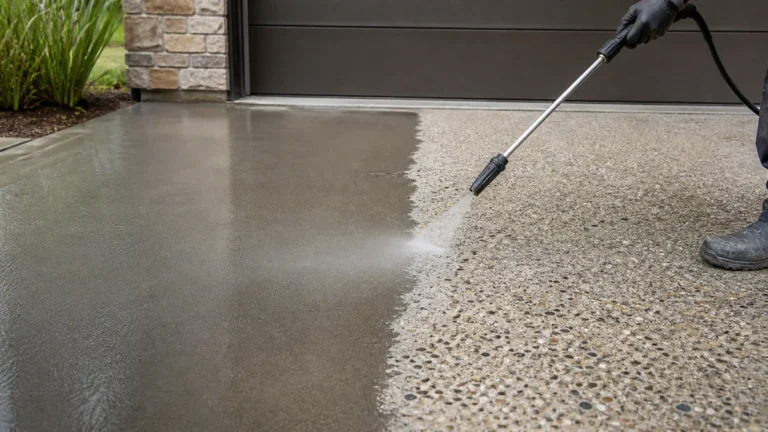
- Wash away dirt, pollen, mold, and bird droppings with a cleaner suited to exterior wood.
- Rinse gently and let the logs dry fully before any coating work.
- Scrape peeling finish and strip any loose layers that would block new stain.
- Sand rough or fuzzy wood so the surface drinks the stain more evenly.
- Check the moisture meter in several spots; do not coat damp logs near ground splash or shaded corners.
- Work one wall section at a time, keeping wet and dry edges manageable.
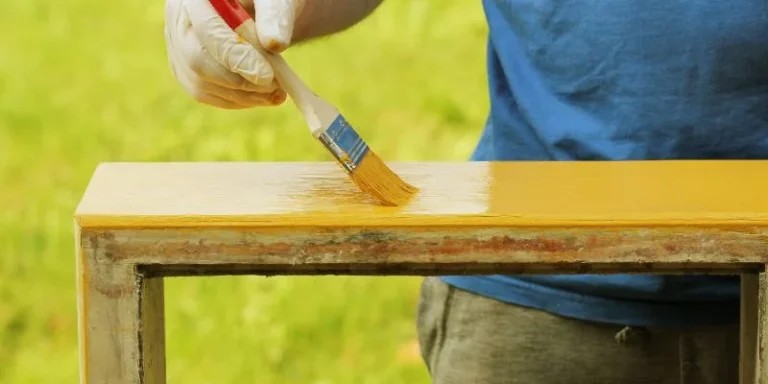
- Apply stain heavily rather than thinly, then back-brush immediately to push stain into checks and grain.
- Let the first coat dry completely before deciding on a second coat.
Sashco recommends shade application to slow drying and improve penetration, and it also calls for immediate back-brushing after application. That matters most on vertical logs, where quick surface drying can leave the coating sitting on top instead of moving into the grain. A second coat should wait until the first coat is completely dry.
Say your south wall gets full afternoon sun and the forecast is dry, but the shaded north wall stays cool and damp. Staining both sides on the same day can work only if the moisture meter reads dry across both walls and the label minimum is met all day and night. If the north wall stays cool enough to slow cure, treat it as a separate job.
Suppose a 24-foot wall has several peeled spots near the porch and fuzzy grain above the windows. Do not coat over the damage. Strip the loose finish, sand the rough areas, and stop if the wall cannot dry before a cold night. A partial job is better than a failed one.
Should you stop and wait for spring?
Yes, if the weather window is too narrow, the wood is still damp, or frost and rain are too close to the application date. Winter staining fails most often when the surface dries too fast in sun, too slowly in shade, or never gets a stable dry period after coating. Spring is the better choice when any of those risks stack up.
When temperature windows are too narrow
If the forecast only gives you one warm afternoon and a cold night, stop. Most exterior stain systems need more than a short warm spell. A 48-hour stretch above the label minimum is commonly treated as a safer planning rule than chasing a single sunny day.
When the logs are still damp
Do not coat over logs that still read wet in shaded joints, end grain, or lower courses near splashback. Moisture trapped under stain can lead to peeling, soft spots, and a finish that fails early. Cleaning is not enough if the wood has not dried.
When rain, frost, or shade will hurt the finish
Rain can mark a fresh coat, and frost can stop cure before it starts. Shade is useful during application because it slows skinning, but constant deep shade after coating can also hold moisture in the wall. If the site stays cool, damp, and dark, wait.
What type of stain is best for a log home?
There is no single best system for every cabin. Oil-based stain usually penetrates more deeply and is often more durable and long-lasting, but it dries more slowly and uses solvent cleanup. Water-based stain dries faster and cleans up with soap and water. Gel products can help with vertical control, and some systems add a clear coat after the stain has dried.
Use the label to decide whether the system is one coat or two. My Three Sons says oil-based stain is a one-coat application, while water-based stain may allow a second coat. LogCabinDaily notes that two thin coats may outperform one thick coat on some systems, with a first-coat wait of 4 to 24 hours before recoating. That timing only matters if the label agrees.
Fifteen minutes of label reading can save a whole wall. If the stain maker says the coating must stay above a certain temperature, that instruction outranks any general advice about oil or water chemistry.
Common mistakes
- Coating dirty wood: Dirt, pollen, mold, and bird droppings block adhesion. Clean first, then rinse and dry.
- Leaving peeling finish in place: New stain cannot hold well over loose old layers. Scrape and strip problem areas before coating.
- Ignoring moisture content: A wall can look dry and still hold water in checks and shaded joints. Use a moisture meter.
- Working in bad light or bad weather: Hot direct sun can skin the stain too fast, while cold shade can slow cure and trap dampness.
- Skipping back-brushing: On vertical logs, stain left on the surface may not penetrate well. Brush it in right away.
One practical rule: if you cannot finish cleaning, drying, coating, and overnight protection in the same weather window, stop before the stain goes on. That is the cleanest way to avoid a winter failure.
Frequently asked questions
How do you stain a log home before winter?
Clean the logs, remove peeling finish, confirm the wood is below about 18% moisture content, and check that the label minimum temperature will hold for at least 48 hours. Apply stain in manageable sections, back-brush right away, and keep rain or frost off the walls until cure is underway.
What temperature is too cold to stain a log cabin?
The cutoff is the product label, not a generic number. If the wall or air temperature drops below the label minimum, do not coat. If you cannot keep the logs above that minimum through the first 48 hours, wait for a warmer stretch.
How dry do log home logs need to be before staining?
A common target is under 18% moisture content, measured in several places across sunlit and shaded walls. If the logs read above that level, delay the job and let the wood dry longer. Lower is better when the weather is turning cold.
Should I stain a log cabin in shade or direct sun?
Shade is usually better during application because it slows surface drying and helps penetration. Direct sun can make stain skin over too quickly, especially on warm or dry days. If shade is too cool and damp, though, the wall may dry too slowly after coating.
Do I need one coat or two coats on a log home stain?
That depends on the stain system and the label. Some oil-based products are meant as one-coat applications, while some water-based systems allow a second coat. If a second coat is allowed, wait until the first coat is completely dry before adding it.
How often should a log cabin be restained?
Many log homes need regular sealing and staining every 3 to 5 years, but exposure changes that schedule. Inspect for fading, peeling, and moisture damage each season. Walls with strong sun, heavy rain, or wind-driven weather often need attention sooner than sheltered sides.
Sponsored / affiliate links. As an Amazon Associate I earn from qualifying purchases. I may earn additional commission from eligible campaigns.