Wood Burning Guide: Tools, Techniques, and Safety Basics
Byline: Written from first-hand stove, fire-pit, and beginner pyrography practice by a hands-on woodworker and home firewood user who measures fuel with a pin meter, runs top-down and kindling-first starts, and tests burn behavior on fresh-split samples. The short answer: for firewood, burn only dry, untreated splits that read about 20% moisture content or less on a freshly exposed face; for pyrography, use untreated wood and a temperature-controlled pen with ventilation. Those two jobs use different tools, different safety checks, and different failure signs.
Burn wood cleanly by matching the job to the right tool: firewood should read roughly under 20% moisture on a meter, while pyrography usually needs a temperature-controlled pen, a scrap-test setup, and untreated wood. Miss either one and you invite smoke, creosote, scorch marks, ruined projects, or a house fire. This wood burning guide separates firewood from craft burning, then covers wood choice, moisture checks, ignition methods, tool selection, and safety routines that keep results predictable.
Start here: firewood burning vs craft wood burning
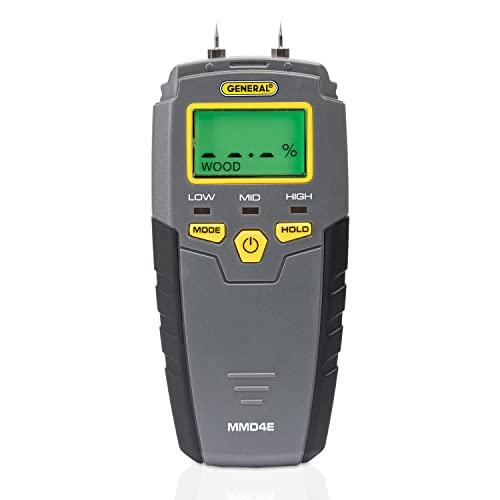
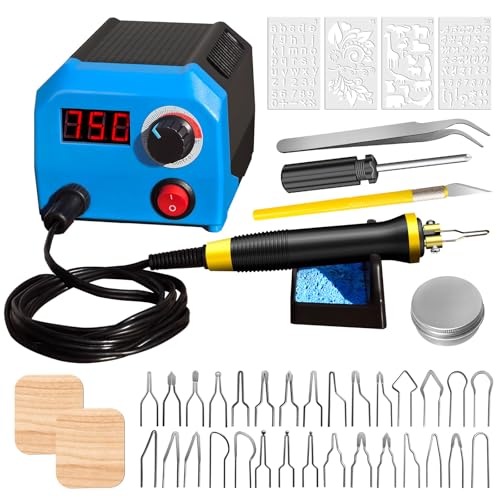
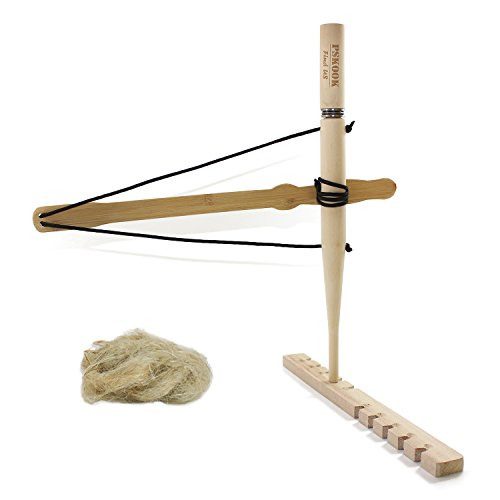
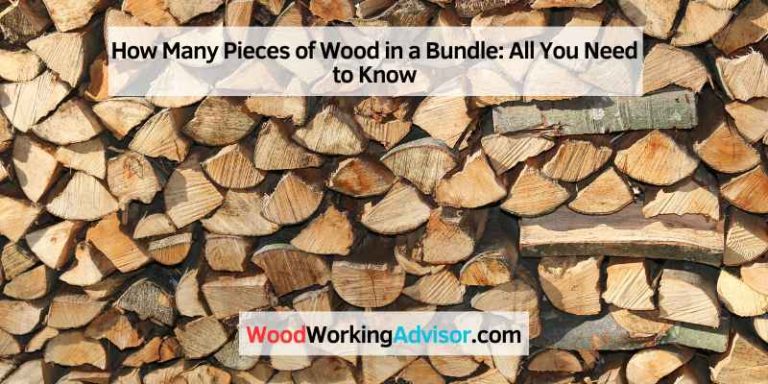
Section split: the first section of this page is about firewood burning safety for stoves, fireplaces, fire pits, and campfires. The second section is a shorter, clearly separate pyrography wood burning guide for pens, tips, test scraps, and fume control. Keeping them apart helps you solve the right problem fast.
Firewood burning and craft wood burning use the same material, but the setup, hazards, and success checks are different. A stove, fireplace, fire pit, or campfire is about heat, draft, fuel size, ash, and spark control. Pyrography is about tip temperature, steady hand pressure, clean surfaces, and fume control.
Keep the categories separate from the first decision. If the goal is heating, cooking, or outdoor ambience, choose fuel prep tools and fire-management tools. If the goal is lettering, shading, or decorative burning on a board, choose a temperature-controlled pen, practice scraps, ventilation, and untreated wood blanks.
What this guide covers and what it does not
This guide covers safe, predictable burning with wood as fuel and gives a short, separate section on pyrography tools so beginners do not mix the two. It does not treat dimensional lumber, painted scraps, glued panels, or unknown offcuts as default burn material.
Firewood burning tools compared with pyrography tools
- Firewood burning: moisture meter, splitting tool, kindling supply, fire starters, poker, shovel, metal ash bucket with lid, extinguisher, and a stove thermometer where relevant.
- Pyrography: temperature-controlled wood-burning pen, interchangeable tips if needed, heat-safe stand, test scraps, respirator or local fume control where smoke builds, and untreated wood.
Which setup fits heating, ambience, cooking, or craft work
Use dense, dry splits for long stove burns and steadier coal beds. Use mixed sizes and easy-light softwood kindling for fireplaces, fire pits, and campfires that need quick flame. Use flat, untreated wood for craft burning, with no finish, no stain, no pressure treatment, and no glue lines near the burn path.
📊 Wood use is enormous worldwide, but the technical guidance in this article relies on fire-safety and wood-science sources listed below, not on general background summaries. Background reading: Wood.
What is wood, and why does it burn the way it does?
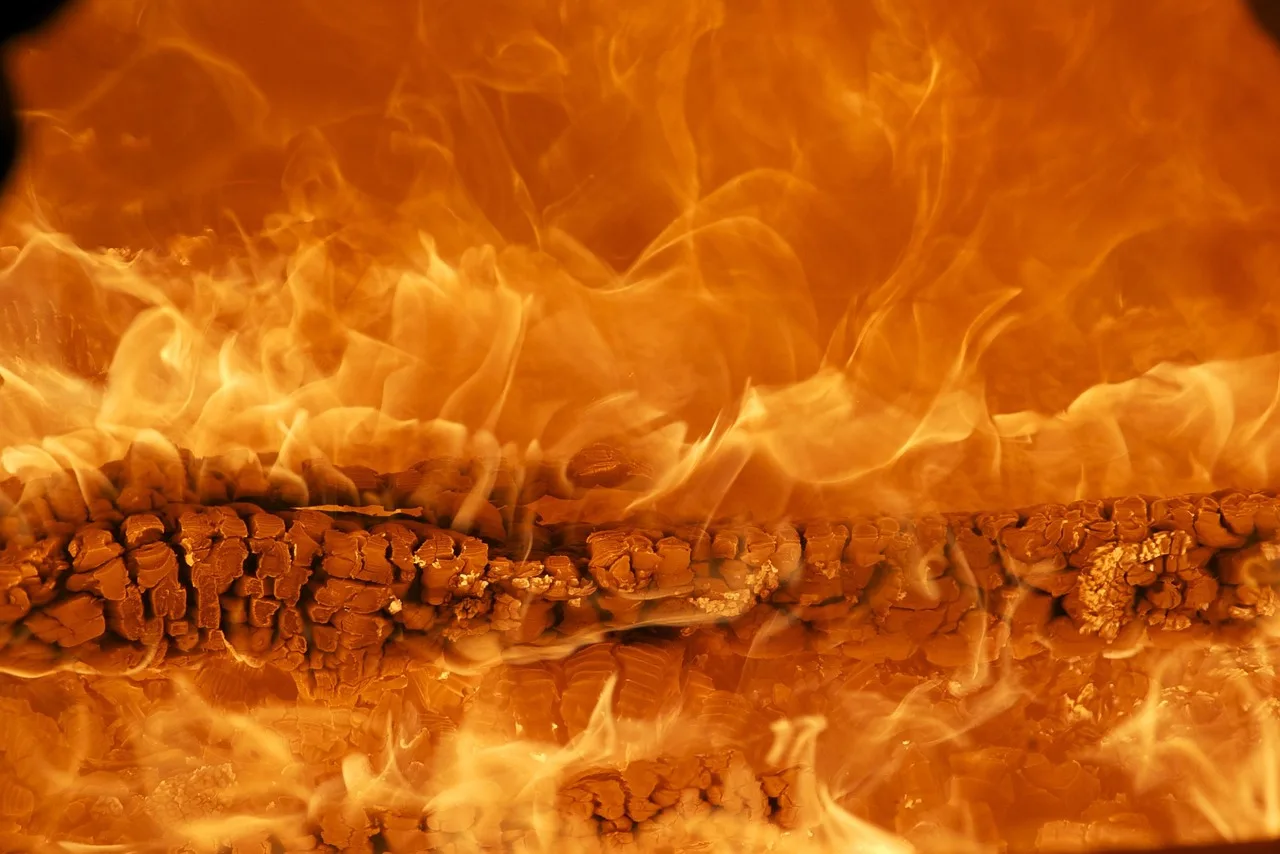
Wood burns the way it does because it is a structural plant material made mainly of cellulose, hemicelluloses, and lignin, and it also carries moisture that must be driven off before combustion settles down. Density, grain, species, and the difference between sapwood and heartwood all change ignition speed, smoke, flame shape, and coal quality. That basic chemistry is described in the USDA Forest Products Laboratory Wood Handbook, which is the source I lean on here rather than general-reference summaries.
Wood as a structural material under heat
Wood is a structural tissue/material found as xylem in stems and roots. In plain shop terms, it is the load-bearing tissue that lets a tree stand, carry branches, and move water upward from the roots. Wood is composed of cellulosic fibers embedded in lignin and hemicelluloses, and the two main chemical substances in wood are cellulose and lignin.
That chemistry matters at the fire. Cellulose makes up much of the fibrous structure and helps explain why dry kindling catches fast once enough heat is present. Lignin glues wood cells together and gives the piece stiffness, and it also affects how wood chars and how well a split forms a lasting coal bed.
Before either one burns well, stored water has to leave. That is why wet fuel hisses, smokes, and stalls. Heat gets spent drying the piece instead of feeding flame.
How density, grain, and species change ignition and heat output
Species changes the whole burn cycle. In practice, oak and hickory often feel heavier in the hand than pine or fir at the same size, and that extra density often means slower ignition, longer burn time, and a better bed of coals. Softwoods are lighter and easier to work with, and as fuel they usually split and ignite faster.
Grain matters too. Straight-grained pieces usually split more cleanly, dry more evenly, and make fuel prep easier. Twisted grain can trap moisture, fight the maul, and leave bulky chunks that smolder unless the kindling bed is strong.
Density should guide the tool choice. Light, dry softwood is useful for kindling and startup. Denser hardwood works better when the goal is duration and steady heat.
Sapwood vs heartwood in real burn performance
Sapwood is the outer wood zone and is often lighter in color. Heartwood is the inner zone and is often darker. Heartwood is more resistant to rot than sapwood in most cases, which matters in storage because rotten, punky fuel burns poorly and unpredictably.
In practice, sapwood can dry and ignite differently from heartwood on the same split. Resin-heavy sapwood in some softwoods may flare quickly and throw more sparks outdoors. Heartwood in a dense hardwood often makes a steadier coal once the fire is established.
What is the difference between wood, lumber, and firewood?
Wood is the base material from trees, lumber is wood processed into boards or beams for building and making things, and firewood is fuel prepared to burn cleanly and safely. Mixing those categories leads beginners into bad fuel choices, especially when a board looks dry but carries finishes, glue, or treatment.
When a board is lumber and when a split log is fuel
People have burned and worked wood since prehistoric times, long before metal stoves or modern sawmills, using it for fuel, tools, and shelter. Lumber is wood processed into beams and planks or boards. Finished lumber is supplied in standard sizes for the construction industry, while rough lumber is the raw material for furniture-making and other shaped items.
Firewood is a different use case. It is fuel made from wood, usually split or cut for a stove, fireplace, fire pit, or campfire. Firewood choice is judged by dryness, split size, species, and how the appliance drafts.
Why lumber should not be treated as default firewood
A clean offcut from untreated solid wood may look tempting, but beginners should not assume any board is safe to burn. Dimensional stock may have coatings, stains, pressure treatment, or contamination from the jobsite. Sheet goods and many shop scraps also carry adhesives that do not belong in a stove, fireplace, or fire pit.
Even untreated lumber can be awkward fuel. Thin boards burn fast, bridge badly in a stove, and can send sparks. Good firewood is chosen and prepared as fuel from the start.
How treatments, finishes, and adhesives change burn safety
Paint, stain, glue, preservative chemicals, and unknown finishes change the smoke stream and ash residue. They also make pyrography unsafe because the pen tip can heat the surface enough to release fumes right under the user’s face. For both fuel use and craft work, stick to untreated, known material.
How do I choose between softwood and hardwood for burning?
Choose softwood when fast ignition, easy splitting, and quick flame matter most, and choose hardwood when longer burns, stronger coal beds, and steadier heat matter more. Neither category is automatically best. Moisture, split size, appliance type, and the goal of the burn decide which wood works well.
Hardwood in burning use
Hardwood usually suits stoves, overnight loads, and cooking fires that benefit from longer-lasting coals. Because hardwoods usually pack more wood fiber into the same volume than softwoods, they often reward patient startup with a more stable burn later in the cycle.
That does not mean every dense piece is friendly. Large, wet hardwood splits are a common beginner mistake. They can sit in the firebox dark at the ends, steaming and smoking while the operator keeps opening the air to compensate.
Softwood in burning use
Softwood usually suits kindling, shoulder-season burns, campfires, and any setup that needs fast flame. Because softwoods are lighter and easier to work with, they are often simpler to split into starter sizes and easier to carry for outdoor use.
Some softwoods can be resinous. That can help startup outdoors, but in a smoldering indoor fire it can mean dirtier burns and more deposit risk if the wood is wet and the draft is weak.
Best use cases by appliance or setting
- Wood stove: start with dry softwood kindling, then shift to dry medium or dense hardwood for a longer burn.
- Open fireplace: use dry, moderate-size splits that flame cleanly; avoid oversized dense logs at startup.
- Fire pit: mixed species work well if dry; choose spark-aware placement and keep resin-heavy pieces modest in windy conditions.
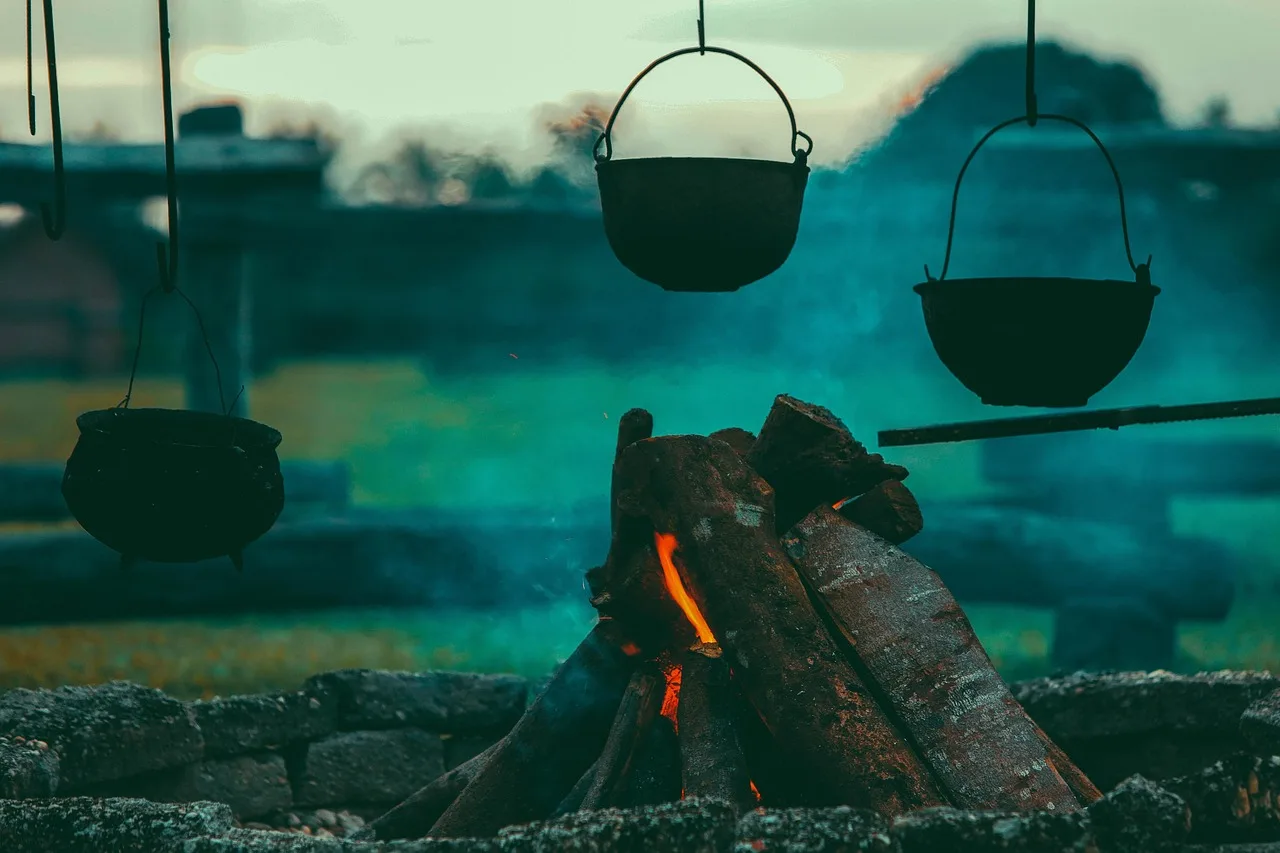
- Campfire: easy-light softwood gets dinner started faster, then denser wood can hold heat for cooking or coals.
What tools do I need for wood burning?
For firewood burning, the core kit is a moisture meter, splitting tool, kindling, ignition aid, poker, ash tool, metal ash bucket with lid, and extinguisher, plus ventilation and draft checks for the burn site. For pyrography, the core kit is a temperature-controlled pen, untreated wood, test scraps, and fume control.
Core fuel-prep and measuring tools
- Moisture meter: check a freshly exposed face, not just the weathered outside of the split. In my own stack tests, a split that looked gray and ready on the outside could still read 24% to 28% when freshly opened, while truly burn-ready pieces consistently came in around 15% to 20% at the center face.
- Hatchet or splitting maul: choose by piece size; small kindling is a hatchet job, knotty rounds may need a heavier tool.
- Kindling maker or safe splitting aid: helps produce repeatable starter fuel without guessing.
- Gloves and eye protection: for splitting, moving fuel, and ash handling.
Ignition and fire-management tools
- Dry kindling: thin, clean, untreated pieces.
- Fire starters: useful when fuel is dense, weather is damp, or the draft is sluggish at startup.
- Poker and shovel: manage collapse, air channels, and ash.
- Stove thermometer: helpful for enclosed stoves so the operator can avoid chronic smoldering.
Safety gear, ventilation checks, and emergency equipment
- Metal ash bucket with lid: embers stay hot longer than they look.
- Extinguisher: keep it accessible, not buried in a closet.
- Smoke and carbon monoxide alarms: indoor wood burning needs both. CO guidance here follows CDC and fire-service advice: incomplete combustion and venting failures are the danger, not just visible smoke.
- Spark screen or spark arrestor where relevant: open fireplaces and many outdoor setups need ember control.
Optional tools that help
A coal rake, log tongs, and a small flashlight for ash-pan checks can make routine work cleaner. For pyrography, optional tips help with fine lines or shading, but the main upgrade is still good ventilation and a stable heat-safe stand.
How do I season wood before burning it?
Season wood by splitting it to useful size, stacking it off the ground, leaving the sides open to moving air, and protecting the top from soaking rain while letting moisture escape. Do not rely on color or cracks alone. Use a moisture meter and practical burn behavior to judge readiness. For indoor firewood, the tested threshold I use and recommend is the same one repeated by EPA Burn Wise and chimney-safety guidance: about 20% moisture content or less on a fresh split face.
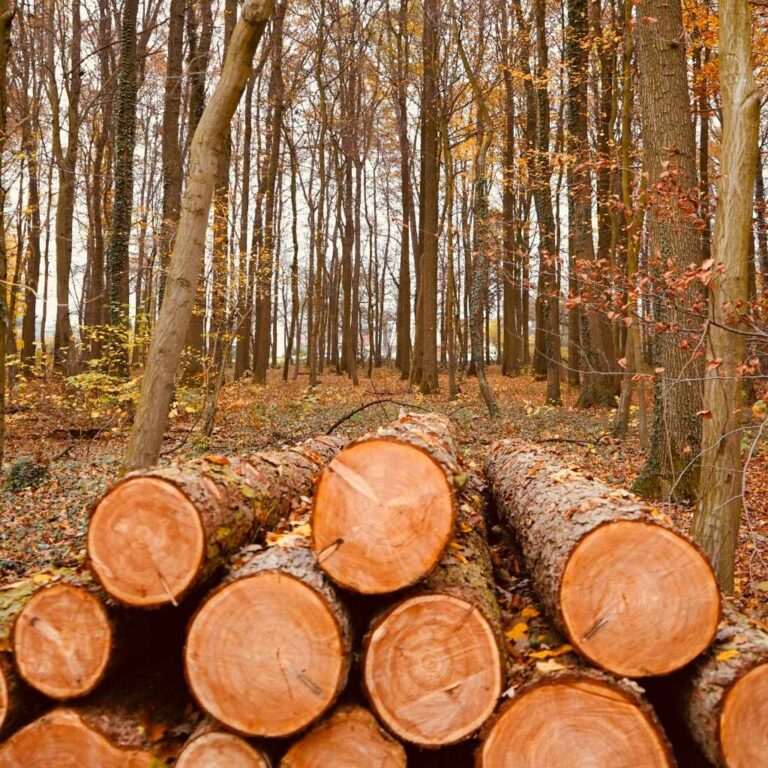
Splitting, stacking, and airflow that actually dry a pile
- Cut or sort pieces to the size the stove, fireplace, or fire pit actually uses.
- Split rounds so interior moisture can leave. Big unsplit rounds stay wet far longer.
- Stack on runners, pallets, or rails so the pile stays off soil.
- Leave space for cross-flowing air. Tight stacks in a shed corner dry slowly.
- Cover the top if weather is persistent, but keep the sides open.
- Rotate older wood forward so the driest pieces get burned first.
How long wood types usually take
Drying time depends on species, climate, split size, and storage. Light softwood often reaches burn-ready condition sooner than dense hardwood, but exposure can wipe out that advantage if the stack sits in shade, touches wet ground, or stays wrapped too tightly. Thick hardwood rounds are the slowest pieces in most piles.
How to check moisture content without guessing
Freshly split a representative piece, then press the meter pins into the newly exposed face. The target in this guide is roughly under 20% moisture for firewood. That reading tells you far more than checking a sun-bleached outer face or tapping two logs together and hoping the sound tells the whole story.
Ready wood also tends to start with less hissing, less end bubbling, and less steam at the bark line. Those are supporting clues, not replacements for a meter. In my own checks, wood above about 22% was the point where startup got noticeably smokier and the glass dirtied faster.
Storage mistakes that keep wood wet
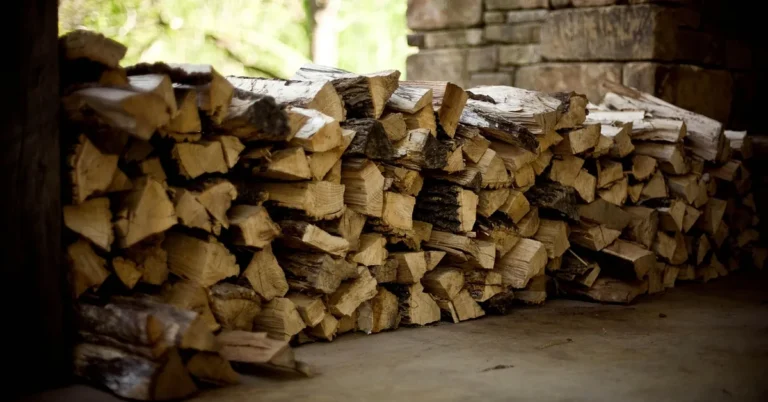
The usual failures are easy to spot: bark-side-up piles that collect water, stacks packed against a wall, tarps wrapped down all sides, wood stored straight on earth, and bringing in wet rounds just before a burn. Rot matters too. Sapwood that has softened from poor storage loses fuel value and makes a dirty fire.
Decision table: match wood type, moisture, and burn goal to the right setup
Use the table by starting with three facts: what kind of wood is in hand, how wet it is on a fresh meter reading, and what the fire needs to do. Then match the scenario to tool choice, ignition method, ventilation demand, and the failure most likely to appear first.
Practical decision table
| Wood type / material | Moisture level | Burn goal | Best tools | Ignition method | Ventilation need | Likely failure point |
|---|---|---|---|---|---|---|
| Dry softwood kindling | Under 20% | Fast stove or fireplace startup | Moisture meter, hatchet, fire starters, poker | Kindling-first or top-down | Strong draft path, air controls open at start | Flames race, then collapse if larger fuel is added too late |
| Dry medium-density hardwood splits | Under 20% | Steady indoor heat | Meter, poker, shovel, stove thermometer, ash bucket | Top-down or kindling bed followed by staged loading | Good chimney draft and room air supply | Slow ignition if splits are oversized |
| Dense hardwood, large splits | Under 20% | Longer coal bed | Meter, splitting maul, fire starters, poker | Start on a hot existing coal bed | Stable draft; avoid shutting air too early | Smoldering ends and smoke if loaded cold |
| Mixed campfire wood | Under 20% | Quick flame, then cooking coals | Hatchet, kindling, matches, shovel, water or extinguisher | Kindling-first, then add denser pieces later | Open-air placement away from tent, brush, and smoke traps | Uneven burn from random piece size |
| Resin-heavy softwood splits | Under 20% | Outdoor ambience fire | Poker, spark screen, extinguisher | Small starter bed; add gradually | Outdoor airflow plus spark control | Extra sparks and fast fuel consumption |
| Any species, partly seasoned | Above 20% | Indoor stove burn | Meter, splitting tool, storage rack | Delay use; re-split and re-stack | Do not force with extra draft alone | Smoke, weak heat, creosote risk |
| Any species, wet rounds | Clearly wet on fresh split | Outdoor fire pit only if necessary | Maul, dry kindling, fire starters, shovel | Use only mixed with truly dry fuel | Fully outdoor use with smoke dispersal | Hissing, steam, stalled fire, neighbor-smoke problems |
| Untreated solid wood blank for pyrography | Dry, indoor-workable | Controlled lines and shading | Temperature-controlled pen, scrap tests, respirator or local fume control | Preheat pen, test on scrap, then make passes | Ventilated workspace; avoid trapped smoke | Scorch marks, muddy lines, fume exposure from wrong material |
How to change the result when the table shows trouble
If ignition is the problem, reduce split size and improve the kindling bed before blaming species. If smoke is the problem, check moisture first, then airflow. If sparks are the problem outdoors, reduce resin-heavy fuel and add a screen. If pyrography lines are blotchy, test on scrap and turn down heat before pressing harder.
How do I keep wood burning safely indoors or outdoors?
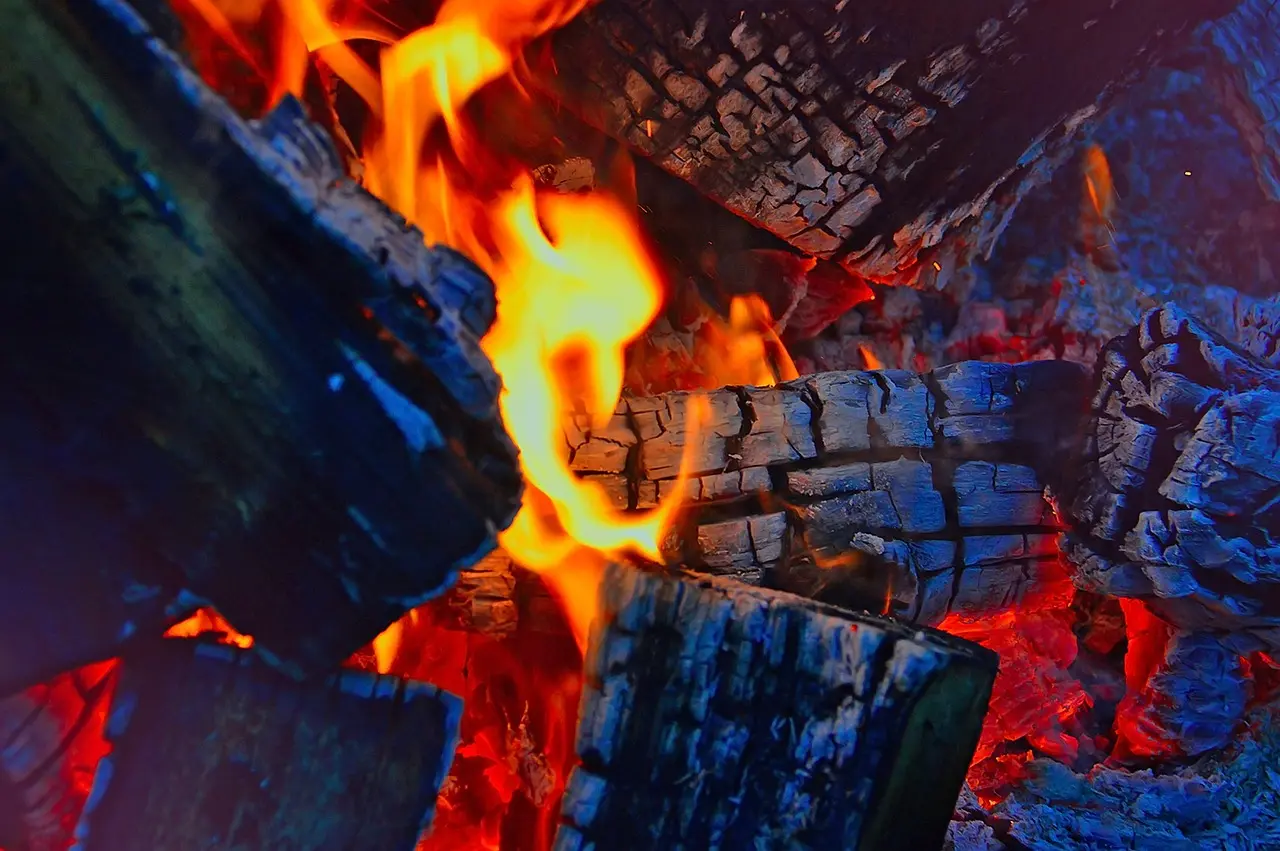
Keep wood burning safely by setting the area before ignition, using fuel that is actually dry, maintaining open air paths until the fire is established, watching for smoke changes, and shutting down with live-ember handling in mind. Safe burning is a sequence, not a single product or quick trick.
Step-by-step setup before the match
- Confirm the wood is appropriate, untreated, and dry enough for the job.
- Clear the area around the stove, fireplace front, or fire pit so stray embers have less to catch.
- Set tools within reach: poker, shovel, ash bucket, extinguisher.
- Check ventilation and draft path. Indoor systems need working smoke and carbon monoxide alarms.
- Lay the fire so air can move through it; do not pack it tight from the start.
My own indoor setup routine is simple and repeatable: I split one questionable piece to meter the center, open the air fully, confirm the flue path is clear, stage two small dry splits beside the kindling, and keep the ash bucket and poker on the same side every time so I am not reaching across flame later. That small routine cuts down most beginner errors.
Building and maintaining a clean-burning fire
Top-down fires work well when the operator wants slower, cleaner startup with less poking. Kindling-first works well when conditions are cold, damp, or the appliance is stubborn. In both cases, the first mistake is usually adding big splits before the starter bed has made enough heat.
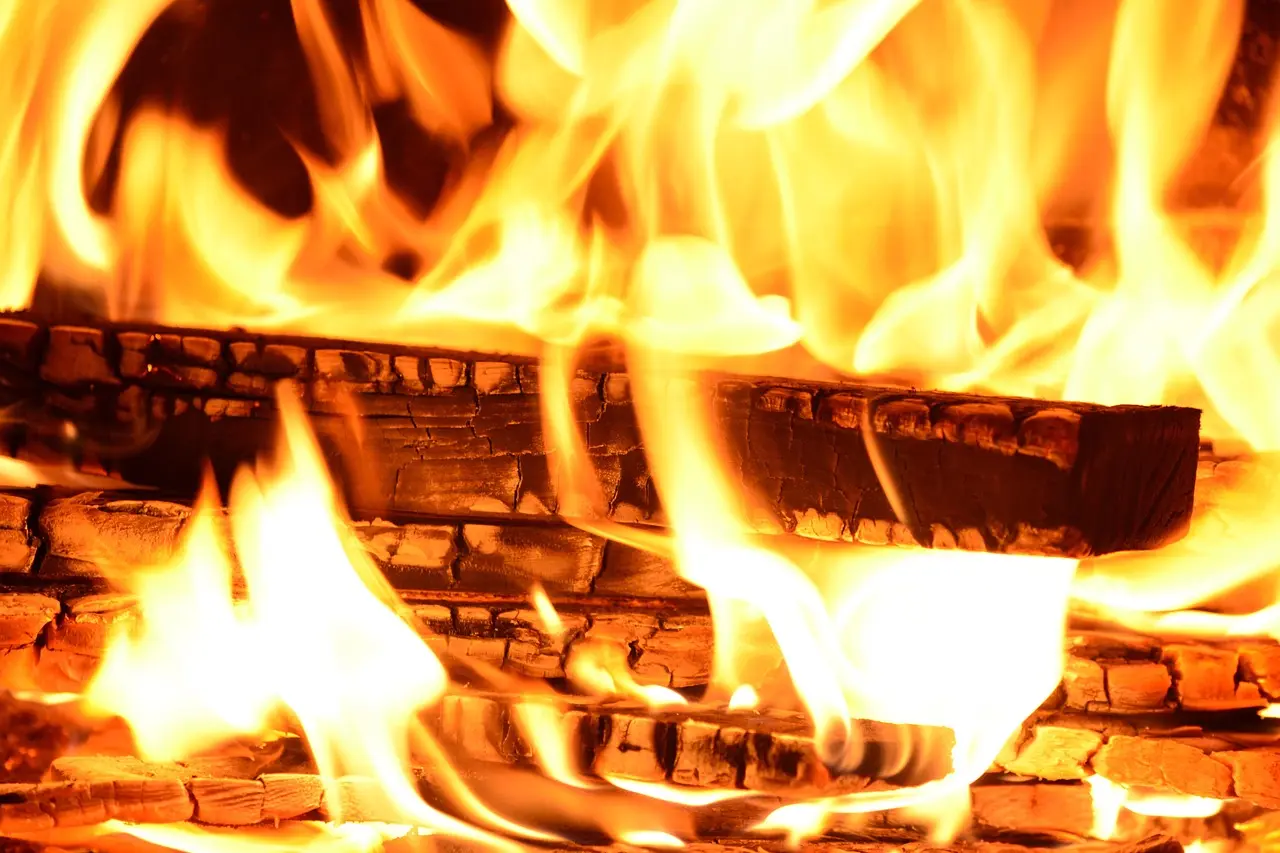
Once the main pieces catch, keep the fire active enough to avoid lazy smoke. Smoldering burns leave more deposits, waste fuel, and give less heat back for the wood consumed.
Smoke, draft, and creosote warning signs
Heavy smoke at the chimney, dark glass, sour odor indoors, lazy flames, and repeated back-puffing point to trouble. Wet wood is the first suspect. Poor draft, ash choking the air path, and oversized dense splits are close behind.
Creosote risk rises when fires spend too much time smoky and cool. Resin-heavy softwoods do not cause the whole problem by themselves. The larger issue is burning any species wet and starved for air. Chimney-safety guidance from CSIA and NFPA also backs that pattern: cooler, dirtier exhaust means more deposit formation and more chimney-fire risk.
Shutdown, ash handling, and next-day checks
Let fuel burn down with enough air to finish cleanly rather than choking it into a smoky death. Move ash only into a metal bucket with a lid. Keep that bucket on a noncombustible surface away from wood walls, decks, and stored fuel.
The next day, check for hidden heat in the ash bed and in the fire pit ring. Outdoor embers can sit alive under gray ash, then wake up when wind hits them.
What should beginners avoid when burning wood?
Beginners should avoid wet fuel, oversized logs, weak kindling beds, treated or unknown wood, poor airflow, and casual ash disposal. Most bad burns come from a simple mismatch between the wood, the tool, and the job. Fixing that mismatch early prevents smoke, frustration, and safety mistakes.
Wet wood, oversized splits, and weak kindling beds
These three cause most disappointing fires. A big wet split can make even a good stove look bad. The fix is smaller, drier fuel, a hotter startup, and patience before loading larger pieces.
Burning trash wood, treated wood, or unknown offcuts
Do not burn painted, pressure-treated, stained, glued, or unknown scrap wood. Do not use them in pyrography either. Safer practice starts with known, untreated wood.
Poor clearance, bad airflow, and unattended embers
Indoor fires need clear space at the appliance front and a free draft path. Outdoor fires need wind awareness, spark control, and distance from structures and dry vegetation. No setup is safe if embers are left unattended or dumped while still live.
Section 2: Pyrography wood burning quick guide
This second section is intentionally separate from firewood burning safety. If your goal is lettering, line work, shading, or decorative burning, the priorities change: use untreated wood, control temperature at the pen, test on scrap first, and keep smoke out of your breathing zone.
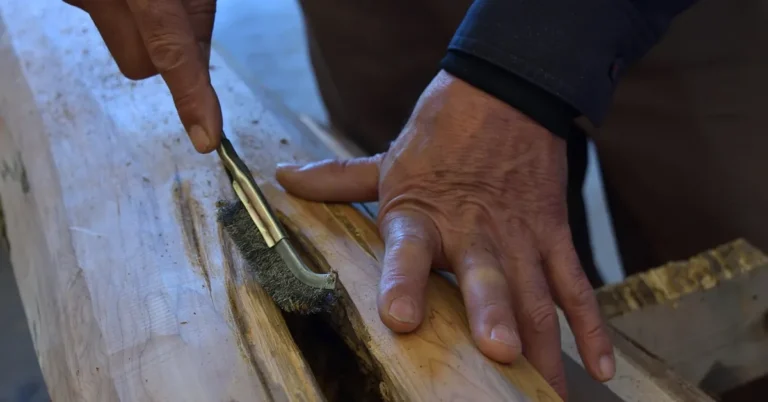
My first-hand beginner setup for pyrography is to clamp or steady a clean blank, preheat a temperature-controlled pen on a heat-safe stand, make three or four test passes on scrap from the same species, then lower heat before I increase hand pressure. That order gives cleaner lines than trying to force dark marks with a too-hot tip.
Frequently asked questions
What tools do I need for wood burning?
For firewood use, start with a moisture meter, splitting tool, kindling, fire starters, poker, shovel, metal ash bucket with lid, and extinguisher. For craft burning, use a temperature-controlled pen, untreated wood, scrap for test lines, and workspace ventilation. The tool list changes because the risks and goals are different.
How do I choose between softwood and hardwood for burning?
Softwood is usually easier to split, quicker to ignite, and useful for startup or short burns. Hardwood is generally denser, often burns longer, and usually forms a better coal bed. Choose based on the burn goal first, then confirm the wood is actually dry enough to perform as expected.
What wood properties matter most for safe burning?
Moisture content matters first, because wet wood causes smoke, weak heat, and deposit buildup. After that, density, split size, grain, and resin level affect how easily the wood lights and how it behaves once burning. Sapwood and heartwood can also differ in storage durability and burn response.
How do I season wood before burning it?
Split the wood, stack it off the ground, leave the sides open to airflow, and protect only the top from repeated soaking. Then verify readiness with a moisture meter on a fresh split face. Visual cues help, but they do not replace a direct moisture check.
What is the difference between wood, lumber, and firewood?
Wood is the raw structural material from trees. Lumber is wood processed into boards, planks, or beams for construction and making things. Firewood is fuel prepared for burning. A board is not automatically safe firewood, because finishes, treatments, adhesives, and odd dimensions can make it a poor or unsafe choice.
What should beginners avoid when burning wood?
Beginners should avoid wet logs, oversized splits, dirty startup methods, and unknown scrap wood. They should also avoid choking the air too early, neglecting alarms indoors, and treating ash as dead when it still holds heat. Most early problems come from rushing the setup and skipping moisture checks.
Sources
- USDA Forest Products Laboratory, Wood Handbook: Wood as an Engineering Material. Used for wood chemistry, structure, and material behavior.
- U.S. Environmental Protection Agency, Burn Wise program. Used for seasoned firewood guidance and the 20% moisture-content target.
- Chimney Safety Institute of America materials on seasoned firewood, chimney deposits, and venting safety. Used for creosote and chimney-fire risk guidance.
- NFPA 211, Standard for Chimneys, Fireplaces, Vents, and Solid Fuel-Burning Appliances. Used for general chimney and solid-fuel safety framing.
- Centers for Disease Control and Prevention guidance on carbon monoxide poisoning prevention. Used for indoor alarm and ventilation safety reminders.
- NIOSH and general occupational ventilation guidance for fume exposure. Used for pyrography ventilation and breathing-zone cautions.
Sponsored / affiliate links. As an Amazon Associate I earn from qualifying purchases. I may earn additional commission from eligible campaigns.