Plywood Christmas Tree Pattern: 4 Plywood Types & Sizes
A plywood Christmas tree pattern is a flat or 3D silhouette cut from half-inch to three-quarter-inch birch, pine, or MDF plywood, then sanded and painted or stained. Skipping the sanding step is the most common reason a finished tree looks patchy once it is painted. This guide covers choosing plywood, building or downloading a pattern, cutting and finishing steps, and decorating and storing the tree.
Why Choose a Plywood Christmas Tree?
Best Jigsaw Pick
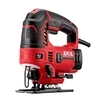
SKIL 6 Amp Corded Jig Saw with Tool-Free Blade Change – $54.00
This guide’s cutting step calls for a jigsaw to follow curved tree silhouettes and cut interlocking slots for a 3D tree — tool-free blade swaps make it easy to switch blades between straight base cuts and detail curves mid-project.
- Best for: Cutting curved tree silhouettes and slotted 3D pieces cleanly
- Why we picked it: Tool-free blade changes match the multiple blade types this project needs
- Main drawback: No laser guide, so pattern tracing is still done by hand first
Compare more jigsaw options
 Option 1 Hammerhead 4.8-Amp Jig Saw with Wood Cutting Blades – $22.30
|
 Option 2 WEN 33606 Jig Saw with Laser and LED Light – $32.44
|
 Option 3 WORKPRO 6.5-Amp Jig Saw with 7 Blades – $49.99
|
As an Amazon Associate we earn from qualifying purchases.
Plywood is affordable, easy to cut, and versatile: it can be cut into any shape, painted any color, or left raw for a natural, earthy look. It is also a reusable alternative to a real tree, which cuts down on both cost and waste.
A plywood Christmas tree suits small spaces like apartments or cabins, since it can be built at any size the space allows. It also works well as a family project — kids can help paint and decorate it, and a plywood tree holds up to handling far better than a real one. Because the pieces store flat, the same tree can be repainted and reused for several seasons.
Choosing the Right Plywood for Your Christmas Tree
Picking the right plywood is the first step to a successful project, and grade matters more than price for a decorative piece like this.
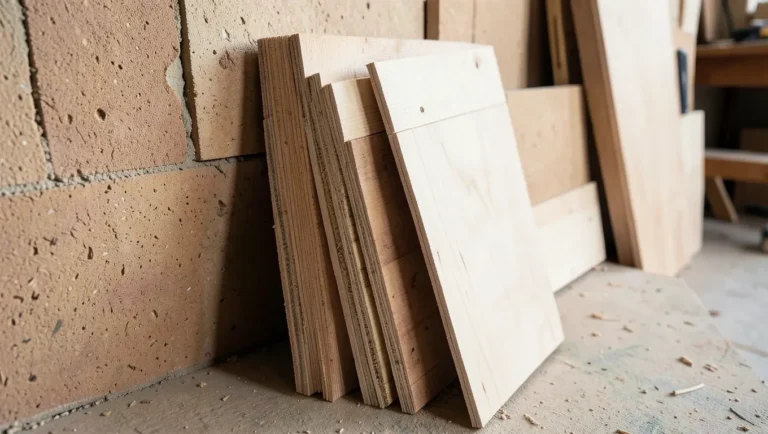
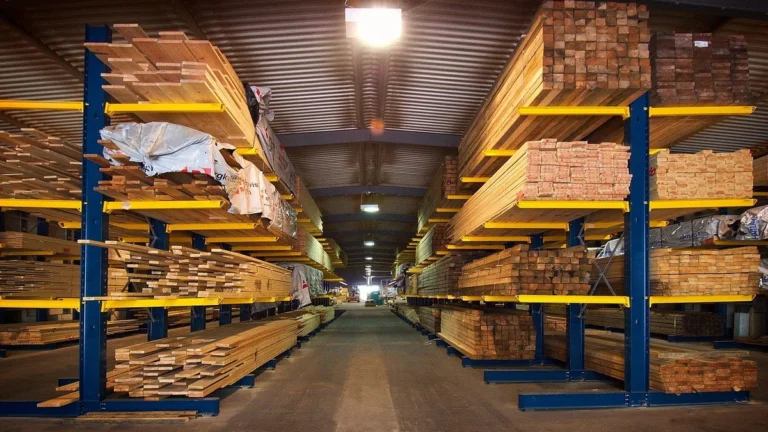
Birch plywood is the top choice for a Christmas tree because of its smooth, even grain, which takes paint or stain cleanly. It costs more than construction-grade sheets, but the finish quality is usually worth it. Pine plywood is a reasonable budget option, though it typically needs extra sanding to smooth rough spots. Construction-grade plywood is best avoided for this project — it tends to be splintery and rough-looking, which works against a piece meant to be displayed.
Thickness matters too. Half-inch plywood is enough for smaller trees up to about 4 feet tall, since it is lighter and easier to cut. Larger trees benefit from three-quarter-inch plywood for extra stability, and a 3D tree with interlocking slots holds together better with the thicker stock. Here is a quick comparison:
| Plywood Type | Thickness | Best For | Pros | Cons |
|---|---|---|---|---|
| Birch | ½ inch | Small trees, detailed designs | Smooth surface, great for painting | More expensive |
| Birch | ¾ inch | Large or 3D trees | Sturdy, holds shape well | Heavier, pricier |
| Pine | ½ inch | Budget-friendly projects | Affordable, widely available | Rougher grain, needs sanding |
| MDF | ½ inch | Indoor trees, smooth finishes | Super smooth, easy to paint | Not weather-resistant, heavy |
Check every sheet for warping or knots before buying — a warped sheet is the most common reason a finished tree ends up leaning instead of standing straight.
Finding or Creating Your Plywood Christmas Tree Pattern
The pattern guides every cut, so getting it right first is worth the extra few minutes. Free plywood Christmas tree patterns are widely available online, or a custom pattern can be sketched to fit a specific size or style.
For a first project, start with a simple triangular silhouette. A base width of 2 feet and a height of 3 feet works well for a small tabletop tree. Adding a few angled branch lines gives it a more realistic profile. For a layered look, a design with multiple pieces that stack or slot together creates a 3D effect; star-shaped cutouts or wavy edges add a whimsical touch.
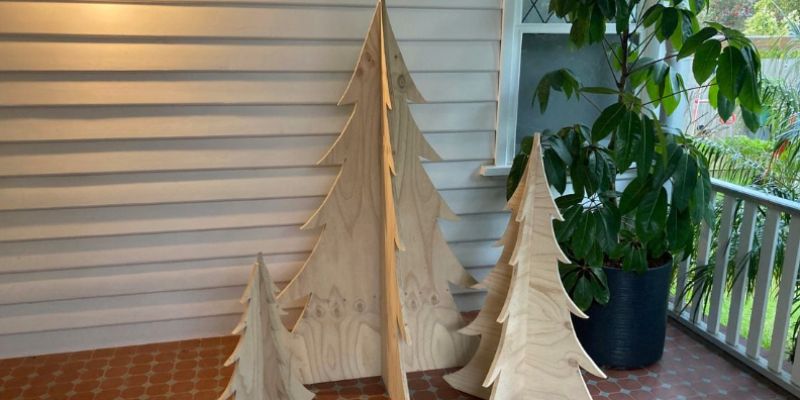
To draw a pattern from scratch, sketch the tree shape on butcher paper or cardboard, keeping the base wide enough for stability. Tracing and scaling a photo of a real tree works if freehand drawing is not an option. A 3D tree needs two patterns — one with a slot cut from the top down and one with a slot cut from the bottom up — so the pieces slide together and stand on their own. Measuring twice before cutting matters most here, since the slots have to line up exactly.
Pre-made downloadable patterns from sites like Etsy are a faster option. Before buying one, check that it matches the plywood size on hand and does not call for tools like a scroll saw that are not already available.
Tools and Materials You’ll Need
A plywood Christmas tree does not require a full workshop — a handful of basic tools covers the whole build.
- Jigsaw or Scroll Saw: A jigsaw handles most cuts, especially curved lines. A scroll saw suits intricate details but is not essential.
- Sandpaper: A range of grits (80, 120, and 220) smooths edges and surfaces.
- Measuring Tape and Ruler: For precise measurements.
- Pencil and Marker: For tracing the pattern onto the plywood.
- Clamps: To hold the plywood steady while cutting.
- Safety Gear: Safety glasses and gloves protect against splinters and flying debris.
- Paint or Stain: For the finish — chalk paint gives a matte look, while wood stain keeps the finish natural.
- Decorations: Mini ornaments, fairy lights, or garland for the finished piece.
A sturdy base is also needed. A scrap piece of 2×4 wood works, and pre-made bases are available at craft stores. A freestanding 3D tree may need no separate base at all, since the interlocking pieces alone can keep it upright.
Step-by-Step Guide to Building Your Plywood Christmas Tree
With the plywood and pattern ready, here is the build sequence from start to finish.
First, transfer the pattern to the plywood. Lay the pattern on the sheet and trace it with a pencil, switching to a marker for darker lines on rougher plywood. Double-check every measurement before cutting — a skipped check here is the most common cause of a lopsided tree.
Next, secure the plywood to a workbench with clamps so it cannot shift while cutting. Follow the pattern lines with the jigsaw, moving slowly around curves to avoid jagged edges. For a 3D tree, cut the slots to match the plywood’s exact thickness for a snug fit.
Once the pieces are cut, sand them in stages: 80-grit to smooth rough edges, then 120-grit, then 220-grit for a polished finish. This step matters most before painting, since rushed sanding shows through as a patchy finish once paint goes on.
For a 3D tree, test-fit the pieces before finishing to confirm the slots align, sanding the slots lightly if needed. For a flat tree, attach the base now using wood glue and screws, or brackets for extra stability.
Finally, apply paint or stain in thin coats to avoid drips, letting each coat dry fully before the next. If staining, wipe off excess stain with a cloth for an even finish.
Decorating Your Plywood Christmas Tree
Decorating is where the tree’s style comes together, from minimalist to fully festive.
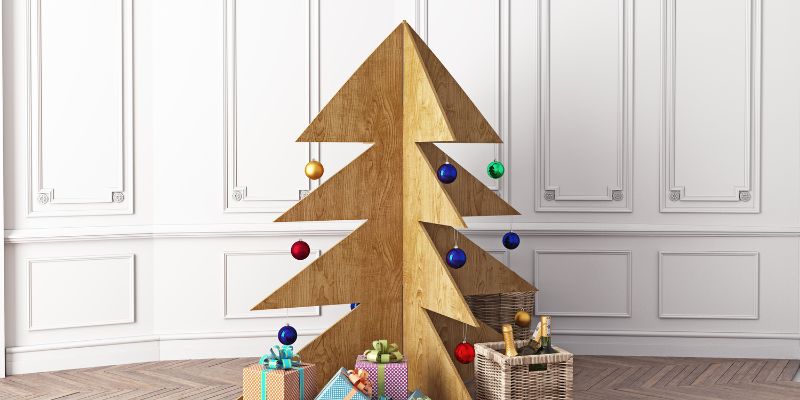
For a rustic look, wrap the tree in twine or burlap garland and add small wooden stars for a handmade feel. Battery-powered fairy lights add sparkle without a power cord to route, and small ornaments hang cleanly if you drill small holes for them.
For a more modern look, a bold paint color like red or gold paired with geometric ornaments works well; a black-and-white color scheme also reads as modern in an office or studio setting. For a kid-friendly project, painted designs or glued-on pom-poms give children an easy way to contribute.
One caution: avoid loading a smaller tree with heavy decorations, since too much weight up top can tip it over.
Storing and Reusing Your Plywood Christmas Tree
A plywood Christmas tree is reusable for years with the right storage. Store it flat in a dry place to prevent warping, and wrap a painted tree in an old sheet to protect the finish from scratches.
For 3D trees, disassemble the pieces and stack them flat. Labeling each piece (front, back, or a number matching the slot order) makes reassembly faster the following year. A flat tree also takes up far less storage space than a real tree.
Each season, a fresh coat of paint or a new set of decorations gives the same tree a different look without rebuilding it from scratch.
Tips for Beginners and Common Mistakes to Avoid
This project is approachable even without prior woodworking experience. A few tips help avoid the most common mistakes:
- Start Simple: A basic triangular tree is easier than a 3D design. Build confidence before tackling complex patterns.
- Measure Carefully: A small mistake in the pattern throws off the whole tree, and misaligned cuts usually mean recutting a piece.
- Sand Thoroughly: Rough edges make a tree look unfinished. Take the time to get a smooth surface.
- Test the Base: Confirm the tree stands steady before decorating it. A wobbly base is a recipe for a tipped-over tree.
- Expect Variation: This is a creative project, not a precision one — small quirks in the cut or finish are part of the handmade look.
Why This Project Is Worth Your Time
A plywood Christmas tree is a budget-friendly way to add a unique, handmade piece to a holiday setup, and it is a project well suited to building with family since the cutting, painting, and decorating steps can each be split up.
Because the finished tree is easy to see up close, it tends to draw more comments than a standard artificial tree — whether it is displayed in a living room, on a porch, or at a holiday market or craft fair.
Wrapping Up the Holiday Magic
Turning a plain sheet of plywood into a festive tree comes down to a handful of steps: picking the right plywood, sketching or downloading a pattern, cutting and sanding carefully, and finishing with paint, stain, and decorations. The result is a piece that is accessible for a beginner and durable enough to reuse for years.
With a pattern chosen and the tools above on hand, the build itself typically takes an afternoon from tracing to final coat.
Frequently Asked Questions
What’s the best plywood for a Christmas tree?
Birch plywood is the top choice because it is smooth and finishes well with paint or stain. Pine works for budget projects but needs more sanding. Aim for half-inch thickness for small trees or three-quarter-inch for larger ones.
Can I make a plywood Christmas tree without power tools?
Yes, though it takes more effort. A hand saw works for simple shapes but is slower than a jigsaw. Without power tools, stick to a basic design and consider plywood that is already cut to size at a hardware store.
How do I make a 3D plywood Christmas tree?
Cut two plywood pieces with slots in the middle — one slot from the top down, one from the bottom up — then slide them together to form a standing tree. Cut the slots to match the plywood’s thickness exactly for a tight fit.
How can I decorate my plywood Christmas tree?
Fairy lights, mini ornaments, or garland are the simplest options. Paint gives a bold look, while stain keeps it natural. Keep decorations light to avoid tipping a smaller tree.
How do I store my plywood Christmas tree?
Store it flat in a dry place to prevent warping. For 3D trees, disassemble the pieces and label them. Wrap painted trees in a sheet to protect the finish.
Sponsored / affiliate links. As an Amazon Associate I earn from qualifying purchases. I may earn additional commission from eligible campaigns.
 Baltic Birch Plywood Sheets Box of 45 - Laser Engraving Cutting, Scroll Saw Nature Veneer Color, Stronger Than Basswood, A/A Grade,12 x 12 x 1/8”, 3mm Thickness Perfect for Wood Burning
 Double Side Plywood Sheets 4mm or 5mm for Painting Stenciling Wood Burning and Decoration 150x220mm 220x300mm 300x450mm Art Project Wood