Table Saw Fence Replacement: Compatibility & Install Steps
Getting a new fence for your table saw can seem a bit tricky at first, especially if you’re new to woodworking. It’s a common task that many beginners find challenging because there are different types and sizes to consider. But don’t worry, we’re here to make it super simple.
This guide will walk you through every step, so you can confidently pick and install the perfect new fence. Let’s get your saw working better than ever before. A new fence pairs well with the other table saw upgrades worth making, like a better blade and stronger dust collection.
Choosing the Right Replacement Fence
Best OEM Direct-Replacement Fence
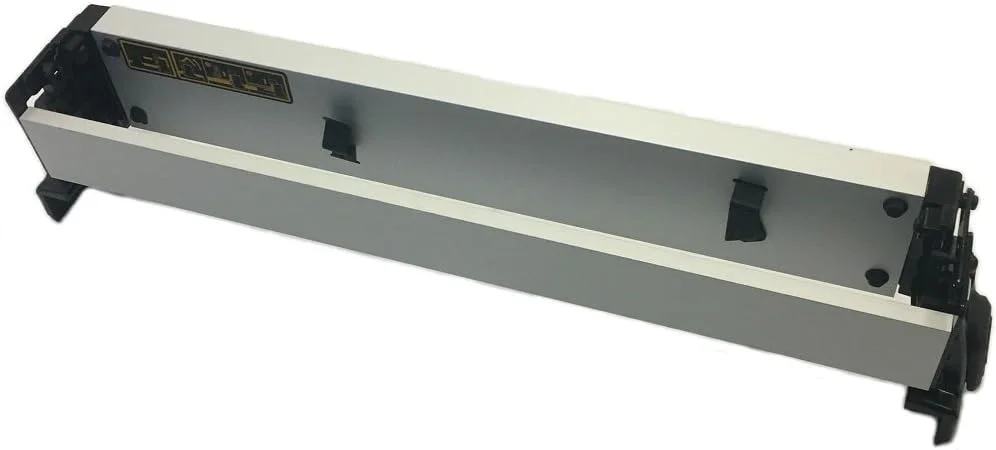 |
DEWALT 514013620 OEM Fence Assembly – $99.99 When a direct OEM replacement fits your exact saw, it’s the safest bet for compatibility — no drilling, no adapters, exact factory fit.
|
Selecting the right fence for your table saw is a big step towards better woodworking. A good fence ensures accuracy and safety in your cuts, making your projects turn out great. Many factors come into play when picking a new one.
You need to think about the size of your saw and its rip capacity, the type of woodworking you do most, and your budget. This section will help you understand the different options available so you can make a smart choice for your workshop.
Types of Table Saw Fences
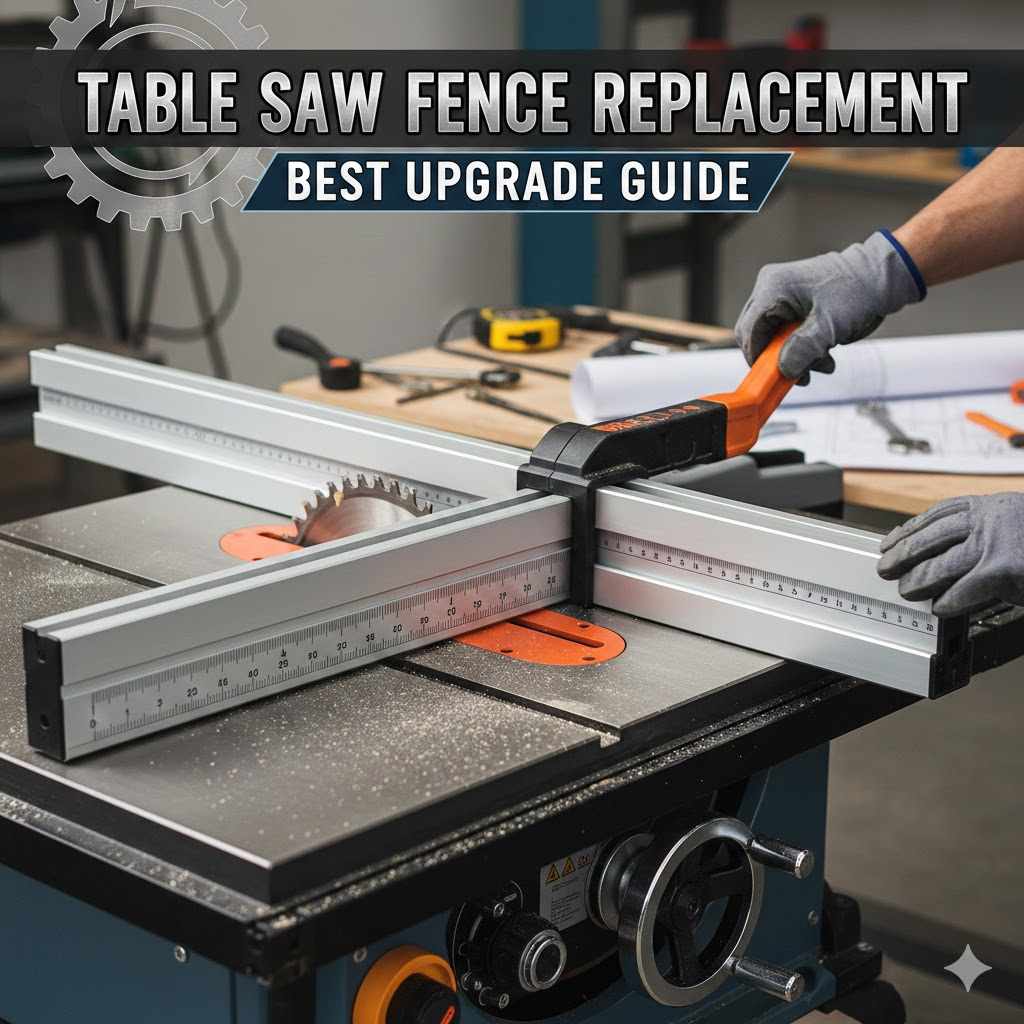
Table saw fences come in a few main styles, and knowing them helps you find the best fit. The most common is the Biesemeyer-style fence. This is a popular choice because it’s very sturdy and locks in place firmly with a lever system.
This design offers excellent alignment and support for your wood.
Another type is the Delta T-square fence. It moves parallel to the blade and has a rail system that provides a clean and accurate guide. Some fences are designed to be very simple, offering basic functionality without complex locking mechanisms, which can be good for budget-conscious woodworkers.
There are also aftermarket fence systems. These are often designed to be upgrades for older or less precise saws. They can offer features like greater adjustability, stronger locking, and a wider range of movement than the original fence.
Key Features to Look For
When you’re looking at fences, pay close attention to a few key features. The fence body material is important; most good fences are made from strong, stable metal like aluminum or steel. This ensures they won’t flex or warp, which is critical for accurate cuts.
The locking mechanism is also vital. A good lock will hold the fence firmly in place with a single action, preventing any movement during cutting. Look for smooth operation.
Consider the fence’s travel distance, meaning how far it can move from the blade. A longer travel distance gives you more versatility for cutting wider boards. Also, check for clear measurement markings on the fence and its rails.
Easy-to-read scales help you set your cuts quickly and accurately.
Understanding Fence Compatibility
One of the most important parts of choosing a new fence is making sure it will fit your specific table saw model. Fences are designed to attach to the saw’s rails. These rails are usually specific to the saw’s cabinet or base.
You need to know the make and model of your table saw. Then, you can check if the fence system you’re interested in is compatible. Many manufacturers offer fences that are direct replacements for their own saw models.
Aftermarket fence systems often have universal mounting kits or adapters. These allow them to be fitted to a wider range of saws. Always check the specifications provided by the fence manufacturer to confirm compatibility.
Some systems might require drilling new holes or using specific brackets.
The Installation Process for Your Table Saw Fence Replacement
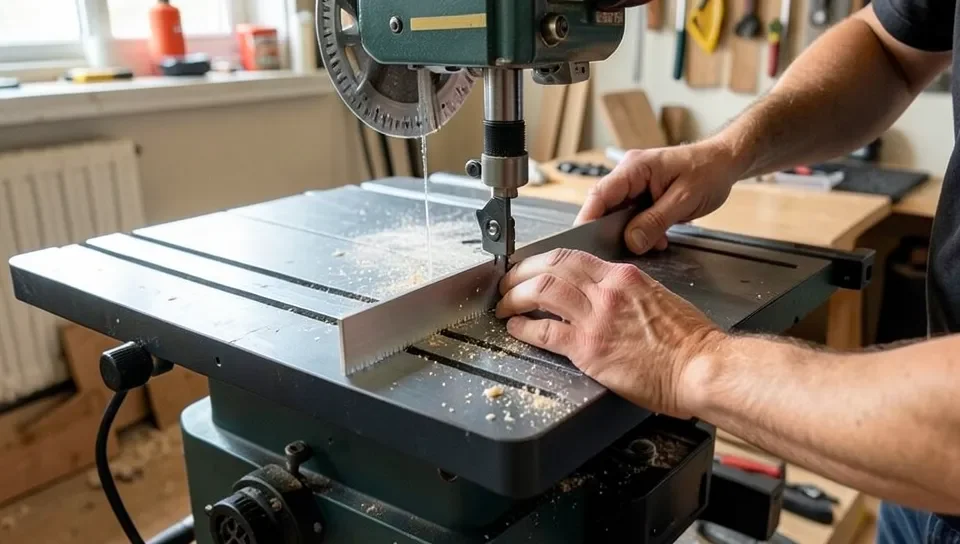
Putting in a new fence might sound like a big job, but it’s usually quite straightforward with the right steps. The goal is to get the fence perfectly parallel to the saw blade. This ensures your cuts are straight and true every time.
We’ll break down the process into easy-to-follow stages.
Gathering Your Tools and Materials
Before you begin, make sure you have all the necessary tools. You’ll likely need a tape measure, a set of wrenches or socket drivers, a level, a straight edge (like a precision ruler or a good quality straight piece of metal), and possibly a drill if any adjustments or new mounting points are needed.
You’ll also need your new fence system, which should come with its own mounting hardware. Read through the new fence’s manual before you start to get familiar with its specific parts and installation instructions.
It’s a good idea to have a clean workspace around your table saw. Remove any sawdust or debris that could get in the way. Having a helper can also make the installation process smoother, especially when dealing with larger fence parts.
Removing the Old Fence
The first step is to carefully remove your old fence. Most fences attach to rails on the side of the table saw. You’ll typically need to loosen or remove bolts that secure the fence body to these rails.
Once the fence body is free from the rails, you can usually slide it off. If your old fence system includes the rails themselves, you’ll need to unbolt those from the saw’s table. Take pictures as you go if you’re unsure about reassembling anything later.
Inspect the area where the rails attach. Clean off any old glue, paint, or sawdust. This will give you a clean surface for installing the new rails and fence system.
Installing the New Fence Rails
Now, it’s time to install the new rails. These are the backbone of your fence system, so they must be installed correctly. If your new fence came with new rails, follow the instructions for attaching them to your table saw’s table or cabinet.
Use your level and straight edge to ensure the rails are perfectly parallel to the saw’s miter slots and the blade. This is the most critical part of the installation. Small misalignments here will lead to inaccurate cuts.
Tighten the mounting bolts securely, but avoid over-tightening, which could damage the table or the rails. If the rails aren’t perfectly aligned, you might need to use shims to make small adjustments.
Attaching and Aligning the New Fence Body
With the rails in place, you can now attach the new fence body. Slide the fence onto the rails according to the manufacturer’s instructions.
The next crucial step is aligning the fence. You want the fence to be perfectly parallel to the saw blade. Use a good quality measuring tape to check the distance from the front edge of the fence to the blade, and then the back edge of the fence to the blade.
Adjust the fence until these measurements are identical. Then, lock the fence in place and re-check your measurements. Many fence systems have adjustment screws to fine-tune the parallelism.
This is where patience pays off. A properly aligned fence makes all the difference in the quality of your work.
Testing and Calibration
Once the fence is installed and aligned, it’s time to test it. Make some practice cuts on scrap wood. Check the width of the cut piece and compare it to your fence setting.
It should match exactly.
Make a few cuts at different distances from the blade to ensure consistency. Also, test the locking mechanism by pushing and pulling the fence while it’s locked. It should not move at all.
If you notice any inconsistencies, re-check your alignment and make any necessary adjustments. This calibration process is key to ensuring your new fence performs as it should. A well-calibrated fence means more accurate projects and safer woodworking.
Benefits of a Table Saw Fence Replacement Upgrade
Upgrading your table saw fence is more than just a replacement; it’s a significant improvement to your woodworking capabilities. A new fence can dramatically boost the precision, safety, and overall efficiency of your workshop. Let’s explore the advantages that a good upgrade can bring to your projects and your woodworking experience.
Improved Cutting Accuracy and Precision
One of the most immediate benefits of a new fence is enhanced accuracy. Older fences can become worn, bent, or simply not precise enough for fine woodworking. A new, high-quality fence locks firmly and stays parallel to the blade, ensuring that every cut is exactly where you set it.
This precision is vital for tasks like making cabinet parts, furniture components, or anything that requires tight-fitting joints. When your fence is accurate, your pieces fit together better, reducing the need for time-consuming adjustments and rework.
Enhanced Safety in Operation
Safety is paramount in any workshop, and a reliable fence plays a crucial role. A fence that locks securely prevents wood from shifting during a cut, which can prevent kickback. Kickback is when the wood is suddenly thrown back towards the operator, a dangerous situation.
A fence with a solid locking mechanism and a stable body provides consistent support for the workpiece. This means you can keep your hands further away from the spinning blade. Many modern fences also have safety features like built-in anti-kickback pawls or improved designs that guide wood more predictably.
📊 The CPSC’s product-safety data consistently lists blade contact and kickback as the leading causes of table saw injuries. — Source: U.S. Consumer Product Safety Commission. A fence that locks firmly and stays parallel to the blade directly reduces the workpiece movement that causes kickback.
Increased Productivity and Efficiency
A well-functioning fence saves you time and effort. When you know your fence is set correctly, you can make cuts quickly without constant re-checking. The ability to lock the fence firmly in place means you can rip multiple boards to the exact same width much faster.
Some advanced fences also offer quick-release mechanisms or easier adjustment systems. This reduces the time spent setting up for each cut. For professionals or hobbyists who do a lot of ripping, this efficiency gain can translate into finishing projects much sooner.
Versatility for Different Woodworking Tasks
A high-quality fence system can expand the capabilities of your table saw. Many aftermarket fences offer a wider range of fence travel, allowing you to cut wider boards than before. Some fences have additional features like adjustable faces that can be used for specialized cuts or to reduce tear-out.
The ability to precisely set the fence is also key for tasks like making dados or grooves, where consistent depth and width are essential. A fence that moves smoothly and locks reliably makes these operations much more manageable and accurate.
Maintenance and Care for Your New Fence
Once you’ve installed your new table saw fence, taking care of it will ensure it performs well for years. Proper maintenance prevents issues like rust, sticky mechanisms, or loss of accuracy. It’s about keeping your investment in top condition.
Regular Cleaning and Lubrication
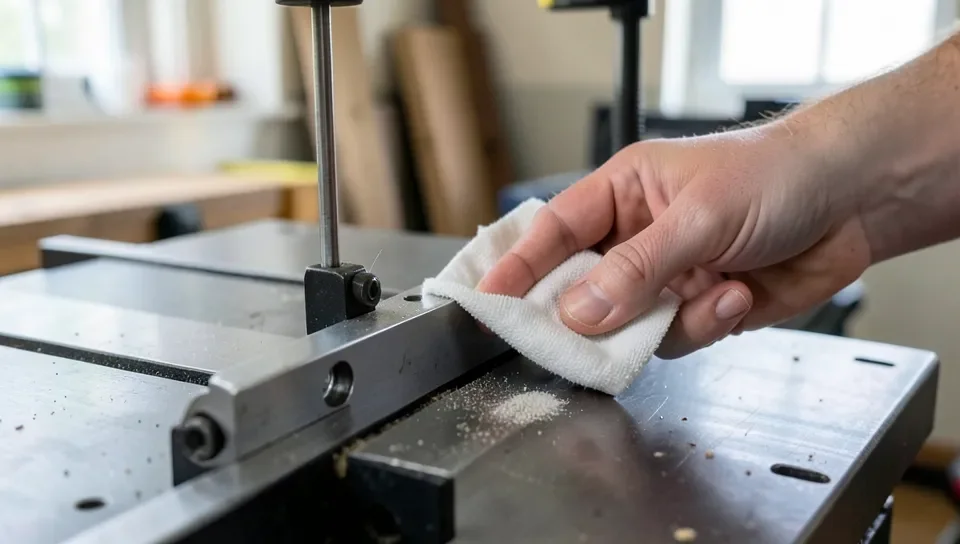
Sawdust and wood dust are the enemies of smooth operation. After each significant use, wipe down the fence body and rails with a dry or slightly damp cloth. This removes dust and any sap residue.
For moving parts, like the locking mechanism or the parts that slide on the rails, a light application of a good quality lubricant is recommended. Avoid using too much, as this can attract more dust. Wax-based lubricants or specific metal lubricants work well.
Check the fence’s manual for any specific cleaning or lubrication recommendations from the manufacturer. Some materials might require special care.
Checking for Alignment Issues
Even with a good fence, it’s wise to check its alignment periodically. Woodworking environments can be harsh, and vibrations from the saw can sometimes cause slight shifts.
Make it a habit to check the fence’s parallel alignment to the blade every few months or after any particularly heavy use. A quick measurement from the front and back of the fence to the blade is usually sufficient. For the full step-by-step process and the acceptable tolerance range, see how to square a table saw fence.
If you notice any drift, make the necessary adjustments using the fence’s built-in adjustment screws. This simple check can save you from making inaccurate cuts later.
Addressing Wear and Tear
No fence lasts forever without showing some signs of wear. Over time, parts might loosen, or surfaces can become scratched.
Inspect the fence for any loose bolts or screws and tighten them as needed. If the fence faces become scratched or worn, you can often replace them. Many fence systems have replaceable parts.
If the locking mechanism starts to feel stiff or less secure, investigate. It might need cleaning, lubrication, or a minor adjustment. Addressing small issues promptly can prevent them from becoming bigger problems.
Frequently Asked Questions
Question: What is the most common type of table saw fence?
Answer: The Biesemeyer-style fence is one of the most popular and common types. It is known for its robust design, excellent stability, and precise locking mechanism, making it a favorite among woodworkers.
Question: Can I Use an Aftermarket Fence on Any Table Saw?
Answer: Often, yes. Many aftermarket fence systems are designed to be compatible with a wide range of table saws, sometimes requiring adapters or mounting kits. Always check the specifications for compatibility before purchasing.
Question: How do I know if my new fence is installed correctly?
Answer: After installation, you must ensure the fence is perfectly parallel to the saw blade. You can check this by measuring the distance from the fence to the blade at both the front and back. These measurements should be identical for accurate cuts.
Question: Do I need to lubricate my table saw fence?
Answer: Yes, regular lubrication of the moving parts and rails can help ensure smooth operation and longevity. Use a light application of a recommended lubricant, being careful not to attract excessive dust.
Question: How often should I check my fence alignment?
Answer: It’s a good practice to check your fence alignment every few months or after extensive use. This helps catch any subtle shifts that might have occurred due to vibrations or regular wear and tear.
Summary
Upgrading your table saw fence can greatly improve cutting accuracy, boost safety, and increase your workshop’s efficiency. By carefully selecting a compatible fence and following a clear installation process, you can achieve better results in your woodworking projects. Regular maintenance will keep your new fence performing at its best for years to come.
Sponsored / affiliate links. As an Amazon Associate I earn from qualifying purchases. I may earn additional commission from eligible campaigns.