5 Best Scratch Kits for Wood Furniture (2026): We Compared
The best scratch repair kit for wood furniture matches scratch depth and finish type. Use wax or markers for light scratches, filler for deeper gouges, and color-matched repair pens for visible blend work. Choose the wrong product and the mark can stand out more, darken under finish, or leave a repair that chips out. This guide shows how to choose by damage level, finish, color match, and the result you need: conceal, fill, or blend.
Quick comparison
| Product | Badge | Best for | Price | ||
|---|---|---|---|---|---|
 |
Rejuvenate Exact Match Wood Furniture & Floor RepairRejuvenate | Our pick | 6 ct · marker set · brown | $8.29
Price as of 1 Nov 2026
|
View |
 |
Rust-Oleum Wood Stain Repair Marker Kit – 6 ColorsRust-Oleum | Also great | 6 colors · stain repair markers | $12.99
Price as of 1 Nov 2026
|
View |
 |
Howard Restor-A-Finish, 16 Fl oz, Dark Walnut | RestoreHOWARD | Upgrade pick | 16 fl oz · finish restorer · dark walnut | $10.98
Price as of 1 Nov 2026
|
View |
 |
24 Colors Wood Filler Sticks, Furniture Repair Wax Crayons,DAWNIGO | Pair with it | 24 colors · wax sticks · assorted shades | $9.99
Price as of 1 Nov 2026
|
View |
 |
Old English Scratch Cover Dark Wood Furniture Polish, 8ozReckitt | Also great | 8 oz · scratch cover · dark wood | $6.98
Price as of 1 Nov 2026
|
View |
Sort by scratch depth first, then check finish type. A surface scuff, a gouge, and a veneered panel need different repair methods, even when they look similar at first glance.
How we chose
The picks below are based on the manufacturer’s specs, the listing details, and published buyer feedback. We compared them for scratch depth, finish compatibility, color range, and how clearly each product is intended to conceal, fill, or blend damage.
We also separated light-scratch products from deep-repair products so you can avoid using a marker where a filler is needed, or sanding where a finish restorer would be safer.
Quick picks
| Best for | Product | Key fit | Limit to keep in mind |
|---|---|---|---|
| Finished wood with light scratches | HOWARD Restor-A-Finish | Wipe-on blend for minor scratches and blemishes on finished wood | Not a structural fix for gouges |
| Color-matched surface marks | Rejuvenate Exact Match Wood Furniture & Floor Repair Markers | Six common wood shades for quick concealment | Can look obvious if the shade is off |
| Everyday stain-and-scratch touch-ups | Rust-Oleum Wood Stain Repair Marker Kit | Simple marker kit for scratches and marks | Better for blending than filling |
| Deeper scratches, nail holes, and cracks | DAWNIGO Wood Filler Sticks | Wax sticks with 24 colors for fill-and-level repairs | Wax is not the same as hard filler on every finish |
| Dark wood concealment | Old English Scratch Cover Dark Wood Furniture Polish | Liquid scratch cover for dark wood touch-ups | Best on dark wood, not a universal match |
HOWARD Restor-A-Finish: best for finished wood blending
Use this for light surface scratches on finished wood when the goal is to blend, not rebuild. It fits minor scratches, white rings, and faded-looking spots where you want the damage to read less obviously from normal viewing distance.
The main advantage is the wipe-on, wipe-off approach. That makes it easier to start with the least aggressive fix, especially on lacquered or polyurethane-finished furniture where a marker may leave a harder edge than you want.
The drawback is simple: it is not a true repair for deep scratches or gouges. If the scratch exposes raw wood or leaves a missing edge, you will still need filler or a more complete refinish plan.
Rejuvenate Exact match wood furniture & floor repair Markers: best for light scratches
Choose this when you need a fast concealment step for minor surface scratches and scuffs. The six shades make it easier to match common furniture tones, and the marker format is useful when the damage is shallow enough that you only need color, not fill.
For surface scratches, a wood marker can work well when the color is close. Slightly darker tones can also help mimic grain lines, which is useful on darker cherry or walnut finishes where a pale repair stands out.
The weak point is match accuracy. If the shade is too light or too warm, the mark can look like a line rather than a repair, especially on glossy or heavily sealed furniture.
Start with the least aggressive fix that can solve the damage. Surface scratches are the easiest type of furniture scratch to repair quickly, while deep scratches go beyond the outer layer and need more than color. A wood scratch repair kit may hide damage, fill it, or do both, depending on the formula.
A common first-timer mistake is wiping on stain before testing whether the scratch just needs a wax filler or a full touch-up. If the scratch is only a surface mark, sanding can widen it. If it is a gouge, sanding alone will not rebuild the missing material.
Step-by-step approach
- Clean the area with a microfiber cloth to remove dust and loose residue.
- Check whether the scratch is only on the surface or cut into the wood.
- Use a marker or finish restorer for light scratches on finished wood.
- Use filler for deep scratches and gouges before any color correction.
- Let the repair dry or cure fully before buffing or applying more product.
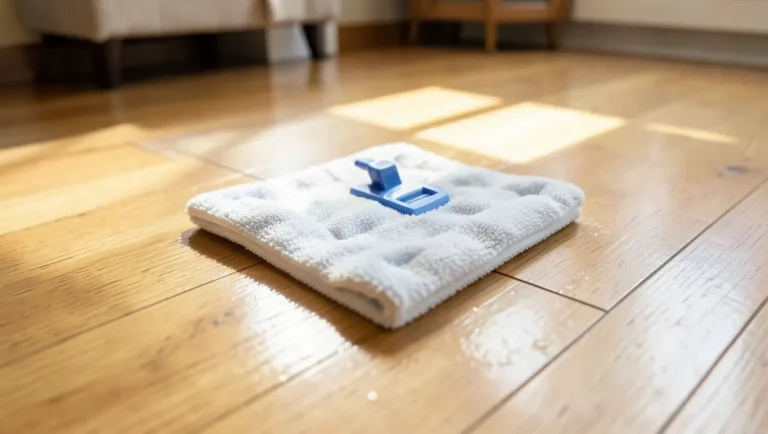
- Wipe away excess with a microfiber cloth so you do not add new scratches during cleanup.
For light scratches, a special liquid polish can sometimes reduce the mark. Those are short-term concealment methods, not fixes for missing wood.
Furniture scratches cover a wide range, so the right method depends on what you can feel and what the finish looks like. For minor surface scratches, a marker or polish may be enough. For deeper scratches and gouges, you usually need filler, then sanding and color correction so the repair sits flush.
Pet scratches belong in the same decision tree. They can be light or deep depending on claw size and force. Larger dog claws can leave marks that need more attention than a quick color pass.
When markers are enough
Use a marker when the scratch changes color more than it changes shape. That fits light surface damage, small scuffs, and shallow lines on finished wood. The goal is concealment. It is not to build up missing material.
When filler is safer
Use filler when the scratch has depth, a groove, or a missing edge. Deep scratches need material back in the damaged area before the color can look right. If you skip that step, the repair can still catch light and remain obvious.
Cleanup after the repair
A microfiber cloth is the safest cleanup tool here because it helps remove residue without adding fresh scratches. It also buffs polished repairs gently. Use it after the product has set enough to avoid dragging color back out of the repair.
Rust-Oleum Wood Stain Repair Marker Kit: best for simple color touch-ups
This is a straightforward option for small scratches and marks on wood furniture where you want a simple color touch-up. The six-color set gives you a practical range for common wood tones, which matters because color matching is often the difference between a hidden mark and an obvious one.
It is especially useful when the damage is still on the surface. For light scratches, a marker can be enough to conceal the line without sanding or filler, which keeps the repair low risk.
The limitation is depth. If the scratch has a groove, a marker alone will color the recess but will not level it, so the repair can still catch the eye in angled light.
DAWNIGO Wood Filler Sticks: best for deeper damage

Use this for deeper scratches, gouges, cracks, and nail holes when the furniture needs fill before color. The 24 colors help with matching, and the wax-stick format is suited to pressing material into damaged areas and smoothing the surface after application.
This type of product makes the most sense when the scratch has gone below the finish layer. On deeper damage, filler is safer than a marker because it gives you material to level before you worry about appearance.
The drawback is finish fit. Wax-based repair sticks are not ideal for every high-wear or high-gloss finish, and the result can look soft or smear if the repair area is not matched carefully.
Old English Scratch Cover Dark Wood Furniture Polish: best for dark wood concealment

Pick this for minor scratches and nicks on dark wood furniture when you want a quick concealment product. It is aimed at dark wood, so it makes the most sense on finishes where the scratch is visible mainly because the color has broken up.
It is a practical choice for superficial marks that do not need filler. That makes it useful for touch-ups on dressers, tables, and trim when the goal is to reduce contrast rather than rebuild missing material.
The drawback is scope. Because it is formulated for dark wood, it is a poor match for light maple, blonde oak, painted furniture, or any piece where a precise shade match is critical.
Scratch repair matrix
| Scratch depth | Finish type | Furniture material | Safest kit category | Do not use |
|---|---|---|---|---|
| Light surface scratch | Lacquer or polyurethane | Solid wood | Marker or finish restorer | Do not start with filler unless the scratch has depth you can feel with a fingernail. |
| Light surface scratch | Waxed finish | Solid wood | Color-matched marker for concealment, or a wax-compatible touch-up product | Do not use aggressive sanding; it can strip the wax and widen the mark. |
| Deep scratch | Lacquer or polyurethane | Veneer | Careful filler only if the scratch has not cut through the veneer | Do not sand hard or use coarse abrasive pads on veneer; you can cut through the top layer. |
| Deep scratch or gouge | Finished wood | Solid wood | Filler first, then color correction | Do not rely on a marker alone; it will color the groove without rebuilding it. |
| Gouge with missing material | Lacquer, polyurethane, or painted | Solid wood or painted wood | Filler plus sanding and finish touch-up | Do not overfill and rush the color step; a shiny patch can be as obvious as the gouge. |
| Pet scratches, light to deep | Finished wood or veneer | Solid wood or veneer | Start with marker or restorer; move to filler if claws cut into the material | Do not assume every pet scratch is shallow; larger dog claws can leave a deeper track. |
Will it work on veneer or finished wood?
Yes, but only if you match the repair to the substrate. Veneer is thin, so the safest approach is a light-touch product first; finished wood usually tolerates color touch-up or a finish restorer better than hard sanding. If the scratch has broken through the finish and into the wood, move up to filler or a more complete repair.
Veneer caution
Veneer can look like solid wood from the top, but it is much less forgiving. If you sand too hard, you can expose the backing layer. That is why a marker or finish restorer is usually safer for shallow damage, while deep repairs need extra care and a very light hand.
Lacquer and polyurethane notes
Lacquer and polyurethane finishes often respond well to blend-style touch-up products for minor scratches. Color matters here because the finish can change how the repair reads in the light. If the scratch is deep enough to catch a fingernail, start thinking about filler rather than pigment alone.
Waxed and oiled surfaces
Waxed and oiled furniture can reject some repair products or make them look patchy. On these surfaces, test in an inconspicuous spot first and keep the repair conservative. A heavy product can sit on top of the finish instead of merging with it.
How do you match the color?
Start with the closest base shade and aim for a repair that disappears at arm’s length, not one that looks perfect under a close inspection light. If you need a choice between slightly too light and slightly too dark, a darker tone often blends better in grain lines and shadowed scratches.
Pick the closest base shade
Match the visible finish, not just the raw wood species. Maple with a warm stain is not the same as bare maple, and an oak table may lean honey, amber, or brown depending on age and topcoat. That is why multi-shade marker kits are useful.
Use slightly darker tones when needed
Slightly darker shades can mimic grain and reduce the chalky look that happens when a repair is too pale. This is especially helpful on walnut, cherry, and other darker woods where a light repair line can jump out in normal room lighting.
Test on an inconspicuous spot
Always test on a hidden edge, underside, or back rail if the finish allows it. That check helps you see whether the product stains too heavily, sits too glossy, or disappears into the finish as intended. A quick test can save a visible mistake on a tabletop.
Which one should you buy?
Buy the product that matches the damage first, then the finish. If the scratch is light and the furniture is finished wood, start with HOWARD Restor-A-Finish or a marker kit. If the scratch is deeper than the finish layer, move to DAWNIGO for fill-and-level repair before you color match.
Budget choice
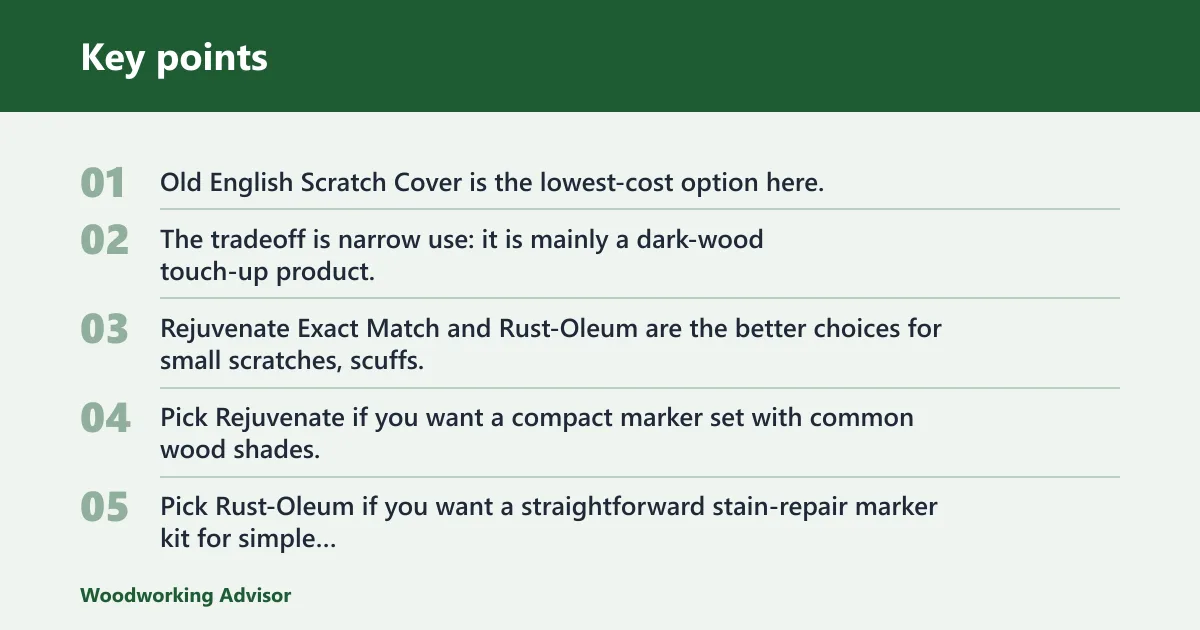
Old English Scratch Cover is the lowest-cost option here, so it fits simple concealment on dark wood. The tradeoff is narrow use: it is mainly a dark-wood touch-up product, not a broad fix for every furniture finish.
Best for minor marks
Rejuvenate Exact Match and Rust-Oleum are the better choices for small scratches, scuffs, and surface marks. Pick Rejuvenate if you want a compact marker set with common wood shades. Pick Rust-Oleum if you want a straightforward stain-repair marker kit for simple touch-ups.
Best for deeper repairs
DAWNIGO is the better choice when the scratch is deep enough to need material back in the groove. It is the only pick in this group that is clearly aimed at filling scratches, cracks, and nail holes before color blending.
When to stop and refinish instead
If the damage cuts through veneer, covers a large area, or leaves a patch that stays visible after color correction, stop before you chase a perfect spot repair. At that point, a refinish plan is safer than stacking product on top of product. Say your dining table has a 2-inch gouge at the edge and raw wood showing; a marker alone will only darken the groove, while a filler plus color touch-up has a real chance of reducing how much it stands out.
What do I use for deep scratches in wood furniture?
Use a filler-based repair when the damage cuts into the material itself. Deep scratches and gouges often need filler before any color step, because pigment alone will not replace missing wood. On finished furniture, that usually means a careful fill, a light smooth-down, and then color matching.
The main risk is overdoing the sanding. The guide calls out over-sanding as a common mistake, and that matters even more on veneer and thin finishes. Fine control is essential so you do not level the surrounding finish more than the damage.
Deep-repair basics
For deeper repairs, a putty knife is the right tool to press filler into the damaged area. After the filler cures, smooth it only enough to blend the repair with the surrounding surface. Then match the color. If the sheen is wrong, the repair can still stand out even when the shape is fixed.
Can I fix pet scratches on wood furniture myself?
Yes, many pet scratches are suitable for DIY repair if the damage is limited to the finish or only lightly into the wood. Start with the same approach you would use for other scratches: marker or polish for shallow marks, filler for deeper claw tracks. The difference is that pet scratches often appear in clusters, so you may need to repair more than one line.
Dog claws, dirt, hard-soled shoes, and heavy furniture can all scratch wood floors, and the same kind of abrasion often affects furniture legs, side panels, and low table edges. If the scratches are widespread or the wood fibers are torn, a spot repair may only be a temporary improvement.
Pet-scratch repair order
Clean the area, judge the depth, and choose the least aggressive fix first. If a scratch is shallow, color repair may be enough. If it is deep, fill first. If the area is broad or the finish has worn away in patches, a more complete refinish may be the better call.
What mistakes should I avoid when repairing wood scratches?
Avoid over-sanding, using the wrong color, and treating every scratch like a gouge. Those mistakes can make the damage larger or more visible. The safest repair usually starts small, matches the finish, and stops as soon as the scratch blends well enough for normal use.
Common mistakes
Do not use a marker on a deep gouge and expect it to disappear. Do not force a wax repair into a high-gloss finish without checking the sheen. Do not sand hard on veneer. Do not ignore residue, because leftover product can smear onto the surrounding finish.
One practical check is to step back after each stage. If the repair looks fine up close but too shiny from across the room, the sheen is off. If it still looks like a trench, the damage needed filler before color.
Frequently asked questions
What is the best scratch repair kit for wood furniture?
The best scratch repair kit for wood furniture depends on depth and finish. For finished wood with light scratches, a blend product such as HOWARD is a strong choice. For visible surface marks, marker kits work well. For deeper gouges, a filler-based kit is the safer path.
How do I fix light scratches on wooden furniture?
Start with a marker, polish, or finish restorer if the scratch only affects the top layer. Light scratches can sometimes be fixed with a special liquid polish, and a color-matched marker can conceal the line. Wipe the area with a microfiber cloth after the repair sets.
When should I use filler instead of a marker or polish?
Use filler when the scratch cuts into the material, not just the finish. Deep scratches and gouges need material back in the recess before color correction. If a fingernail catches clearly or you can see raw wood, a marker alone is usually not enough.
Will a scratch repair kit work on veneer or finished wood?
Yes, but the product must fit the surface. Veneer needs extra care because it is thin and easy to over-sand. Finished wood often responds well to markers or finish restorers for minor damage, while deeper cuts may still need filler and careful blending.
How do I match the color of a scratch repair product to my furniture?
Choose the closest base shade and test it in a hidden spot if possible. If the choice is between slightly light and slightly dark, darker can blend better in grain lines. On darker woods, slightly darker shades may mimic grain more naturally than a pale repair line.
Sponsored / affiliate links. As an Amazon Associate I earn from qualifying purchases. I may earn additional commission from eligible campaigns.