Can You Paint Osb Board? Best Methods For A Smooth Finish
Yes, you can paint OSB, but the rough, gap-filled surface needs a heavy-bodied primer (or a skim coat of drywall compound) first — a standard thin primer sinks into the wood strands and gaps unevenly, leaving a blotchy, textured finish instead of a smooth one.
Below, we cover which primer actually fills OSB’s surface texture, sanding technique before painting, and the paint types that hold up on this material long-term.
OSB board can be painted successfully. The key is proper preparation, including sealing and priming, to create a smooth surface that accepts paint well and prevents issues like warping or blotching. With the right steps, you can achieve an attractive finish.
What is OSB and Why Paint It?
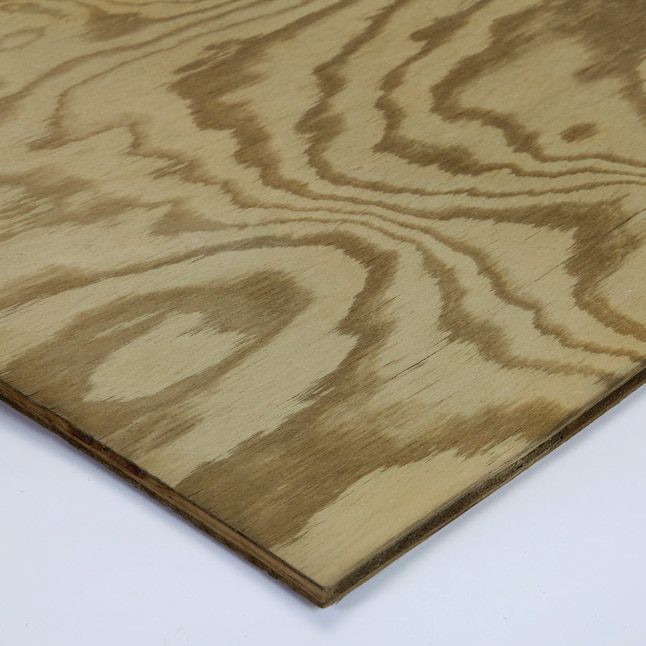
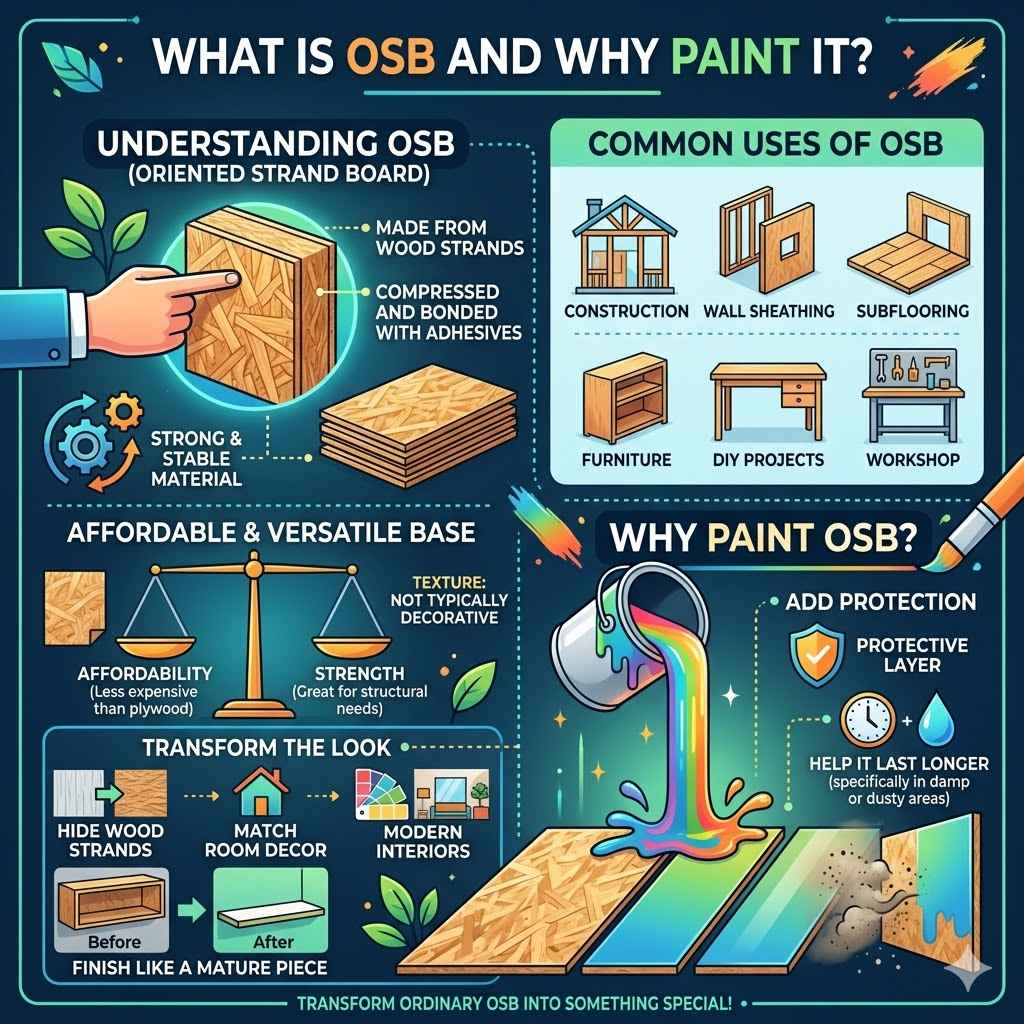
OSB, or oriented strand board, is made from wood strands compressed and bonded together with adhesives. It’s a strong, stable material often used in construction. Think of it for subflooring, wall sheathing, or even furniture projects.
It’s usually less expensive than plywood. Because of its texture, it’s not typically seen as a decorative material. However, its affordability and strength make it a great base for many DIY projects.
Maybe you’re building custom shelves in a garage or a craft room. Or perhaps you’re creating a feature wall with a rustic look. In these cases, painting OSB can make a big difference.
Painting OSB can give it a completely new look. It can hide the wood strands. It can match your room’s decor.
It can also add a protective layer. This protection can help it last longer, especially in areas that might get a little dusty or damp. The goal is often to make it look less like construction material and more like a finished piece.
It’s about transforming the ordinary into something special with just a bit of paint and some know-how.
The Essential Prep Work: Your Foundation for Success
This is where many DIYers stumble. Skipping or rushing the prep work is the surest way to a disappointing paint job on OSB. OSB has a unique surface.
It’s made of wood chips and glue. This means it’s very absorbent. It also has a rough texture.
Without proper prep, paint can soak in unevenly. You might end up with a patchy, blotchy look. The surface can also stay rough.
It might feel unpleasant to the touch. So, let’s get this part right. It’s the most important step.
First, you need to clean the OSB. Dust and debris are the enemies of a good paint finish. Use a dry brush or a soft cloth to wipe down the entire surface.
If there are any stray wood splinters sticking up, gently sand them smooth. For really stubborn splinters, you might need to carefully trim them with a utility knife. Just be sure to sand the area smooth afterward.
You want a consistent surface. This initial cleaning sets the stage for everything that follows.
Quick Clean-Up Checklist
- Wipe with a dry cloth.
- Brush away loose dust.
- Sand down any rough spots or splinters.
- Ensure the surface is completely dry.
Dealing with the Texture: Smoothing the Surface
OSB’s texture is its biggest challenge. Those wood strands create peaks and valleys. Paint alone won’t fill them all.
You need to smooth things out. This usually involves a few steps. Sanding is one part of it.
But it might not be enough on its own. You’ll likely need a good primer and perhaps a filler. Let’s break down how to tackle this texture.
Start with sanding. Use a medium-grit sandpaper, like 100-grit, on a sanding block or orbital sander. Go over the entire surface.
Don’t try to make it perfectly smooth. Just knock down the highest peaks and any sharp edges. The goal here is to make it more uniform.
After sanding, vacuum up all the dust. Then, wipe it down again with a damp cloth. Let it dry completely.
This sanding step prepares the surface for the next layer.
Now, you need to fill in the gaps. This is where wood filler or spackle comes in. Use a putty knife to apply a thin layer of filler.
Spread it over the entire surface, focusing on the deeper grooves. Work it into the strands. You don’t need a thick layer.
You just want to fill the main depressions. Let the filler dry according to the product instructions. Once dry, you’ll need to sand it again.
Use a fine-grit sandpaper, like 150 or 220-grit. Sand until the surface feels smooth and even. Wipe away all the dust.
This might seem like a lot of work, but it makes a huge difference.
Filler Application Tips
- Use a good quality spackle or wood filler.
- Apply in thin, even coats.
- Focus on filling the deepest grooves.
- Let it dry fully before sanding.
- Sand with fine-grit paper for a smooth finish.
- Wipe away all dust after sanding.
Priming is Non-Negotiable
If you think you can skip primer on OSB, think again. Primer is your best friend here. It seals the wood strands.
This prevents them from absorbing paint unevenly. It also helps the paint adhere better. Without primer, you’ll likely see blotches.
Some areas will look dark, others light. The primer also helps create a smoother canvas for your topcoat. It’s like painting over a stain – it hides what’s underneath and prepares for the new color.
Choose a good quality primer. An oil-based primer is often recommended for OSB. This is because it’s excellent at sealing porous surfaces and blocking stains.
It can also help prevent any potential warping. Water-based primers can work, but you might need two coats. Look for a primer that’s designed for sealing or blocking.
Apply it evenly with a brush or roller. Make sure you cover every inch. Pay attention to the edges and corners.
Once the first coat of primer is dry, inspect the surface. You might still see some texture or rough spots. If so, you’ll need to do a light sanding.
Use fine-grit sandpaper (220-grit). This will smooth out the primer layer. Wipe away all the dust again.
Then, apply a second coat of primer. Let this second coat dry completely. This extra step ensures you have a solid, uniform base.
It’s the bridge between the rough OSB and your beautiful final color.
Choosing the Right Paint
Once your OSB is primed and smooth, it’s time to think about the paint itself. The type of paint you choose matters. For most indoor projects, a good quality latex or acrylic paint will work well.
These paints are durable and come in many colors. For areas that might see more wear and tear, like a workshop or a playroom, consider a semi-gloss or satin finish. These finishes are easier to clean.
They also offer a bit more protection than a flat finish.
If you are painting OSB for an outdoor project, you’ll need exterior-grade paint. This paint is made to withstand the elements. It’s resistant to moisture, UV rays, and temperature changes.
Always choose a paint specifically designed for exterior use. For both indoor and outdoor projects, consider a paint with a primer included. This can sometimes offer better coverage, though a separate high-quality primer is still usually best for OSB.
The color you choose is up to you. Lighter colors can make a space feel brighter. Darker colors can create a more dramatic effect.
If you’re going for a rustic look, you might choose a textured paint or even a limewash. Whatever you decide, make sure it’s a paint you love. You’ve put in the work to get the surface ready.
Now, make it look fantastic!
Painting Techniques for a Smooth Finish
Now for the fun part: applying the paint! Your careful preparation will pay off here. You have a smooth, primed surface.
The key to a great finish is applying thin, even coats. Thick coats can drip and sag. They can also highlight any remaining texture.
It’s always better to apply multiple thin coats than one thick one.
Use a high-quality roller with a nap that suits the surface. For a smooth finish, a 3/8-inch nap roller cover is usually a good choice. It will pick up enough paint without getting clogged by any slight remaining texture.
If you’re using a brush, opt for a good quality synthetic brush for latex paints. Work in small sections. Apply the paint with steady, even strokes.
Avoid pressing too hard. This can push paint into the valleys and leave ridges on the peaks.
Roll or brush the paint in one direction. For example, if you’re painting a wall, roll from top to bottom. If you’re painting a board, roll or brush along the length of the grain.
This helps create a consistent look. Overlap your strokes slightly. This ensures there are no missed spots.
Always paint from the smoothest areas to the roughest. This helps you blend any slight imperfections.
Allow each coat of paint to dry completely before applying the next. Check the paint can for drying times. This is crucial.
If you apply a second coat too soon, you can peel off the first coat. This will cause streaks and smudges. Patience here is key.
You might need two or even three coats of your final paint color. This is especially true if you are painting OSB a dark color over a light primer, or vice versa.
Painting Do’s and Don’ts
- Do use thin, even coats.
- Do allow each coat to dry fully.
- Do use a good quality roller or brush.
- Do paint in one direction.
- Don’t rush the process.
- Don’t apply thick coats.
- Don’t use old, worn-out tools.
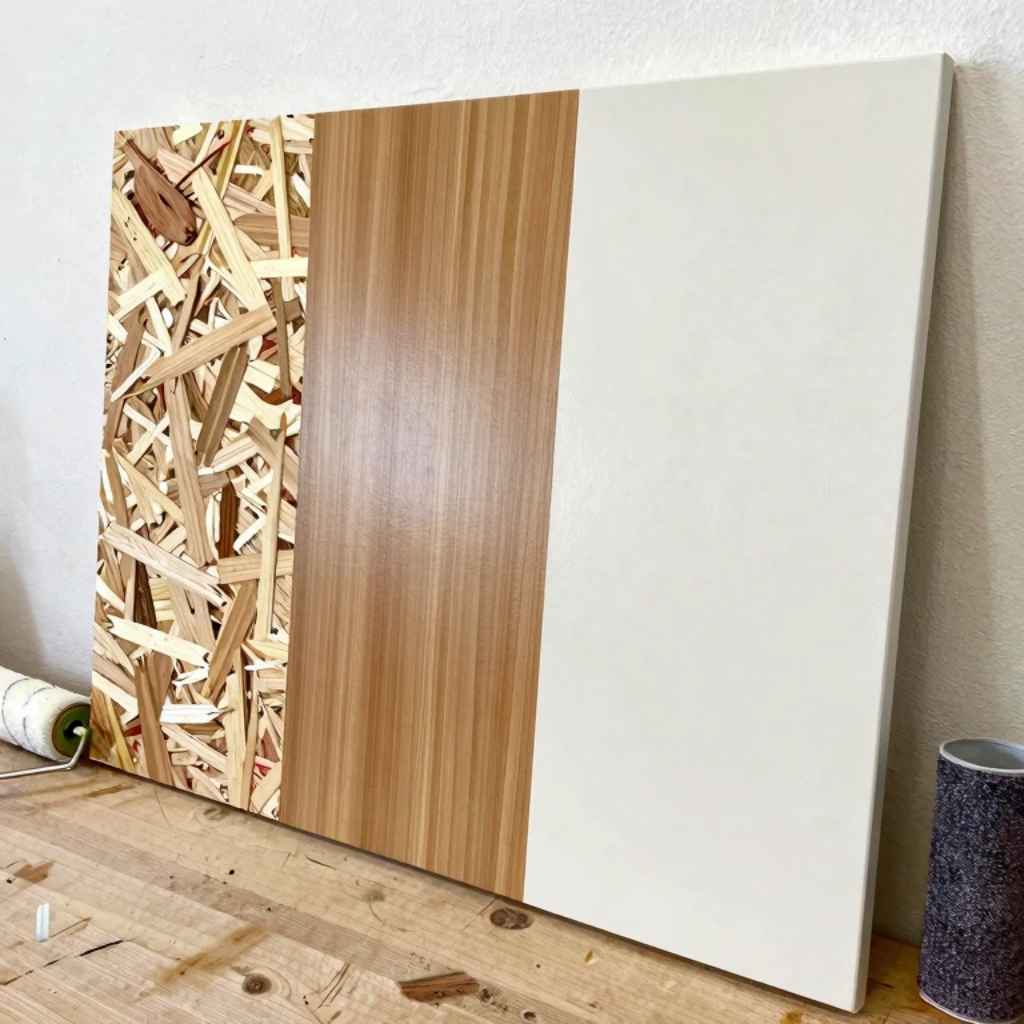
Alternative Finishes for OSB
Sometimes, you might not want a perfectly smooth, painted finish. OSB has a unique look that can be embraced. There are other ways to finish it beautifully.
Stain is one option, but it’s tricky. OSB is very absorbent and the strands can look odd with stain. It often turns out blotchy.
If you want a stained look, you really need to seal and prime it very well first. Some people even use a tinted primer or a gel stain to get a more controlled color.
Another popular option is a clear coat or varnish. This protects the OSB and brings out its natural tones. It can give a matte, satin, or glossy look.
This is great for projects where you like the look of the wood strands but want some protection. Just be sure to sand and seal the OSB first. This will give you a smoother surface to work with.
It will also help the clear coat go on evenly.
You can also consider textured paints or finishes. These can add depth and interest. They can also help hide any minor imperfections in the OSB surface.
Think about limewash, chalk paint, or even a decorative glaze. These techniques can give your OSB a unique artistic look. They often work well with the material’s natural roughness.
Quick Scan: Alternative OSB Finishes
| Finish Type | Best For | Considerations |
| Stain (with prep) | Wood-like look, custom colors | Requires heavy sealing/priming, can be blotchy |
| Clear Coat/Varnish | Natural wood look, protection | Surface prep is still important for smoothness |
| Textured Paint | Hiding imperfections, artistic look | Requires experimentation, specific application |
Real-World Scenarios and Considerations
I remember a project where we were building custom closet shelves. We decided to use OSB because it was cheaper. The plan was to paint them white.
The shelves were going to be in a walk-in closet. This meant they wouldn’t get a lot of direct light. We did the usual sanding and priming.
But we didn’t get the primer perfectly smooth. When we painted them white, you could still see the faint lines of the wood strands. It wasn’t terrible, but it wasn’t the super-smooth finish I’d hoped for.
That experience taught me a valuable lesson. For a truly smooth finish on OSB, you can’t cut corners on the filler and sanding steps. If the OSB is going to be a focal point, like a feature wall or furniture you’ll see up close, you need to be extra diligent.
For shelves in a closet, or a subfloor that will be covered, a good primer might be enough. But for a high-visibility project, invest the time. It makes a world of difference.
Also, consider the environment. Is it a humid bathroom? Will it get bumped often?
These factors might influence your choice of paint finish and primer.
When is it Okay to Skip Some Steps?
While I’ve stressed the importance of prep, there are times when you can get away with less. If you’re painting OSB for a utility space like a garage or a shed, the focus is usually on protection and a basic color. In these cases, a good quality primer might be enough.
You might not need to go through the extensive filling and sanding. The goal is to prevent moisture damage and give it a clean look.
Another situation is if you’re going for a very rustic or industrial look. Sometimes, the natural texture of OSB is part of the aesthetic. Think of a modern loft apartment.
If you’re painting it a dark color, like black or deep gray, the texture might be less noticeable. You might still want to prime it to ensure even color. But you might not need to fill every single groove.
Always test a small, inconspicuous area first. See how the paint looks. This will help you decide if you need to do more prep.
What This Means for Your Project
Knowing you can paint OSB opens up a lot of possibilities. It means you don’t have to settle for the plain look of the board if it doesn’t fit your style. You can adapt it to almost any decor.
For budget-conscious DIYers, this is huge. You can create custom-looking pieces without the high cost of premium wood.
However, it also means you need to be realistic about the outcome. OSB is not solid wood. Even with the best prep, you might always see a hint of the underlying structure.
The goal is a smooth, appealing finish, not necessarily a perfect imitation of a high-end wood paneling. Understand the material’s limitations. Then, work with them.
The key is to manage your expectations. Focus on achieving the best possible result with the methods discussed.
Quick Fixes and Tips for Painting OSB
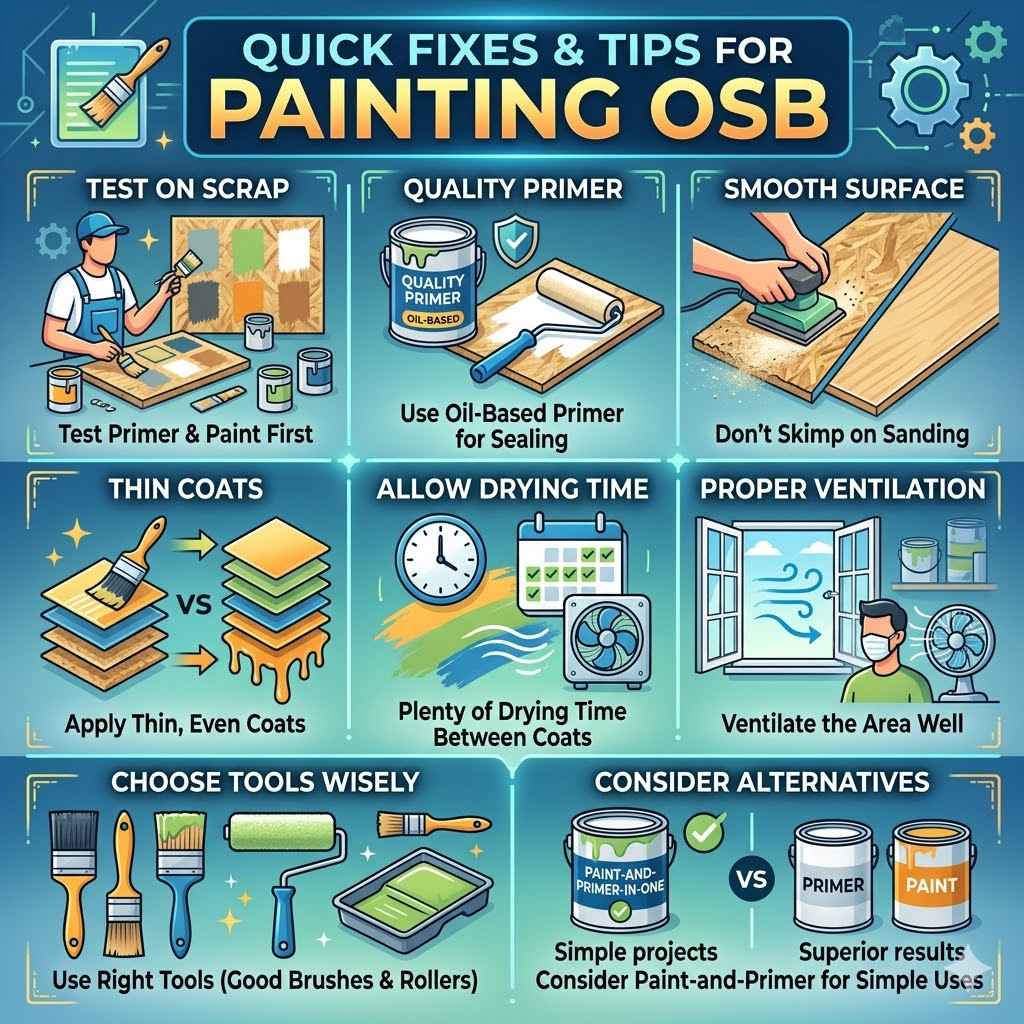
Here are some quick tips to keep in mind for your OSB painting project:
- Always test your primer and paint on a scrap piece of OSB first. This lets you see how it looks and behaves.
- Use a good quality primer. Oil-based primers are often best for sealing OSB.
- Don’t skimp on sanding. Smoothness is key for a good paint finish.
- Apply paint in thin, even coats. Multiple thin coats are better than one thick one.
- Allow plenty of drying time between coats.
- Consider a paint-and-primer-in-one product for less critical applications, but a separate primer is usually superior for OSB.
- Ventilate the area well when working with primers and paints, especially oil-based ones.
- Use the right tools. A good brush and roller make a big difference.
Frequent Questions About Painting OSB
Can I paint OSB for outdoor use?
Yes, you can paint OSB for outdoor use. You’ll need to use an exterior-grade primer and exterior-grade paint. Make sure the OSB is properly sealed to protect it from moisture.
Also, ensure good ventilation if it’s in a protected area to prevent mold. The prep steps, like sanding and filling, are still important for a durable finish.
Will OSB warp when painted?
OSB can warp, especially if it gets wet. Painting can help seal it and reduce moisture absorption, which can actually prevent warping. However, using a good quality oil-based primer is highly recommended.
It creates a strong barrier. Also, avoid applying paint unevenly or getting the OSB very wet during the process.
How many coats of paint do I need on OSB?
This depends on the paint color and the primer. You will likely need at least two coats of your final paint color. If you’re painting a dark color over a light primer, or vice versa, you might need three coats.
The key is to get an even, solid color. Check each coat after it dries to see if you need another.
Is it okay to use wood filler on OSB?
Yes, wood filler or spackle is excellent for filling the gaps and grooves in OSB. It helps create a smoother surface for painting. Apply it in thin layers, let it dry completely, and then sand it smooth.
This step is crucial for achieving a professional-looking finish.
Can I use spray paint on OSB?
You can use spray paint on OSB, but it requires good prep. You’ll still need to prime the OSB first. Apply spray paint in light, even coats to avoid drips.
It can be good for small projects or if you want a very smooth, factory-like finish. Ensure good ventilation when spray painting.
What’s the best way to fill the gaps in OSB before painting?
The best way is to use a good quality spackle or wood filler. Apply it with a putty knife, pressing it into the grooves. Scrape off the excess.
Let it dry completely. Then, sand it smooth with fine-grit sandpaper. This process fills the texture and creates a more uniform surface for the primer and paint.
Conclusion
Painting OSB is definitely achievable. It just requires a little more care and attention than painting smooth wood. By focusing on thorough preparation, proper priming, and patient application of paint, you can transform this budget-friendly material.
You’ll get a beautiful, durable finish. So, don’t shy away from using OSB in your next project. With these steps, you can make it look fantastic and fit right into your design vision.