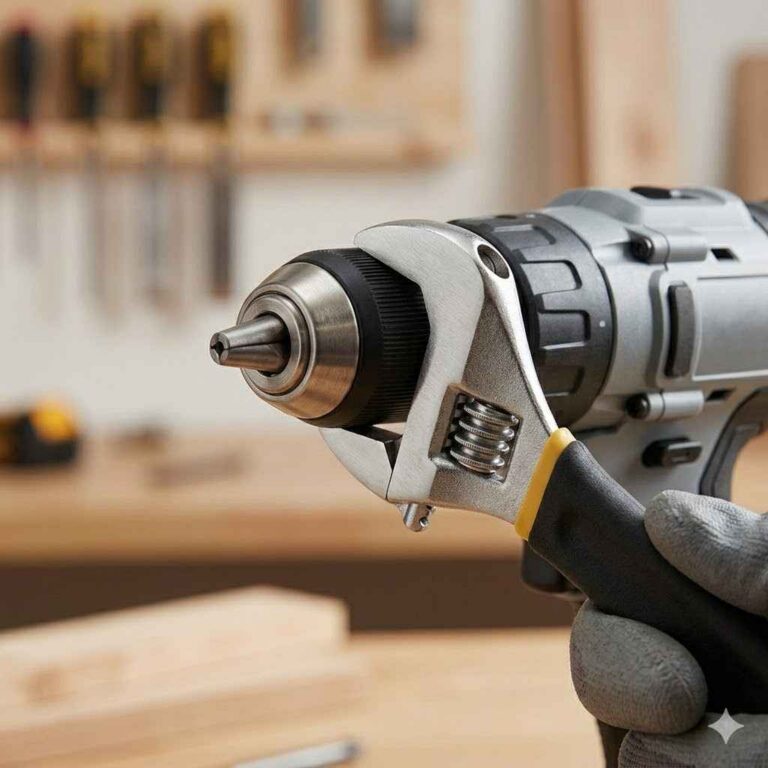
How To Change A Drill Bit Quickly And Safely
Changing a drill bit involves identifying your drill’s chuck type, safely loosening it, swapping the bit, and then tightening it securely. Always unplug or remove the battery before starting to ensure safety.
Understanding Your Drill’s Chuck
Most drills use one of two main types of chucks. This is the part that holds the drill bit. Knowing which one you have is key.
It’s like knowing how to open your front door before you can step inside.
The first type is a keyless chuck. You can usually turn it by hand. It has little gripping jaws inside.
These jaws squeeze the bit tight. To open it, you just twist it the right way. Most modern drills have these.
The second type is a keyed chuck. This one needs a small metal tool, called a chuck key. The key fits into tiny holes on the side of the chuck.
You use it to turn and tighten or loosen the jaws. Older drills often have these.
Chuck Types at a Glance
Keyless Chuck:
- Turns by hand.
- No special tool needed.
- Common on newer drills.
Keyed Chuck:
- Needs a chuck key.
- Key fits into holes.
- Found on older or heavy-duty models.

The Safety First Steps
Safety is super important. We don’t want any accidents. Before you touch anything, always make sure your drill can’t accidentally turn on.
This is the most crucial step.
For corded drills, this means unplugging them from the wall. Pull the plug out completely. For cordless drills, remove the battery pack.
Take it out of the drill body. This stops the motor from spinning.
Once the power source is disconnected, you can safely proceed. It’s a good habit to get into. Even if you’re just changing a bit for a second, always follow these steps.
It prevents a lot of trouble.
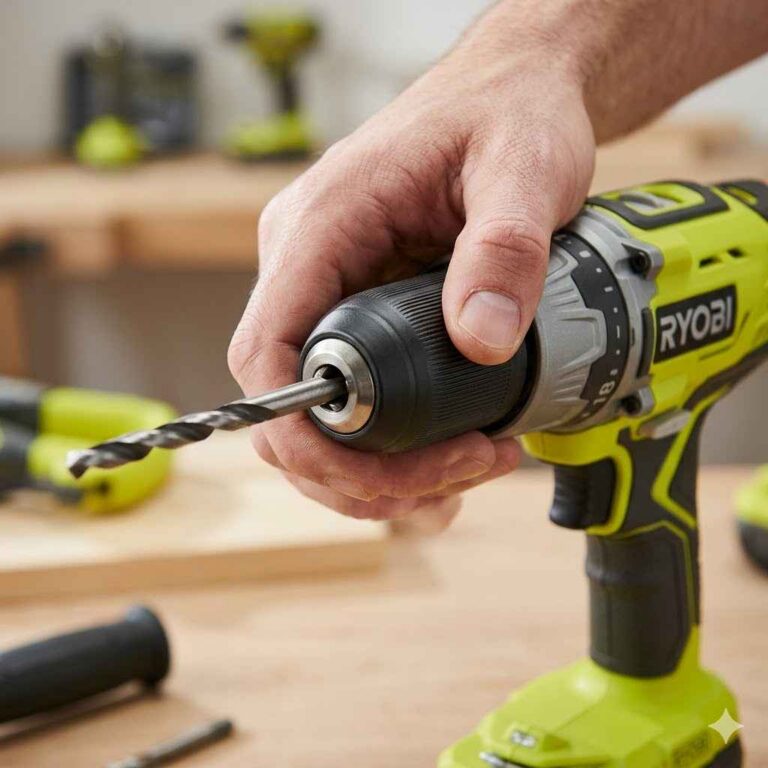
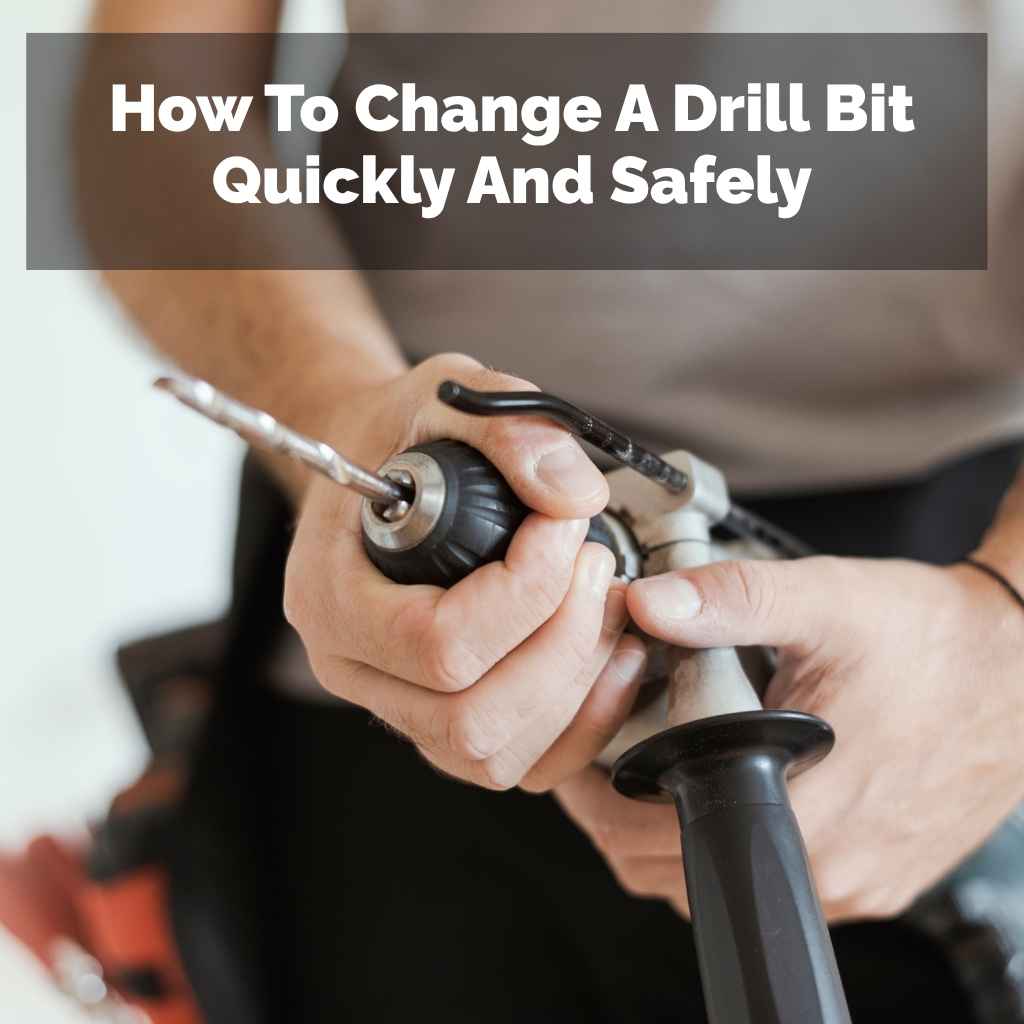
How to Change a Bit in a Keyless Chuck
Changing a bit in a keyless chuck is usually straightforward. Most of us have drills with these. They’re designed for speed.
You can do it without thinking much after a few tries.
First, make sure the drill is unplugged or the battery is out. Grip the body of the drill firmly with one hand. With your other hand, grab the chuck sleeve.
This is the part that spins.
Now, twist the chuck sleeve. Most keyless chucks open when you turn them counter-clockwise. You’ll hear a ratcheting sound sometimes.
Keep twisting until the jaws open wide enough. You should see the old bit loosen.
Gently pull the old drill bit straight out. It should come out easily. Now, take your new drill bit.
Put the shank end into the open jaws. Push it in firmly, so it’s seated well.
Next, twist the chuck sleeve back the other way. This is clockwise. Tighten it as much as you can by hand.
You want the bit to be held very snugly. Give it a good firm turn.
Some drills have an auto-lock feature. This means it stays locked even if you don’t tighten it super hard. But it’s always best to tighten it well.
A loose bit can wobble or even fly out.
Keyless Chuck Bit Swap: Quick Steps
- Unplug or remove battery.
- Grip drill body.
- Twist chuck sleeve counter-clockwise.
- Pull out old bit.
- Insert new bit.
- Twist sleeve clockwise until tight.
- Give it a final hand-tighten.
How to Change a Bit in a Keyed Chuck
Keyed chucks are a bit more involved. They need that special chuck key. If you have an older drill, you might be familiar with this.
It’s still pretty simple, though.
First, like always, disconnect the power. Unplug the drill or take out the battery. Find your chuck key.
It’s a small metal piece, often with a handle.
Look at the side of the keyed chuck. You’ll see one or more small holes. These are for the chuck key.
Find a hole that looks like it fits the key’s tip.
Insert the tip of the chuck key into one of the holes. Now, turn the key. You’ll usually turn it counter-clockwise to loosen.
You might need to turn it quite a bit. Keep turning until the jaws open wide.
Once the jaws are open, the old drill bit will be loose. You can pull it out. Sometimes, it might be stuck a little.
A gentle wiggle should do it.
Take your new drill bit. Place its shank into the open jaws. Make sure it goes in straight and is centered.
Now, put the chuck key back into one of the holes. Turn the key clockwise. This tightens the jaws.
You want to tighten it firmly. Some people like to use two holes to tighten it evenly.
Turn the key in one hole until it’s snug. Then, move to another hole and turn it again. Repeat this until the bit feels very secure.
A bit that’s not tight enough is dangerous.
Pro Tip: Some keyed chucks have three holes. Using all three helps tighten the jaws evenly. This ensures the bit is held perfectly straight and secure.
Keyed Chuck Bit Swap: Step-by-Step
- Unplug or remove battery.
- Locate chuck key.
- Insert key into a hole on the chuck.
- Turn key counter-clockwise to loosen.
- Remove old bit.
- Insert new bit.
- Insert key into a hole.
- Turn key clockwise to tighten.
- Use multiple holes for even tightening.
- Ensure bit is very secure.
Dealing with Different Drill Bit Types
Drill bits come in many shapes and sizes. Most of them fit standard chucks. However, some tools might use different systems.
It’s good to know what you’re working with.
The most common bits are round shank bits. These are what most DIYers use. They work perfectly with both keyed and keyless chucks.
Just make sure the shank size fits the chuck’s capacity.
Then there are hex shank bits. These have a hexagonal shape on the shank. They’re very popular for Hammer Drill And Impact Driver: Key Insights” href=”https://woodworkingadvisor.com/difference-between-a-hammer-drill-and-impact-driver/” target=”_blank” rel=”noopener” data-wpil-monitor-id=”19399″>impact drivers.
They can also be used in regular drills if your chuck can grip them. Some chucks might have trouble gripping a full hex shank.
Some bits are designed for specific tasks. For example, large auger bits for wood have a special tang. This part is usually thicker.
It helps them bite into the material. They might need a robust chuck to hold them securely.
And don’t forget driver bits! These are for driving screws. They often have a hex shank.
They usually don’t need a chuck at all. They connect to a magnetic bit holder.
For most regular drilling, you’ll be using round or hex shank bits. Just ensure the chuck can grab the bit properly. If a bit keeps slipping, it might be the wrong type for your chuck, or your chuck is worn out.
Bit Shank Styles Explained
Round Shank:
- Smooth, circular shank.
- Fits most standard chucks.
- Very common.
Hex Shank:
- Six-sided shank.
- Resists slipping.
- Often used in impact drivers.
- Can fit some drill chucks.
Specialized Shanks:
- Tapered, thicker ends.
- For heavy-duty bits (e.g., auger bits).
- Require strong chuck grip.
My Own Bit-Changing Mishap
I remember one time, I was building a deck. It was a hot summer day. I needed to drill a lot of pilot holes.
I had a brand new set of drill bits. I grabbed the first one I thought I needed.
I was using my old corded drill. It has a keyed chuck. I was in a hurry.
I rushed through loosening the chuck. I thought I had it tight enough. I started drilling.
Halfway through a hole, the bit just stopped spinning.
It wasn’t dull. It just came loose. The bit spun in the chuck, making a horrible grinding noise.
It was embarrassing and a bit scary. I almost hit my hand. I had to stop everything.
That day, I learned a hard lesson. Rushing the bit change is a bad idea. You need to take that extra moment to ensure it’s truly secure.
Now, I always double-check. I make sure my bits are locked in tight. It saves time and frustration in the long run.
When to Worry: Signs of a Problem
Most of the time, changing a drill bit is simple. But sometimes, things aren’t right. There are a few signs that something might be wrong with your drill or the bit.
First, if the bit keeps slipping out. Even after you tighten the chuck, the bit wobbles or comes loose. This could mean the chuck jaws are worn out.
They can’t grip the bit properly anymore.
Another sign is if the chuck itself feels loose. When the drill isn’t running, you can wiggle the chuck. It shouldn’t have much play.
A loose chuck means it can’t hold bits straight or tight.
If you hear grinding noises when drilling, and it’s not the wood or metal, that’s bad. It could be the chuck gears grinding. Or it might be the bit itself not being held straight.
Sometimes, a bit might get stuck in the chuck. This is rare but can happen. If you can’t loosen the chuck enough to get it out, you might need professional help.
Or it could be time for a new drill.
Also, look at the bits themselves. If the shank is damaged, bent, or worn down, it won’t grip well. Always use good quality bits.
And inspect them before putting them in the drill.
Troubleshooting Your Chuck
- Bit Slipping: Check chuck jaws for wear. Ensure you’re tightening enough.
- Loose Chuck: The chuck mechanism itself might be failing.
- Grinding Noises: Could be chuck gears or an improperly held bit.
- Stuck Bit: May require force or replacement of the chuck/drill.
- Damaged Bit Shank: The bit won’t hold securely if the shank is compromised.
Keeping Your Drill Bits Organized
A lot of us end up with bits everywhere. It’s easy to lose them. Or to grab the wrong one.
Having a system helps a lot.
Many drill bit sets come in cases. These cases have slots for each bit. They keep them neat and easy to find.
If you bought bits individually, consider getting a bit organizer. You can find them at any hardware store.
You can also use small plastic containers or toolboxes. Label them clearly. Put bits of the same size or type together.
This saves you time searching later.
For very common bits, like a standard wood drill bit, maybe keep one or two in a small pouch attached to your tool belt. This way, they’re right there when you need them.
When you finish a job, take a moment to put your bits back. It might seem like a small thing. But it makes a huge difference.
You’ll always know where to find what you need. This keeps your workflow smooth.
Smart Bit Storage Ideas
Bit Sets with Cases:
- Designed for organization.
- Keep bits secure and easy to see.
Dedicated Organizers:
- Plastic boxes with compartments.
- Available for various bit types.
DIY Solutions:
- Small tackle boxes or craft organizers.
- Label clearly for quick identification.
Tool Belt Pouches:
- For frequently used bits.
- Convenient access during jobs.
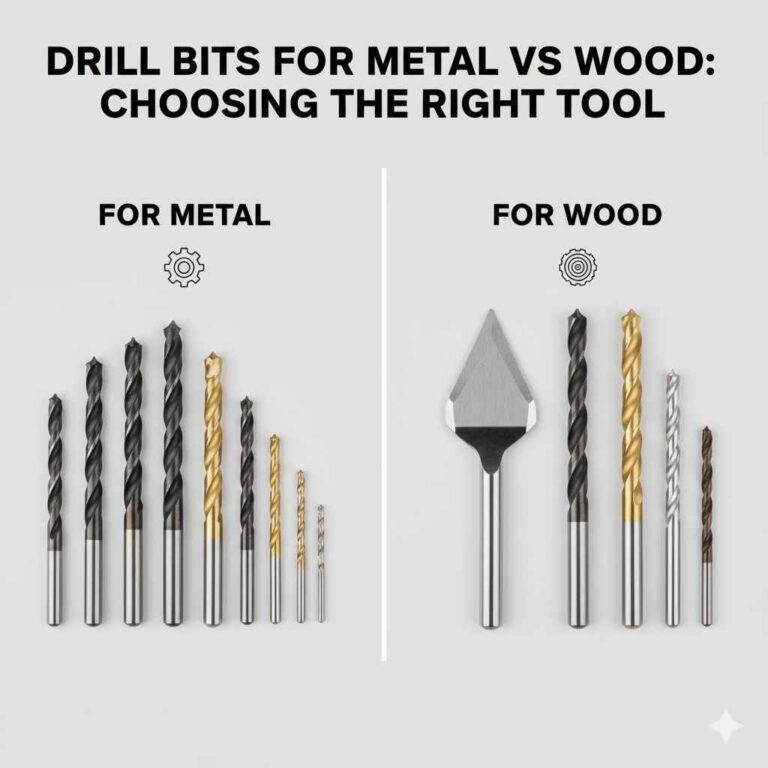
Choosing the Right Drill Bit for the Job
This guide is about changing bits. But it’s also good to know which bit to choose. Picking the wrong bit can cause problems or not do the job well.
For wood, you’ll want wood bits. They often have a sharp point. This helps them start cutting cleanly.
There are spade bits, brad-point bits, and twist bits for wood.
For metal, use metal drill bits. They are usually made of harder steel. They can handle the heat and resistance of metal.
They tend to have a steeper angle. Be sure to use a lubricant.
For masonry like brick or concrete, you need masonry bits. They have a carbide tip. This tip is very strong.
It can chip away at hard materials. You’ll need a hammer drill for best results with these.
Always match the bit to the material you are drilling. And choose the right size. For screws, you’ll drill a pilot hole.
It should be slightly smaller than the screw’s shank. For anchors, follow the anchor’s size guide.
Knowing your bits makes changing them easier too. You’ll know what you need to grab next. It’s all part of being efficient.
Drill Bit Types by Material
Wood:
- Brad-point bits (sharp tip)
- Spade bits (flat, large holes)
- Twist bits for wood
Metal:
- HSS (High-Speed Steel) bits
- Cobalt bits (for harder metals)
- Use cutting fluid.
Masonry (Concrete, Brick):
- Carbide-tipped bits
- Best with hammer drills.
Quick Tips for a Smooth Bit Change
Here are a few final thoughts to make your bit-changing experience even better.
Keep It Clean: Make sure the drill bit and the chuck jaws are clean. Dust or debris can interfere with a good grip.
Use the Right Tool: If you have a keyed chuck, always use the correct chuck key. Trying to use pliers or other tools can damage the chuck.
Check Bit Length: Make sure the bit is long enough to drill the hole you need. But not so long that it hits something behind the material.
Listen to Your Drill: If the drill sounds strained or makes weird noises after changing a bit, stop and check it again. Something might not be seated correctly.
Warm Up Bits? Some folks lightly warm up their drill bits in hot water before a tough job. This is more for metal. It can sometimes help them cut easier.
But it’s not essential for most home tasks.
Battery Life: If you have a cordless drill, make sure your battery is charged. Running out of juice mid-job is frustrating, especially after you’ve just swapped bits.
Storage is Key: As mentioned, keeping bits organized saves so much time. Grab a small organizer today!

Frequently Asked Questions About Drill Bits
How often should I change my drill bits?
You should change your drill bits when they become dull. A dull bit will require more force. It can also create rougher holes.
For general DIY, this might be after many uses. For heavy construction, bits wear out much faster.
Can I use a screwdriver bit in a drill chuck?
Yes, many drills can hold screwdriver bits. You usually need a magnetic bit holder that fits into the chuck. The screwdriver bit then attaches to the holder.
This turns your drill into a powerful screwdriver.
What is the difference between a drill bit and a driver bit?
A drill bit makes holes. A driver bit drives screws. Drill bits have cutting edges on the tip.
Driver bits have shaped ends that fit screw heads, like Phillips or flathead.
How do I know if my drill chuck is broken?
If the chuck won’t tighten or loosen properly, or if it feels very loose even when tightened, it might be broken or worn out. A grinding noise from the chuck itself can also be a sign.
Is it safe to use a drill without a battery or plugged in?
No, it’s never safe to use a drill that is still connected to power or has a battery inserted without first unplugging or removing it. Always disconnect power before changing bits.
What’s the best way to remove a stuck drill bit?
First, try loosening the chuck fully. If it’s still stuck, you might try gently tapping the chuck key while turning it. Sometimes a little penetrating oil can help.
If it’s really jammed, you might need to take it to a repair shop or consider replacing the chuck.
Mastering the Bit Change
Changing a drill bit might seem small. But doing it right makes a big difference. It keeps you safe.
It saves you time. And it helps your projects go smoothly.
Remember to always disconnect power. Know your chuck type. And ensure the new bit is held very tightly.
With a little practice, you’ll be swapping bits like a pro in no time.