How to Cut Thin Pieces of Wood Safely
Thin pieces of wood — anything under 1/4 inch — need a thin-kerf blade with 60 to 80 teeth and a push jig, not just a steady hand, because the offcut can catch between the blade and fence and kick back. Using a fine-toothed hand saw or the wrong table saw setup causes splintering and tear-out. This guide covers safe cutting methods with a table saw, band saw, hand saw, and jigsaw, plus how to prevent splintering.
What Blade Should You Use for Thin Wood?
Best Thin-Wood Safety Pick
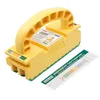
MICROJIG GRR-RIPPER 2GO Push Block – $29.00
Holds both sides of a thin strip parallel to the blade so the offcut never sits trapped between blade and fence — the exact kickback risk this guide warns about when ripping thin strips on a table saw.
- Best for: Ripping strips down to 5/16″ wide on a table saw, router table, or band saw
- Why we picked it: Keeps hands and the narrow offcut clear of the blade — the safety gap in most beginner setups
- Main drawback: Takes a few cuts to get used to the grip and feed pressure
Compare more thin-wood cutting options
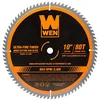 Option 1 WEN BL1080 80-Tooth Thin-Kerf Blade – $19.99
|
 Option 2 SUIZAN 6″ Japanese Pull Saw – $22.70
|
 Option 3 GOINGMAKE Thin Rip Jig – $26.58
|
As an Amazon Associate we earn from qualifying purchases.
A thin-kerf blade is a saw blade ground to remove less material per pass — typically 0.087″ to 0.094″ wide versus 0.125″ on a standard blade. It requires less force to push through the cut, which reduces the tear-out that ruins thin strips. Use a thin-kerf blade with 60 to 80 teeth and an alternate-top-bevel (ATB) grind for clean cuts in wood 1/4 inch or thinner; a low tooth-count ripping blade will chip out the edges of anything this thin.
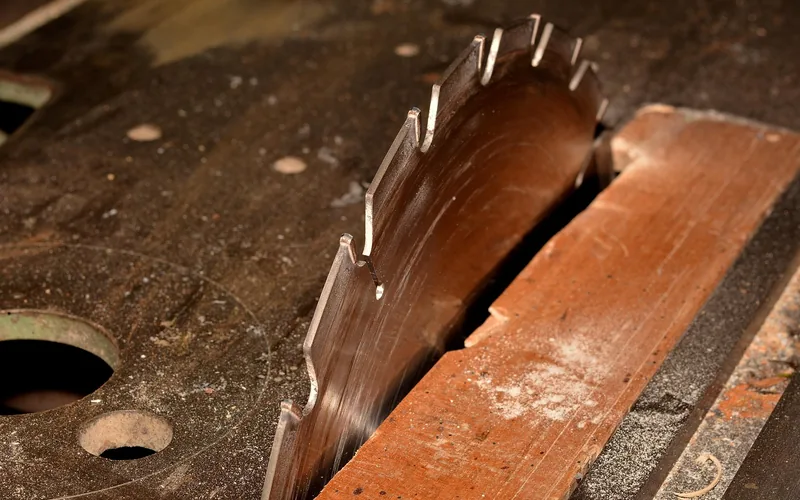
📊 Thin-kerf blades cut a 0.087″–0.094″ kerf versus 0.125″ on a standard blade — about 30% less material removed per pass, which means less force and less tear-out on thin stock. — Source: Freud Tools, thin-kerf blade specifications, 2026
Essentials for Precision Cutting
Choosing the Right Tools
Using the appropriate tool for the wood thickness and cut type is the biggest factor in a clean result — one of the more common precision woodworking challenges beginners run into. Here are the tools that actually matter for thin wood:
- Scroll Saw: A versatile tool with a thin blade and adjustable speed, ideal for intricate and detailed cuts in thin wood.
- Table Saw: Equipped with a fine-toothed thin-kerf blade, it gives accurate, straight cuts — especially with a thin-rip jig (covered below) to keep hands clear of the blade.
- Japanese Pull Saw: Cuts on the pull stroke instead of the push stroke, which keeps the blade in tension and reduces splintering on delicate cuts.
Understanding Wood Grain
Before cutting thin pieces of wood, check the direction of the grain. Cutting against it tears the fibers instead of slicing them, and thin stock has almost no thickness to absorb that damage.
- Grain Orientation: Cut with the grain wherever the design allows — cutting against it causes tear-out and rough edges.
- Marking the Cut: Mark the cut line with a pencil or marking knife along the grain direction to keep the cut accurate.
- Supporting the Wood: Back the cut with a sacrificial scrap or a zero-clearance insert so the thin offcut can’t drop into the throat plate and splinter.
Safety First
Personal Protective Equipment
Wear safety glasses to protect your eyes from wood chips and debris, hearing protection such as earplugs or earmuffs around machinery, and respiratory protection to avoid inhaling sawdust. Skip gloves near a spinning blade — loose fabric near a saw is its own hazard — but cut-resistant gloves are fine for hand-tool work.
Workspace Setup
Keep the work area well-lit and free of tripping hazards, and secure your workpiece with clamps or a vise so it can’t shift mid-cut. A cluttered bench near a running blade is how minor slips turn into real injuries.
Preparing the Wood
Measuring and Marking
- Measure the wood accurately with a ruler or tape measure.
- Mark the cutting line with a sharp pencil or marking knife.
- Run a strip of painter’s tape along the cut line — it holds the wood fibers together as the blade passes and cuts splintering noticeably.
Securing the Wood
- Clamp the wood securely to a workbench to prevent movement.
- Use woodworking clamps or quick-release clamps for stability — never hold thin stock by hand near a blade.
Cutting Techniques for Thin Wood
The three most common ways to cut thin wood are a hand saw, a table saw, and a jigsaw — each suited to a different job.
Using a Hand Saw
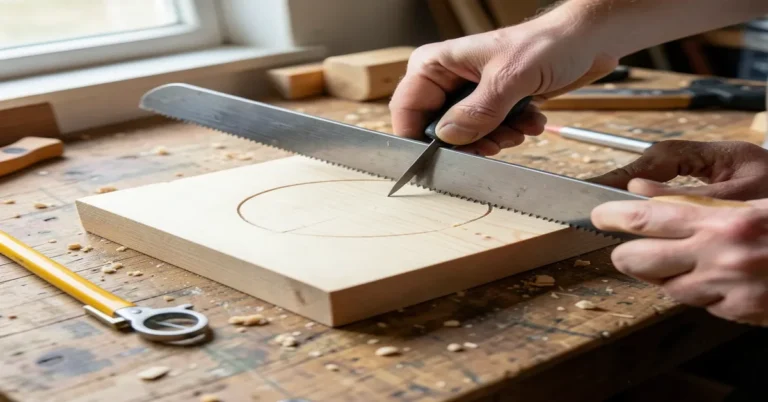
A fine-tooth hand saw works well for thin pieces of wood when a power tool is overkill. Make sure the blade is sharp before you start — a dull hand saw tears rather than slices thin stock. For a deeper walkthrough of hand-cutting narrow strips, see our guide to cutting thin strips by hand.

- Mark the cut line with a pencil or straight edge.
- Secure the wood to a workbench or clamp it firmly in place.
- Hold the saw with both hands and cut along the marked line with a slow, steady motion.
- Keep the blade perpendicular to the wood for a straight cut.
- Sand the cut edge smooth once you’re done.
Operating a Table Saw
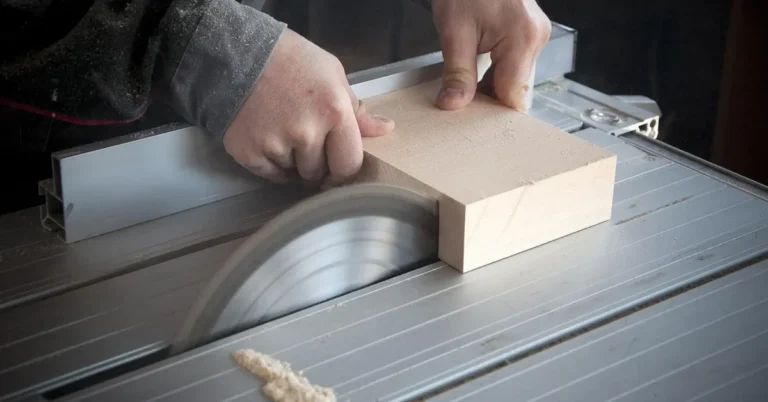
A table saw cuts thin wood quickly and accurately, but it is also where most kickback accidents happen on this kind of cut — see the safe ripping method below before you try it.
- Adjust the blade height to match the thickness of the wood.
- Use a push stick or push block to feed the wood through, keeping hands away from the blade at all times.
- Keep the wood flat against the fence for a straight cut.
- Turn off the saw and wait for the blade to stop before removing the cut piece.
Working With a Jigsaw
A jigsaw is the right tool for curves and intricate shapes in thin wood that a straight blade can’t follow.
- Mark the area you want to cut using a pencil or a straight edge.
- Secure the wood to a workbench or clamp it firmly in place.
- Insert the jigsaw blade into the starting hole and turn on the saw.
- Follow the marked line with a slow, steady motion, keeping the blade perpendicular to the wood.
- Sand the cut edge smooth once you’re done.
“The safest way to rip a thin strip is to never let it become a loose piece trapped between the blade and the fence — use a jig or push block that carries the strip past the blade for you.”
The Safe Way to Rip Thin Strips on a Table Saw
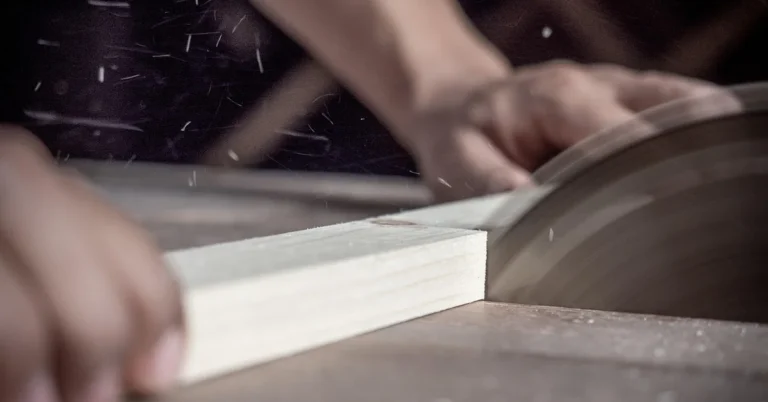
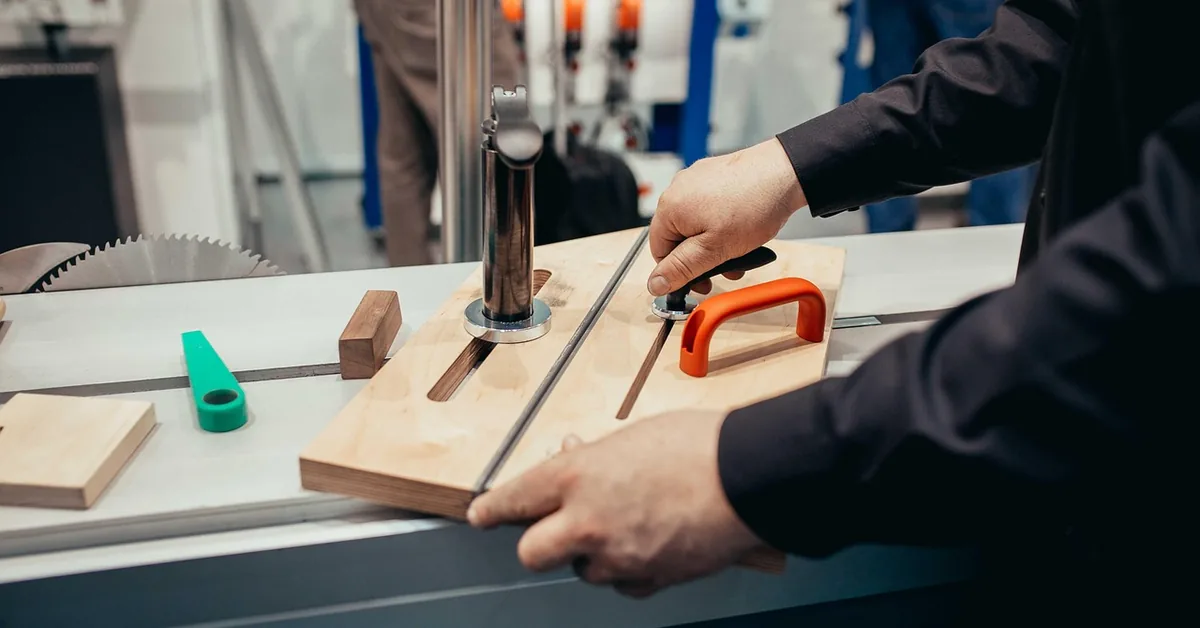
Ripping a strip narrower than about 1 inch on a table saw is where most thin-wood accidents happen: the offcut sits between the spinning blade and the fence with nothing holding it, and if it gets pinched it can shoot straight back at you. A dedicated thin-rip jig rides in the miter slot ahead of the blade and carries the strip through the cut, so your hands and the offcut both stay clear of the blade path.
- Fit the jig or push block: Set the thin-rip jig or a 3D push block to the exact strip width before you turn on the saw.
- Install a zero-clearance insert: This stops the thin offcut from dropping into the throat plate gap and catching the blade.
- Feed at a steady pace: Push straight through without pausing mid-cut — stopping partway is what lets an unsupported offcut drift into the blade.
- Let the offcut fall away, never trap it: The strip should exit clear of the fence, not get squeezed between the fence and the spinning blade.
For a full walkthrough of building or buying a dedicated thin-rip jig, see our table saw thin-strip cutting guide.
Resawing Thin Strips on a Band Saw
Resawing is cutting a board down through its thickness to make thinner strips or veneer-like slices. A band saw is the safest power-tool option for this because the blade cuts downward into the table instead of toward you, so there’s no kickback risk the way there is on a table saw.
Use a wide resaw blade (3/4″ or wider) with 3-4 teeth per inch (TPI) and a tall fence or a shop-made resaw guide to keep the board tracking straight. Feed slowly and let the blade do the work — forcing the cut causes the blade to wander and produces strips of uneven thickness. Maple, poplar, and cherry resaw cleanly; red oak is more prone to cracking at very thin widths, so take lighter passes with it. See our band saw blade guide for resaw blade recommendations by wood type.
Table Saw vs. Band Saw vs. Hand Saw for Thin Strips
| Method | Kickback Risk | Best For |
|---|---|---|
| Table Saw + Jig | Moderate (without a jig, high) | Fast, repeatable strips of one exact width |
| Band Saw | Low | Resawing a board into multiple thin slices |
| Hand Saw / Pull Saw | None | One-off cuts, no power tool available |
Finishing Touches
Sanding Edges
Sanding removes rough spots and splinters left from the cut and creates clean, crisp edges.
- Secure the wood piece firmly with clamps or a vise grip.
- Sand the edges with a sanding block, moving back-and-forth with even pressure.
- Start with 80-100 grit for larger imperfections, then switch to 180-220 grit for a smooth finish.
- Sand in the direction of the grain.
- Check the edges as you go and keep sanding until they’re smooth.
Applying Finish
A finish protects thin wood pieces from moisture and damage as much as it improves their appearance.
- Clean the surface with a tack cloth or lint-free cloth to remove dust.
- Choose stain, varnish, or paint based on your desired outcome.
- Apply stain with a brush or cloth, following the manufacturer’s instructions, and wipe off the excess after the recommended time.
- Apply varnish or paint in thin, even coats, letting each one dry before the next.
- Sand lightly between coats with fine-grit sandpaper.
- Let the final coat dry completely before handling the piece.
Troubleshooting Common Issues
Preventing Splintering
Run painter’s tape along the cut line before you cut — it holds the surface fibers together as the blade passes and is the single cheapest fix for splintering.
Dealing With Warped Wood
To flatten warped wood before cutting, apply moisture evenly to the concave side and press it flat under weights until it dries straight.
Advanced Tips for Expert Craftsmanship
Making Angled Cuts
- Measure twice, cut once — double-check measurements before any cut.
- Use a reliable miter saw with a sharp blade for clean, precise angled cuts.
- Secure the wood with clamps or a hold-down device to stop it shifting mid-cut.
- Keep hands and fingers away from the blade and use a slow, steady feed.
Creating Joints
Joints hold pieces of wood together, and thin stock needs accurate, well-fitted joints since there’s little material to spare. Choose the joint suited to the project, measure precisely, and use sharp, high-quality tools to keep the fit tight — a 3-piece corner joint is a common example that follows the same accuracy rules. For gluing, clamping, and reinforcement techniques suited to very thin material, see our guide on how to join 1/4-inch wood.
Maintenance and Care of Tools
Cleaning and Sharpening Blades
- Clean blades after each use with a dry cloth to remove sawdust and debris.
- Use a wire brush on stubborn dirt caught in the teeth.
- For heavy buildup, clean with warm water and dish soap, then dry thoroughly.
- Sharpen regularly with a sharpening stone or file and a honing guide for a consistent angle.
- Test sharpness by cutting a piece of paper — a sharp blade slices through cleanly.
Storing Tools Properly
- Store tools in a dry, cool place to prevent rust and corrosion.
- Hang tools on a pegboard or store in a toolbox to keep them organized.
- Use blade guards or sheaths to protect blades from damage.
- Store tools so they don’t rub against each other and dull the edges.
You may also want a smooth surface before applying finish — see our guide on fixing splintered wood if a cut edge needs extra work.
Frequently Asked Questions
How Can I Cut Thin Wood Without Splintering?
Use a sharp, fine-toothed blade and run painter’s tape along the cut line before cutting. Support the wood underneath with a sacrificial scrap or zero-clearance insert, and cut slowly and steadily to keep splintering to a minimum.
What Are Some Safety Tips for Cutting Thin Wood?
Always wear safety glasses and work on a stable surface. Keep your hands well clear of the cutting path, use a push stick or push block on a table saw, and never let a thin offcut sit trapped between the blade and the fence.
What Tools Are Best for Cutting Thin Wood?
A sharp utility knife, a fine-toothed hand saw, or a rotary tool with a cutting bit all work well for thin wood. For power-tool cuts, a thin-kerf table saw blade or a band saw resaw setup gives the cleanest, most repeatable results.
Can I Use a Laser Cutter to Cut Thin Wood?
Yes, a laser cutter can cut thin wood with precision and minimal splintering. Adjust the power and speed settings to match the specific wood type and thickness being cut.
How Thin Can a Table Saw Cut?
A standard table saw with a thin-rip jig or push block can safely rip strips down to about 5/16 inch wide. Going narrower than that without a dedicated jig is where most kickback accidents happen, since there’s nothing keeping the offcut from binding against the fence.
What Blade Should I Use for Ripping Thin Strips?
Use a thin-kerf blade with 60 to 80 teeth and an alternate-top-bevel grind. The thinner kerf (about 0.09 inch versus 0.125 inch on a standard blade) needs less force to push through the cut, which means less tear-out on narrow strips.
Can You Resaw Thin Wood Without a Band Saw?
Yes — a table saw with a thin-rip jig or a hand saw can both produce thin strips without a band saw, though neither matches a band saw’s safety margin for resawing a full board into multiple slices. A band saw remains the better choice whenever kickback risk is a concern.
Conclusion
Cutting thin pieces of wood safely comes down to three things: a thin-kerf blade matched to the cut, a jig or push block that keeps the offcut from ever getting trapped against the fence, and a slow, steady feed. Get those right and splintering and kickback both become non-issues, whether you’re working on a table saw, a band saw, or by hand.
Sponsored / affiliate links. As an Amazon Associate I earn from qualifying purchases. I may earn additional commission from eligible campaigns.