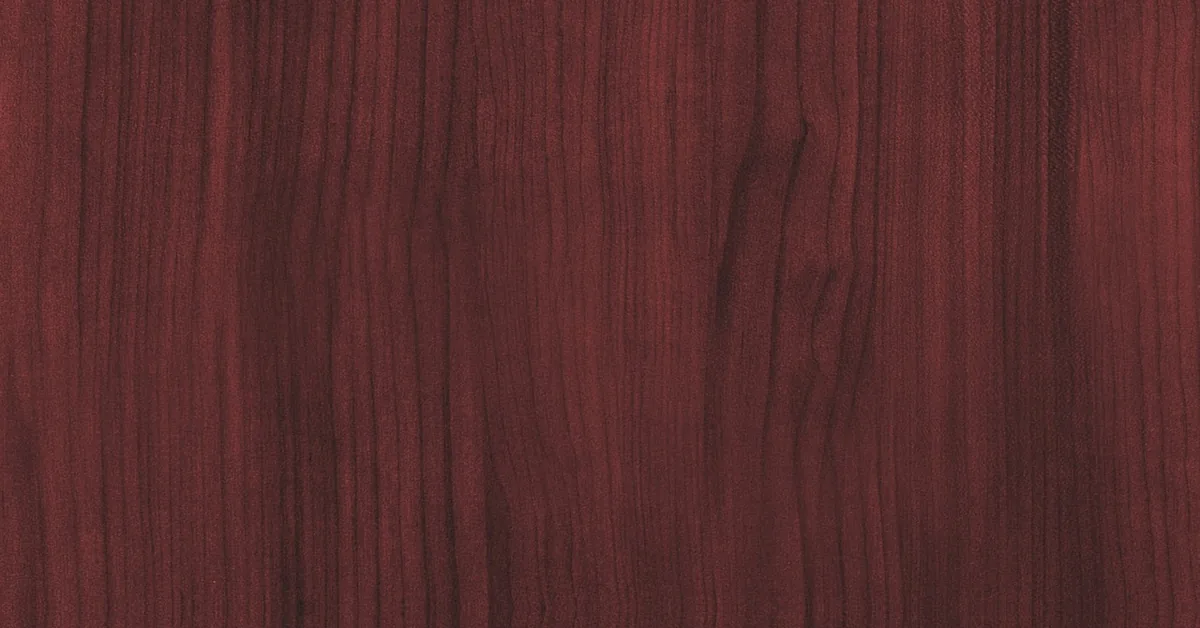
How to Stain Mahogany Wood: Fill the Grain or Leave It Open?
Mahogany takes an oil-based penetrating stain beautifully, but it’s an open-grained wood like oak or walnut — so decide upfront whether to fill the pores with paste wood filler for a glass-smooth finish or leave them open for a textured, tactile surface. Skip that call and even careful staining looks rougher than planned, since open pores show through every coat. This guide covers grain-filling, surface prep, brush technique, and the roughly 24-hour cure before topcoat.
Is Mahogany Hard to Stain? (Open-Grain Wood Explained)
Best Mahogany Stain Pick
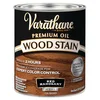
Varathane Red Mahogany Wood Stain – $13.86
An oil-based penetrating stain in mahogany’s natural reddish-brown tone — matches the color this guide is built around, with a manufacturer-rated 2-hour dry-to-touch time.
- Best for: matching mahogany’s natural color without mixing stains
- Why we picked it: oil-based formula penetrates the open grain this guide covers, and its 2-hour dry time speeds up multi-coat projects
- Main drawback: oil-based means mineral-spirits cleanup and stronger odor than a water-based option
Compare more mahogany staining supplies
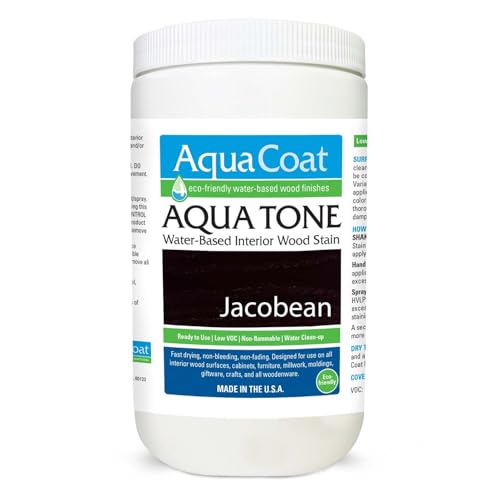
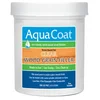 Option 1 Aqua Coat Wood Grain Filler Gel – $23.33
|
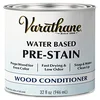 Option 2 Varathane Pre-Stain Wood Conditioner – $18.29
|
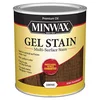 Option 3 Minwax Gel Stain, Coffee – $19.99
|
As an Amazon Associate we earn from qualifying purchases.
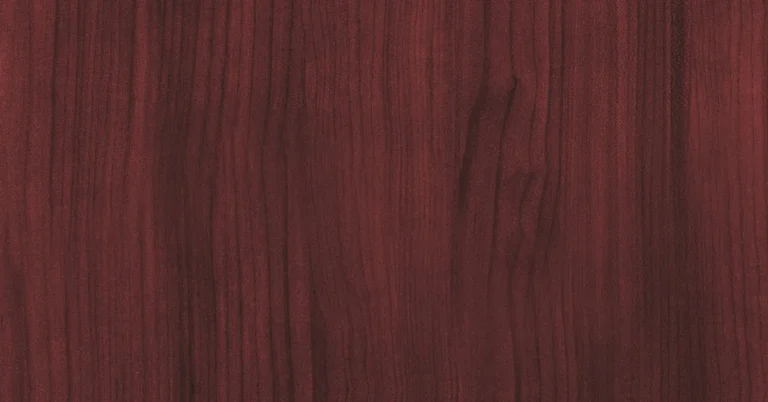
Mahogany is an open-grained hardwood — in the same family as oak and walnut for finishing purposes — which means its pores stay visible as small pits and lines unless you fill them first. It isn’t hard to stain in the sense of being difficult to color; oil-based stains soak in evenly and highlight the reddish-brown tone people buy mahogany for. The real skill is deciding how you want that open grain pattern to read once the piece is finished, which is covered next.
Fill the Grain or Leave It Open? (The Decision That Actually Changes Your Finish)
Before you sand a single pass, decide on grain treatment — it changes your prep steps, not just your final look. Filling the pores with a paste or gel wood filler gives a mirror-flat, furniture-showroom surface where the topcoat sits level with the grain. Leaving the grain open keeps the natural texture you can feel by hand, which many woodworkers prefer on tables and cabinets specifically because it reads as solid wood rather than a sprayed finish.
If you fill, work the filler into the pores across the grain with a plastic scraper or coarse rag, then let it cure fully — rushing this step is the single most common cause of filler pulling back out of the pores during sanding. Water-based gel fillers like the one below are sandable and stainable once dry, so grain-filling happens before staining, not after. For a deeper walkthrough of filler types and when finishing pros skip this step entirely, see our guide to mahogany grain fillers.
Choosing The Right Stain
Oil-based penetrating stains are the standard choice for mahogany because they soak into the open grain and deepen its natural reddish-brown color rather than sitting on top of it. Water-based stains dry faster and have less odor, but they raise the wood’s grain slightly, which means an extra light sanding pass between coats. Gel stains behave differently — they sit on the surface instead of penetrating, which gives more even coverage on porous or blotch-prone sections but a slightly less transparent look at the grain.
Test any stain on an offcut or hidden edge of the actual piece first. Mahogany’s color varies board to board, so the same can of stain can read lighter or darker depending on the wood in front of you.
Preparing The Wood Surface
Start with medium-grit sandpaper around 120 grit and sand in the direction of the grain — sanding across it leaves scratches that show through every coat of stain. Move to 220 grit for a second pass, then wipe the surface with a tack cloth to pull dust out of the pores before you apply anything else.
If you decided to leave the grain open rather than fill it, apply a pre-stain wood conditioner instead. It soaks into the pores first and evens out absorption, which is what prevents the blotchy patches that show up on mahogany when stain hits some spots harder than others. Let the conditioner penetrate for the time listed on its label, then wipe off the excess before staining — a damp, not wet, surface is the goal.
How to Apply Wood Stain to Mahogany (Step-by-Step)
- Stir, don’t shake: stir the stain thoroughly so pigment that settled at the bottom of the can mixes back in evenly — shaking introduces air bubbles.
- Apply with the grain: use a natural bristle brush, foam applicator, or clean cotton cloth, working in long strokes that follow the direction of the grain, not across it.
- Work in sections: stain a manageable area at a time so the stain doesn’t start drying before you wipe it back.
- Wait 5 to 10 minutes: let the stain sit so it can penetrate before you remove the excess — less time for a lighter tone, more for a deeper one.
- Wipe off the excess: use a clean, dry cotton cloth and wipe with the grain. Any stain left sitting on the surface stays tacky and never fully cures.
- Recoat only after full drying: if you want a darker color, apply a second coat only once the first has dried completely per the can’s instructions, not while it’s still tacky.
Getting a Darker, Richer Color (Multiple Coats)
Each additional coat of stain deepens mahogany’s color, since the pigment builds up in the open pores with every pass. Start lighter than you think you want — it’s easy to add another coat for more depth, but far harder to lighten a piece that’s already too dark. If the color still isn’t dark enough after two full coats, a gel stain applied on top gives you another way to deepen it without raising the risk of blotching that a third liquid coat can cause.
If you’re after a full black rather than just a deeper brown, see can you stain mahogany wood black for the gel stain, dye stain, and true ebonizing methods that get an even black on mahogany’s tight grain.
How Long Does Mahogany Stain Take to Dry?
📊 Most oil-based wood stains are dry-to-the-touch in 2 hours and ready for a topcoat after roughly 24 hours — check the specific product label, since fast-dry formulas and standard oil-based stains vary. Humidity, temperature, and airflow all affect the real-world time.
High humidity slows drying, while a warm, dry, well-ventilated space speeds it up. Don’t rush this step — sealing over stain that hasn’t finished curing traps solvent underneath the topcoat and can leave the surface tacky or cloudy months later.
Sealing The Stained Wood (Only After It’s Fully Dry)
Once the stain has cured completely — not just dry to the touch — apply a topcoat to protect the color and add durability. Polyurethane is the most common choice for its water resistance and durability in high-traffic pieces. Varnish adds UV resistance, which matters if the piece sits near a window or outdoors. Shellac and lacquer dry faster but offer less protection against water and heat.
Apply thin, even coats with a clean brush, following the grain, and lightly sand between coats with fine sandpaper for a smooth result. For a full breakdown of topcoat types by cost and number of coats needed, see our comparison of mahogany finish options.
Common Mistakes to Avoid
Over-applying stain leaves the surface sticky and prevents it from ever drying properly. Apply thin coats and wipe off excess quickly rather than flooding the wood.
Skipping wood prep means dust and rough patches keep the stain from soaking in evenly, leaving a patchy finish. Always sand and wipe with a tack cloth first.
Sealing before the stain has fully cured traps moisture and solvent under the topcoat, which can leave the finish tacky or cloudy well after it looked dry on the surface. Wait the full cure time on the can, not just until it feels dry to the touch.
Maintenance And Care
Dust stained mahogany regularly with a soft, dry cloth, and clean with a mild soap-and-water solution rather than harsh chemicals, which can dull the finish. Dry the surface immediately after cleaning to avoid moisture damage. For scratches or dull spots, a matching wood furniture restorer or touch-up stain pen can fix small blemishes without a full refinish; for deeper damage, see our guide on getting dents out of finished wood.
Frequently Asked Questions
What Kind Of Stain Should You Use On Mahogany Wood?
Use an oil-based penetrating stain for the most traditional mahogany look — it soaks into the open grain and deepens the wood’s natural reddish-brown color. A gel stain is a better choice on sections prone to blotching, since it sits on the surface instead of soaking in unevenly. Water-based stains work too and dry faster, but they raise the grain slightly and need an extra light sanding pass.
Is Mahogany Wood Hard To Stain?
No — mahogany takes stain well because it’s an open-grained wood that absorbs oil-based color evenly. The part that trips people up isn’t staining itself, it’s deciding whether to fill the grain for a smooth finish or leave it open for texture before you start, since that choice changes your prep steps.
Should You Fill The Grain Before Staining Mahogany?
Only if you want a glass-smooth, filled finish. Fill the open pores with a paste or gel wood filler, let it cure fully, then sand and stain over it. If you prefer a textured surface where you can feel the grain, skip the filler and use a pre-stain wood conditioner instead to prevent blotching.
Does Mahogany Need To Be Sealed Before Staining?
No — sealing happens after staining, not before. Sealing the raw wood first would block the stain from soaking into the pores at all. If you want to prevent uneven absorption on unfilled grain, apply a pre-stain wood conditioner instead, then stain, then seal once the stain has fully cured.
How Long Should You Wait Before Adding A Second Coat Of Stain?
Let the first coat dry completely per the manufacturer’s instructions before adding another — most oil-based stains are dry-to-the-touch in about 2 hours, but full cure can take up to 24 hours depending on humidity and airflow. Applying a second coat over stain that’s still tacky causes uneven color and can lift the first coat.
Conclusion
Mahogany rewards a bit of upfront planning more than raw skill: decide whether you’re filling the grain or leaving it open before you sand, prep accordingly, and apply stain in thin, even coats that you wipe back within 5 to 10 minutes. Let it cure fully — not just dry to the touch — before sealing, and the open grain that makes mahogany tricky to rush becomes the same texture that makes it worth staining in the first place.
Sponsored / affiliate links. As an Amazon Associate I earn from qualifying purchases. I may earn additional commission from eligible campaigns.