Rustic Wood Christmas Sign
For a rustic wood Christmas sign, a common rule of thumb is to use 1×8 or 1×10 pine for a mantel, about 12-18 inches wide for a wall, and about 18-24 inches wide for a porch; seal outdoor versions with exterior primer and topcoat. Wrong size or finish makes the sign look crowded, warp in damp weather, or fade fast outside. This guide covers wood choices, wording, paint or stain, mounting, and durability for mantel, wall, and covered-porch display.
Rustic wood Christmas sign basics


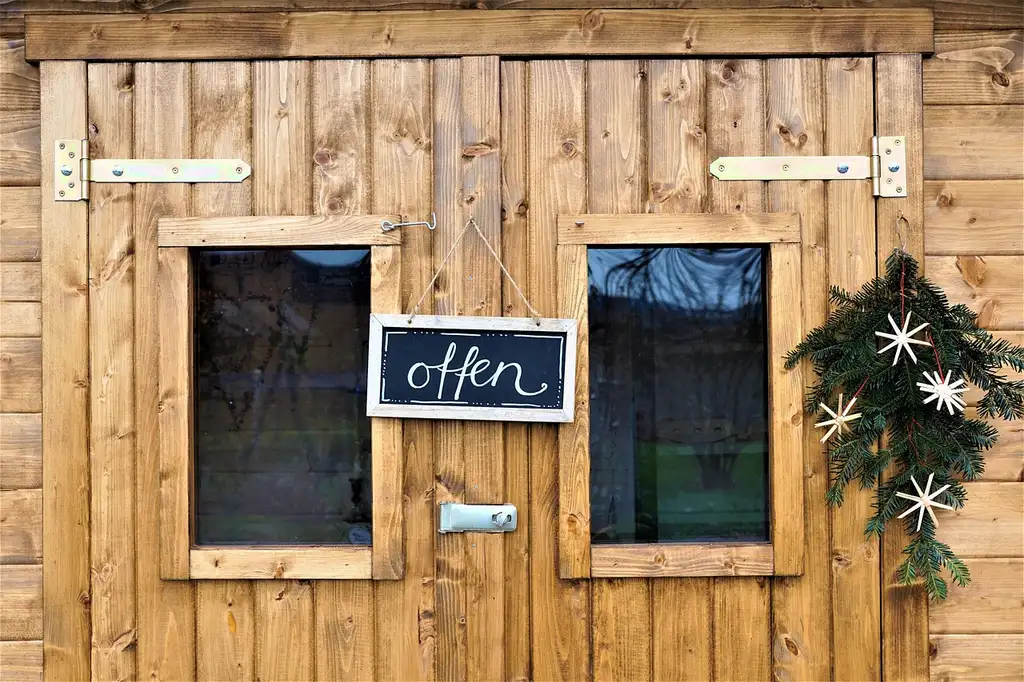
A rustic wood Christmas sign usually starts with visible grain, plain holiday wording, and a finish that looks worn by time instead of glossy or perfect. The look comes from wood stain, matte paint, light distressing, and a layout that fits the place where the sign will hang.
What makes the style feel rustic
Keep the surface easy to read. Keep the lines plain. Brown or dark walnut stain helps the grain stay visible, while ivory or black lettering gives enough contrast for holiday words like Merry Christmas, Noel, Joy, or Believe. Snowflakes, small trees, and a few winter marks usually work better than crowded scenes.
Best surfaces for lettering and stain
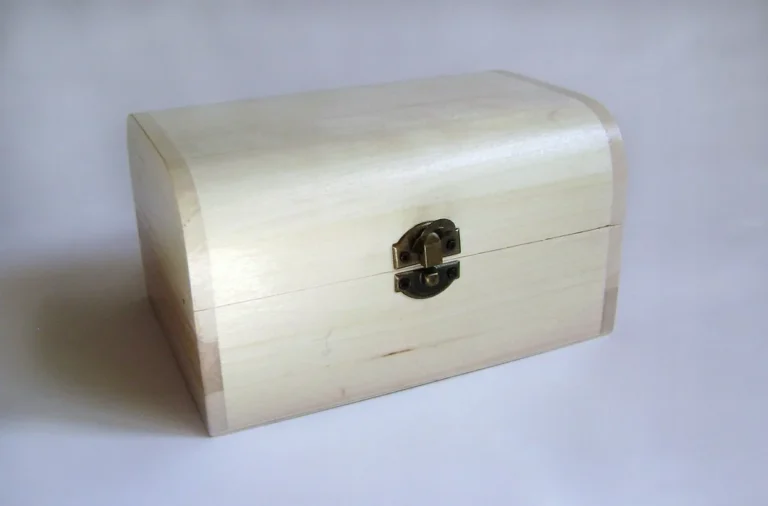
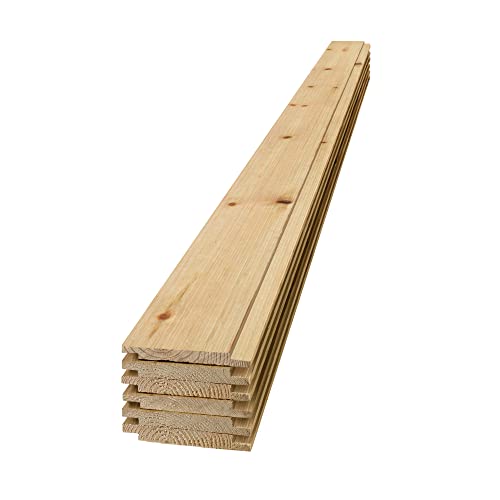
A wood sign blank with a sanded surface gives you the cleanest starting point. Solid wood and reclaimed wood both work if the face is flat enough for paint or stain. A paintable or stainable base matters more than the brand of wood, because uneven texture can make stencils lift and letters blur.
Simple holiday motifs that fit the look
Use one main phrase and one or two small accents. Vinyl snowflake stencils can expose wood grain cleanly, and they pair well with typography-focused layouts. For a rustic sign, keep the motif secondary to the wording so the sign still reads at a glance from across the room or porch.
Which size fits your display?
Choose the size from the hanging spot first. A mantel sign should stay light and low enough not to crowd decor. An indoor wall sign can be wider. A covered porch sign usually needs taller proportions so it reads from farther away and sits comfortably beside a door or column.
Mantel size guidance
For a mantel, 1×8 or 1×10 boards usually feel balanced, especially for shorter words such as Joy or Noel. Common formats like 8×12 or 12×8 work well when the sign sits above candles, greenery, or stockings. Keep the board thin and light so it does not overpower the mantel shelf.
Indoor wall size guidance
For an indoor wall, 12-18 inches wide gives you more room for longer phrases or a vertical layout. A 20 by 16 inch wooden sign, for example, fits better on a blank wall than above a narrow shelf. Wall signs can be flatter and broader because they are not competing with mantel decor.
Covered porch size guidance
For a covered porch, use a taller board or porch-size vertical board so the sign reads from a few steps away. A front porch sign usually works best when it is large enough to stand beside the door without disappearing into the background. If the display area is wide, a taller shape beats a short, cramped panel.
Rustic wood sign decision table
This table maps size, wood, finish, and lettering method to the three most common display spots. Use it to decide before you cut or buy materials. The likely failure points matter as much as the look, especially if the sign will face moisture, glare, or repeated handling.
| Use case | Recommended dimensions | Wood choice | Finish | Lettering method | Durability tradeoff | Likely failure points |
|---|---|---|---|---|---|---|
| Mantel | 8×12 or 12×8; 1×8 or 1×10 board | Solid wood sign blank or smooth reclaimed wood | Brown stain with ivory or black paint; indoor clear coat if desired | Vinyl stencil or painted letters | Lightweight and easy to move, but easier to nick or tip | Overly thick board, crowded wording, glare from a glossy coat |
| Indoor wall | 12-18 inches wide; vertical or horizontal layout | Solid wood, reclaimed wood, or pallet wood if clean and sound | Brown or dark walnut stain with matte acrylic paint | Vinyl stencil for clean edges | More visual impact, but heavier panels need stronger hanging hardware | Crooked spacing, bleed-through, over-distressing that harms legibility |
| Covered porch | 18-24 inches wide; taller vertical board preferred | Solid wood or porch-ready board with fewer defects | Exterior primer plus weather-resistant outdoor sign finish | Vinyl stencil with sealed paint layers | Best visibility outdoors, but needs more prep and sealing | Skipped sealing, water intrusion at edges, peeling paint, sun fade |
What wood should you use?
Choose wood based on the display location, not just the price. Solid wood sign blanks are the cleanest choice for most builds. Reclaimed wood can add character. Pallet wood can cut cost, but only if the boards are clean, sound, and safe to use.
Solid wood sign blank
A solid wood sign blank is the easiest option when you want a sanded, paintable or stainable base. It is also the best starting point for first-timers because the face is usually flatter and more predictable. That matters when you want crisp stencil edges and a sign that hangs straight.
Reclaimed wood options
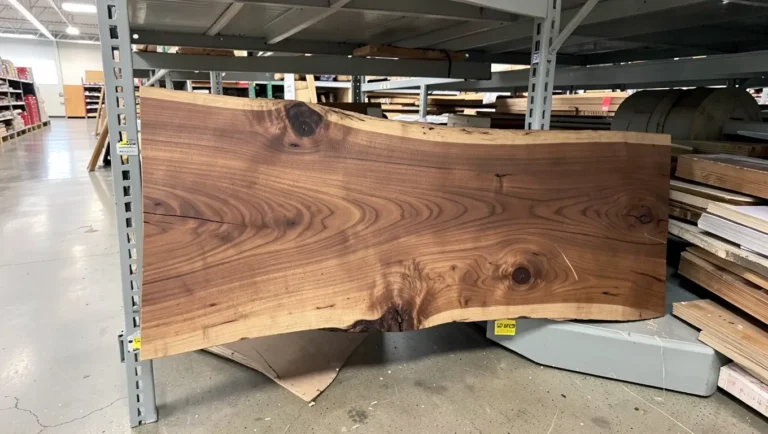
Reclaimed wood works well when you want knots, old nail marks, or a worn surface that already reads rustic. Sand the face enough to remove splinters and loose finish, then check for warping. A flatter board gives cleaner lettering and keeps the sign from rocking on a wall.
Pallet wood caution
Pallet wood is a budget-friendly rustic substrate and a common pick for farmhouse-style signs. Use it only if the boards are clean, dry, and free of deep damage. Avoid dirty, painted, broken, or potentially treated pallets, since those can create odor, surface problems, or safety concerns.
How do you make a rustic wood Christmas sign?
Start with a flat board, sand it smooth enough for paint, then decide whether the grain should show through stain or stay quieter under paint. Build the finish in layers. Letter after the base coat dries. Then distress only enough to soften the edges and make the sign look weathered, not worn out.
Sanding and prep
Sand the face and edges so the board accepts stain and paint evenly. A smooth starting surface helps the stencil stick and keeps the paint from feathering under the edges. Wipe off dust before any stain or paint goes on, or the finish can turn gritty and uneven.
Stain and paint order
Use a brown wood stain or dark walnut tone when you want the grain to stay visible. Let it dry before adding ivory, black, red, or green acrylic craft paint for letters or accents. The tutorial facts here point to brown stain with ivory and black acrylic paints, which gives strong contrast without losing the wood look.
Acrylic craft paint dries in 15 to 20 minutes, so thin coats matter more than thick ones. Put on the base color first if the sign needs a painted background, then add lettering after that layer is dry enough to stencil cleanly. A lighter background can make red or black lettering stand out faster.
Distressing without losing legibility
Use light sanding on the edges and the highest spots after the paint dries. That reveals wood grain or a lower layer without making the words muddy. You can also use layered paint, then sand a few spots back through the top coat for a weathered winter look.
A common first-timer mistake is sanding the center of the words too hard. That can turn Noel into a blur from across the room. Keep the distressing on corners, edges, and a few random spots, then stop before the sign starts to look dirty instead of rustic.
How do you add the lettering?
Vinyl stencils give the cleanest edges for a rustic wood Christmas sign, especially for words and snowflakes. They work well when you want crisp letters without freehand wobble. Use them with a dry, sanded surface and thin paint, then remove them before the paint fully hardens.
Using vinyl stencils
The project facts point to vinyl snowflake stencils that expose wood grain, which fits rustic signs well. Apply the stencil firmly, burnish the edges, and paint in thin coats. Peel it while the paint is still slightly soft so the edge stays sharp and does not chip with the stencil.
Choosing paint colors
Red, green, white, black, and ivory are the most useful acrylic craft paint colors for this project. Ivory and black are the safest lettering choices when the background is brown stain. Red and green work better for small accents, such as a single snowflake, holly dot, or border detail.
Keeping words straight and readable
Center the main phrase first, then place the smaller motif around it. Horizontal layouts suit Merry Christmas and Let It Snow, while vertical layouts work better for Believe, Joy, or Noel on tall boards. Measure the space before you paint so the words do not drift toward one edge.
Suppose you are making a 12×8 wall sign with the word Joy. A centered vertical layout leaves room for a snowflake above and below the word. If you switch to Merry Christmas on the same board, the sign needs a horizontal layout or the lettering will feel cramped.
How do you seal it for outdoor use?
Outdoor signs need sealing. A porch sign faces damp air, sun, and dust, so the finish must do more than look nice. Use exterior primer and a weather-resistant outdoor sign finish. If you skip that step, the board can swell at the edges, paint can peel, and lettering can fade faster than it would indoors.
Weather-resistant finish choices
For porch use, seal the board after the paint and stencil work are complete. A weather-resistant outdoor sign finish should cover the face and edges. Pay special attention to cut ends and seams, because those spots take in moisture first. For indoor signs, a simple clear coat is usually enough if you want extra protection.
Common porch failure points
Most porch failures start at the edges. Water gets in where the board was cut, then the finish lifts. Sun can also fade black or red lettering if the sign gets direct exposure. Crooked hanging hardware creates stress points that can open small cracks over time.
When indoor finishes are enough
If the sign stays on a mantel or interior wall, a weather-rated topcoat is not required. An indoor clear finish can protect the paint without adding the heavier outdoor film. That keeps the wood look softer and avoids a plastic shine on a small decorative piece.
Picture a porch sign made from a reclaimed board that was painted but not sealed on the back. After a damp week, the panel begins to cup at the ends. The lettering still looks fine at first, but the board no longer hangs flat, and the rustic effect turns into visible warping.
Frequently asked questions
What paint colors work best for a rustic Christmas sign?
Ivory and black are the easiest lettering colors because they read clearly over stained wood. Red and green work well for small accents or a limited holiday palette. If you want a softer farmhouse look, pair brown stain with ivory letters and one small black detail instead of several bright colors.
What kind of wood should I use for a Christmas sign?
Use a solid wood sign blank when you want the easiest paint and stain surface. Reclaimed wood gives more texture, but it needs careful sanding. Pallet wood can work for a budget build if it is clean, dry, and not damaged or treated. The flatter the board, the cleaner the lettering.
How do you make a Christmas sign look weathered and rustic?
Use stain to keep the grain visible, then distress with light sanding after the paint dries. Focus on corners, edges, and a few raised spots. You can also layer paint colors and sand through the top coat in small areas. Stop early if the words start to look faded or muddy.
Can I make a rustic Christmas sign with vinyl stencils?
Yes. Vinyl stencils are one of the easiest ways to get clean letters and snowflakes on wood. They work best on a smooth, sanded surface with thin acrylic paint. Peel the stencil while the paint is still slightly soft, then distress the sign lightly after the lettering is dry.
What size should a front porch Christmas sign be?
For a front porch, aim for a taller board in the 18-24 inch wide range, with a vertical layout if the sign stands beside a door. That scale is easier to read from a distance. Seal all sides, not just the front, because porch exposure reaches the edges first.
How do you seal a wooden Christmas sign for outdoor use?
Use exterior primer and a weather-resistant outdoor sign finish after the paint has dried. Cover the face, edges, and back, especially on cut ends. This helps block moisture, peeling, and fading. A porch sign that skips sealing is much more likely to warp or break down at the edges.
What are easy sayings for a rustic wood Christmas sign?
Merry Christmas, Believe, Noel, Joy, and Let It Snow are the easiest choices because they fit short or tall layouts. Use Merry Christmas or Let It Snow for horizontal boards. Use Believe, Noel, or Joy for vertical signs. Short phrases are easier to center and easier to read from across the room.
Cost and purchase context
If you are comparing a DIY build with a bought sign, the numbers can separate quickly. Decorator’s Warehouse lists a 10-inch wood Christmas wall sign at $7.49, down from $14.99 before the drop, while a 40-inch Snow Branch item is listed at $9.99. Those examples show that size, material, and finish can change pricing fast.
For a thrifted or budget build, pallet wood and leftover paint can reduce cost, but prep time goes up. For a cleaner bought piece, a ready-made sign may cost less than the materials once you add wood, stain, paint, stencils, and sealer. Compare the full list before you decide.
If you want the simplest path, choose one board size, one phrase, and one finish path. That keeps the project readable and keeps the rustic look intentional rather than busy.
Sponsored / affiliate links. As an Amazon Associate I earn from qualifying purchases. I may earn additional commission from eligible campaigns.