Why Is My New Hardwood Floor Cracking?
New hardwood usually cracks because indoor humidity dropped, boards shrank, or the floor was installed or acclimated poorly. If the gaps stay open, widen, or come with cupping or buckling, treat it as a problem. Ignoring that can turn a small fix into board replacement, finish damage, or a moisture repair bill. This guide shows how to read the crack pattern, separate winter shrinkage from failure, and check the floor step by step.
Crack diagnosis matrix

Start with the symptom, not the finish line. A hairline crack in the coating points to a different problem than a board that is moving, cupping, or lifting at the edges. The table below helps you separate cosmetic checking from conditions that need moisture control or installer follow-up.
| Symptom | Likely cause | Urgency | What to measure | Next step |
|---|---|---|---|---|
| Hairline surface cracks | Finish checking, minor movement, or seasonal shrinkage | Low if boards stay flat | Indoor humidity, crack width, whether the wood itself is split | Track RH and consider wood filler or epoxy filler after movement stops |
| Visible board gaps | Dry winter air, shrinkage, or incomplete acclimation | Moderate | Indoor humidity and gap width at several boards | Raise humidity and document whether gaps close when moisture returns |
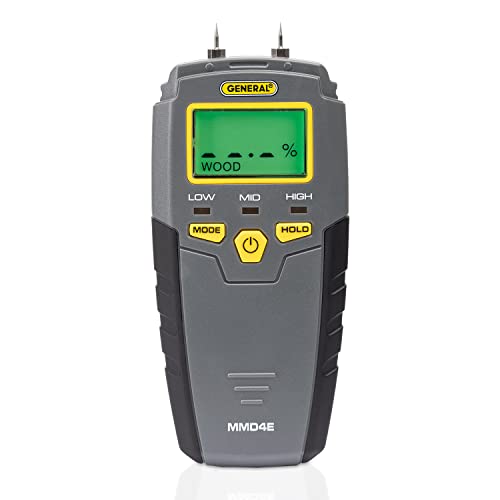
| Popping plus cupping | Moisture imbalance, subfloor moisture, or fastening stress | High | Humidity, moisture at the subfloor edge, and board profile | Stop water sources and call the installer or an inspector |
| Split ends | Board shrinkage, end restraint, or an installation defect | Moderate to high | End-to-end spacing, expansion gap condition, and room RH | Check perimeter clearance and document affected boards |
| Perimeter buckling | Missing or closed expansion gap, or excess moisture | High | Gap at walls, trim coverage, and indoor humidity | Stop loading the floor and get an installer inspection |
| Cracks near plumbing or exterior walls | Active leak, wall moisture, crawlspace moisture, or radiant heat issue | High | Visible dampness, RH, and moisture source location | Fix the moisture source before any cosmetic repair |
Hairline surface cracks
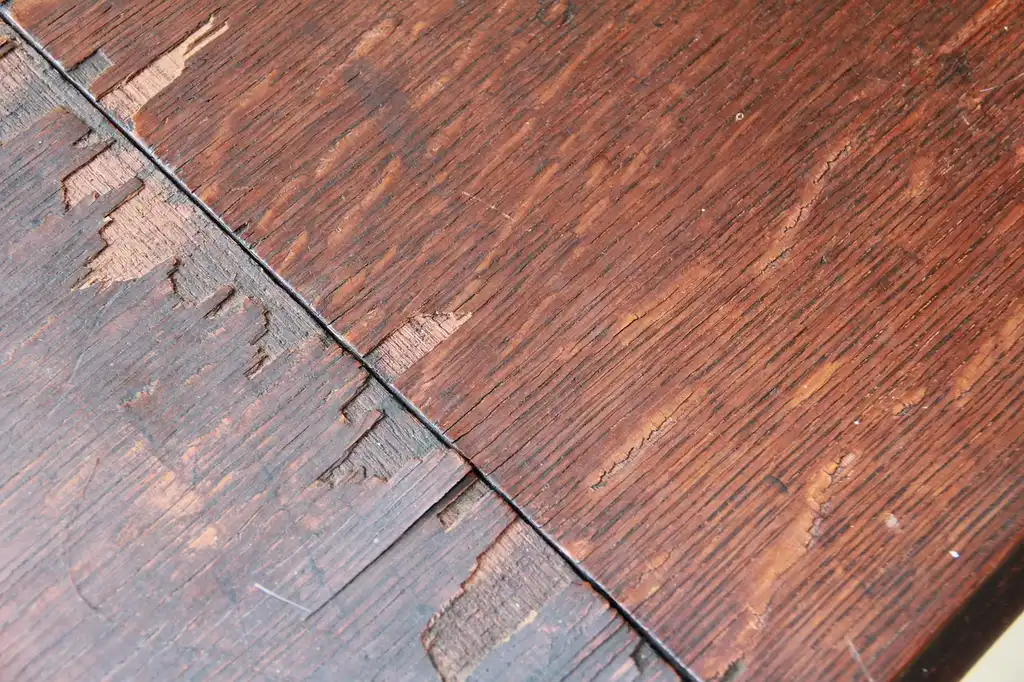
Hairline cracks limited to the finish are usually cosmetic if the board stays flat and the crack does not keep spreading. They often show up after seasonal shrinkage, especially in dry winter air. If the crack is only in the coating, not the wood, repair can wait until the floor stabilizes.
Visible board gaps
Open gaps between boards point to shrinkage, usually from low humidity, but they can also mean the floor did not acclimate well before installation. Small seasonal gaps may narrow when indoor moisture returns. Wide or growing gaps deserve a closer look because they can signal a broader moisture or installation issue.
Popping plus cupping
Popping with cupping is more concerning than cracking alone. Cupping means the board edges are higher than the center, which often points to moisture imbalance across the plank or moisture coming from below. If popping is joined by cupping, do not treat it as a normal settling noise.
Split ends, perimeter buckling, and cracks near walls or plumbing
End splits, perimeter buckling, and cracks beside plumbing lines or exterior walls are red flags. Those patterns can point to a blocked expansion gap, a leak, crawlspace moisture, or radiant heat problems. Cosmetic filler will not solve movement that is still active.
Why is my new hardwood floor cracking?
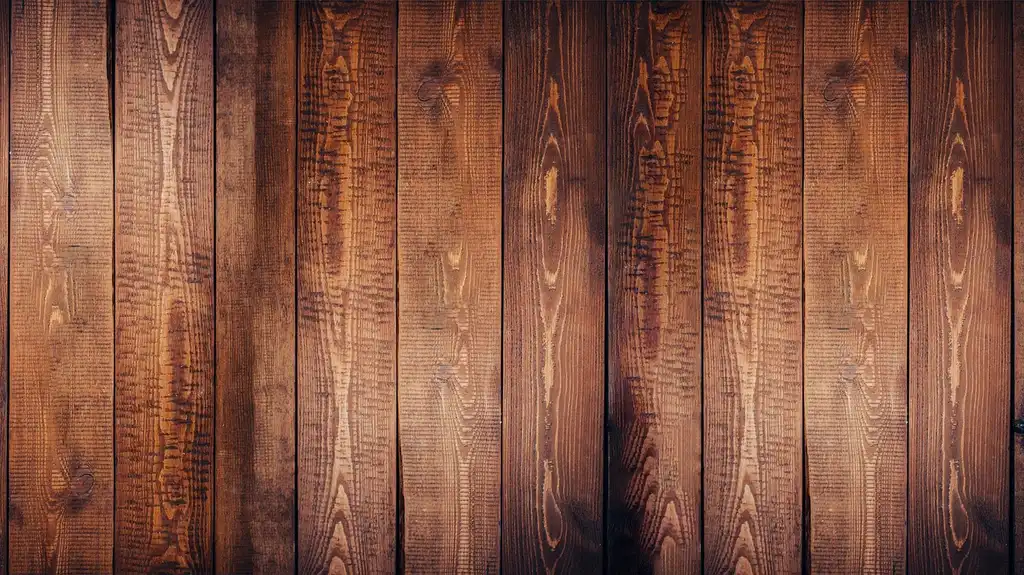
New hardwood cracks most often because the floor is still adjusting to indoor humidity, or because the installation left the boards under stress. New hardwood floors can make “snap, crackle, pop” noises while settling, and that settling can last from a few weeks to over a year. The question is whether the pattern is shrinking wood or failed installation.
Normal settling versus failure
Settling usually shows up as intermittent noise, small seasonal gaps, or a few hairline checks. Failure looks different. You may see wide gaps that stay open, board edges lifting, cupping, buckling, or repeat cracking in the same location. Those signs suggest pressure, moisture, or poor subfloor support.
Solid, engineered, and floating floors behave differently
Solid hardwood generally expands and contracts more with humidity changes than engineered hardwood, so it is more likely to gap in dry air and swell in humid air. Engineered hardwood has a thick hardwood veneer over several plies, which makes it more dimensionally stable, but it can still crack, cup, or pop if the subfloor or moisture conditions are wrong. Floating engineered floors use tongue-and-groove planks attached to each other, not the subfloor, so movement can collect at joints and edges.
What new-floor timing can tell you
If the floor was installed recently, timing matters. Floors often need time to reach equilibrium moisture content, the point where wood moisture matches indoor humidity. That process can take weeks or even over a year. Cracks that appear right after heating season starts often point to dry-air shrinkage; cracks that appear with swelling or cupping point elsewhere.
How humidity drives shrinkage and swelling
Wood flooring moves with the air around it. As humidity rises, the boards absorb moisture and expand. As humidity drops, they give up moisture and shrink. Indoor humidity is commonly recommended around 30% to 50% to limit movement, and one cited ideal range is 35% to 55%. Dry winter air pulls moisture out of the boards, which can create gaps and cracks. Too much moisture can push boards into buckling or crowning.
Indoor humidity targets
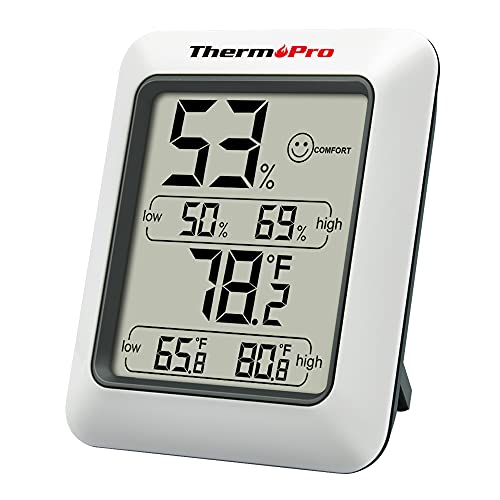
Use a hygrometer, not guesswork. If your indoor RH falls below the lower end of the common recommended range, shrinkage becomes more likely. If it climbs too high, the risk shifts toward swelling, edge lift, and buckling. The exact target depends on the flooring product and your climate, so check the product guidance if you have it. A humidifier helps keep indoor moisture in range when heating systems dry the air.
Equilibrium moisture content
Equilibrium moisture content is the point where wood and indoor air have balanced moisture levels. A new floor may not be there yet, which is why a few weeks of noise or small gaps can happen after installation. If the room stays dry, the floor can keep shrinking until the air is corrected.
Why winter air causes gaps and cracks
Wood floors can crack in winter when dry indoor air pulls moisture out of the boards. Seasonal hardwood gaping is directly tied to expansion and contraction with atmosphere. A humidifier is recommended to raise room humidity and help prevent cracking when winter heat dries the air.
For example, a hallway floor may start showing small gaps at several joints in January while the boards stay flat, which points more toward dry-air shrinkage than a structural problem. That pattern points more toward dry-air shrinkage than structural failure. If the same hallway starts to cup or buckle near the baseboard, the cause is no longer just winter dryness.
Is the floor moving or the subfloor?
Cracking can start above the boards, but movement often begins below them. A floor that flexes over an uneven subfloor can rub at the joints, click underfoot, or split at weak spots. New-floor noise is not automatically normal; you need to check support, fasteners, and joint friction.
Subfloor flatness and flex
Uneven subfloors create voids and flex. For nail-down installation, a commonly cited flatness benchmark is about 1/4 inch over 10 feet. If the floor spans low spots or humps, boards can move more than they should, which increases noise and joint wear.
Tongue-and-groove friction
Tongue-and-groove joints are a common source of new-floor snapping, creaking, and popping. As the boards settle, the joint faces can rub or release under foot traffic. That sound can be temporary, but if it comes with visible movement or repeat cracking, inspect the installation instead of assuming it is harmless.
Fasteners, glue, and loose sections
Loose sections, missed fasteners, or adhesive failure can let the floor move under load. Floating floors can shift if the planks are under compression or the perimeter is tight. Glued systems can pop if the adhesive bond fails in localized areas. Those problems usually repeat in the same spots.
What installation details can cause cracking?
Installation defects matter because wood needs room to move. Missing expansion gaps, blocked perimeter space, loose fastening patterns, and poor acclimation can all create stress that turns into cracking, popping, or buckling. If the floor fails in a pattern, assume the installation details deserve scrutiny.
Missing expansion gaps
The expansion gap is the perimeter space hidden under baseboards or trim. It prevents pressure buildup as the floor expands. If that gap is missing, blocked by debris, or closed off by trim, boards can push against the walls and buckle or pop.
Oversized fastener spacing or missed fastening
Fastener spacing that is too wide can leave boards loose enough to move, while missed fastening can let individual strips lift and creak. That is especially important on nail-down floors. A loose board may sound like a crack, but the real issue is movement at the attachment point.
Adhesive failure and blocked perimeter space
Glue-down floors can fail where the adhesive was thin, contaminated, or improperly cured. Floating floors can also bind if furniture, trim, or transitions pinch the perimeter. In both cases, the symptom may be popping, but the fix is mechanical, not cosmetic.
Suppose a new engineered floor begins popping along one wall, and the baseboard hides a gap that was never left open. If the same wall also has a nearby radiator line, you should check both perimeter clearance and moisture source before filling anything. Fixing the crack alone will not relieve the pressure.
What to do before the damage spreads
Before you repair anything, measure the room, document the symptom pattern, and stop any active moisture source. That sequence matters because a filler repair on a moving or wet floor can fail quickly. If the symptom is active, the first job is control, not cosmetics.
Measure humidity and document the floor
Start with indoor RH, then photograph the affected boards and measure the gap width at several spots. Record whether the issue is in the center of the room, near an exterior wall, or by plumbing. That pattern helps separate dry-air shrinkage from leaks or subfloor problems.
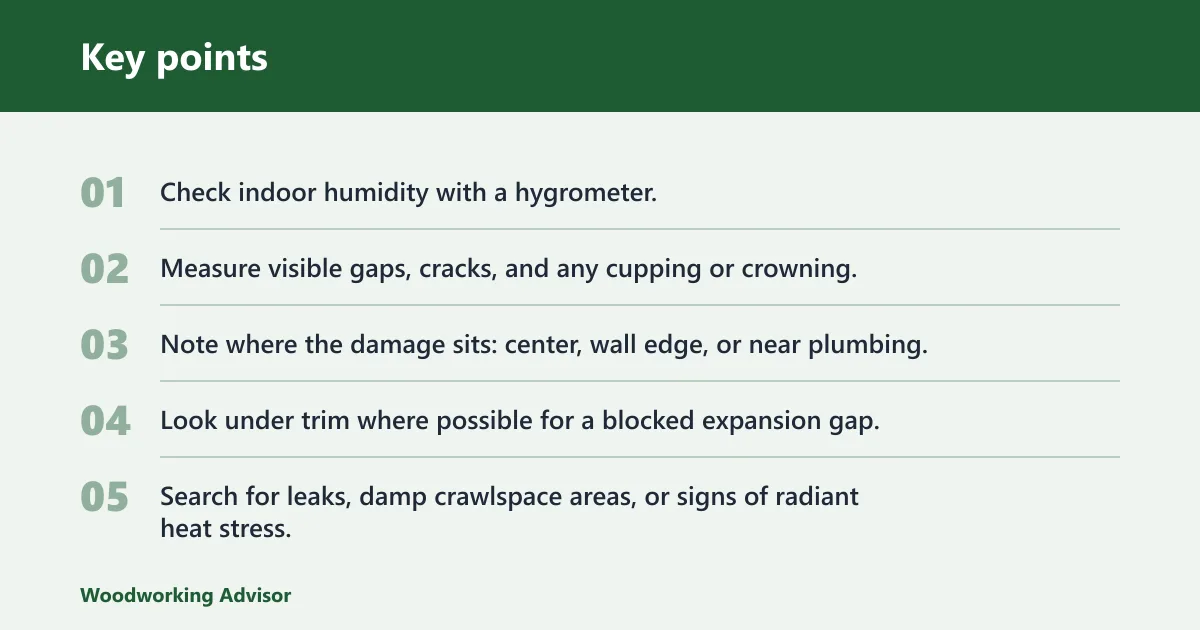
- Check indoor humidity with a hygrometer.
- Measure visible gaps, cracks, and any cupping or crowning.
- Note where the damage sits: center, wall edge, or near plumbing.
- Look under trim where possible for a blocked expansion gap.
- Search for leaks, damp crawlspace areas, or signs of radiant heat stress.
- Compare the symptom to the matrix before choosing a repair.
Stop active water sources
If the floor is near a plumbing line, exterior wall, crawlspace, or radiant heat zone, treat moisture as a possible cause until you prove otherwise. Active leaks, wall seepage, and crawlspace moisture can keep feeding the problem. Cosmetic repair should wait until the source is fixed.
When a humidifier helps, and when to call the installer
A humidifier helps when dry winter air is the clear driver and the floor stays flat. It is not a cure for buckling, repeated popping, or cracks that keep spreading. Call the installer when gaps stay open, the perimeter is tight, the floor creaks in one area, or the boards show cupping, buckling, or split ends. You should also check subfloor issues or installation defects when the damage repeats in the same line or room.
For small cosmetic cracks, matching wood putty with a putty knife can work after the floor stops moving. Epoxy filler is another option for cracked wood floors, especially where the split is clean and stable. Sanding and color matching matter if you want the repair to blend, but filler should never be used to mask active moisture damage.
Frequently asked questions
Why is my hardwood floor cracking?
Hardwood cracks when moisture leaves the wood faster than the floor can equalize, or when movement forces the boards to split. That can happen in winter, near heating vents, over uneven subfloors, or where the expansion gap is blocked. Location and pattern are the best clues.
Why is my engineered hardwood floor cracking?
Engineered hardwood is more stable than solid wood, but it can still crack if humidity swings are large, the subfloor is uneven, or moisture enters from below. Because the top layer is a hardwood veneer over several plies, localized stress can still show up as cracks, pops, or edge lift.
Why is my hardwood floor creaking?
Creaking usually comes from movement at tongue-and-groove joints, loose fasteners, or flex over an uneven subfloor. New floors can make noise while settling, but repeated creaking in the same spot means something is moving where it should not. Check humidity, flatness, and fastening before assuming it is normal.
Why is my hardwood floor popping up?
A floor that pops up is often dealing with pressure from missing or blocked expansion gaps, excess moisture, or adhesive failure. If the edges lift or the floor feels tight at the perimeter, do not force a cosmetic repair. Relief of the pressure and moisture check come first.
Why are my hardwood floors cracking?
Multiple cracking spots usually point to a room-wide condition such as low humidity, recurring seasonal shrinkage, or a broad installation problem. If the cracks cluster near an exterior wall, plumbing, or a crawlspace edge, moisture intrusion becomes more likely. Track the pattern before choosing a repair.
Sponsored / affiliate links. As an Amazon Associate I earn from qualifying purchases. I may earn additional commission from eligible campaigns.