How to Join Large Wood Slabs: 5 Methods and When to Use Each
To join large slabs of wood, glue the mating edges together with a tight long-grain edge joint and clamp it flat. Biscuits, dowels and Dominoes only keep the faces aligned while the glue sets, and butterfly keys are for stopping cracks, not for joining.
Most guides list all of those as if they were five interchangeable ways to hold two slabs together. They are not, and mixing up their jobs is how people end up with a table top that has a ridge down the middle or a seam that opens in the first dry winter. Below you will find what each method really does, how to get slab edges to mate, a clamp-up routine for heavy stock, and how to fix the finished top to its base so it can still move. If your slab is warped before you start, sort that out first with our guide to flattening a wood slab.
What Each Slab-Joining Method Actually Does
Best Glue-Up Glue Pick
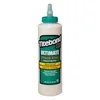 |
Titebond III Ultimate Wood Glue, 16 oz, $9.58 A slab edge joint is long, so you want a glue with extra open time, and this one gives you a few more minutes than standard yellow glue.
|
The joint that holds two slabs together is the glue line. A well-fitted long-grain edge joint made with PVA glue is commonly reported to be as strong as the surrounding wood, meaning the wood tends to fail before the glue does. Everything else in the table below is a helper, not a substitute.
| Method | Real job | Adds strength across the seam? | Best use |
|---|---|---|---|
| Glued long-grain edge joint | Carries the load | Yes, this is the joint | Every slab-to-slab seam |
| Biscuits | Keeps faces flush during clamp-up | Very little | Thinner slabs, quick alignment |
| Dowels | Alignment and some shear resistance | A little, if drilled accurately | When you own a doweling jig but no Domino |
| Dominoes | Alignment and stronger shear resistance | Modest, thicker tenon than a biscuit | Thick slabs where faces must not slip |
| Butterfly key (bowtie) | Holds a crack or seam from spreading | Resists opening, but is not the primary joint | Cracks, natural checks, or a visible design feature |
| Breadboard ends or cleats | Keeps the top flat | No | Very wide tops that want to cup |
That is the myth worth correcting: none of the mechanical extras makes the seam meaningfully stronger than good glue on a good edge. What they do is stop a heavy slab from sliding sideways under clamp pressure, which is a genuine problem when each half weighs more than you can easily reposition. For a broader look at wood joint options beyond slabs, see our overview of how to join wood.
Step 1: Match Your Slabs and Check Moisture
Start with slabs from the same log if you can. Neighbouring cuts share color, figure and growth-ring pattern, and that is what makes a bookmatched or sequence-matched top look like one piece of wood. A bookmatch is made by opening two consecutive cuts like a book so the grain mirrors across the seam.
Check moisture next. For indoor furniture, most makers aim for roughly 6 to 8 percent moisture content, and a pin or pinless meter costs less than the slab does. Two halves at different moisture levels shrink by different amounts after you glue them, and that is one of the classic reasons a seam ridges or opens later. Stack the slabs flat in the room where the piece will live, with spacer sticks between them, and let them settle before you cut a single edge.
Plan for weight, too. Walnut dries to about 38 pounds per cubic foot, so an 8-foot slab that is 3 feet wide and 2 inches thick holds about 4 cubic feet and weighs in the neighborhood of 150 pounds. Set up support stands at the same height as your bench before you start, and do not attempt to lift the halves alone.
Step 2: Make the Edges Mate
A glue joint fails at gaps, so the edges matter more than any hardware you add. Most jointers cannot safely balance a long, heavy slab on its edge, so slab makers typically straighten edges another way:
- Track saw or circular saw on a straightedge: clamp a guide along the edge, cut once, then flip and cut the mating slab against the same guide line.
- Router on a straight rail or sled: gives a clean, flat edge and lets you shape both slabs with the same setup.
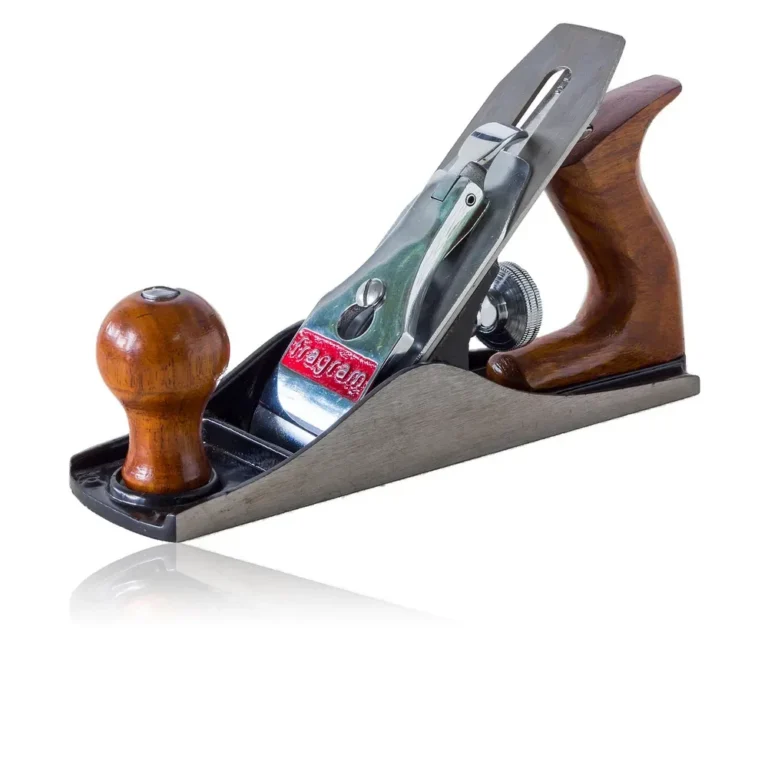
- Hand plane: for a final tune, take light passes until the two edges close with no light showing.
Test the fit by standing the slabs together on a flat surface and holding a bright light behind the seam. Any glow means a gap. Live-edge slabs are a special case: if you want to keep the natural edges, the seam has to be a straight, cut edge on the side that joins, and the live edges stay on the outside of the top.
A common trick for long boards is a slight spring joint, where the middle of each edge is planed just barely hollow so the ends touch first and the clamp pulls the center closed. Keep it very small, on the order of a few thousandths of an inch, and skip it entirely on short seams.
Step 3: Pick an Alignment Aid (Biscuits, Dowels or Dominoes)
Alignment aids are optional, but on thick or heavy slabs they save you from fighting a face that keeps slipping out of plane while the clamps tighten.
Biscuit joiner
A biscuit joiner cuts a crescent slot into each edge, and a compressed beech biscuit swells with the glue moisture and locks the slabs flush. It is the fastest option and works fine on thinner stock. On thick slabs the biscuit is small relative to the edge, so it is mostly an alignment guide. Our comparison of biscuits vs dowels covers the trade-offs in more detail.
Dowels
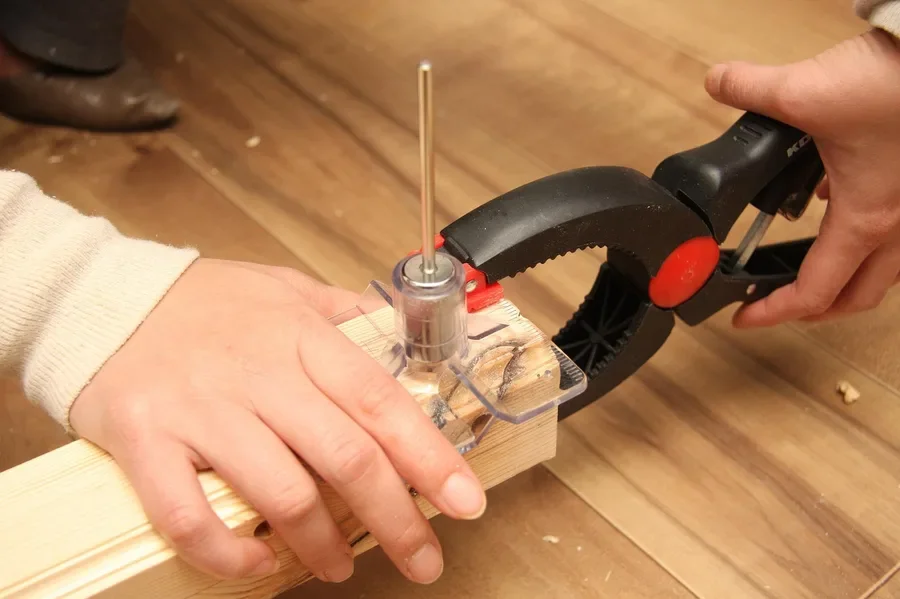
Dowels give you more depth than a biscuit but demand accuracy, since two holes that are a hair off will force the slabs out of alignment. Use a doweling jig, drill both edges from the same reference face, and use fluted or spiral-grooved dowels so glue and air can escape.
Domino joiner
A Festool Domino cuts a mortise that a loose tenon fills, and the tenon is far thicker and longer than a biscuit. That extra material resists sideways slip on heavy slabs and makes clamp-up calmer. The tool is expensive, so it makes sense if you build slab tables regularly. If you are deciding between models, read our Festool Domino 500 vs 700 comparison, since the larger machine handles the bigger tenons that thick slabs call for.
Step 4: The Glue-Up Routine
Do a full dry run with every clamp set before you open the glue. Slabs are heavy, and once glue is on, you have only minutes. Titebond III lists roughly 10 minutes of open time, but a warm shop shortens that, so have everything staged.
- Set clamps on the bench at spacing of about 8 to 12 inches, and alternate them above and below the slab so the top does not bow upward under pressure.
- Spread glue on both edges with a roller or brush, aiming for full coverage rather than thick puddles.
- Bring the slabs together and tighten clamps until you see a thin, even bead of glue squeeze out along the whole seam. A bead means the joint is closed and not starved of glue.
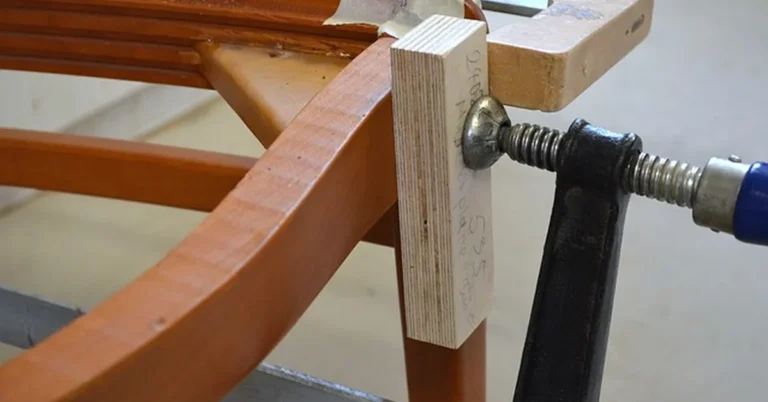
- Use cauls, which are straight sticks clamped across the top and bottom, to hold the faces flush at the seam.
- Wipe or scrape the squeeze-out. Many woodworkers wait until it turns rubbery and scrape it off cleanly, since wiping wet glue drives it into the pores and shows up under stain.
- Leave the clamps on for at least an hour, and do not stress the joint for a full 24 hours.
If you are choosing a glue for the first time, our wood glue buying guide explains the differences, and the Gorilla vs Titebond comparison shows how the two most common options behave in practice.
Butterfly Keys: How to Add Them Without Weakening the Slab
A butterfly key, also called a bowtie or dutchman, is a bow-tie-shaped piece of contrasting wood set into the top of a slab so it bridges a crack or a seam. Its job is to stop the split from spreading. It does that by resisting the two sides pulling apart, and its tapered ends lock into the slab the way a dovetail does. Add keys after the glue-up has cured, and space them along the crack rather than crowding them in one spot. For a crack that is still moving, see our guide to preventing wood slabs from cracking first, because a key will not stop a slab that is still drying hard.
- Make the key from a hardwood: walnut, maple or ash are common choices, and a dark key on a light slab shows off the detail.
- Taper the ends at a shallow angle: a wing angle of around 8 to 10 degrees is typical. Steeper looks fussy, and shallower will not lock.
- Set the key about halfway through the slab thickness: deep enough to bridge the crack, without cutting so much material that you weaken the slab.
- Trace the key onto the slab, rout the recess with a template or freehand within the line, then square the corners with a sharp chisel.
- Glue the key in and let it stand slightly proud, then plane or sand it flush once the glue has cured.
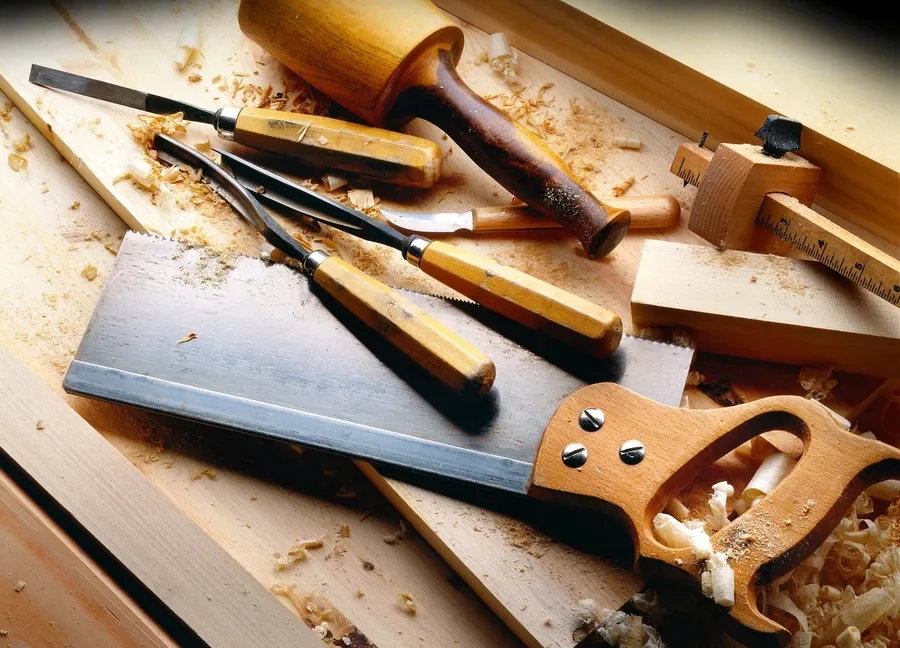
Clamp your template or workpiece before you rout, keep both hands on the router and wear eye and hearing protection. A router bit removes wood faster than it feels like it should, and an unsecured slab or template can move under the cutter.
Step 5: Fix the Top to Its Base So It Can Still Move
This is the step most tutorials skip, and it is where a perfect glue-up gets ruined. Solid wood swells and shrinks with humidity, mostly across the width of the boards. A common rule of thumb says a flat-sawn board can change by roughly one-eighth of an inch per foot of width between a humid summer and a dry winter, so a 36-inch-wide top may move around three-eighths of an inch. If you screw the top rigidly to a base with no slack, that movement has nowhere to go and it shows up as a crack, usually beside a glue line.
- Attach the top with figure-8 fasteners, Z-clips or buttons that slide in a groove.
- If you use screws through cleats or rails, drill slotted holes so the screws can slide across the grain.
- Fix the top firmly at only one point near the middle, and let the outer edges float.
Common Mistakes When Joining Large Slabs
- Relying on dowels or biscuits for strength: they align, the glue holds.
- Gluing slabs with different moisture content: they will move by different amounts.
- Skipping the dry run: glue-up is not the time to discover you are short two clamps.
- Using too little clamp pressure or too few clamps: gaps between clamps leave open spots along the seam.
- Screwing the top down rigidly: see the previous step.
Once the top is joined, you can shape and support it. Our guide to building a wood slab bench shows one way to turn a joined slab into a finished piece, and after sanding you can review how to clean wood after sanding before applying a finish.
Frequently Asked Questions
How do I join two large slabs of wood?
Straighten the mating edges so they close with no gaps, apply glue to both edges, and clamp the slabs flat with cauls until a thin bead of glue squeezes out. Leave the clamps on for at least an hour and do not stress the joint for 24 hours. Biscuits, dowels or Dominoes can help keep the faces aligned but are not required.
Do butterfly keys join wood slabs?
No. A butterfly key bridges a crack or seam and keeps it from spreading, but the glued edge joint is what holds two slabs together. Keys are a reinforcement and a design feature, and they are best added after the glue-up has cured.
Are biscuits or dowels strong enough to join a slab?
They add alignment and a little shear resistance, but a properly fitted glued long-grain joint is the main source of strength. On thick slabs, a Domino tenon offers more resistance to slipping than a biscuit does, though the glue line still does the real work.
Can I join slabs without screws or nails?
Yes. A glued edge joint needs no metal fasteners, and hardware would only get in the way of the seam. Screws are used later, if at all, to attach the finished top to its base, and those should allow the top to move.
How long does wood glue take to dry?
Wood glue typically sets enough to unclamp in about 30 minutes to an hour, but it takes around 24 hours to reach full strength. Cold or humid conditions can slow it, so give large slab seams the full 24 hours before machining or lifting.
Conclusion
Glue and a tight edge do the joining, alignment aids keep heavy slabs from sliding, and butterfly keys hold cracks closed. Get the moisture matched, the edges straight and the base attachment flexible, and a large slab top will stay flat and closed for years.
Sponsored / affiliate links. As an Amazon Associate I earn from qualifying purchases. I may earn additional commission from eligible campaigns.