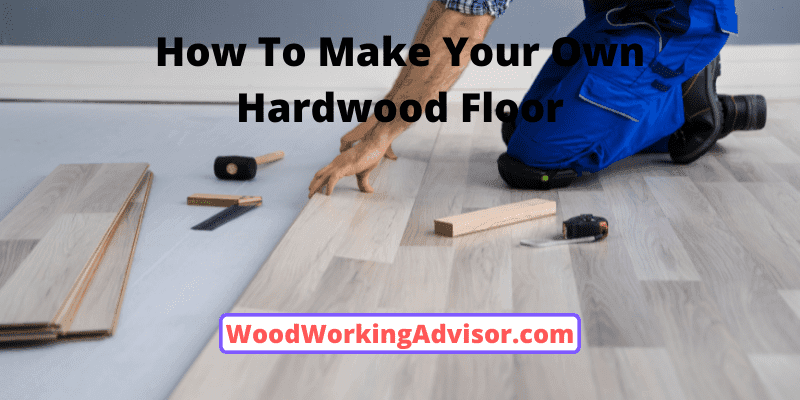
How To Make Your Own Hardwood Floor? [The Best DIY Idea]
In this era of advanced technology, hardwood floor construction has seen a revolution like never before. Technological advancements have enabled hardwood flooring installation to be easy and smooth. Even now, you also can make your hardwood floor.
Anyway, if you’re planning to make your hardwood floor all by yourself, this article will walk you through the step-by-step process to help you achieve your DIY goal. With the right know-how, all the tasks would get simplified for you.
In this article, I’ll discuss the factors associated with making your hardwood floor and the DIY method of installing it. Let’s get started.
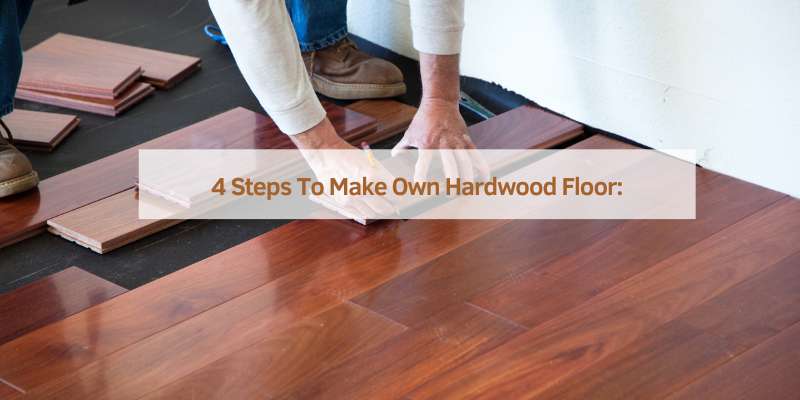
4 Steps To Make Own Hardwood Floor:
It’s finally time to start installing the floor. Several main methods to install a hardwood floor are floating, nail down, staple down, etc. Since the floating way is the most comprehensive and appropriate for DIY installations, I’ve chosen this particular process to share with you.
Let’s discuss the floating method further with step-by-step installation modules:
Step-1: Preparation
First, make sure you have read the manufacturer’s manual thoroughly. It will explain the proper process of preparing and laying the floor. Different hardwood floors may require other procedures, so carefully study the guidelines mentioned in the manual. The foundation can be applied over practically any subfloor since the hardwood boards are not bonded to that.
Preparing the subfloor is crucial. First and foremost, the subfloor has to be neat and clean. Then, test if the subfloor is even. You may examine this by placing a board of wood on the edge of it. Is there room between the subfloor and the wood surface? In cases of more than a 3/4-inch gap, you will have to put additional self-leveling wood putty or joint compound on your floor.
The subfloor ought to be sufficiently level once dry. Next, pick the way you want to put the hardwood flooring. Floating flooring can be installed in any pattern or order. Choose what best matches your preferences and the setting.
Step 2: Get The Tools
After getting done with the preparation, let’s now look at the necessary tools you’ll require to complete the task :
- Pull Tool,
- Tapping Block,
- Glue,
- Spacers,
- Chalk Line,
- Ruler,
- Hammer,
- Saw,
- Straps.
These tools are available in the market. Check the manufacturer’s manual to know if you require additional tools.
Step 3: Get Into the Installation
The initial three rows you’ll be laying at the beginning of the installation process are pretty instrumental. They must be upright and straight, with all joints fitting snugly. To hold all the connections tightly, use straps and clamps. You aim to keep the placed boards or planks from parting as you put the next piece of hardwood into line.
One of the typical methods of joining hardwood planks using a floating installation module is to employ glue or adhesive between plank joints. In this method, you need to run a glue line along the hardwood’s edge or joint. After that
snap that particular piece into the last plank you laid down.
Before you start applying glue, decide where the wood planks should go. Remember that any adhesive or glue dries up from 7 to 10 minutes. Therefore, be precise with your placement. Avoid using too much adhesive. You can use a piece of cloth to remove any excess amount of glue.
While installing, you need to perform woodcuts. It’s better to take two measurements while you do so. This way, you won’t end up with worthless pieces of hardwood instead of functional flooring planks.
Insert the hardwood pieces and use a tapping block and a hammer to join the wood pieces. Tapping blocks safeguard the plank’s edge or tongue from damage. Do not ever hammer on the edge or tongue without deploying the tapping block. Always press the tapping block firmly to the language while hammering.
To fill in the gaps, knock very delicately. It is recommended to hammer frequently yet gently rather than fewer times aggressively. If you figure out that the hardwood pieces aren’t fitting together, check whether something is stuck beneath the floor, such as excess glue, dirt, etc. But if the planks go together correctly, you’ll find no gap between the joints.
If you see any tongue between the boards, tenderly wriggle the panels apart and inspect for issues. If the problem isn’t apparent, you might need to use a new plank. Before installing the new planks, remember to re-glue them.
Steer the path of the joint you’re attempting to seal as you hammer the wood pieces together. Remember, adjusting or altering the joints after the floor gets set is very hard. To avoid this issue, you must carefully arrange your task. To avoid this issue, you should carefully design your job.
Keep laying the flooring by attaching planks with glue and hammering them softly into position. You should allow enough space around the room’s perimeter for the wood planks to expand and shrink. Remember that hardwood is an organic material that changes physical properties with changes in temperature and time. Such gaps are frequently filled with molding. The manufacturer’s guidelines might provide information on how much room to provide for such expansions.
As you finish installing most of the floor, you’ll fall short of space to use the tapping block. In this case, drag the wood planks together with a hammer and a pulling iron. To preserve the wood, you can use a tiny scrap of timber with a groove. To safeguard the finish of the wood as you are at the final phase of installation, get a soft cloth or towel to put down the equipment and kneel on it.
After the installation is completed, it’s time to install transitions, base molding, and trim to cover the entire expansion area. Next, leave the floor to settle as per the manufacturer’s guidelines.
Step-4: Finishing The Floor
As I’ve mentioned earlier, prefinished woods are available for you to use readily. But if you choose to do it yourself, you can still achieve a professional look with proper planning. Let’s look at a brief rundown of things you’ll have to do to finish your floor on your own :
- Leave the floor to rest before proceeding to finish it.
- Seal off entrances with plastic to ready the room. It will assist in keeping a steady temperature as well as the level of humidity.
- Hardwood flooring should be sealed comprehensively on all four sides. Pre-coat the sections that will no longer be accessible after installation. The rear of the strip flooring does not have to be filled. However, it is advised in cases of wide plank floors.
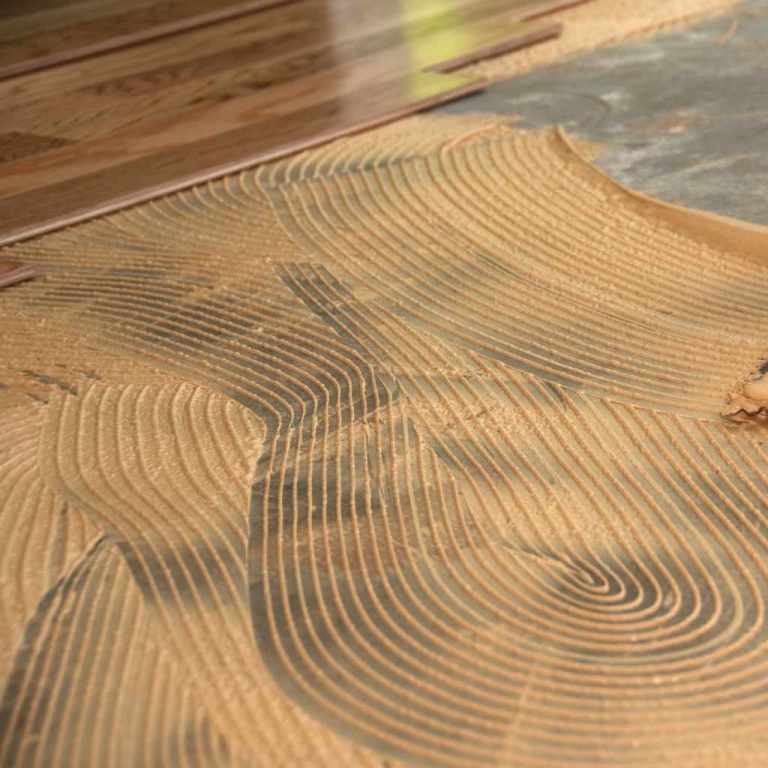
- Wood floors need sanding at least thrice. Each with successively finer qualities of sandpaper. After every sanding, sweep away the dust and vacuum subsequently carefully.
- Use a rag or brush to apply the stain thoroughly. Allow the paint to set. The excess should then be removed.
- Once the stain dries up, apply the final layer of coating. Leave it to dry as per the product’s requirements.
- Sand the surface with steel wool, an abrasive pad, and 150-180 grit sandpaper. Now, use a clean cloth to wipe the area.
- Repeat the sanding, cleaning, and coating process on the flooring. Typically, several coats are required to achieve your desired appearance.
The perk of wood floors is that they are incredibly long-lasting if given proper care. Regardless of how cautious you are with hardwood floors, it would be best if you refinished them at specific intervals. If your flooring suffers a battering, such as from pets, you might need to refinish them more frequently.
Some floors need resurfacing every three years, while others, especially those in heavy-traffic areas, might require more regular refinishing. Refinishing tasks may seem simple and easy if you’ve done flooring yourself. All you have to do is sand the floor and then reapply the finishing material to preserve and seal the hardwood.
Things You Should Consider While Making (DIY) Hardwood Floor:
With the proper planning, necessary tools, adequate preparation, and appropriate materials, you can achieve a commendable feat in DIY hardwood flooring projects.
So now, let’s discuss the components of the DIY module that you will need to consider and subsequently decide on while taking up the project.
- Types of Hardwood:
While deciding what type of wood to use, there are concerns of substance and style that need to be addressed. Since no DIY interior style rule can be broken, choose what appeals to you and compliments your budget. The prices of various types of wood can differ significantly.
There are way too many wood species found in nature to name; some of the popular hardwood flooring options are – Pine, Red Oak, White Oak, Cherry, Birch, Douglas Fir, Beech, etc. While considering various types of wood, keep in mind that the flooring price is quoted per square foot.
It’s wise to start by taking the measurements. This way, you can efficiently estimate the expenses after figuring out the square footage of the area that needs to be floored.
You will likely pay approximately $2 per square foot for the low-end oak material. Beech and birch woods can be significantly more expensive per square foot.
- Hardness Of The Wood:
When deciding the type of wood, you select, keep the relative hardness of the wood into consideration. The Janka Rating method is applied to calculate such relative hardness, which measures the force necessary to drive a 0.444-inch steel ball into the timber so that half of the diameter of the ball gets embedded. The greater the number, the more challenging the wood species.
- Grading Of The Wood:
Another factor when selecting wood is the grade of the wood. National Oak Flooring Manufacturers Association (NOFMA) developed a grading system to characterize the look of hardwood flooring. Color, texture, and markings are all examined in the ratings.
The best wood grades have clarity and pick. These grades of wood feature fewer marks and a more uniform look compared to standard rates, which can have a wide range of markings.
- Types Of Finishes:
Finishes are a smart way to customize your hardwood flooring according to your taste. There are two types of hardwood flooring finishes regardless of prefinished or DIY:
- Surface finish
- Penetrating finish
The surface finish is relatively low maintenance and pretty long-lasting. On the other hand, the brilliant finish requires some specific upkeep; for example – the wax used in it requires reapplication regularly at particular intervals. In addition, only specified cleaners are allowed on the floor if you have a brilliant finish.
- Sheen For The Finish:
You then need to choose the sheen pertinent to your finish. You can pick a gleaming (high gloss) finish, a low gloss finish, or a satin or matte finish. While high-gloss surfaces appear professional, they are more prone to scratches.
In most cases, matte or low-gloss finishes are preferred for residential applications. Remember that if you choose prefinished hardwood, you should select the finishing option while placing the order for the flooring.
FAQs Regarding How To Make Your Hardwood Floor:
Is DIY Hardwood Floor A Good Idea?
The fundamental reason behind the immense popularity of DIY hardwood floors is their cost-effectiveness. Hiring a professional to complete the installation would take much less time than doing it yourself. Plus, you’ll undoubtedly get excellent outcomes from professionals.
After all, professionals do these kinds of work daily. Remember that the benefit of this DIY won’t be in terms of saving time or impeccable execution but rather in terms of how much money can be saved.
If you opt for DIY, you only need to pay for the materials and buy or rent tools. These expenses are significantly lower than what you would pay for professional installation. It is because you are not paying for the quality and expertise of specialist personnel.
Is It Hard To Do Your Hardwood Floors?
Solid hardwood floors might be somewhat tricky compared to other wooden flooring options, such as engineering hardwood, laminate, etc., in DIY projects. But that doesn’t necessarily mean it’s unachievable and not worth it. After all, hardwood flooring is the most organic and longest-lasting option among all the wooden floor alternatives.
With proper planning, appropriate materials, necessary tools, the correct method, and smooth execution, the job is overwhelmingly more straightforward than you think it is. In this age of modern technology, there has been a boost of prefinished hardwood flooring materials that can cut down the time, energy, and effort you otherwise need to put into such installations.
How Do You Make Cheap Hardwood Floors?
There are quite a few factors that play a role in determining the cost of a hardwood flooring project, such as – whether or not you’re hiring a professional, the price of the type of wood you want to use, the finish option, the grade of the hardwood, etc.
Getting the job done by a professional shop is more expensive than DIY because there’s a cost of labor and expertise included in cases of hire-out projects. If you do it yourself, the cost of delivery and knowledge can be eliminated, thus keeping the ultimate cost of the project relatively lower.
While solid hardwood is typically more expensive than engineered hardwood, some trendy solid hardwood choices cost little. Pine is one of the most inexpensive solid hardwood choices. On the other hand, White Oak engineered hardwood is also a cheap alternative if you are considering engineered wood.
What Is The Cheapest Hardwood Flooring?
In solid hardwood cases, pine is one of the cheapest options for flooring. As for engineered hardwoods, they are, in general, less expensive compared to solid hardwoods. While that doesn’t concretely imply its universal affordability, it still gives a general notion about the pricing for various wood floor choices.
Oak, Maple, etc., engineered hardwood is pretty affordable. But it would be best if you considered that any species of wood for solid and engineered flooring materials come in various grades. Engineered Oak or Maple, for example, has varying rates or qualities within themselves. So, the pricing is set based on such distinctions.
What Do You Put Under Hardwood Flooring?
There is usually an extra layer of materials inserted between the subfloor and the surface floor of hardwood. This layer is known as the ‘underlayment’ and can be of various materials such as foam, cork, rubber, fiber-based products or cloths, plastic, etc.
What material you’d use for underlayment and whether or not you need to put one depends on the floor installation method you opt for. Also, the hardwood you are using needs to be compatible with the underlayment material.
Should You Install Hardwood Floors Yourself?
Whether or not you should install hardwood floors yourself depends on the objective you want to attain. If you want to minimize the overall cost, DIY is the choice. On the other hand, if you don’t want to take all the hassle on your shoulder and want an immaculate floor, it’s better to hire a professional to get the job done.
The primary reason behind people opting for DIY installations is cost efficiency rather than getting a professional-looking outcome from the project.
If you are wondering whether to opt for DIY or hire a professional, I recommend you get your priority straight first and foremost.
Bottom Line:
Hopefully, this article has been able to narrate the easy and effective DIY method for hardwood floor installation to facilitate your home improvement endeavor further. Feel free to hone your DIY skill by attempting the process and expect a cost-effective and desired outcome by capitalizing on your creativity.