Kreg Screws for 3/4 Plywood: The Correct Length and Jig Setting
For standard 3/4″ plywood projects, the correct Kreg screw is the 1-1/4″ Coarse-Thread Pocket-Hole Screw (model SML-C125). This length is confirmed by Kreg’s own screw selector chart: it gives maximum thread engagement in the receiving board without any risk of the tip poking through. If you’re working with a different thickness, our full Kreg screw length chart covers every size from 1/2″ up to 2×4 stock.
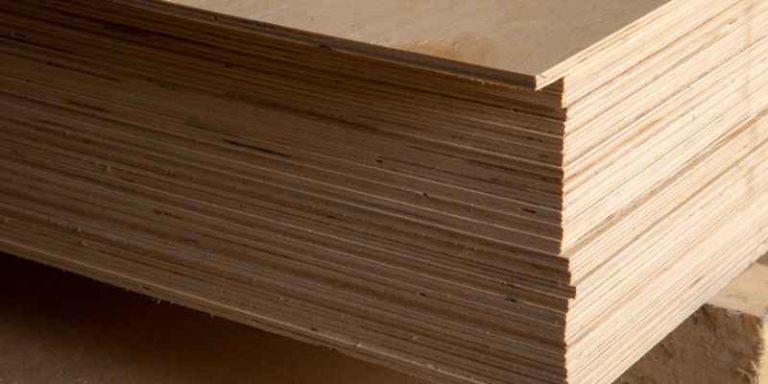
Length is only half the story, though. Plywood is a laminated sandwich of thin veneer layers, and the outermost layer — the face veneer you actually see — is often not much thicker than a playing card. That’s exactly why Kreg screws use a wide, flat “Maxi-Loc” washer head instead of a standard tapered head: it spreads the clamping pressure across a bigger footprint so the head seats into the pocket hole instead of crushing or denting that thin face layer. Solid hardwood rarely shows this problem; laminated 3/4″ plywood does, which is why getting both the length and the head style right matters more here than with a typical solid-wood joint.
Below, we’ll walk through exactly which screw to buy, how to set up your Kreg jig for a 3/4″ workpiece, the mistakes that cause blowthrough or stripped holes, and a few pro tips that separate a shaky joint from a rock-solid one.
Why Getting the Screw Right Matters So Much
The Exact Screw for This Guide
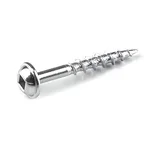 |
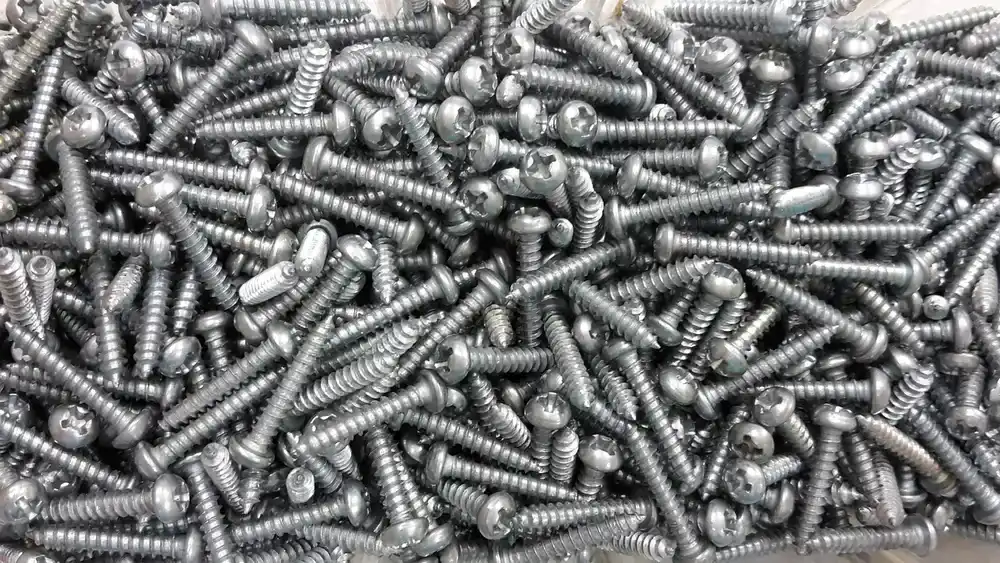
Kreg SML-C125-100 Zinc Pocket-Hole Screws, 1-1/4″, 100 ct – $8.99 This is the exact 1-1/4″ coarse-thread screw recommended above for joining 3/4″ plywood, and it’s the one referenced throughout this guide.
|
In pocket-hole joinery, the screw isn’t just a fastener — it’s doing the clamping. There’s no glue-and-wait step unless you choose to add one, so the screw itself has to pull the joint tight and hold it there permanently. Grab the wrong one and you’ll run into one of three failure modes:
- Too Short: A short screw doesn’t reach far enough into the receiving board to get solid thread purchase. The joint feels tight when you first drive it, then works loose the first time the piece gets racked or loaded — a shelf that wobbles after a few months of books is a classic symptom.
- Too Long: This is the mistake you can’t hide. A screw that’s too long for the receiving board punches straight through the opposite face, leaving a sharp point sticking out of what’s supposed to be a finished surface.
- Wrong Thread Type: Kreg treats plywood as a “softwood” material. Fine-thread screws — built for dense hardwoods like oak — don’t have deep enough threads to grab plywood’s softer inner layers, so they spin and strip out the hole instead of tightening.
Get the length, thread, and head style right together and you get a joint that pulls tight, stays tight, and doesn’t telegraph a dent through the face of your plywood.
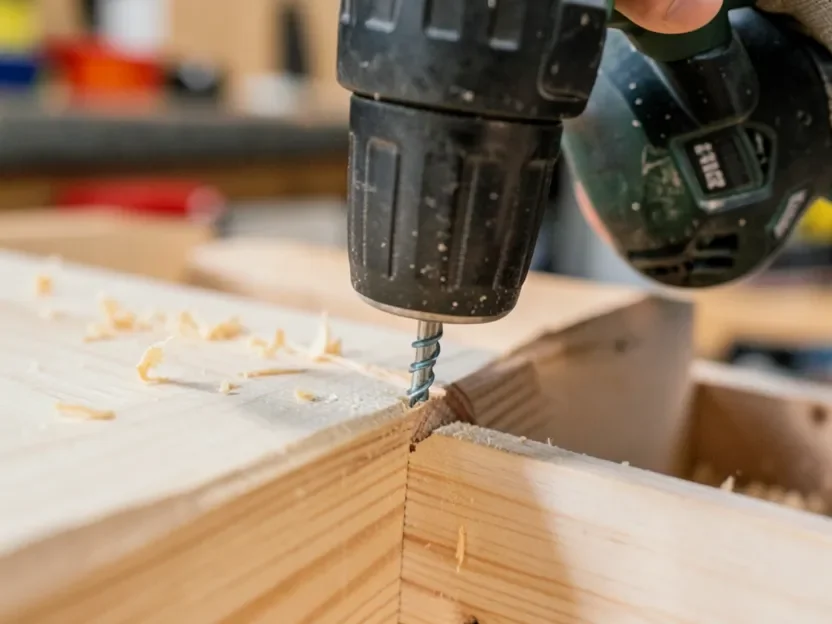
The Winning Screw: 1-1/4″ SML-C125 Coarse-Thread Screws
Cutting straight to it: for joining 3/4″ plywood to 3/4″ plywood, the screw you want is the Kreg 1-1/4″ Coarse-Thread Pocket-Hole Screw, sold under model number SML-C125. It’s the screw you’ll reach for on the large majority of cabinet carcasses, shelving units, and built-ins built from standard 3/4″ sheet stock.
The Anatomy of the Perfect Kreg Screw
Three design details make this specific screw work so well in plywood.
- Length (1-1/4″): Calculated to reach deep enough into the receiving board for strong thread engagement, while leaving enough material at the tip that it never breaks through the far face.
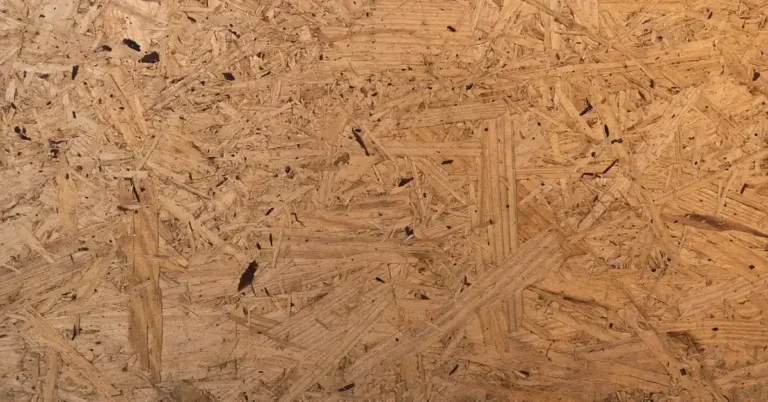
- Thread Type (Coarse): Plywood is made from stacked softwood veneers. Coarse threads have fewer, deeper threads per inch that bite hard into those soft layers, resisting pull-out far better than a fine thread would in the same material.
- Head Type (Washer/Maxi-Loc Head): A flat, wide head that seats against the bottom of the pocket hole instead of pulling down into it. That wide bearing surface is what keeps the screw from crushing plywood’s thin face veneer — the mechanism we covered above.
A Quick Note: When to Choose Fine-Thread Screws
Coarse-thread is the right call for standard plywood, but there’s one exception: hardwood plywood with a dense veneer like oak, maple, or cherry. There, the 1-1/4″ Fine-Thread Screw (SML-F125) is often the better choice — fine threads are less aggressive and less likely to split brittle, dense face grain. For ordinary pine or fir plywood from the home center, stick with coarse.
A Quick-Glance Kreg Screw Chart for Plywood
Here’s the same logic applied across the plywood thicknesses you’re most likely to run into. Bookmark this table so it’s handy in the shop.
| Plywood Thickness | Recommended Kreg Screw | Kreg Jig Setting |
|---|---|---|
| 1/2″ (12mm) | 3/4″ Coarse-Thread (SPS-C1) | 1/2″ |
| 5/8″ (15mm) | 1″ Coarse-Thread (SML-C1) | 5/8″ |
| 3/4″ (18mm) | 1-1/4″ Coarse-Thread (SML-C125) | 3/4″ |
| 1-1/2″ (38mm) | 2-1/2″ Coarse-Thread (SML-C250) | 1-1/2″ |
Setting Up Your Kreg Jig for 3/4″ Plywood: A Step-by-Step Guide
Buying the right screw only solves half the problem — the jig setting has to match, too. An incorrect jig setting is the number one reason beginners get a screw poking through a finished face. Here’s how to set it up correctly.
Step 1: Gather Your Tools
Get everything together before you start so you’re not hunting for parts mid-project.
- Your Kreg Pocket-Hole Jig (e.g., Kreg 720, 520, 320, or R3)
- The Kreg stepped drill bit and stop collar that came with your jig
- Your drill/driver
- A Kreg square-drive bit
- A tape measure or calipers
- Your 3/4″ plywood workpieces
- A sturdy clamp (a face clamp is highly recommended)
Step 2: Measure Your Plywood’s Actual Thickness
This step trips up a lot of beginners. “3/4-inch” plywood is a nominal size, not a guarantee — sanding and manufacturing tolerances usually leave it a little under, often closer to 23/32″. Measure your actual sheet with calipers or a tape measure before committing to a jig setting. For this guide, we’ll treat it as close enough to true 3/4″ to use that setting, which is standard practice and accounted for in Kreg’s own chart.
Step 3: Set the Drill Guide Block on Your Jig
Find the material-thickness markings on your jig’s main body. Slide the drill guide block so its indicator lines up exactly with the 3/4″ mark, then lock it in place with the spring-loaded pin or thumbscrew your jig uses. Confirm it’s actually secure before moving on — a block that shifts mid-drill is a common cause of inconsistent hole depth.
Step 4: Set the Stop Collar on Your Drill Bit
The stop collar controls how deep the bit travels, which is what actually prevents a blowthrough. On newer jigs, drop the bit into the setup window built into the jig, slide the collar down until it rests against the jig body, and tighten it with the included Allen key. On older jigs, use the depth diagram printed on the jig case: align the bit in the marked groove and slide the collar to the 3/4″ mark, then tighten firmly.
Step 5: Clamp Your Jig and Drill the Pocket Holes
Set the jig on your workpiece with its end flush to the edge of the plywood, then clamp it down so it can’t shift. Run the drill at a high speed and let the bit do the cutting rather than forcing it — pushing too hard is a common way to blow out plywood’s face veneer on the way in. Drill until the stop collar contacts the guide, then pull the spinning bit straight out to clear the chips.
Step 6: Set Your Driver Clutch and Drive the Screws
Align your two plywood pieces and clamp them flush — a face clamp is worth owning just for this. Start your drill’s clutch on a medium-low setting so you can’t over-drive the screw and strip the hole. Drive the 1-1/4″ screw home until the joint pulls snug. If the clutch kicks in before the joint is tight, bump it up one setting and try again rather than forcing it through on a high-torque setting.
Common Mistakes to Avoid (And How to Fix Them)
Even with the right screw in hand, a few setup mistakes account for most of the pocket-hole problems people run into with plywood.
- Screw pokes through the wood. Usually means the jig’s drill guide was still set for a thicker material, or the drill bit‘s stop collar slipped and let you drill deeper than intended. Fix: Re-check both settings and make sure the Allen screw on the collar is actually tight before you drill again — a collar that spins freely under light finger pressure will slip under drilling pressure.
- Wood splits when driving the screw. Rare in plywood specifically, but it happens when a pocket hole is drilled too close to the board’s edge, or when the clutch is set too high and the screw gets over-tightened. Fix: Keep pocket holes at least 3/4″ from any edge, and start with a lower clutch setting than you think you need.
- Joint isn’t flush or flat. Almost always a clamping problem — if the pieces can shift even slightly while the screw is driven, the joint ends up misaligned. Fix: Clamp directly across the seam with a face clamp so nothing can move while you drive.
- Screw spins but won’t tighten (strips out). A sign you’re likely using fine-thread screws in softwood plywood — the shallow threads can’t get a grip. An extremely high clutch setting can also cause this. Fix: Confirm you’re using coarse-thread screws. If a hole is already stripped, back the screw out and move to a fresh, adjacent pocket hole; a dab of wood glue in the stripped hole adds back real holding strength.
Pro Tips for Flawless Pocket Hole Joints in Plywood
A few habits that separate a joint that just holds from one that’s genuinely strong:
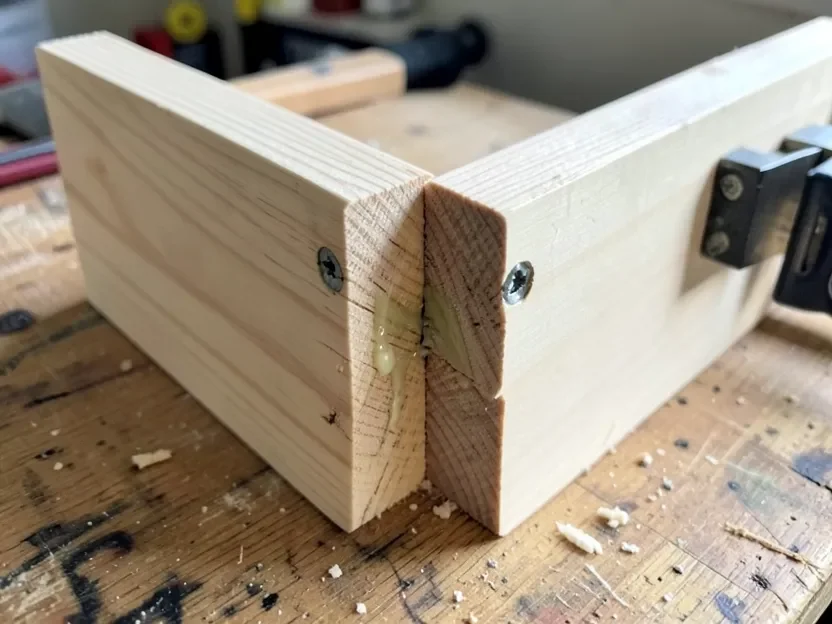
- Always Add Wood Glue: The clamping pressure a Kreg screw creates is ideal for forming a strong glue bond. A thin bead of wood glue on the joint face before you drive the screw meaningfully strengthens the connection — the USDA Forest Products Laboratory has detailed data on how much adhesives add to wood-joint performance.
- Plan Pocket Hole Placement Before You Drill: Think about which faces of the finished piece will be visible. Route pocket holes to the back, bottom, or interior of the project so they never show on a finished surface.
- Check for Voids Before Drilling: Cheaper plywood sometimes has voids or gaps in its inner layers. Drilling into one gives the screw nothing to grip. If you find a void as you drill, shift the hole over an inch or two rather than fighting it.
- Use a Two-Step Tighten on Long Panels: Drive every screw to about 90% snug first, then go back and give each one a final quarter-turn. This distributes clamping pressure evenly across the panel and helps prevent it from bowing.
Frequently Asked Questions (FAQ)
Quick answers to the questions we hear most often about pocket-hole screws in plywood.
What’s the difference between coarse-thread and fine-thread screws?
Coarse-thread screws have fewer, deeper threads per inch, which is what lets them bite into softer materials like plywood, pine, and MDF without stripping the fibers. Fine-thread screws pack more threads into the same length and are meant for dense hardwoods like oak and maple, where a coarse thread would be more likely to split the wood.
Can I use regular drywall or wood screws in pocket holes?
It’s a bad idea. Kreg screws are purpose-built for pocket-hole joinery: a self-tapping tip to resist splitting, a smooth upper shank that slides through the first board without engaging its threads, and a washer head that seats cleanly in the hole. A standard tapered-head screw wedges into the pocket instead, which tends to split the wood and produce a weaker joint.
Do I always need wood glue with Kreg screws?
Not strictly — the screws alone create a strong mechanical joint. But glue makes that joint meaningfully stronger and more durable long-term, so for furniture, cabinets, or anything load-bearing, adding it is worth the extra minute.
How many pocket holes should I drill in 3/4″ plywood?
Space pocket holes roughly every 6 to 8 inches. Two screws are usually enough for a narrow piece like a 1×4 (3.5″ wide); for wider panels, keep following that 6-8 inch spacing to maintain a strong, stable joint along the whole seam.
What does “SPS” or “SML” mean on Kreg screw boxes?
“SML” is Screw Maxi-Loc, Kreg’s standard washer-head screw and what you want for 3/4″ plywood. “SPS” is Screw Pan-Head, a smaller-headed screw sized for thinner 1/2″ material or for repairs where a lower-profile head is needed.
Can I use Kreg screws for outdoor projects with plywood?
Yes, but use the right coating. Kreg’s standard zinc screws (like the SML-C125 above) are for indoor use only. For anything exposed to weather, use Kreg’s Blue-Kote screws instead — same 1-1/4″ length for 3/4″ plywood, just confirm the box says “Blue-Kote” so you get the rust and corrosion resistance.
My screw is just spinning and not tightening. What did I do wrong?
That’s a stripped hole, and it’s almost always caused by either too high a clutch/torque setting or a fine-thread screw used in softwood plywood. Lower the clutch setting, confirm you’re using a coarse-thread screw, and add a little wood glue to the stripped hole to help it grab again.
Build with Confidence
Picking the right Kreg screw for 3/4″ plywood really comes down to one pairing: the 1-1/4″ coarse-thread SML-C125 screw, driven with your jig’s drill guide and stop collar both set to 3/4″. Get that combination right, back it with a properly clamped joint and a thin bead of glue, and you’ll get a joint that’s flush, strong, and free of any telltale dent or blowthrough on the finished face.
Sponsored / affiliate links. As an Amazon Associate I earn from qualifying purchases. I may earn additional commission from eligible campaigns.